Filed under: ANG New Jersey Needle Artists Chapter, ANG Seminar 2019, Finishing Class with Kelly Starke, Thread and Stitch Manipulation with Cynthia Thomas
The church venue canceled (due to a congregation death) a few days before our finishing class with Kelly Starke, but Jacqui recovered by getting her craft room where she lives. Crisis averted, but organizing workshops takes resilience!
Since it was further away than the first place, I couldn’t hang with Rosie for the morning. I went armed with my Medusa Sea Jelly to keep me occupied. Although I didn’t sign up for the morning “round” class, Kelly asked me to sit in and listen since I was there anyway. So, I have plenty of Sea Jelly left to stitch for NJ Needle Fest.
Kelly has almost 70 videos on YouTube (not all on finishing)! I’ve seen the one she did for Layer of Leaves. It’s long at 3.5 hours but has some excellent tips. She goes over everything twice, finishing 2 ornaments in that time. Doing the finishing in 3 hours in person was more fun, and the time flew by. I peeked over people’s shoulders and took notes in the first session.
She had personal totes full of the tools we’d need! With 12 people in the class, she didn’t sit once. And, she had a helper, Robin. They were so organized and helpful. Kelly has “Mom” hearing! She didn’t miss anything.

Her handout has great pictures of each step. These are key points I want to remember:
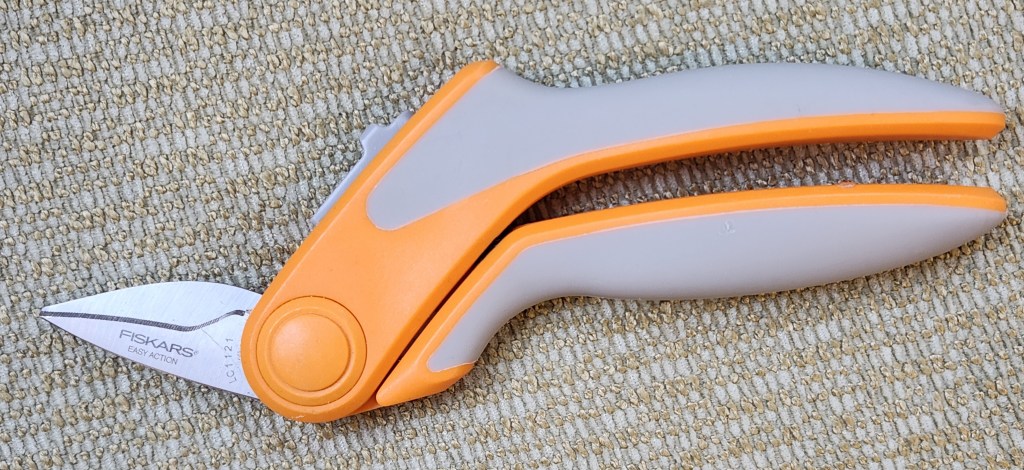
Cut up to edge in triangles (point into canvas) using short scissors, quilting nip scissors. I won’t mind adding another pair of scissors to my finishing bag. For an irregular shape, start at the indented areas.
Figuring out where to cut seems like the hardest decisions of the day because you can’t uncut! Here is my bell before an after (with the foam board in place) some trimming to reduce bulk near the top center.


A square seems the easiest. Interestingly, Kelly thinks light bulbs are one of the tougher shapes.
Trace outline on 1/8″ thick foam board. Use 1/8″ scrap to mark inside around shape to make the board 1/8″ smaller. No photo copying of the stitched piece is required to make outlines. That will save some time that I have spent copying and cutting paper.

Bevel edge on side of foam board touching the canvas/fabric. I did the bevel on the wrong side and had to recut it.
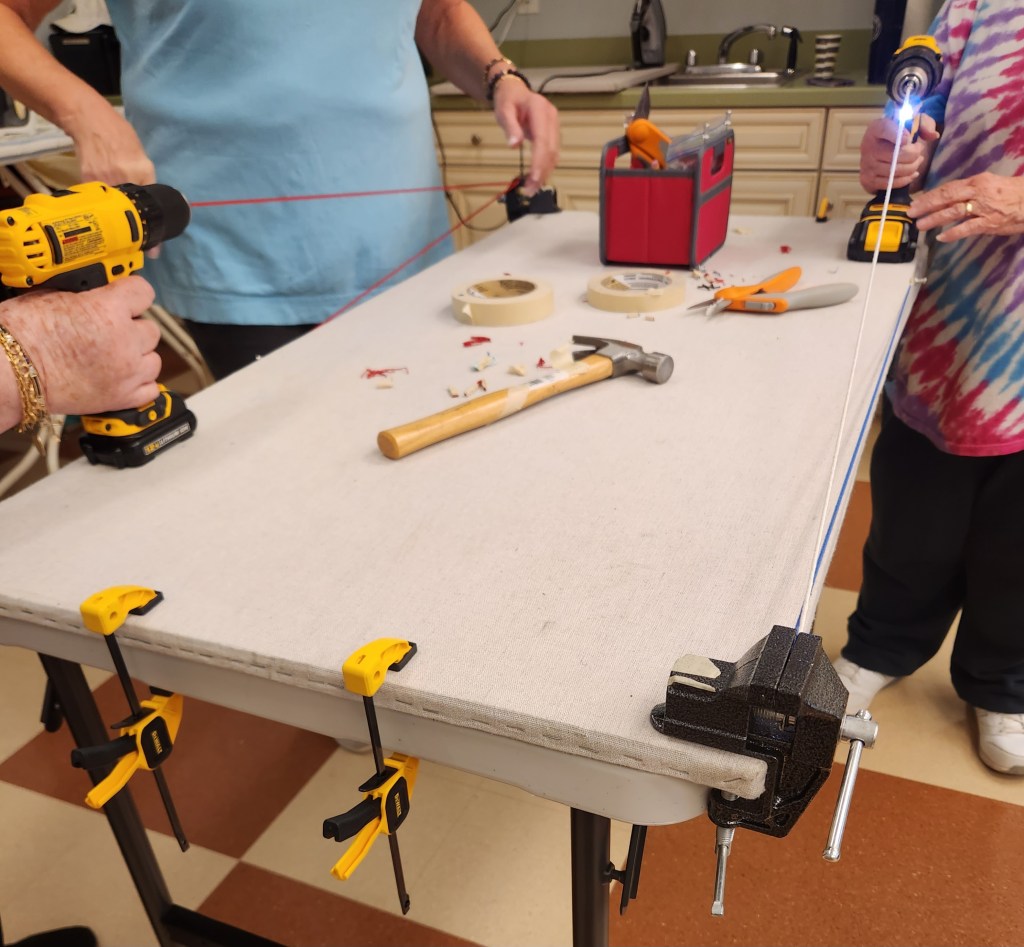
Making cord using an electric cordless drill (has to be able to turn right and left) is going to make a tighter cord than the Kreinik cord maker. That is a problem I have had. But, I doubt that I will get a drill. I will probably try twisting with the Kreinik cord maker much more than I’ve done previously. Later that night Sue commented that putting a weight in the middle of the cord serves to make the reverse twist when cording with Kreinik Cord Maker according to their instructions. However, Kelly has a video showing her twisting the cord by hand. I’ll probably try that too.
I used Silk Lame Braid 13 count. That and Kreinik can be used but have a greater tendency to break. So, Kelly used Pearl Cotton mostly. My cord turned out great!

I think I still have a glue gun in the basement – hot glue dries fast but it’s messy and I really don’t have a good workspace. I may stay with Aleene’s Super Fabric Adhesive (supposed to be fast drying and permanent) or try Fabri-Tac (Kelly used it for gluing cording in place).
The cording is cut to a point to prevent twisting where the loop starts wrapping around the edges (unless where you want the cord can’t accommodate a lot of cord in which case you make a separate cord for the loop and merge in a different area which is what I did for my bell).

To be safe, stitch loop in place to reinforce glued area (that spot gets the most stress on an ornament). I do think high heat might compromise the glue but Kelly has been doing this for 20 years. Gluing the cord is much faster than stitching it. Glue isn’t touching any needlepoint at any time. And, Kelly has a video if you prefer to stitch the cording in place.
I highly recommend getting her to come to your chapter for a finishing class on rounds followed by irregular shapes. Each class was 3 hours with a lunch break. Set up and clean up time made for a long but productive day.
My Bells of Scotch originated from the Thread and Stitch Manipulation 2019 Seminar Class with Cynthia Thomas. We were supposed to take a stitch, make it smaller, larger, turn it, and combine it in different configurations. There are partial Scotch stitches, 2 Elongated Scotch stitches at the top, and Scotch stitches not on the diagonal. If I were to do this again, I would make the clapper all gold. The gold surrounding the bottom center motif isn’t prominent enough. I love the fabric I found for the back. If there are any campanologists reading this post, please comment!


Addendum: Michael’s might have 1/8″ thick foam board, but you have to ask for it at the Framing Dept. I ordered some from Ebay.
Leave a Comment so far
Leave a comment
