Filed under: Compensation Coaster, Serendipity - Stitching Club with Ellen Johnson
A few months ago, I joined Ellen Johnson’s Stitching Club in order to learn to “read” my Rainbow Butterfly canvas better (more on that another time).
A month ago, Ellen held a 3+ hour Compensation Class online that I joined and stitched along. I had to make this a tad more complicated because it was for all skill levels and I prefer a challenge. So, I divided a circle into 7 areas, knowing that I would make it into a coaster.
Note to self: My template coaster is a retired coaster in a drawer in the living room. It’s 3.5″ in diameter. They do sell 4″ rounds online. There are quite a few round 4″ painted canvases, but I knew I wanted to cut the cork to my size.
I used stitches Ellen suggested, including the Cashmere and Pavillion Diamond stitches (each are in 2 areas), Alternating Scotch stitches. I added the Interlocking Gobelin and Horizontal Kennan stitches.
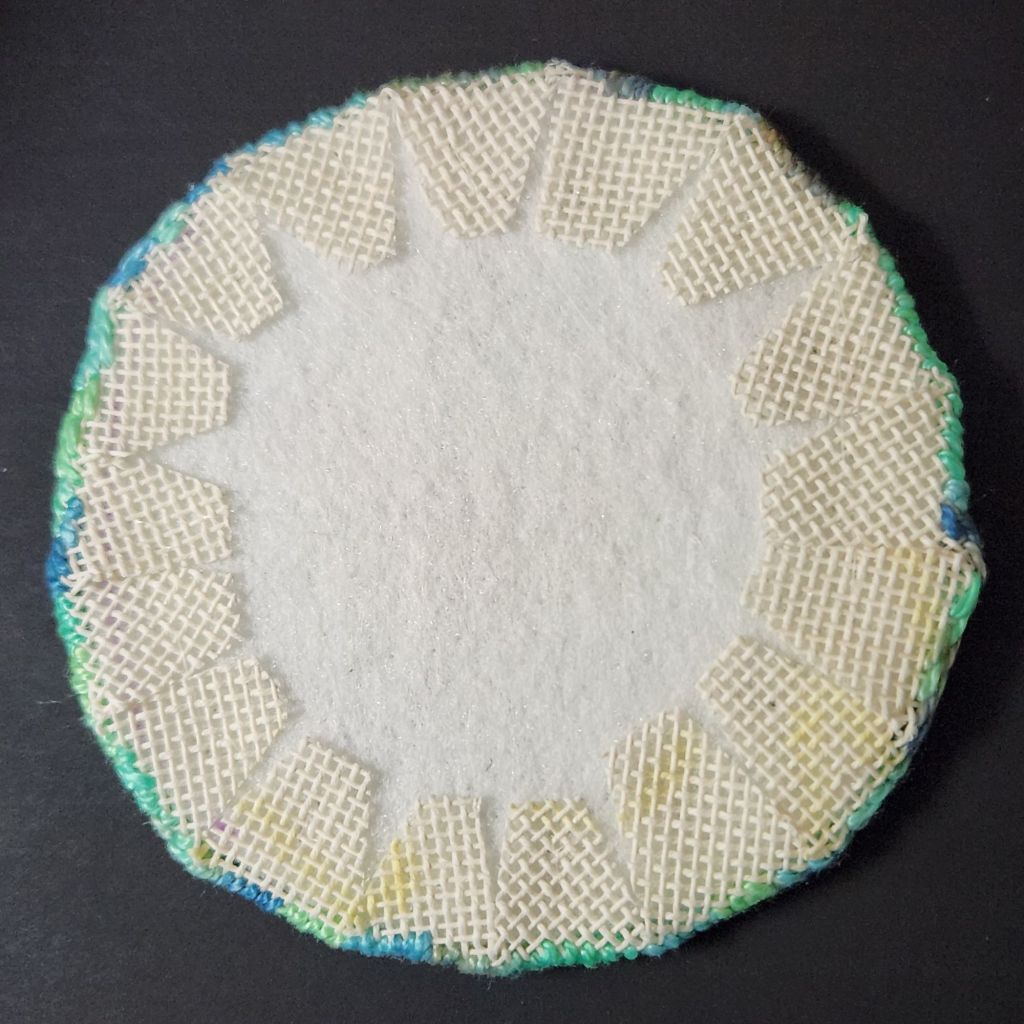
I placed Craf-tex inside (it is machine washable, and so I figure it will be OK for absorbing moisture from glasses).

I tacked the tabs taut and into place through the Craf-tex with my trusty Sulky Invisible thread. Two stands with 2 tacks per tab.
I found a roll of 1/8″ thick Cork Liner with adhesive backing (where else but Amazon). I used Ultrasuede for the first 2 coasters, and they are doing well, but I think cork is going to be better. Now, I have 2 rolls of cork. That’s got to be a lifetime supply!
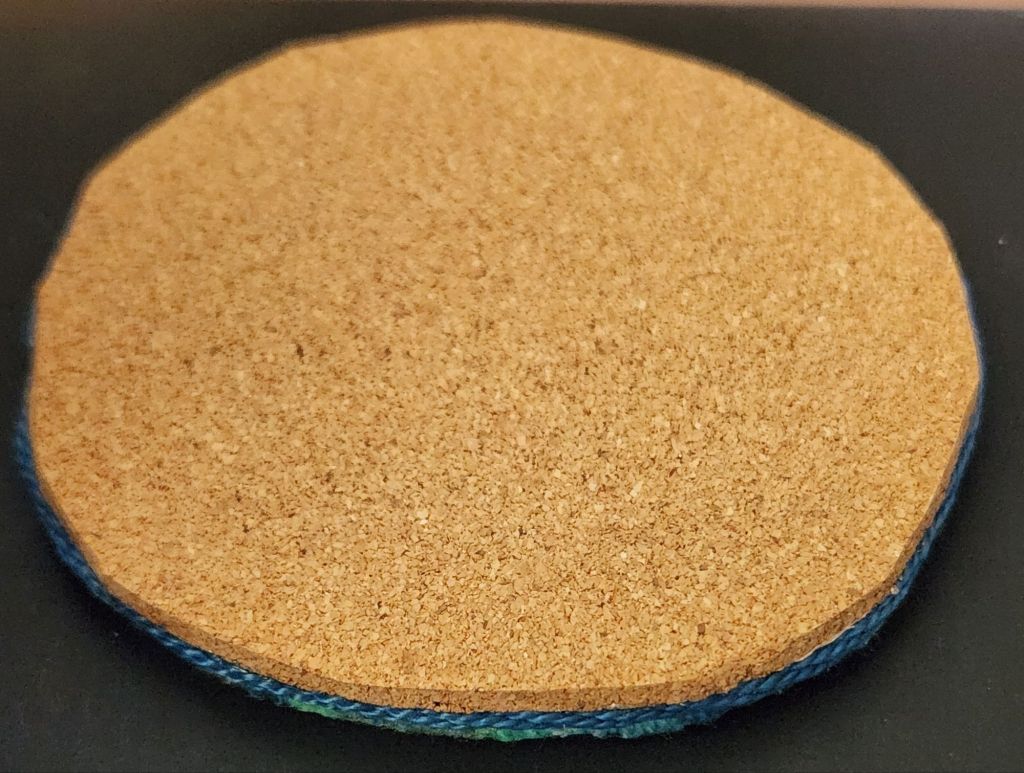
You can just see the dark blue thread that I glued in place (Aleene’s glue) along the very small space between both halves.
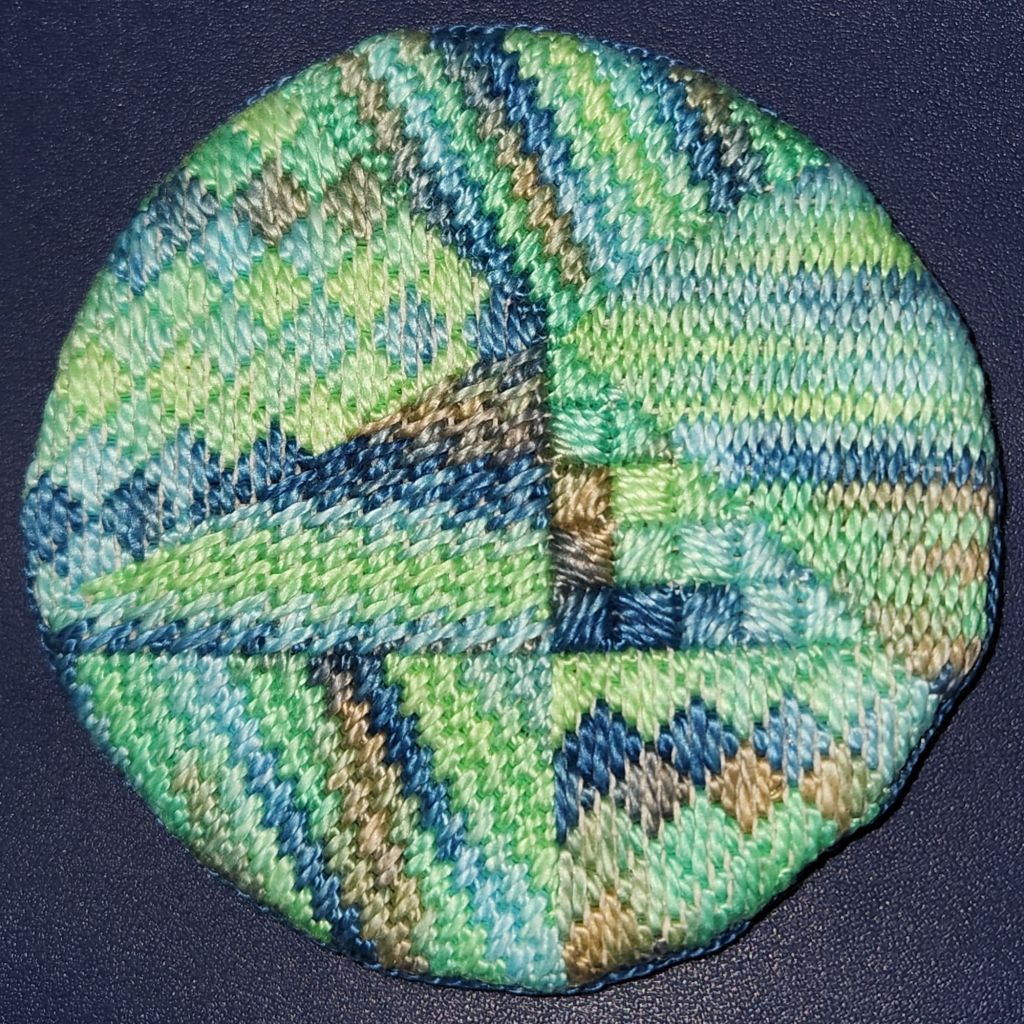
I love it! And, I finished it yesterday before today’s class, which was all about backgrounds.
It got a workout for our Friday night pizza and beer.
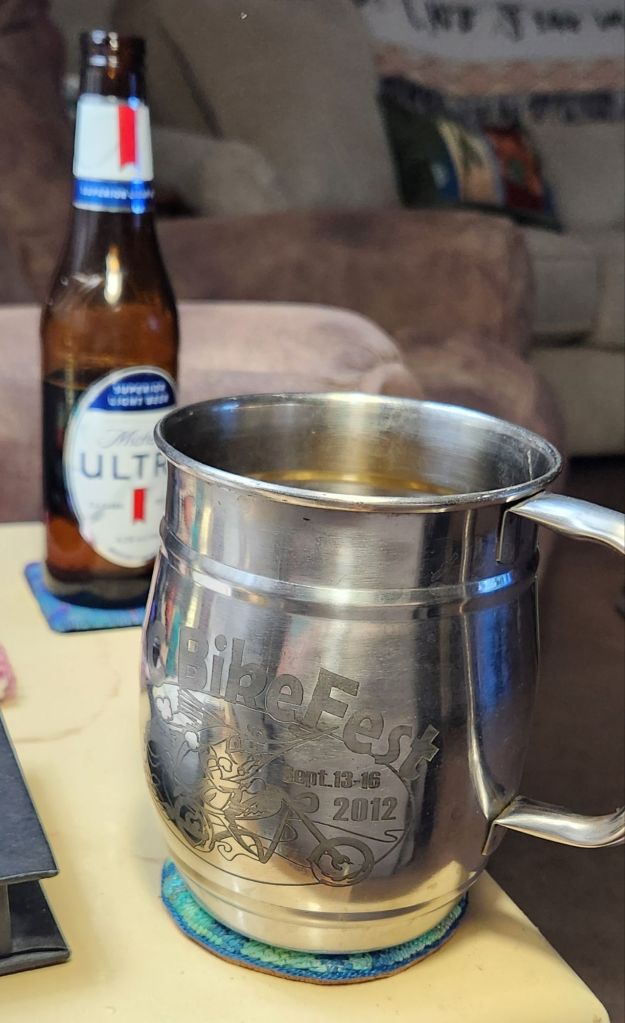
In case you are wondering, no, we are not bikers! How we came to be at a bikers 10th annual festive, we can’t remember. But, we had to get the mugs from wildbill’s soda! We do remember they were filled with root beer, which was delicious, and the mugs were great, keeping liquid cold longer because of the metal.
2 Comments so far
Leave a comment

[…] and a 3 strand cord glued into place (process has been explained in more detail previously in my Compensation Coaster […]
Pingback by Backgrounds in July/August 2024 Issue of ANG Needle Pointers Magazine | Melitastitches4fun's Blog July 7, 2024 @ 11:28 am[…] I brought my Kreinik cord maker to add a cord between the top and bottom layers (which is optional but I like to do it). The threads typically match the one used in your design. I talked about attaching the cording by stitching and with glue. You need three times the circumference plus extra for starting and ending. Stitching is technically preferred but it is only a coaster! I brought the best glue I’ve found to date, Super NEW GLUE” by Euro Tool. My fingers even got stuck together – almost. It’s great glue.The process is almost the same as I described here: https://melitastitches4fun.com/2024/05/04/compensation-coaster/ […]
Pingback by Demonstrated Making Coasters with Cork Bottom | Melitastitches4fun's Blog May 18, 2025 @ 2:45 am