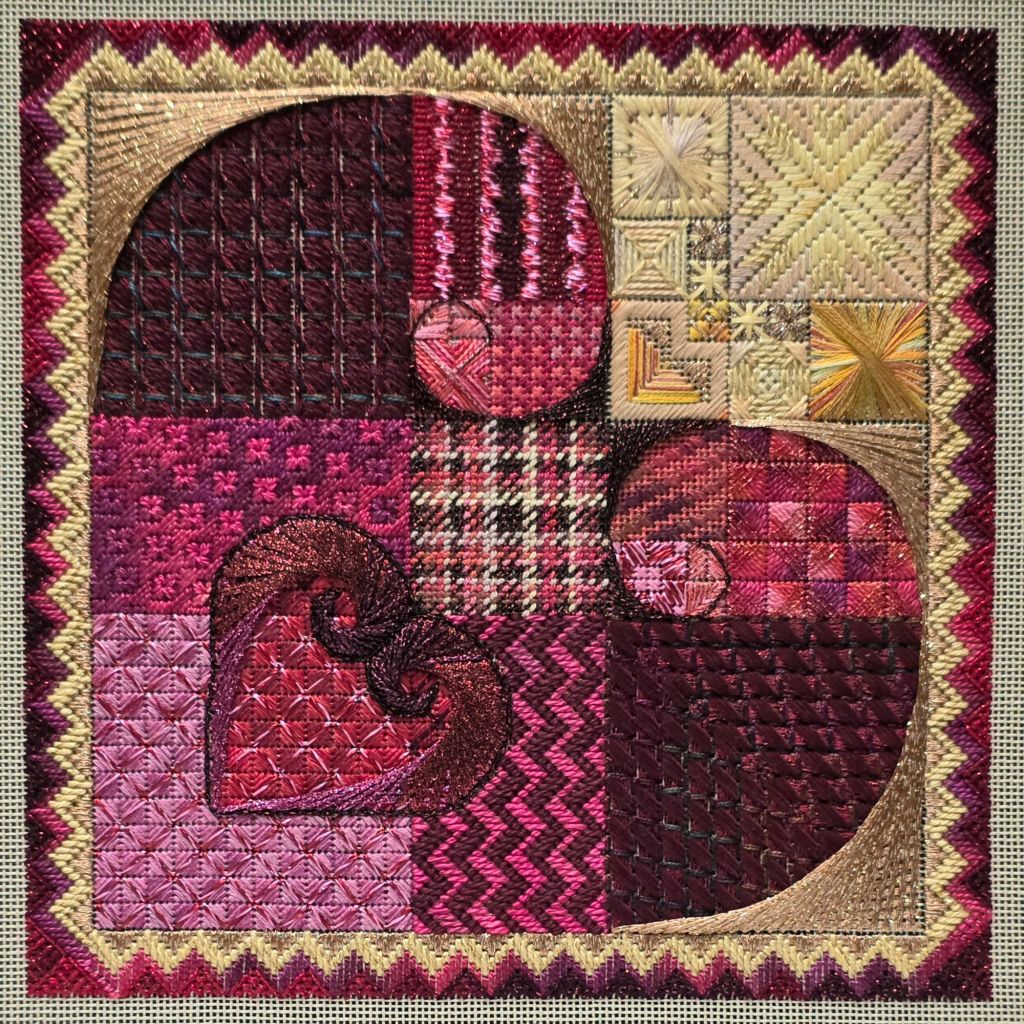
Before stitching the large crescents, Wendy suggested we do the border. The canvas gets rotated so you are always working close. That’s the best location for my glasses – maybe that’s why I like smaller pieces – easier to see.
The border took some concentration especially in the corners.
The outer most Sprats Heads used Valdani #5 Perle Cotton and is a thread I won’t be seeking out. There is a metallic strand in it that seems to catch on the canvas and pulls away from the pearl cotton strand. I tried a shorter length, glue on the ends, and a size 18 tapestry needle with a larger eye. But, it was still not ideal. It does sparkle nice.
Then, the crescents went in easily enough. Large ones are not more difficult than smaller ones. Next step is to go to the framer.
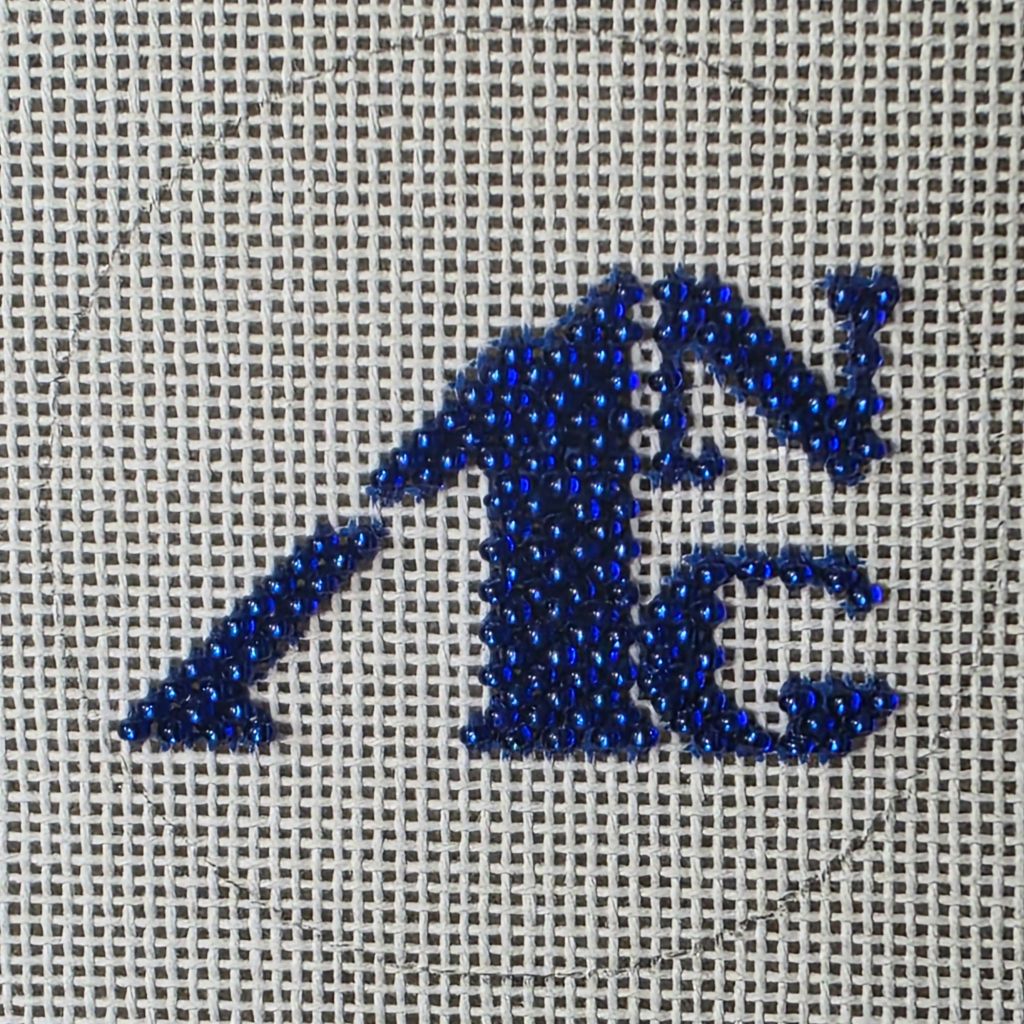
At the ANG 2026 Seminar, the VA chapter, Hampton Roads Sandpipers, had charted instructions for ANG’s logo in 2 sizes for fund raising. This is the 2.5″ round on a 5″ 18 count canvas. It came with a length of silver Kreinik to stitch the needle. They were also selling 5″ 3D printed stretcher bars so I had to get the ornament to try the bars!
I mentioned this in my post when I bought them: The bars fit together ok but not as flush at each joint as the wooden ones. When you press the tacks in, there seems to be a very resistant top layer and once that is penetrated, the tack is firmly in place.
In the May/June 2021 issue of Needle Pointers, a magazine for ANG members (back issues are available online), an article by Marilyn Owen discusses beading. She covers brick beading which I never tried but several members of ANG Main Line Stitchers are recommending that for the letters in the LOVE canvas. This ANG canvas is a perfect piece to practice brick beading on the letters. The areas are wide, skinny, and curved.
I had the perfect blue in Mill Hill Seed Beads size 11 for the letters. I used Splendor S863 doubled and waxed. I definitely see why my chapter members said to stitch the letters first. Brick beading was easy enough. If I had painted this, I would have separated the A from the N and G by one more canvas thread but this is fine.
As far as the bars, I’ll be sticking with wood ones but these do the job.
There certainly were some challenging stitches in Heart of the Matter by Wendy Moore, Area 3.
The eyelets to the upper-left of the lovely tri-color heart were the toughest because there are 4 spokes using Petite Very Velvet (PPV) and 12 fill in stitches using Watercolours all going into one hole. I think Wildflowers would have worked up easier than Watercolours. And, you can barely see the PPV after filling in with Watercolours. I opened up the center hole but it gets really tight with all that going into one hole.
Heading back to Razzle Dazzle before our next meeting on Monday November 9 in order to finish Ribbon 3 on both pieces. At least one person besides Linda M finished hers. I’ll be completing Ribbon 4 in both of the coloways for December’s meeting.
That reminds me that there are 2 months left in 2026. What else can I complete before January? I think Heart of the Matter and Spring Lollipop Garden by Tamara Abdee are top on the list and doable.
It’s been a month since picking up Heart of the Matter by Wendy Moore.
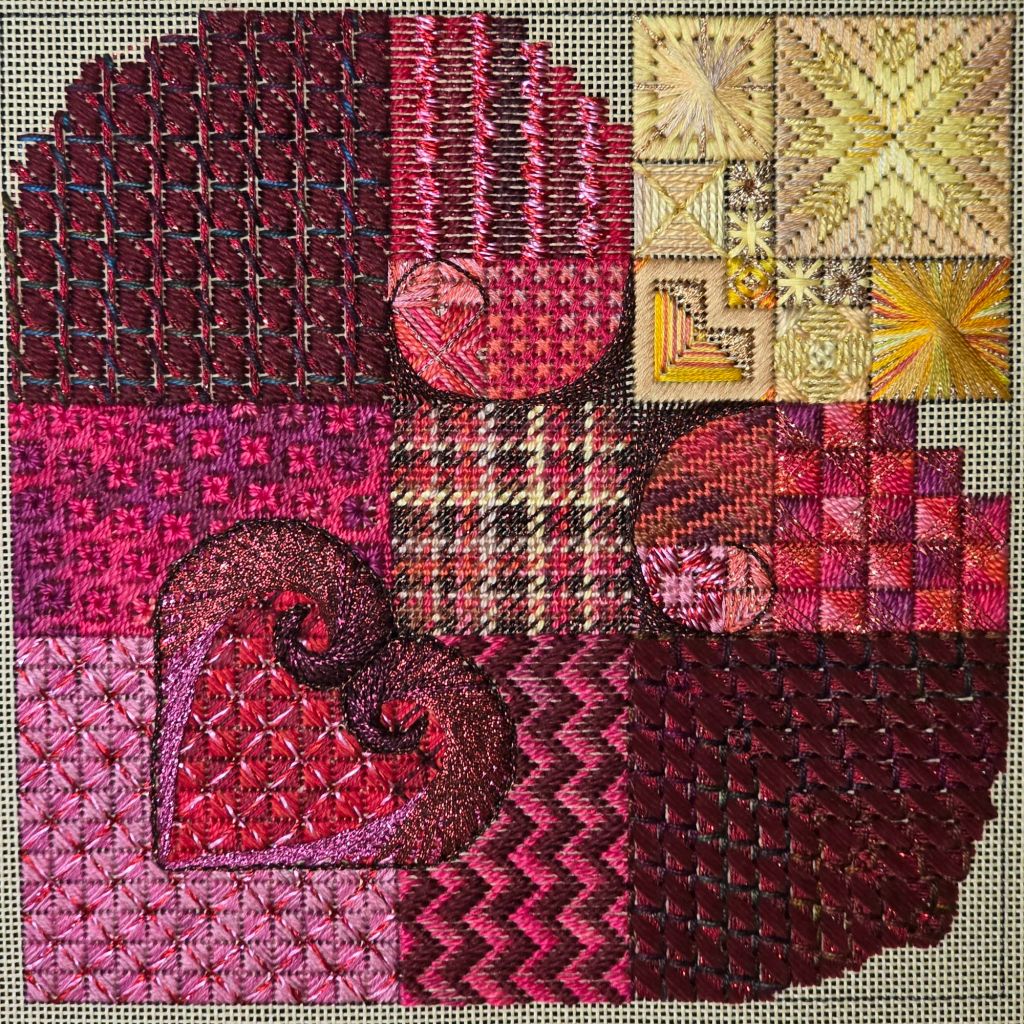
As in Area 1 (and as Wendy suggested), I finished all except for the largest two outer crescents in Area 2 because they might get distrupted while working on the rest of the canvas. The crescents will cover those irregularities in the upper left and lower right areas.
It’s beginning to take on the shape of a heart now.
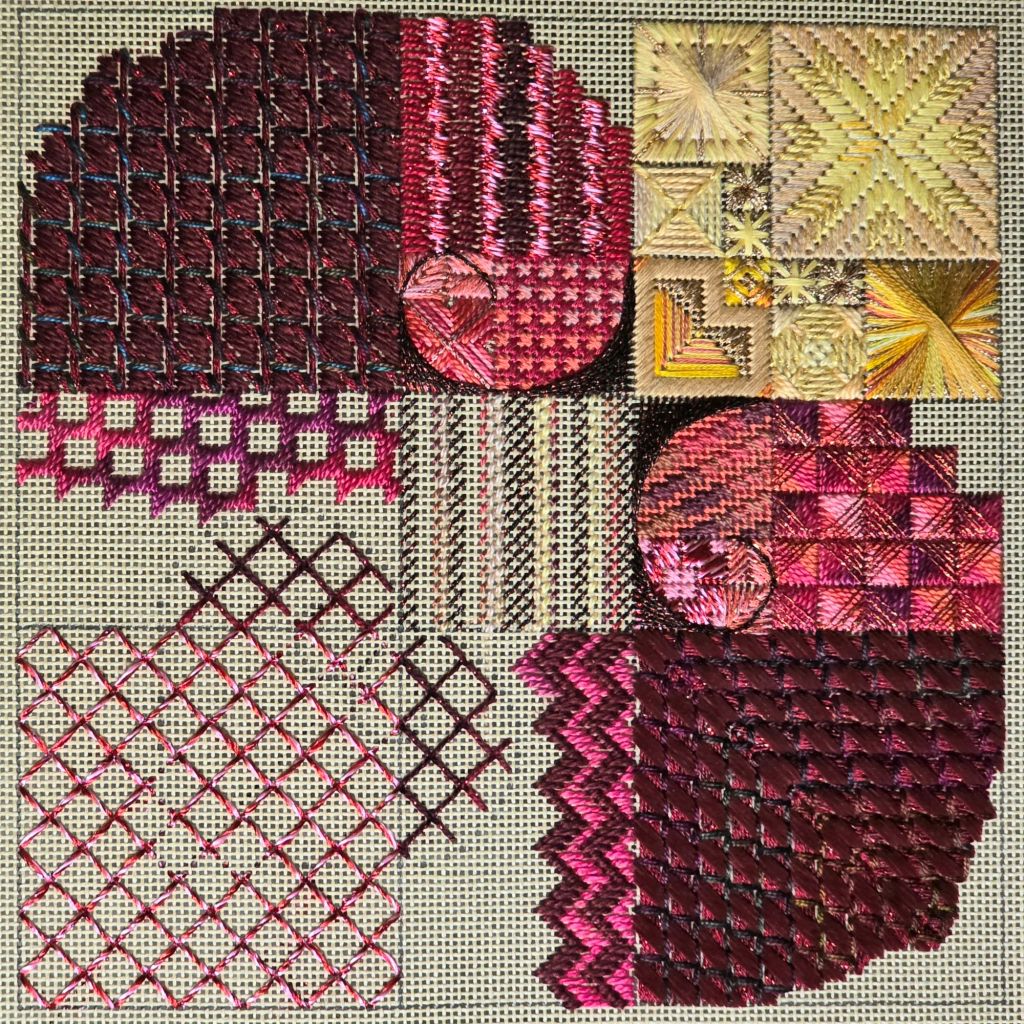
Moving on to Area 3 (lower left corner) including the Chotties Plaid (in the center). It’s the largest portion and has alot going on.
For the piece with all the colors, I selected V1125 Emerald for the buttonhole border because it had only been used to outline the yellow Scotch stitches in two areas.
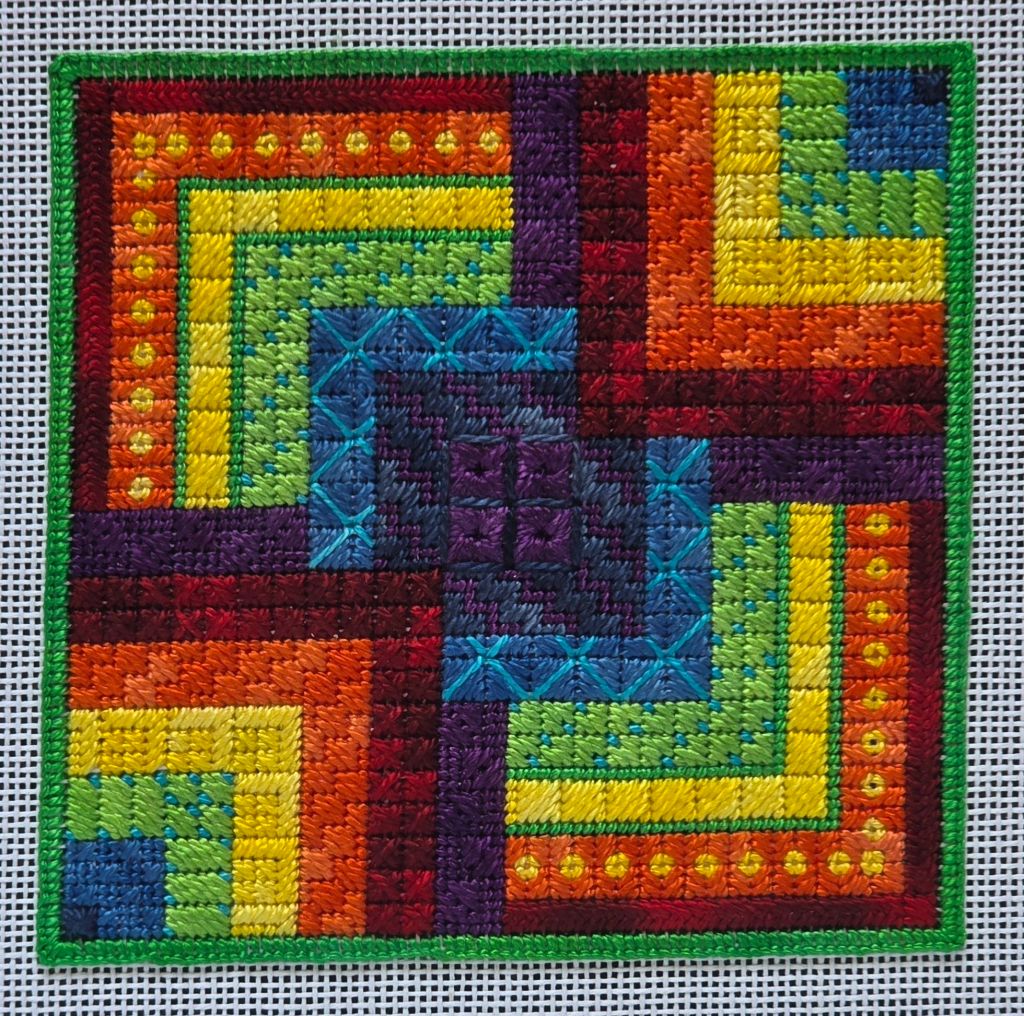
Once stitched, I carefully cut it up to the outer edge of the buttonhole stitches. It’s crucial to not cut your stitching thread. Only cut canvas threads. One trick to get as close as possible is to nudge the edge backwards towards the center.
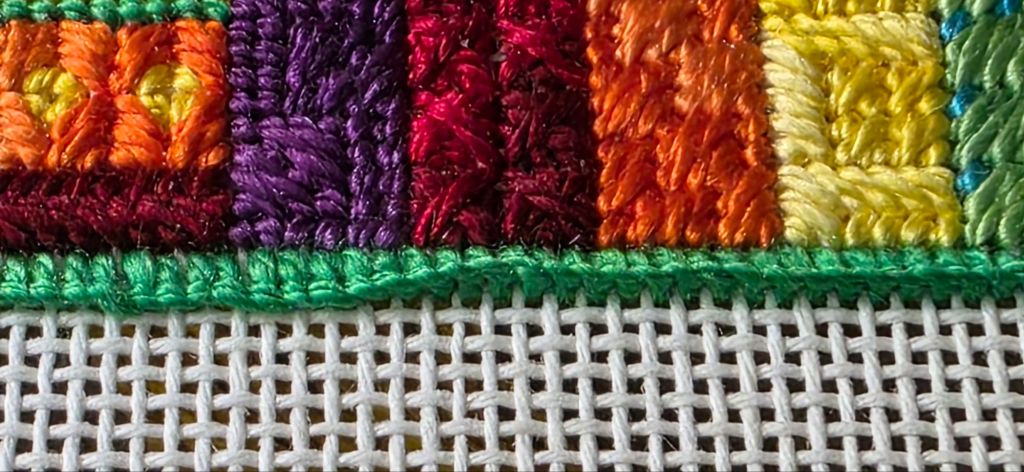
Another suggestion is to slowly use sharp curved small scissors to cut the canvas as close to the stitching as possible. Then, smooth the buttonhole row back to being flat.
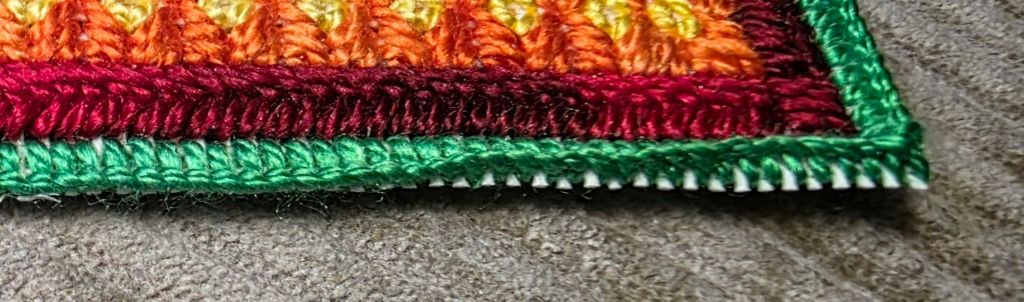
I did the same thing with the secondary colorway using the same green for the buttonhole border because I knew they would be displayed together. Does it even look like the same design to you?
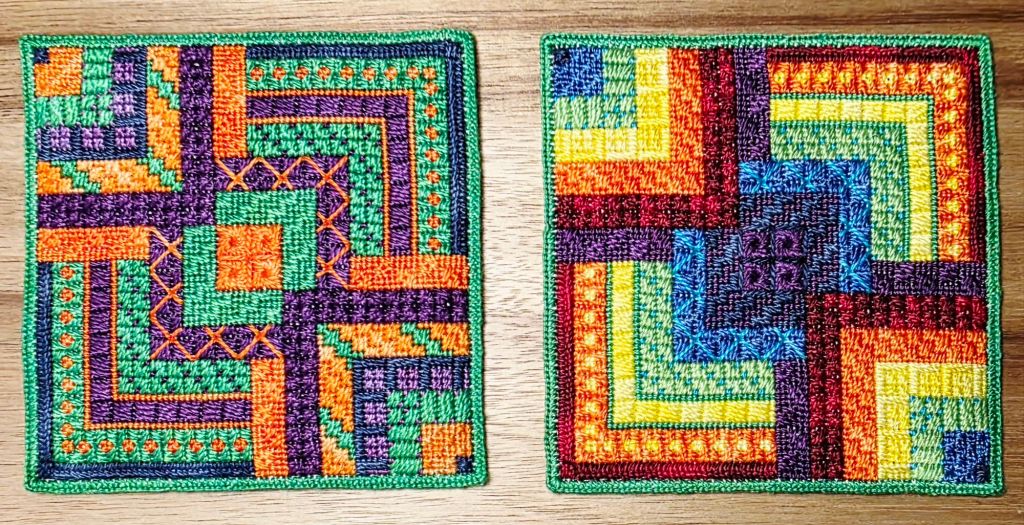
I used a glue stick to attach a piece of magazine board on the back smaller than the outer edge of the buttonhole stitch and on top of that is a piece of beige ultrasuede that was cut up to the outer edge with a little glue sticknto hold it in place. Then, I used invisible thread doubled in the needle to attach the two sides. A few strips of Peel n Stick are attached to the ultrasuede and then to the sides of a tissue box.
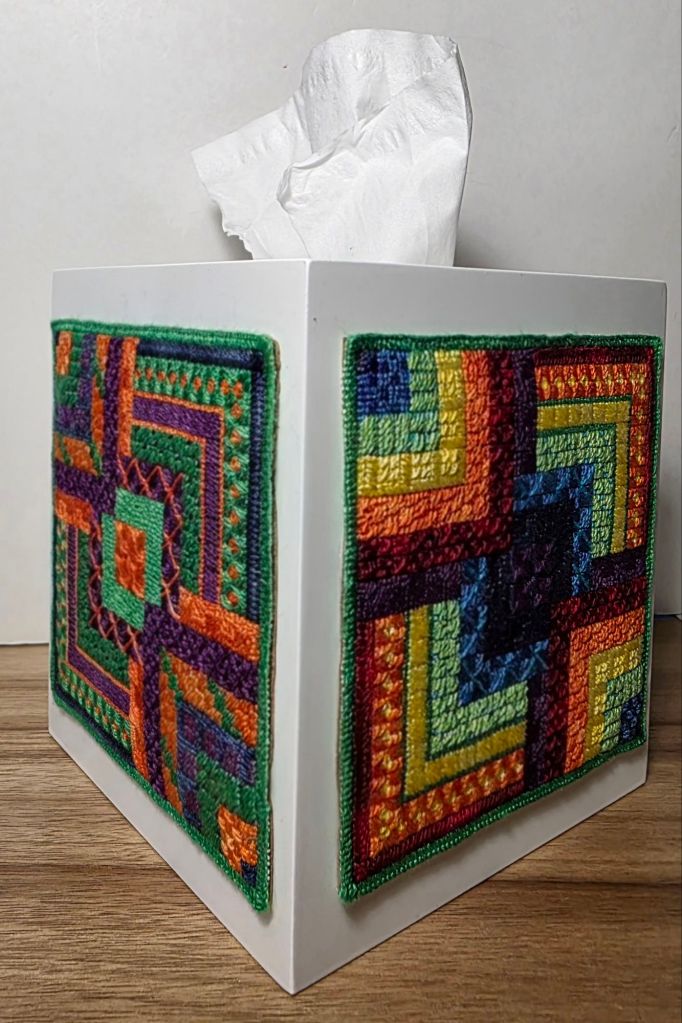
I got it done Friday night and in time for Show and Tell at yesterday’s ANG Central Jersey Chapter meeting. I timed my lunch break to listen to Sue Reed’s tips and tricks talk. Even though I have heard it before, I learn something new. Another CJC member joined me to listen.
I’ve said before how different chapters are and how they are run. These ladies did Zoom during Covid but then returned to in person only which is nice. They meet monthly from 10 am – 3 pm for stitching, a meeting, Show and Tell, lunch, and more stitching. Definitely worth the hour and 20-30 minute drive. I try to make it at least quarterly.
Fortunately, I was able to show them my Spring Sampler purple pillow before it goes to Orlando for the EGA exhibit. I also showed off my skinny fall purse and Linda’s blue-green colorway. They really enjoyed seeing the samples in person and will do this as a Stitch of the Month project in 2027.
Drawing from the same colors of ThreadworX threads, I selected a secondary colorway of orange, purple, and green with a blue for some accent.
As I mentioned, I ran out of orange, purple, and green. What happens more times than not? There is a difference in dye lots. Can you see it?
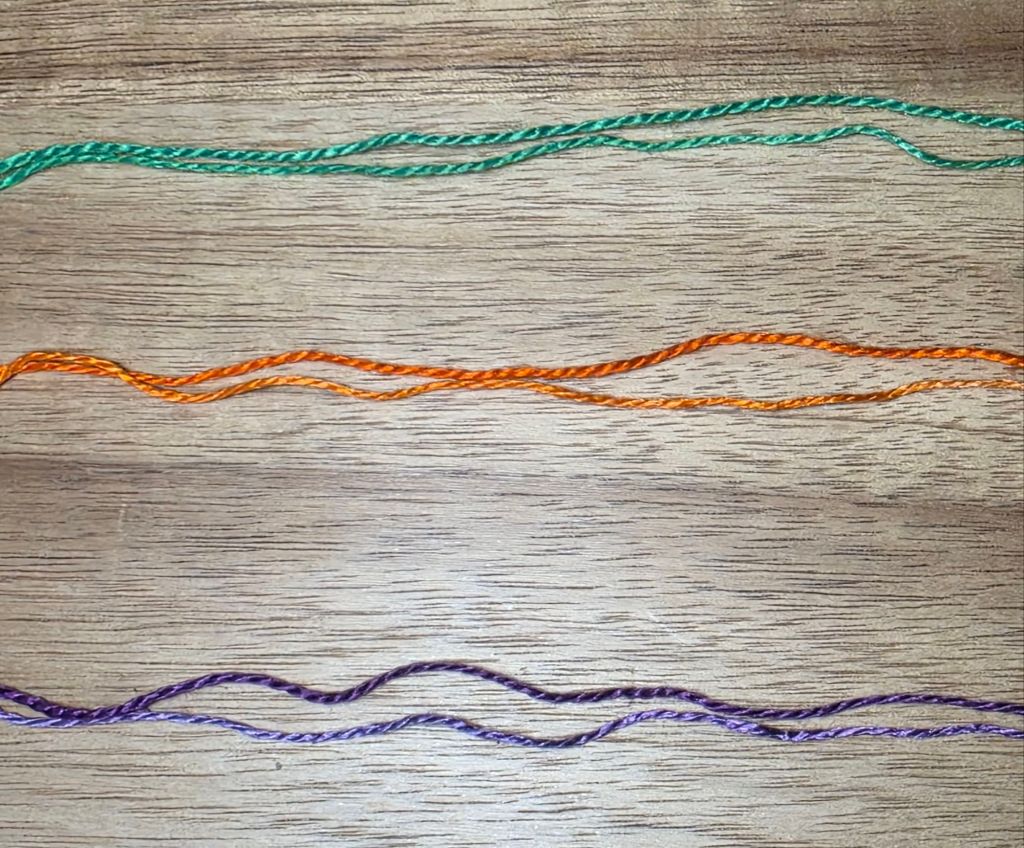
But, I am not worried because I expected it and didn’t start in an area that I couldn’t finish with the first threads. If anything, it adds just enough variation to be interesting. Can you see differences now?
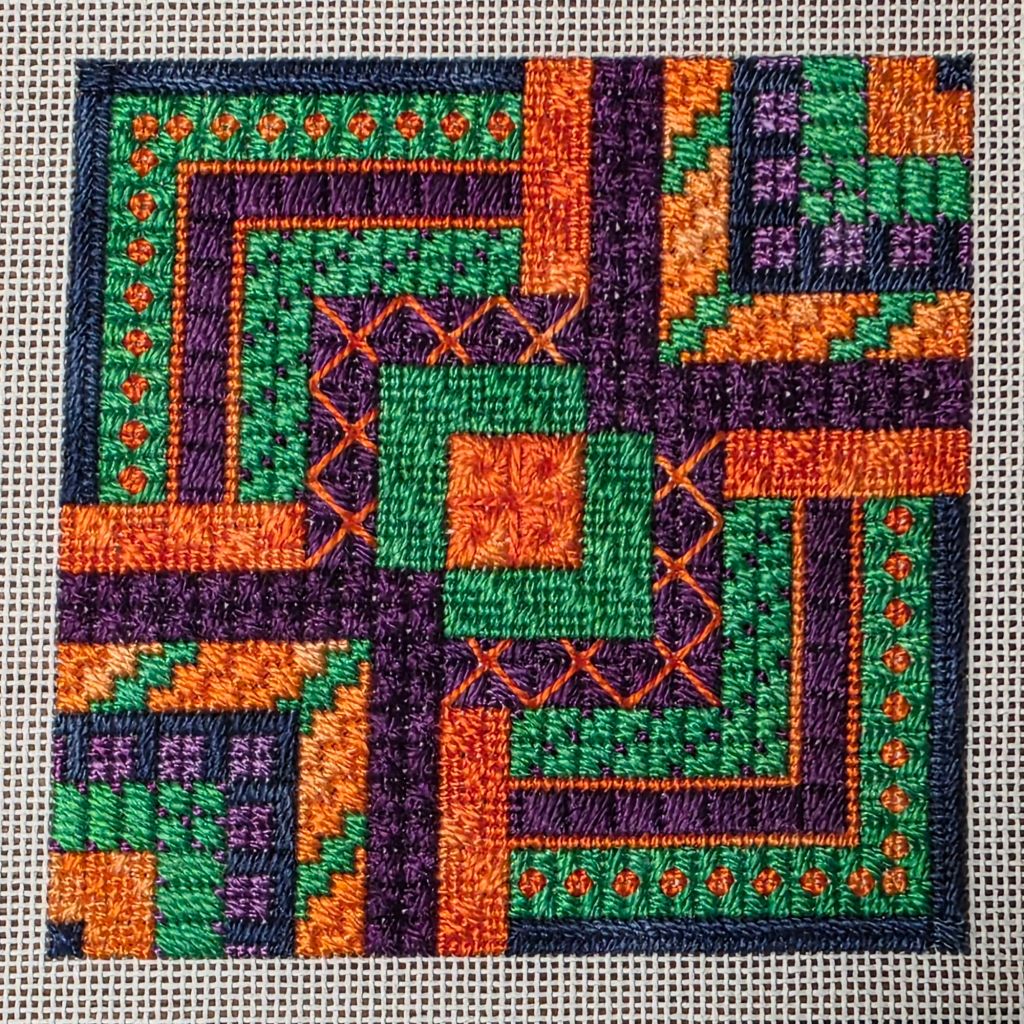
In the upper right and lower left, the orange areas are lighter and have more variation than in than the center, upper left, and lower right. And the purple is much lighter in the upper right and lower left areas and probably shows up better next to the dark blue. I really like that this happened.
There are multiple ways to overcome dye lot differences depending on the threads used. If it’s floss and you’re using multiple strands, use thread blending to incorporate the new dye lot and phase out the old one. You just don’t switch from one lot to the other. That’ll be obvious. Best way to avoid the issue is buy extra threads! But, I think that in a geometric, it becomes a happy accident or interesting variation.
The green is only needed for the finishing step. So, all is good and now to the finishing step.
Now that I’m not in a class setting, I can go through the instructions for Heart of the Matter by Wendy Moore from beginning to end rather than jumping all over the canvas. It’s something one must get used to in a class setting. But, I prefer the progression to be section by section.
So, I finished Area 1 except for the largest two outer crescents (as Wendy suggests) because they might get distrupted while working on the rest of the canvas. There are different threads in the kit that I haven’t used before which is fun. But, I don’t need to use Wonderfil Dazzle or Valdani #5 again. They both separate although using the glue stick makes them manageable. And Valdani doesn’t stay twisted easily.
The nearby yellow Area 4 was so close to being done, that I finished that one next. Reflections is a different thread for me and one that I like. The twist is easy to maintain and some sparkle shows up once or twice in an over 4 stitch. Reflections says it’s silk and nylon but feels more like cotton.
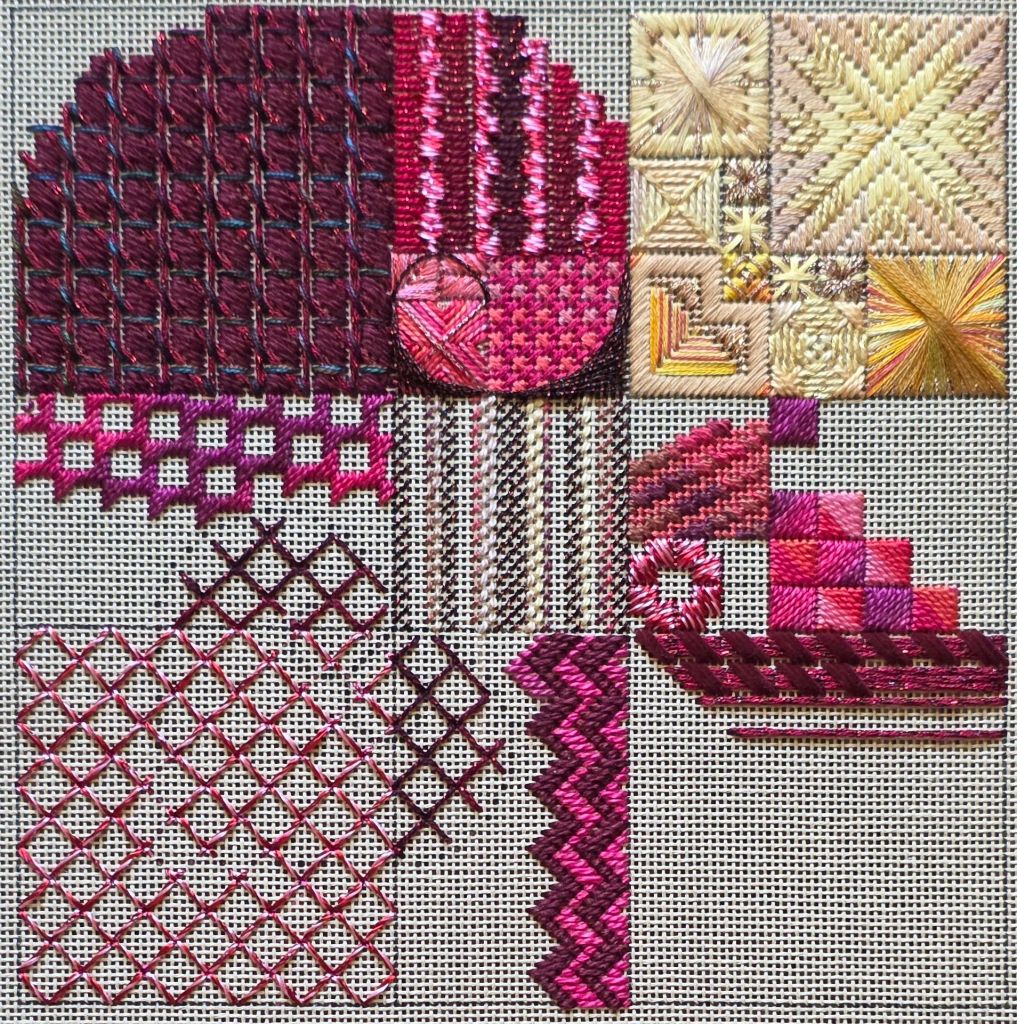
Lots more to do! Area 2, Area 3, and a border remain. But, I got my threads to finish ROY G BIV on Monday. So, that’s what I am going to next.
ROY G BIV with Kathy Rees is very colorful featuring the primary and secondary colors. It drew some attention at the Central Jersey Chapter. Everyone also enjoyed hearing about Magical Colors by Jennifer Riefenberg, my Show & Tell piece.
After taking the half-done photo and before the Stitch-in, I got started on the second half. A couple of patterns require some more concentration that are best done at home such as Byzantine.
CJC has a 5-hour meeting/Stitch-in with a break for lunch. So, it’s worth the drive (1 hour and 15 minutes each way) to spend time stitching and chatting with a good group of people. The rest of ROY G BIV was finished during our usual Svengoolie Saturday night movie and Sunday golf.

Kathy provided an extra line-drawn canvas for a second colorway. But more on that another time and how I will finish this has yet to be determined.
Halfway done with Kathy Rees, ROY G BIV’s piece. Besides the 7 primary and secondary colors, we were given 2 extra blues and an extra green for accents. Fun, easy to stitch, and a nice break from Razzle Dazzle. It’s also small enough to go on the road to ANG’s Central Jersey Chapter Stitch-in tomorrow.

The Expo! at the ANG Seminar in Denver lasted all day although a few teachers couldn’t open their tables until after 5 pm because they were teaching.
The first table to greet you was the very friendly and active VA chapter, Hampton Roads Sandpipers. They had charted ANG’s approved logo in 2 sizes. This is a 2.5″ round on a 5″ 18 count canvas. It came with a length of silver Kreinik for the needle. They were also selling 5″ 3D printed stretcher bars so I had to get the ornament to try the bars!

They fit together ok but not as flush at each joint as the wooden ones. When you press the tacks in, there seems to be a very resistant top layer and once that is penetrated, the tack is firmly in place. I’ll be sticking with wood ones.
In general, I am not a big shopper and Expo! is no different. That’s all I bought but enjoyed looking. I was tempted by some kitted Michele Roberts egg kits but I decided to pass. My back had spasms that prevented me from returning in the evening. Luckily, the inflatable pillow made sitting on the chair in the classroom the next day possible.
Let me also plug the Seminar Campaign fundraiser which I did donate to based on the 14 seminars that I attended to get in a drawing for a $100 gift certificate to A Stitching Shop (I didn’t win). There will be another drawing at the end of August. Read all about it at https://www.needlepoint.org/page/2026SeminarCampaign and consider donating.

