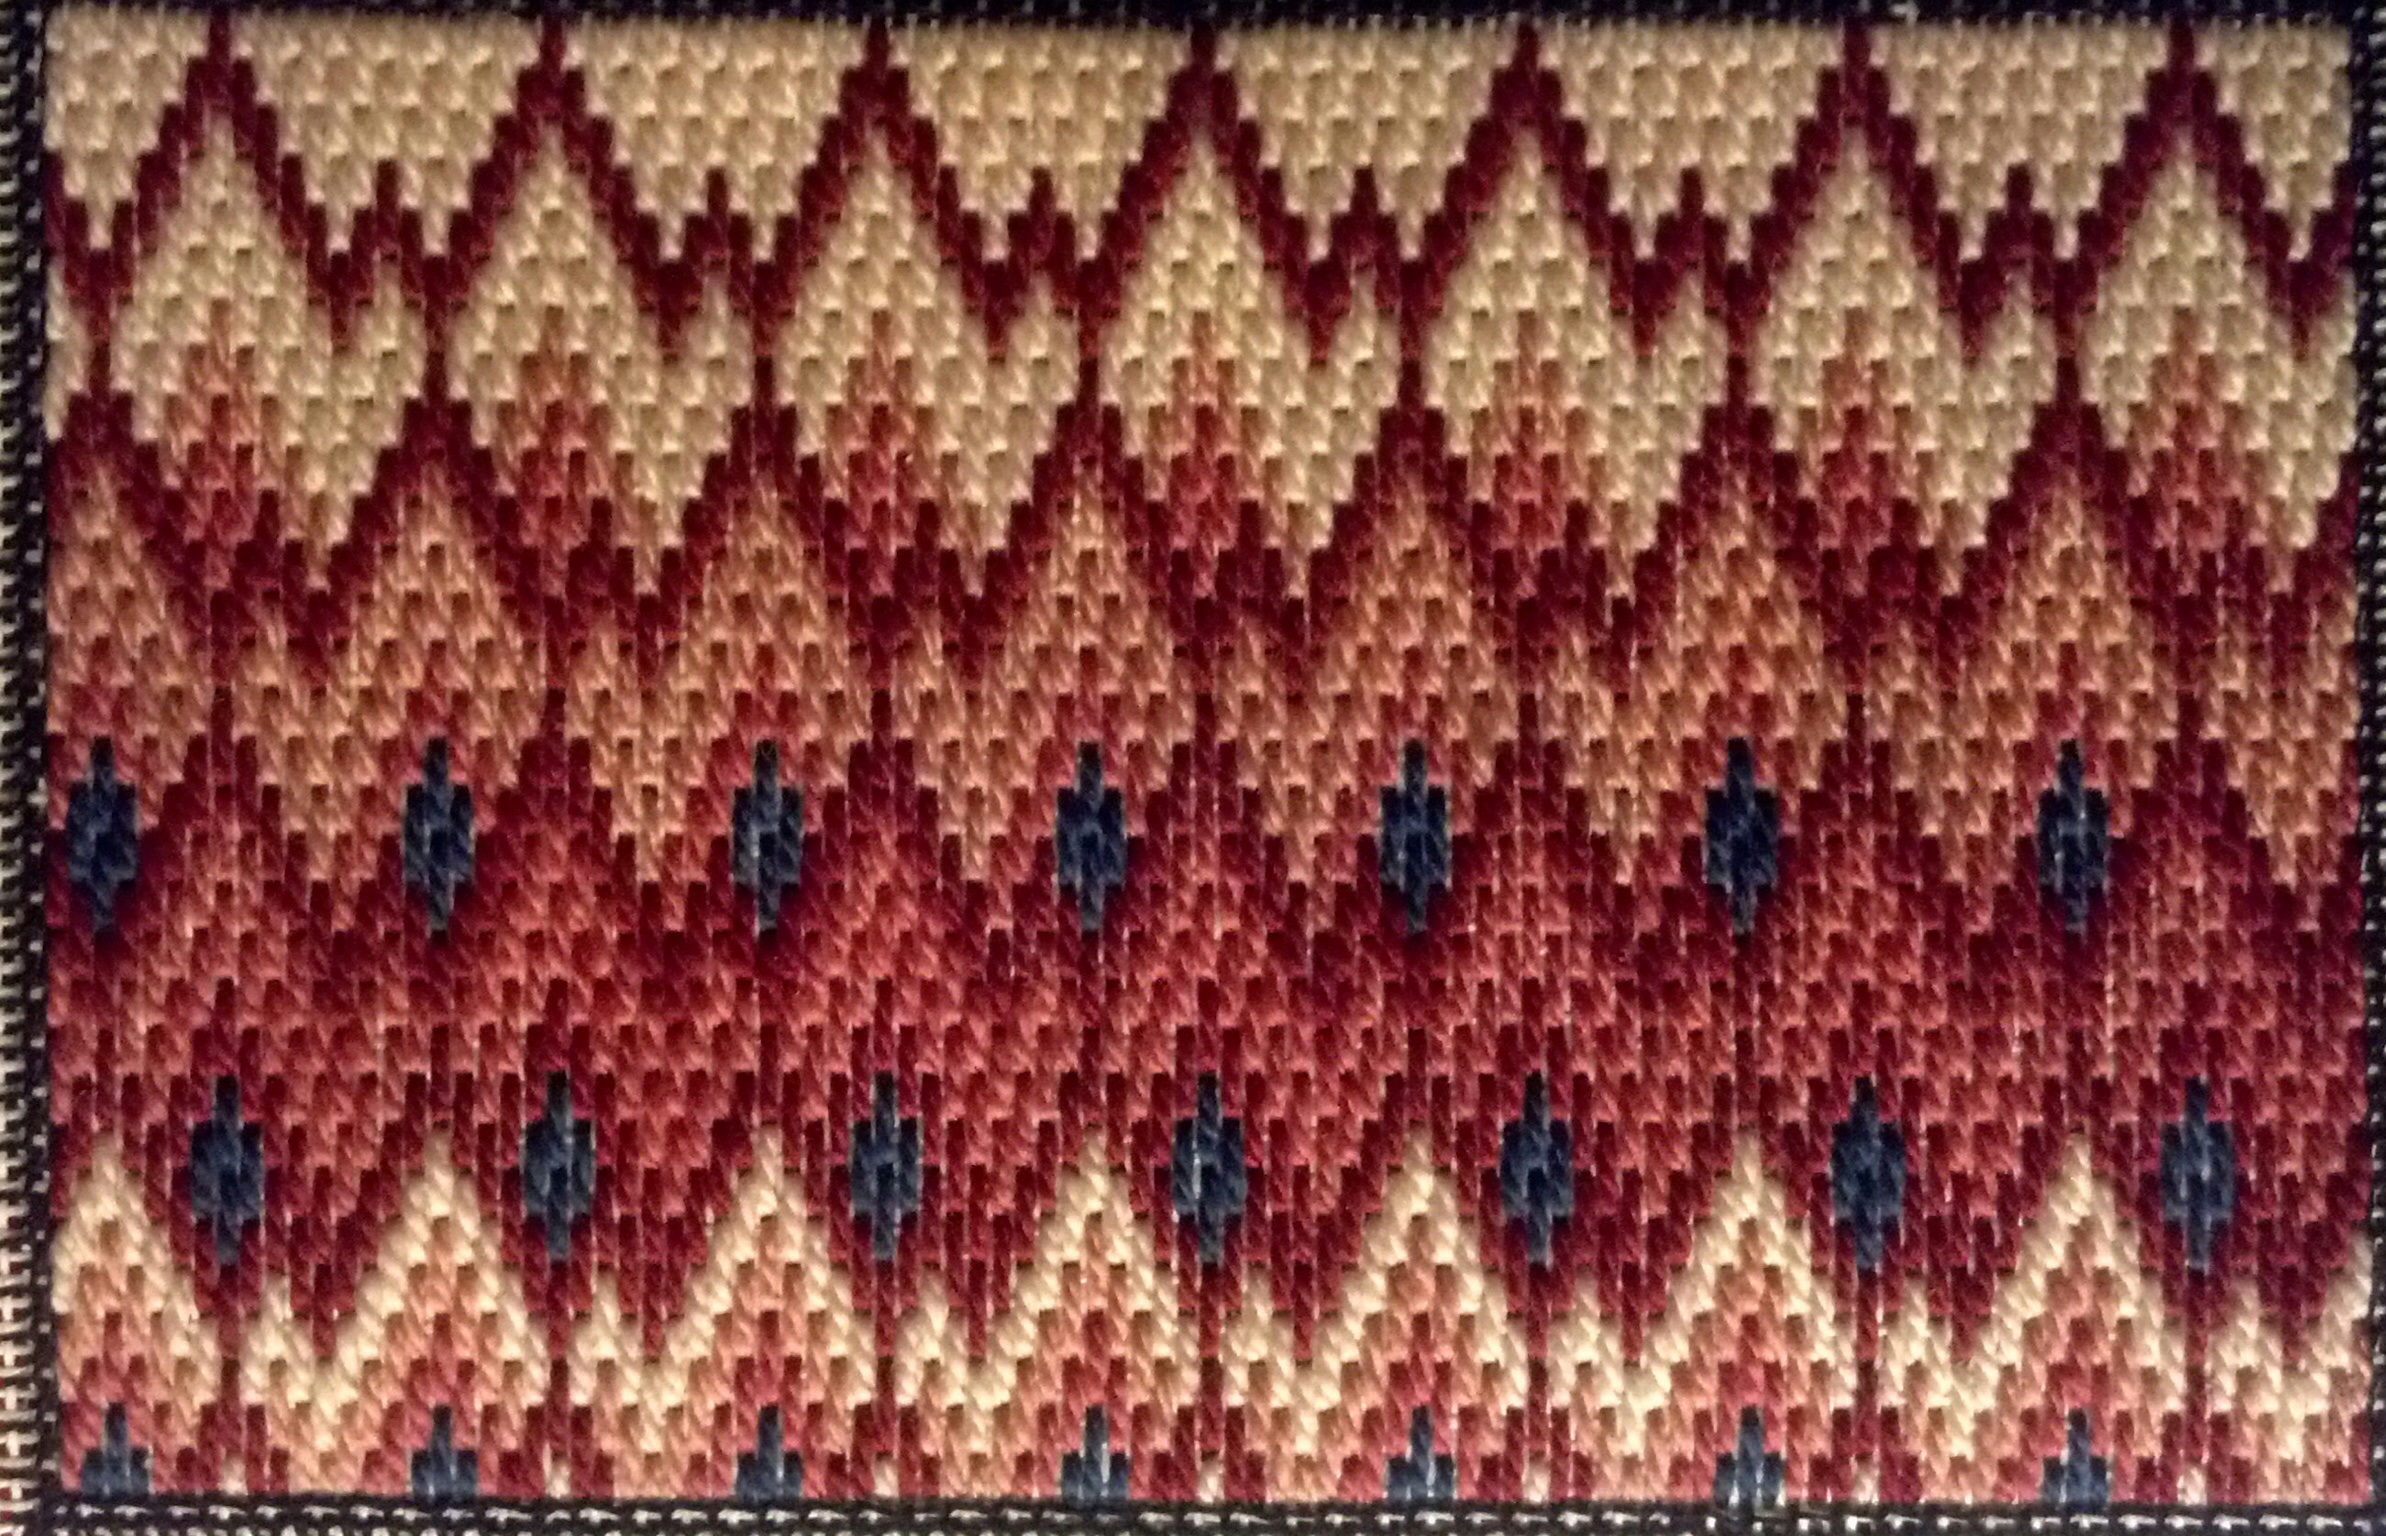
This stitched design used both blues. It works! But, I must say, it happened again. I had a heck of a time following my own pattern. It didn’t help that my color markers were random. But, I finally decided it was better to work the dark red rows along the middle then do the light red above it before tackling the blues.

Liz provided great insights into Bargello. This was a fun project & the booklet will remain a great resource.

I finished the last of the two sections, 3 and 8, to place them in bookends. I enjoyed the project although I did find following the patterns more difficult than I expected probably because I was too distracted by work and by watching TV when I stitched. But, they turned out fine. It certainly wasn’t the instructions from Liz Morrow – they were clear and very detailed. It is a great resource on Bargello. And, I have been inspired to try my own small design now! That’s as much my goal for doing a project – learn & grow.
The pattern had either an M or a W depending on which way I inserted the design. Since I gave these to my husband, Bill aka William, it appears as follows:


I like the collage type frames & decided that these individual pieces would look great in one. And, it saves me a ton of money. Framers do excellent work but they are so expensive.

I still have 2 more square designs to stitch & they will fit in bookends! Yes, I still have more of them (I couldn’t resist the sale).
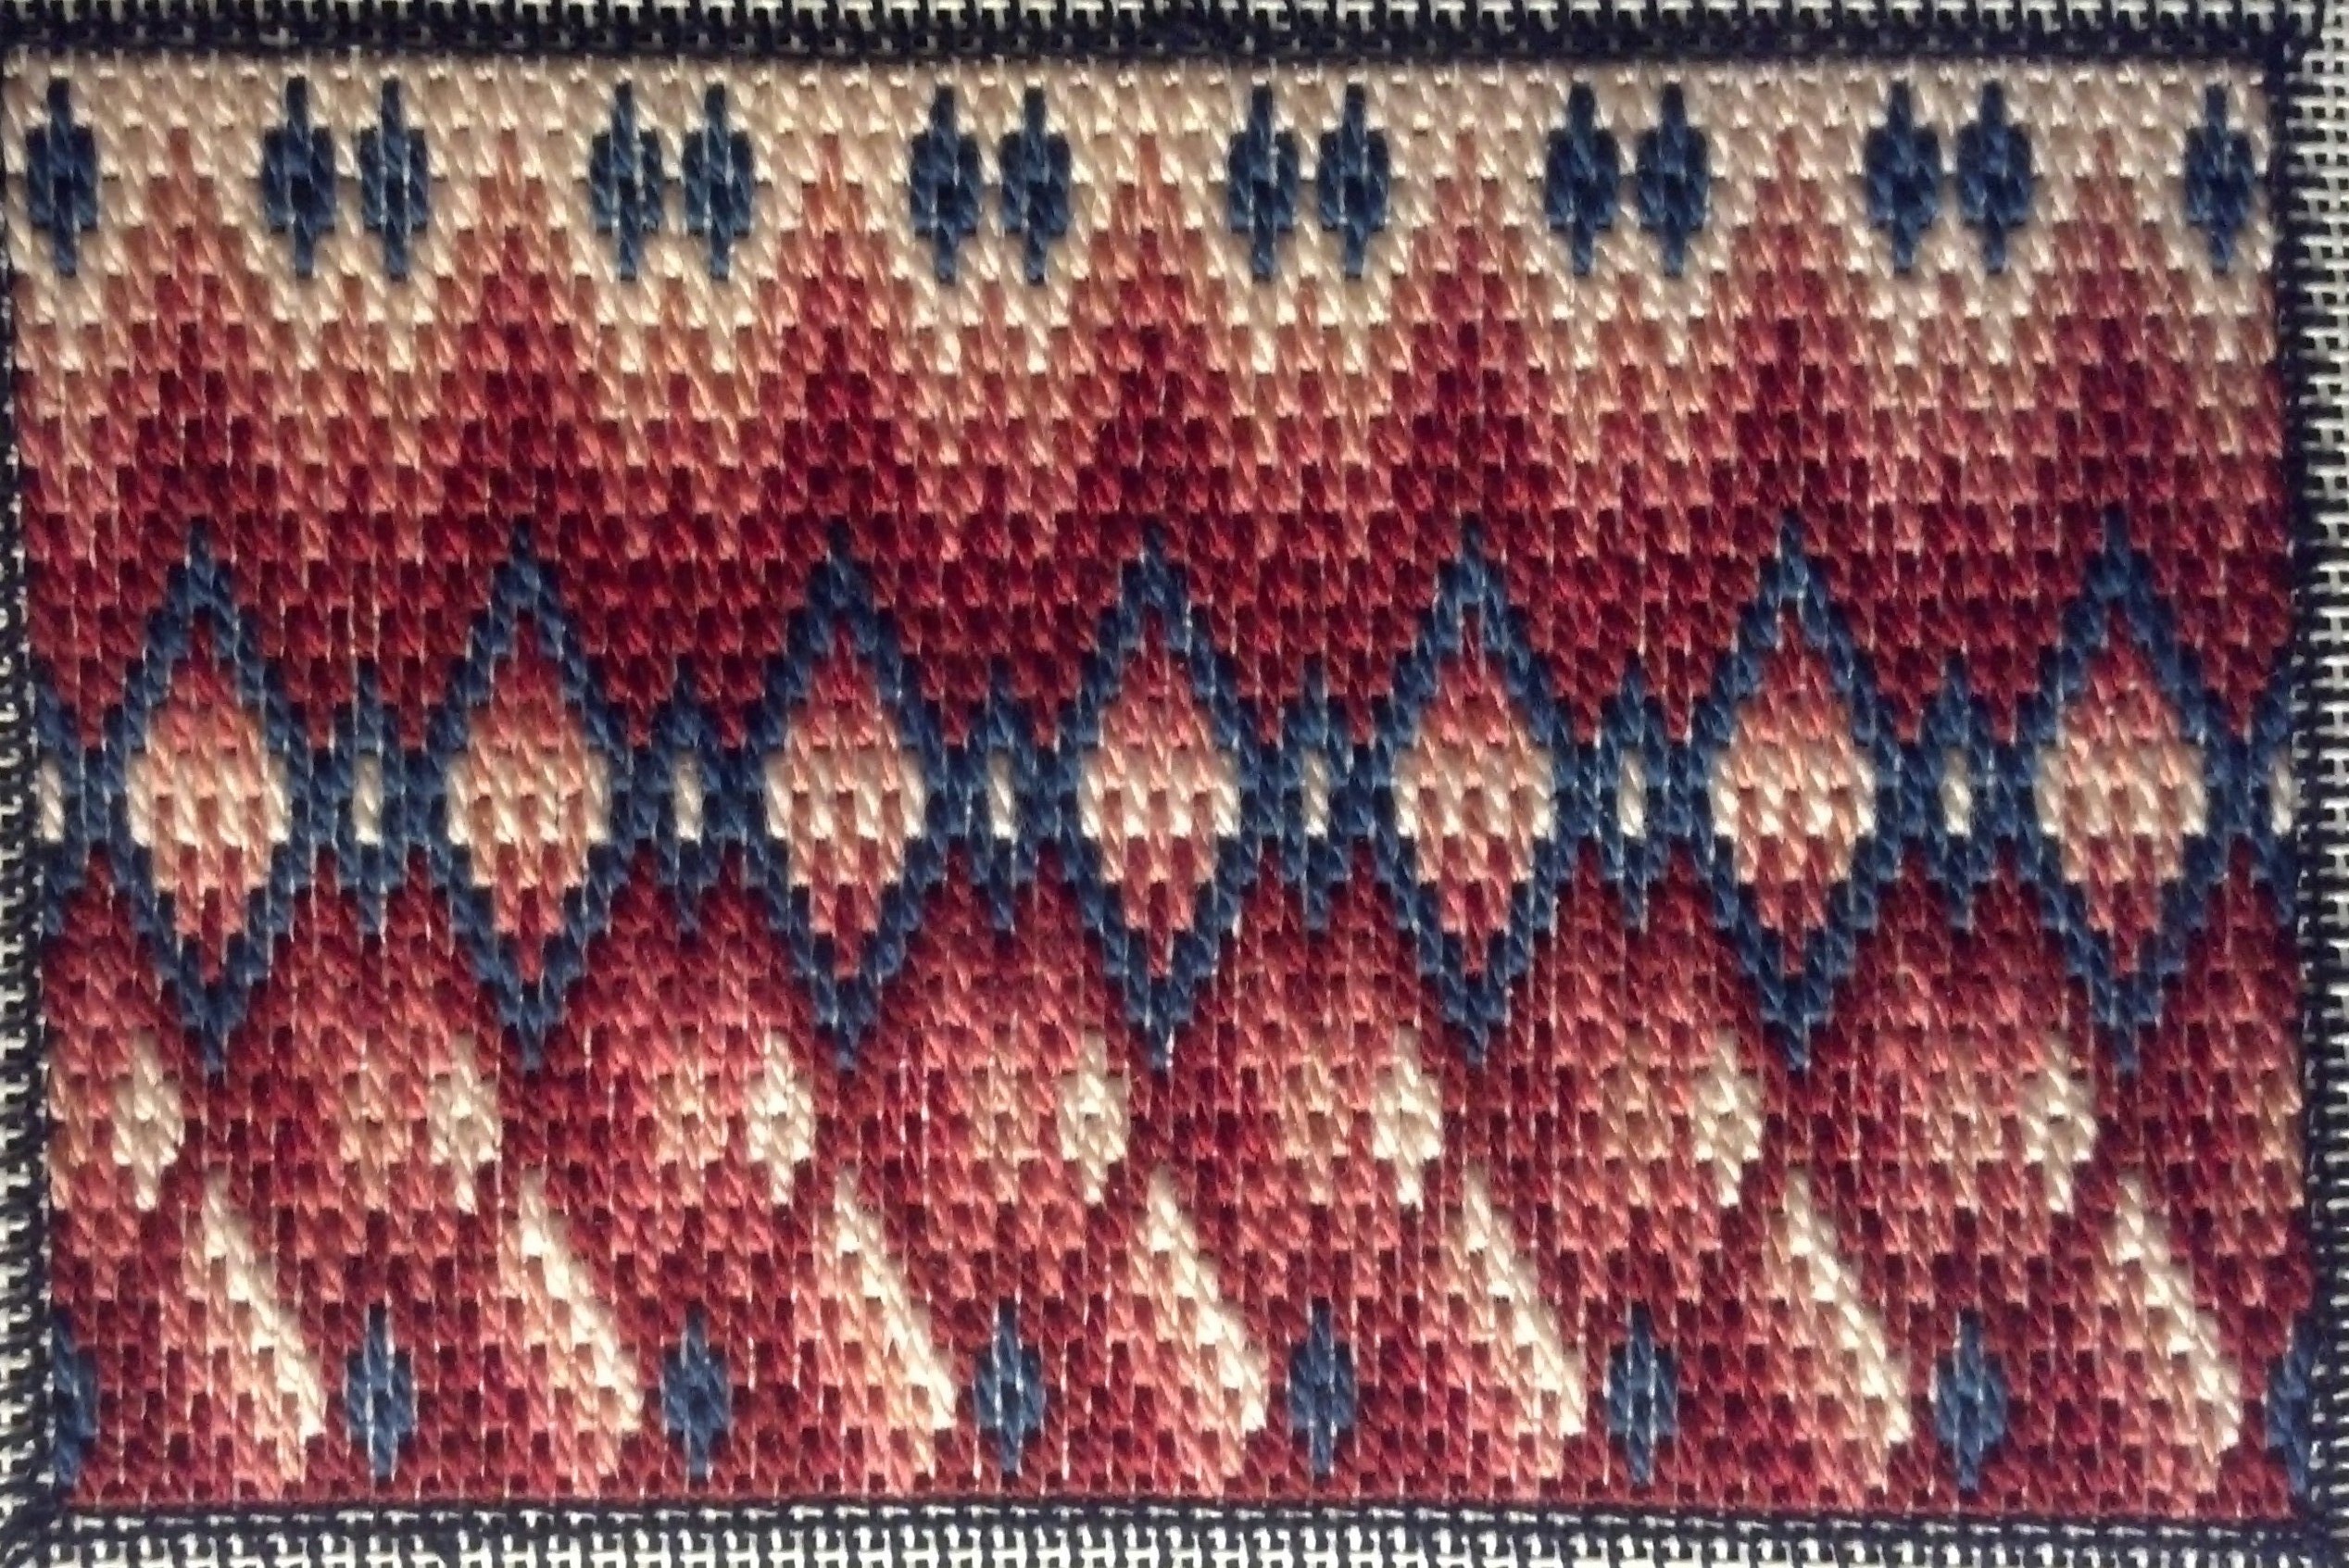
Sections 1 and 5 worked up quickly. Although again, I zoned out on Section 5 when I didn’t make the stitches of row 1 and row 2 the same stitch. But, the pattern is still staggered as it is supposed to be.

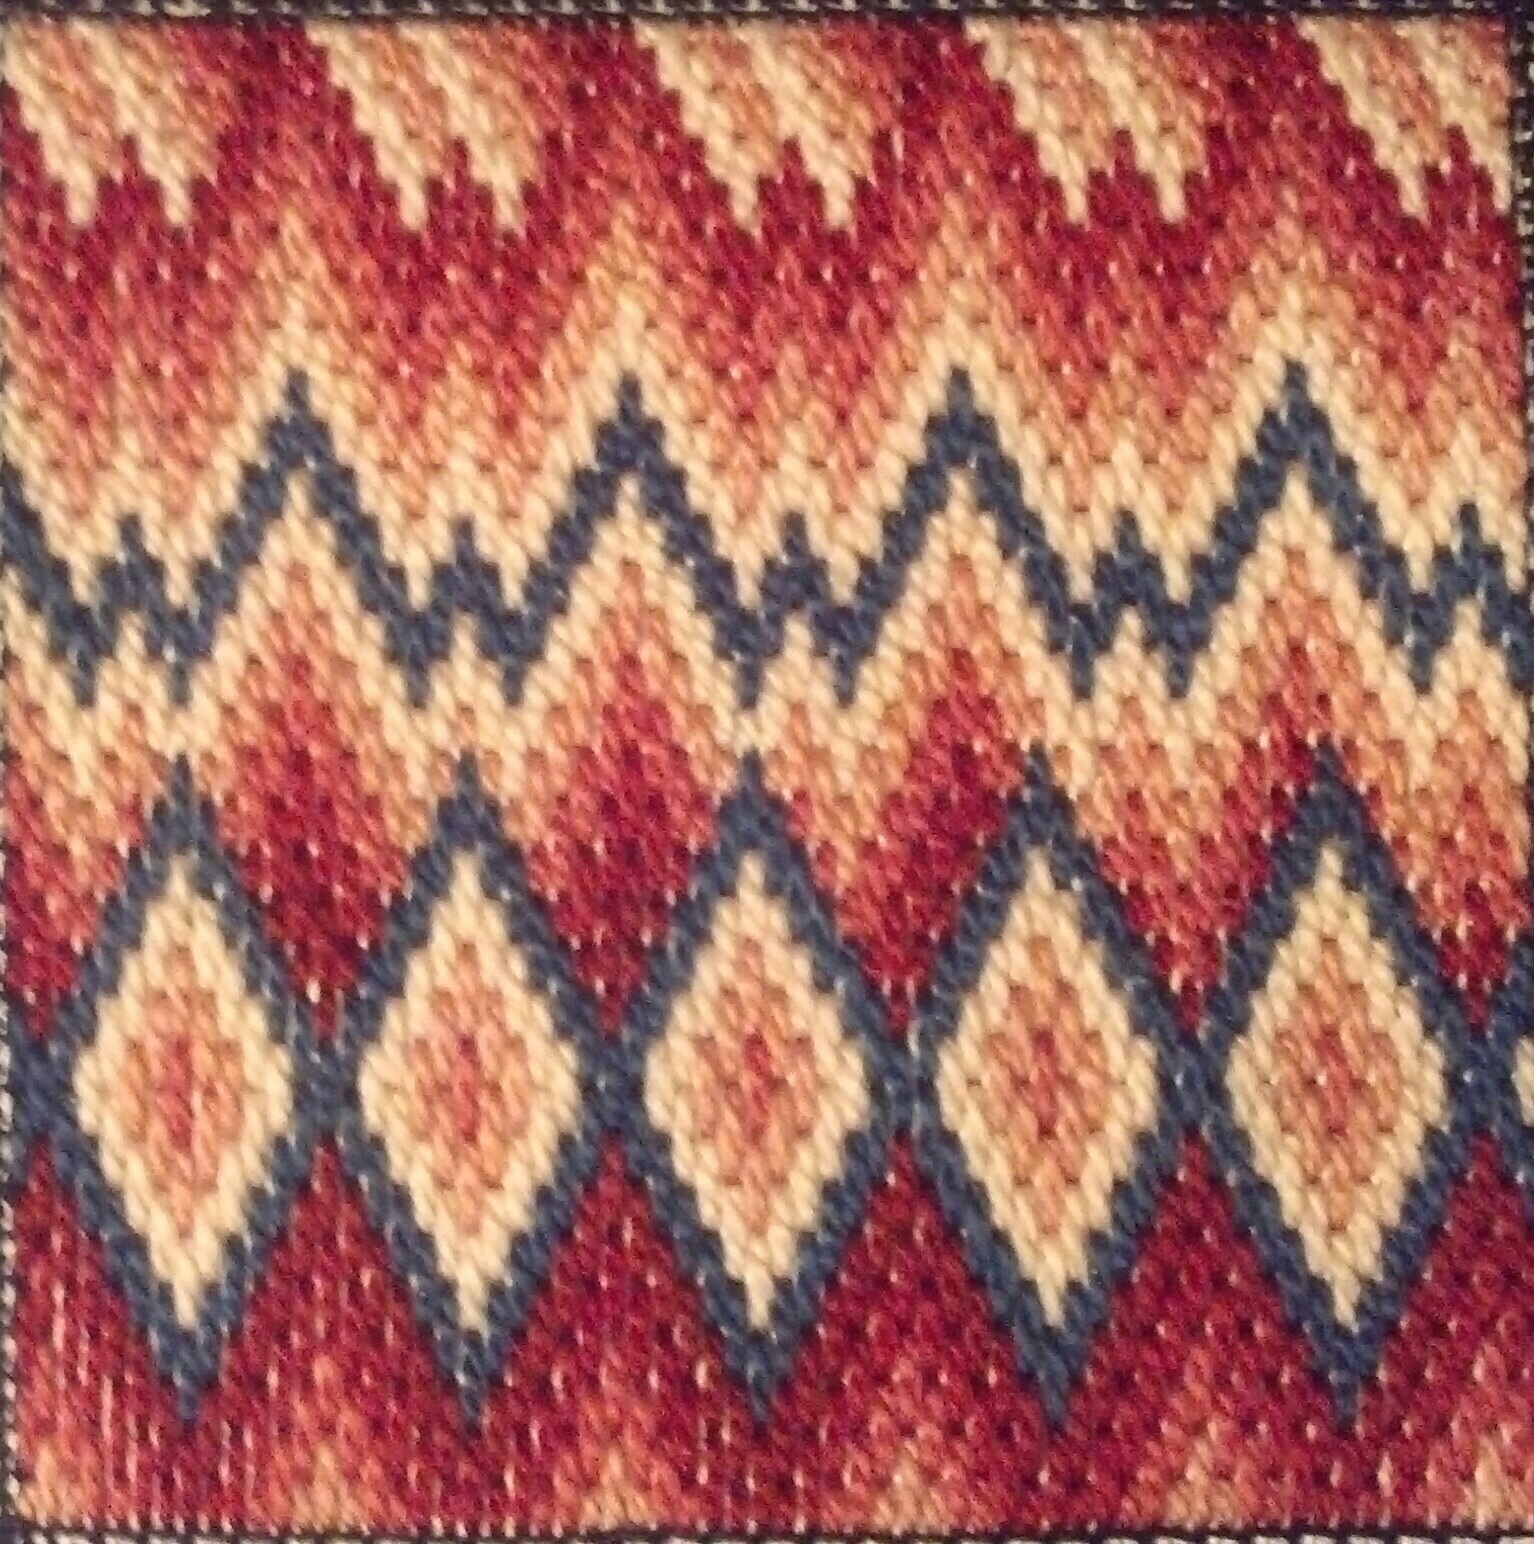
A couple of interesting things happened with this section. Liz’s booklet is very detailed and has great information to help you design. But apparently, I am just not in the right frame of mind to be following written instructions because I just realized that this was to teach a mirror image pattern. I read these directions when I started the section 2 weeks ago but once I got to the right side and read, “Feel free to do your own thing here!” – I sure did. It couldn’t be further from a mirror image.
And, when I filled the center diamond, I thought this pattern was fine.

I was stitching is horizontally & it seemed ok.
But, when I rotated it left as it is supposed to be displayed, it looked terrible! The white stripe just popped right out & it became all I could see.

So, I had to carefully remove the white in the center diamonds. But, I liked the white, single stitch. Then, I replaced it with the darker thread used on the top & bottom stitch of the center diamond. And, now I am happier.

While I didn’t capture the spirit of the “mirror” image, I do like pattern on the right. I find it interesting that I do like this patter because I usually prefer symmetrical patterns but this is not symmetrical.

And, I’m not sure why but I think I like it better horizontally than vertically. What do you think?

I just thought that maybe this is linked to something I haven’t read about yet. So, I just flipped through the remaining chapters. I see that Section 5 is about staggered patterns and Section 8 is about overlapping patterns. I am quite sure this is an example of overlapping patterns. It has three parts unless the very top counts as a fourth. Even though the top has some denser red, it doesn’t seem heavier than the bottom probably because of the very top white area.
Filed under: A Berlin Work Cardinal with Susan Hoekstra, ANG Correspondence Courses, Bargello Techniques by Liz Morrow, New Jersey Needle Festival
I can’t believe it has been 3 weeks since I stitched enough to blog about it! I put work & all obligations aside today to go to Susan Hoekstra’s New Jersey Needle Fest and had a great time. Thanks to Rona & Mary for asking to put at the same table with me – nice to sit with them again this year.
I had begun my Crescent River there last year & that is finished now. So, I took that & got lots of nice compliments on it. And, Susan showed off the Berlin Cardinal (her design) which I had stitched and had the Nimble Needle finisher do as a pillow. That is the pilot class our chapter did for her so she could be ready to teach it at seminar.
Bargello Techniques was a great project to take because it is a small project & worked in hand (the way I am doing it, section by section) – no need for a stand, etc. ! I had started it before I got there & when I wasn’t walking around looking at all the wonderful projects (another sold out event & that is 120 people), I was stitching this section. Vendors had some pretty things but I have so many WIP or ones I want to start that I resisted buying anything.
When I got home, I kept stitching & finished it (slightly bleary eyed). But, I am thrilled to be able to share Section 2 (adjusted to fit my space). Thanks Liz for saying, “If you don’t come out exactly the same, that’s OK! Just continue your pattern & fill in to the bottom.”
You’ll also see a needle in this picture because Mary gave me one her new favorite needles – an edmar gold-eyed needle – that is smoother to the touch than other needles and slides through the canvas. Very nice needles. But, you may not find any because Mary & especially Rona must have bought the store out! Thanks again for sharing them!

Filed under: ANG Correspondence Courses, ANG CyberPointer's Chapter, Bargello Techniques by Liz Morrow
I have got 2 of the blocks done. One is a square and the other a rectangle. Both are four-way designs. The rectangle had to be shortened which allowed me to figure out how to fit the design into the space I had available. I think it worked out well. As Liz says, “Be creative! Do your own thing!”


Filed under: ANG Correspondence Courses, ANG CyberPointer's Chapter, Bargello Techniques by Liz Morrow
There is one more Bargello piece I have been wanting to work on & that is Bargello Techniques by Liz Morrow. It is an ANG Correspondence Course (http://www.needlepoint.org/CorrClasses/classes/bargello-techniques.php) that the CyberPointer’s chapter selected as a project. I am looking forward to learning the techniques behind Bargello which is what Liz describes in her very detailed booklet. It will be a wonderful resource to keep on hand for future projects.
The threads were selected in Arizona during our Christmas vacation while at Old Town Needlework. After seeing Frank Lloyd Wright’s Taliesin West, I decided I wanted to have as close to Cherokee Red in the piece as I could get. So, I selected reds as my main color and went with blues as the contrasting color. I got a light and dark blue in case I want to mix it up a tad. Because, as usual, I am not going to stitch it exactly as pictured. I have a black collage frame that I have been wanting to use. That won’t take up less wall space but will be a different type of finishing than I’ve done before. Black will look good with the reds. I remember reading that you should know where you are going to finish before you begin. Tonight I began my adventure!
I decided on Vineyard Merino (from left to right):
Dark blue/Polo blue #M1210
Medium blue/Gentlemen’s grey #M1209
Darkest red/Sangria #M1135
Dark medium red/Brick red #M1019
Medium red/Quartz #M1017
Light medium red/English rose #M1016
Lightest red/Conch #M1136

Filed under: ANG Correspondence Courses, ANG CyberPointer's Chapter, Bargello Techniques by Liz Morrow
Here are all the sample stitches put together. Only the Silk n’ Ivory, Vineyard Merino (Wiltex Threads), and Planet Earth Silk have sufficient coverage for Bargello. Of those, the Vineyard Merino seems to cover just slightly more at the point of the holes. The other 2 provide just about identical coverage. The remaining 5 threads just don’t cover well enough unless you untwist the thread as Liz suggested but I didn’t try that.
Row 1: ThreadworX Vineyard Silk – ThreadworX Expressions
Row 2: Silk n’ Ivory – Pepper Pot
Row 3: Shepherd’s Silk – Vineyard Merino
Row 4: Vineyard Silk – Planet Earth Silk
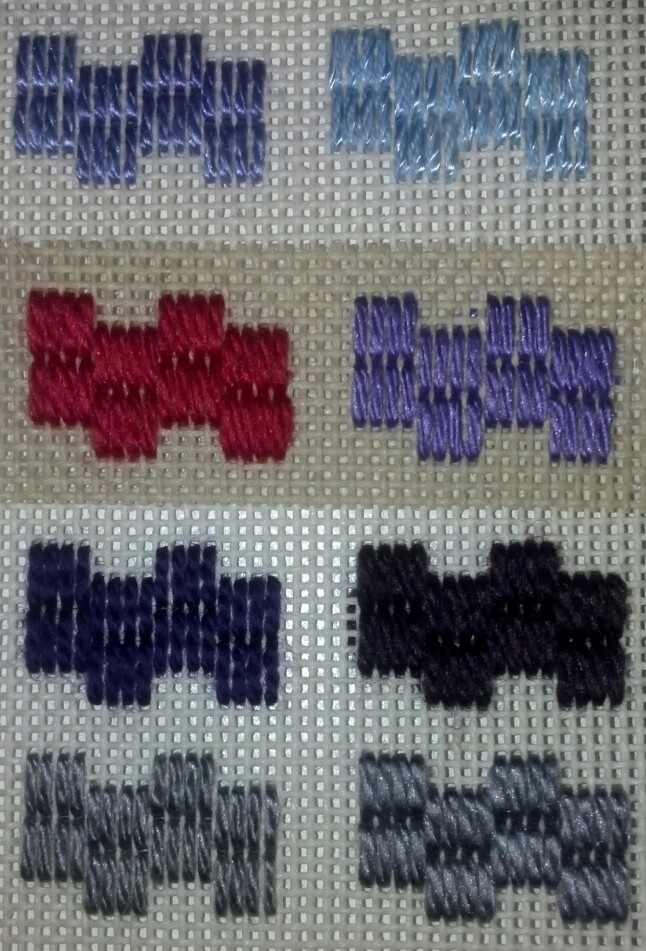
TIP: I read in an ANG Yahoo message that if you thread Silk n’ Ivory one way it pills. If you thread it the other way it doesn’t. You take each end and twist it in your hand. Then, thread the end that splays more into the needle’s eye. I’ll have to try this!
Postscript: Liz has since done a comparison of more threads that is fantastic: http://lizartblog.blogspot.com/2015/11/bargello-threads.html and we both agree Silk n’ Ivory has sufficient coverage but Liz feels Vineyard Merino (Wiltex Threads) is marginal and she didn’t review Planet Earth Silk. And, I didn’t review Jumbuck (Dinky Dyes). Additional information is at https://www.lizartneedlepoint.com/working-with-bargello.html#/
