Sue S and Kathy A got us primed for next month’s penny rug project by having us work on these hearts. The materials supplied were precut felt heart shapes, floss, batting, and a button. The buttonhole stitch allowed most of us to finish prior to lunch. I attached the loop to the batting before closing the two sides.

Unfortunately, I will miss next month’s project.
Filed under: Daisy Delight Box with Mary Alice Sinton, Embroidery Guild of America, Fauquier County Chapter
Since the Daisy Delight Box by Mary Alice Sinton was working up so quickly and was such fun to watch develop, I kept on going.
Here’s the background done.
And, finishing was easy enough as the lid is padded and pops out of the box top. I did an inner (not pictured) and outer running stitch (seen in the upper right and lower left corners) to gather the fabric underneath. A little lacing to really secure it. Then, it popped right into the lid with the beaded circle falling in exactly the correct place around the lid. No glue needed.
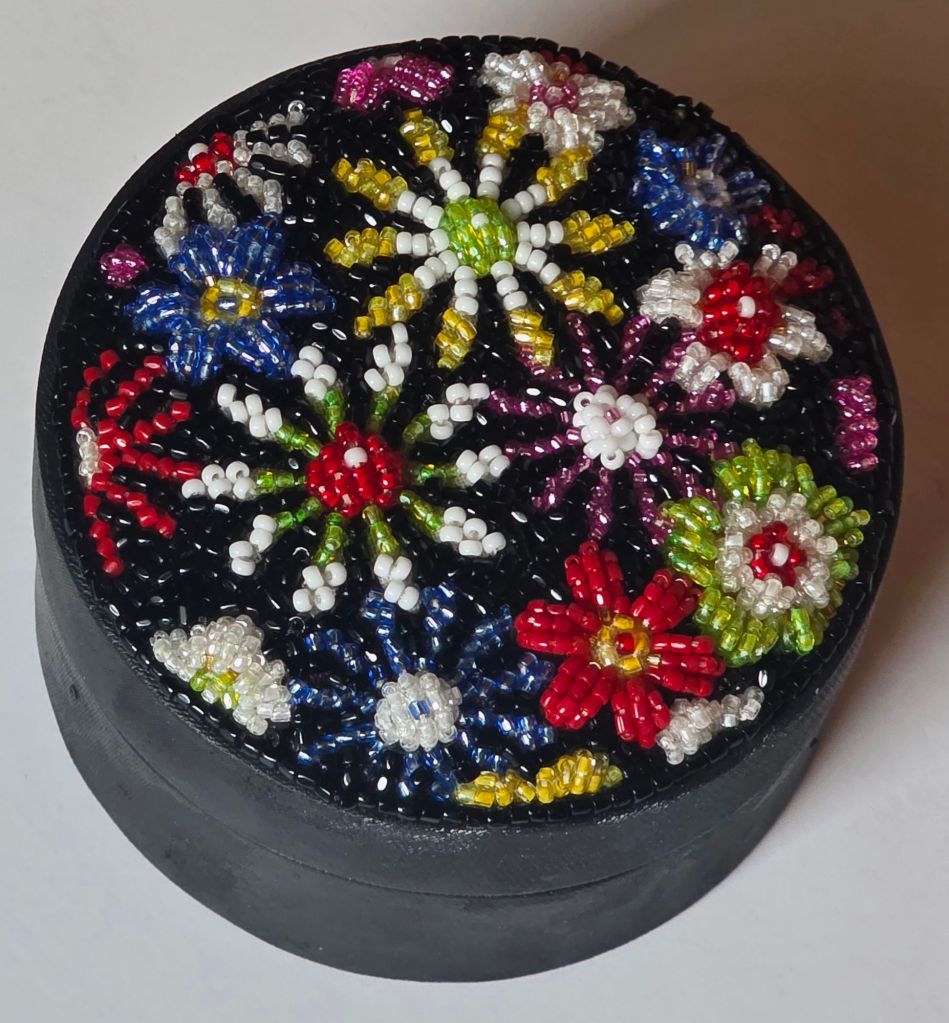

Love it!!
Filed under: Daisy Delight Box with Mary Alice Sinton, Embroidery Guild of America, Fauquier County Chapter
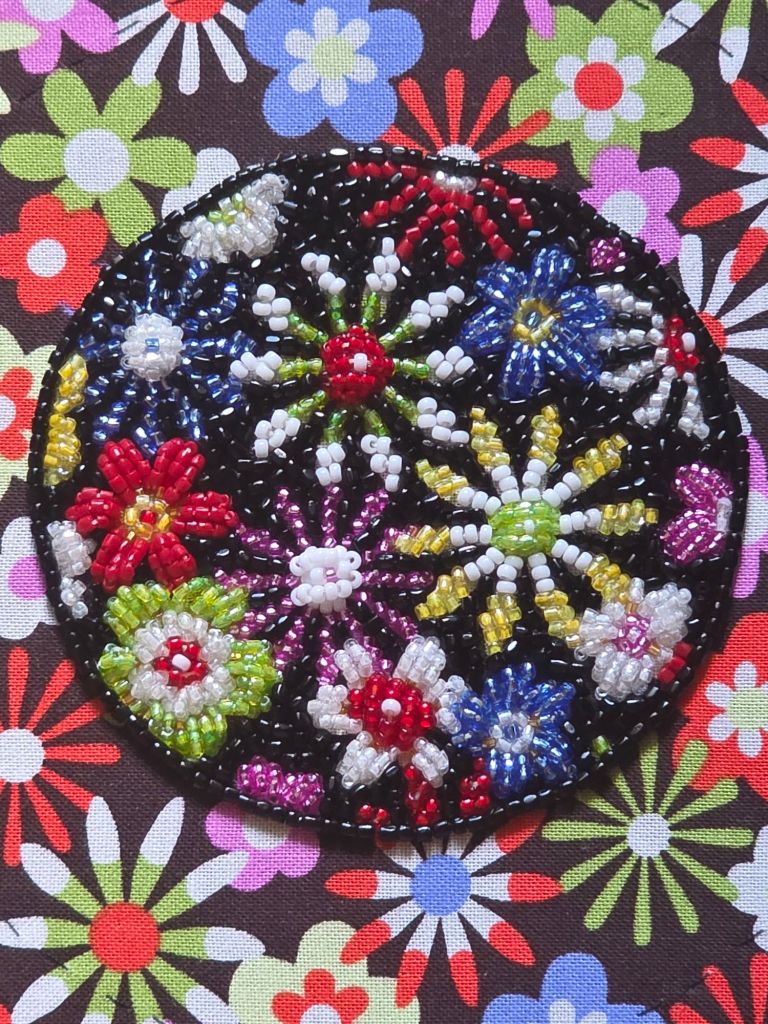
After saying that I needed to lighten up on the beads, I didn’t. The blue/white and white/red in the right are loaded!
The pointed tip thin petal pink/white flower is less believe it or not. You can see fabric showing through the beads on the petals. The center is supposed to be padded. The white and the contrast to the skinny petals makes it looks bigger.
I like the flowers looking like they are in full bloom. So, only the pointed tip thin petals flowers are lighter.
Since this is working up quickly and is such fun to watch bloom, I am going all the way to completion.
Next up is background and finishing.
Filed under: Embroidery Guild of America, Mid-Atlantic Region, Nature's Palette THaP - Catherine Jordan
Catherine Jordan led Nature’s Palette a few years ago at an EGA Mid-Atlantic Region meeting (https://melitastitches4fun.com/2022/09/17/thap-class-blackwork-on-natures-palette/). Catherine let us take extra leaves she had painted (acrylic paints). When I went to the two Guilds (I was so busy there are no pictures from either class), I had more fun painting the leaves than stitching them (https://melitastitches4fun.com/2022/11/02/painted-magnolia-leaves/). Catherine had given us a reversible blackwork pattern that was way above my pay grade.
Finally, I finished my second leaf which is just a grid and the third leaf has one small motif used in the first leaf.

It does make me happy to finish this. I glued (E6000) wooden dowels onto the back of each leaf and placed them in a vase for fall decor.

Filed under: Daisy Delight Box with Mary Alice Sinton, Embroidery Guild of America, Fauquier County Chapter
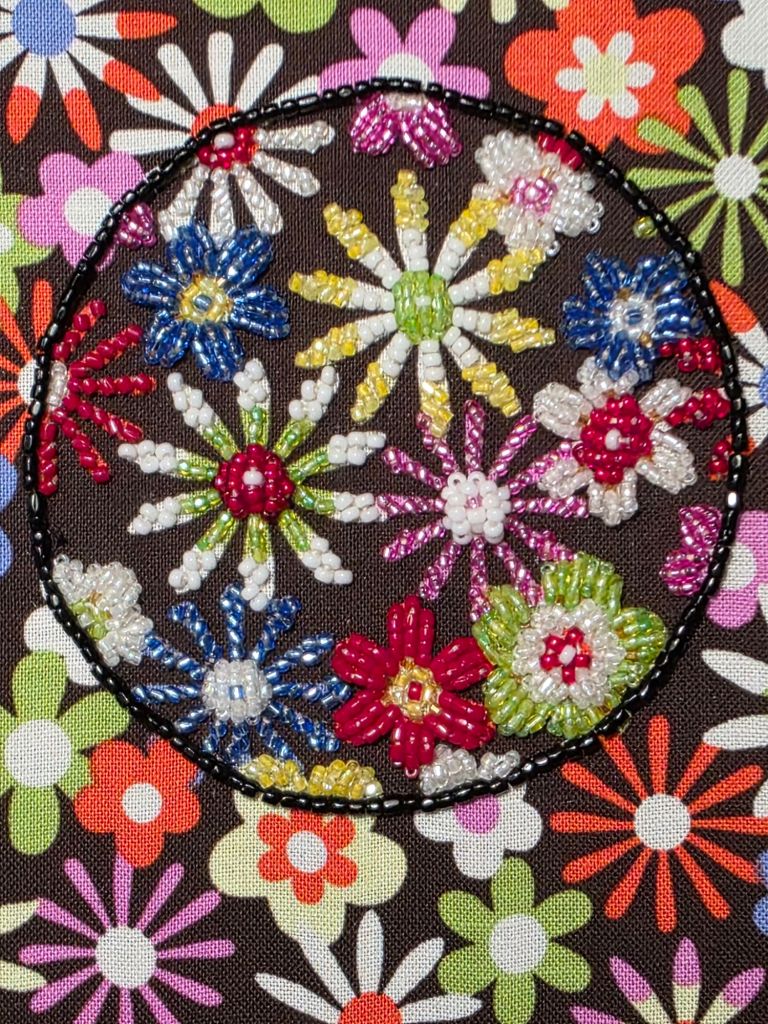
It’s not a race! That what Mary Alice Sinton told us when she showed the progress on another student’s Daisy Delight Box during the afternoon session. Good thing because I felt like I was all thumbs in the morning especially using the Koma but I think what I did by the end of class looks good. I understand how to use the Koma and just need to focus.
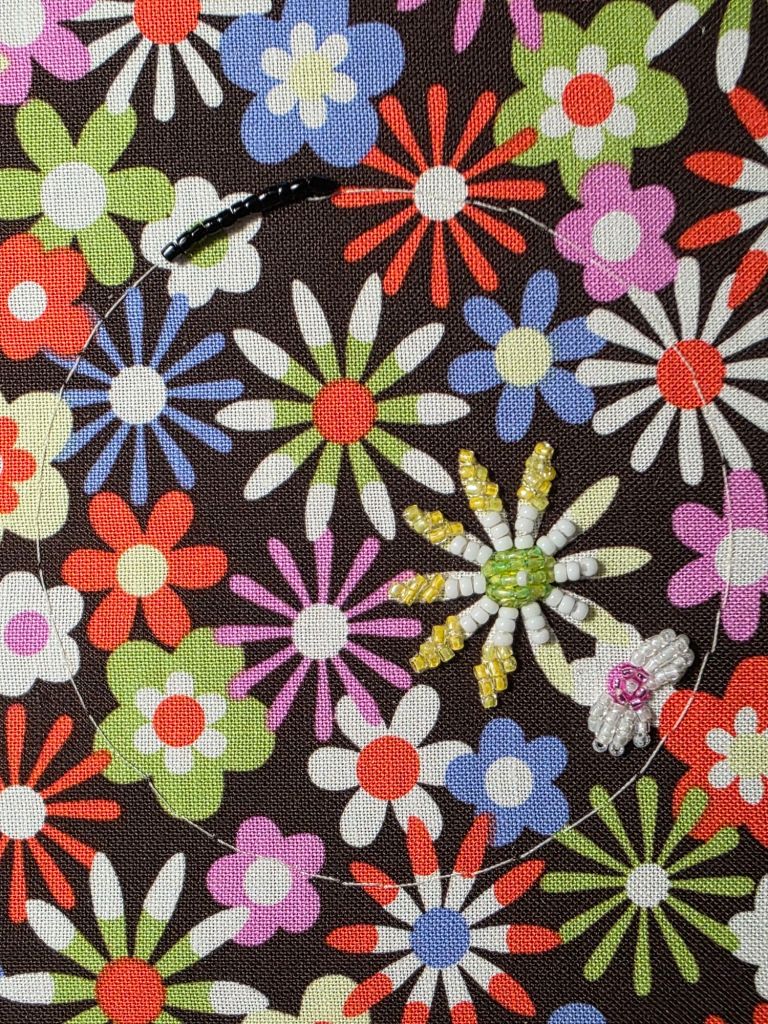
Mary Alice’s critique was that I don’t need to cram the beads together to cover all the fabric. So, I will continue on these flowers as I started but will adjust going forward.
First, I needed to finish the border of black tri-cut beads. I do love the Koma for couching beads! It took some practice and getting used it but as I neared the end, I would have liked to have more to do! The flowers don’t need the Koma.

Filed under: Daisy Delight Box with Mary Alice Sinton, Embroidery Guild of America, Fauquier County Chapter
Monday’s Zoom class (10 am – 5 pm) is Daisy Delight Box with Mary Alice Sinton sponsored by the EGA Fauquier County Chapter. It’s been awhile since doing an all day Zoom class but it looks like it’s going to be fun. This was not one of my 2025 goals but I wanted to try this entry-level piece of Japanese Bead Embroidery and there is nobody better to teach it than Mary Alice.
Ample materials have been supplied. The satin round box is also called a Minaudiere. The lovely floral 100% cotton fabric is called Flowers Aplenty by Michel Miller. The beads are a variety of Tri-cut and Seed beads (looks like way too many for the 3″ diameter round top). There are 2 sizes of Japanese needles (really tiny things-no extras-so I must not lose them), needle threader (a must have), and Gutermann threads. I’m guessing the brown felt is a mini bead tray (under the 2 spools of thread). I purchased (extra) the Japanese Beading Koma made by her husband John (wooden spool with a black band wrapped around it tightly) although Mary Alice will teach the class in a manner that doesn’t require using it since the sponsoring chapter wanted to keep costs down. But, I want to give it a try.

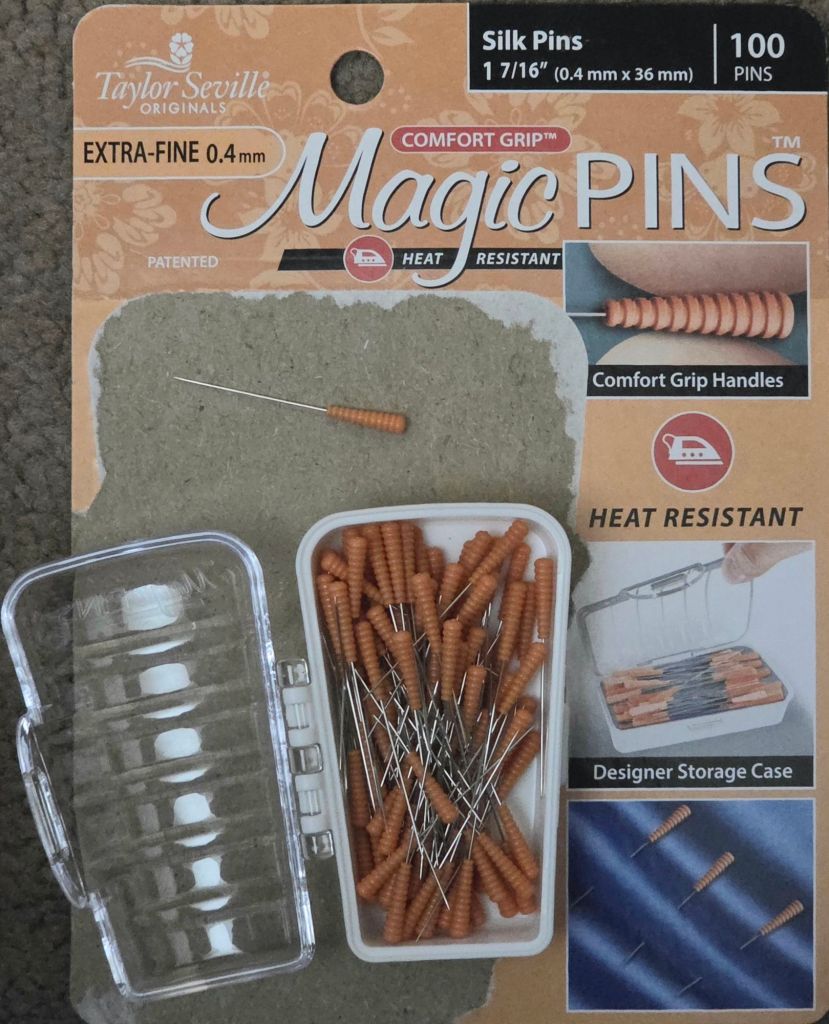
Not having Joann’s anymore or quilt shops near me has me relying on Michael’s but their online inventory let me down for silk pins. The silk pins are supposed to be very fine so as not to leave holes in the fabric when pinning through it. So, I ordered these on Friday and had them on Sunday. These are extra fine at 0.4 mm and I like the comfort grip feature. Cute storage case too.
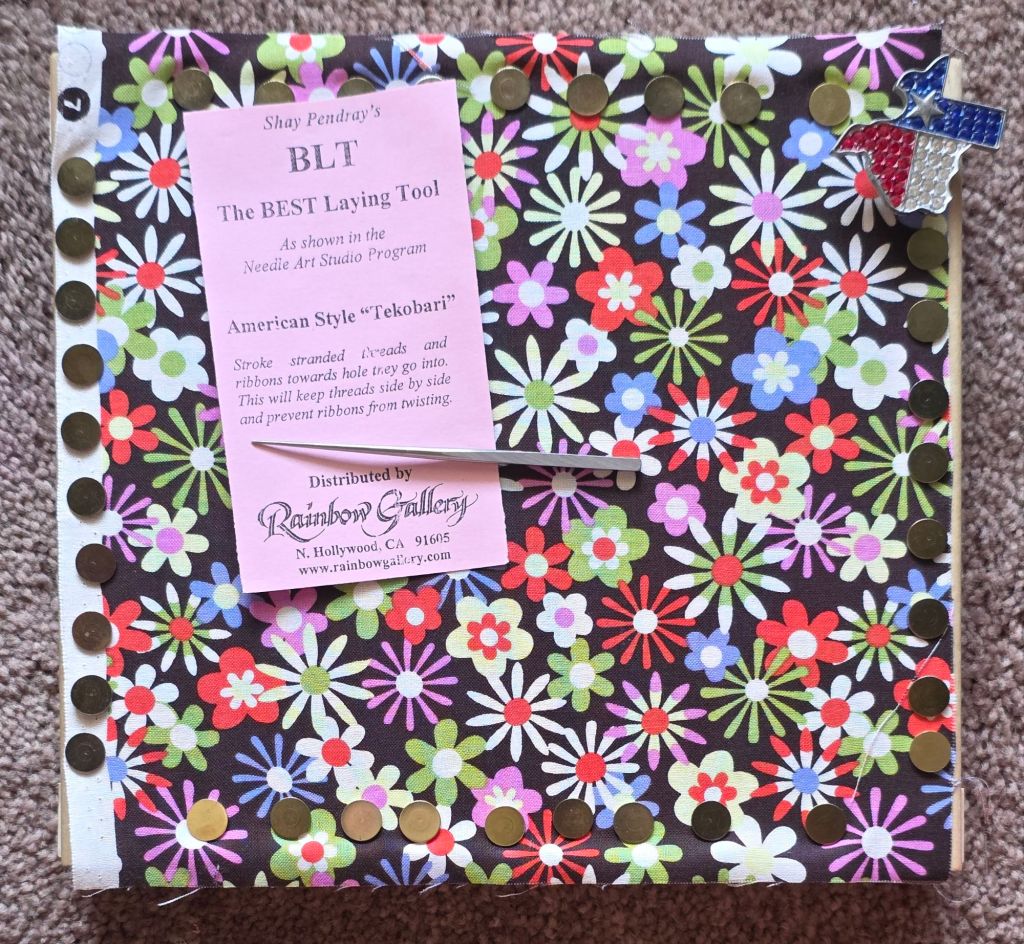
I don’t have an awl or a real Tekobari tool but I was able to find my BEST Laying Tool (in my 3rd tool tote not counting my travel tool kit). Inquiring minds might ask why 3? Stuff I use very often, is in a bag within arm’s reach next to my stitching chair. Stuff I need often enough is a short walk away from my stitching chair in a lovely tool tote that Linda made. And, stuff I rarely use is my 3rd tool tote in the basement. I prefer my fancy trolley tool for laying threads at home and the standard Trolley Tool for travel. My fancy laying tool is not even in one those totes just mentioned. That is in my Ort Box with a Twist which is next to a large coffee cup (thanks again Linda) on the top of the table within arm’s reach of my stitching chair! My happy place.

I’ve read the directions several times, placed the fabric on Evertites (very taut), placed my Texas Lone Star needle minder on the frame, and am ready for class! Mary Alice has such clear instructions that I’m resisting the urge to baste the outline and create the border using the Vertical Horizontal Technique.
Filed under: Brandywine Chapter, Cross Stitch and Beyond by JoAnne Westerhaus, Embroidery Guild of America
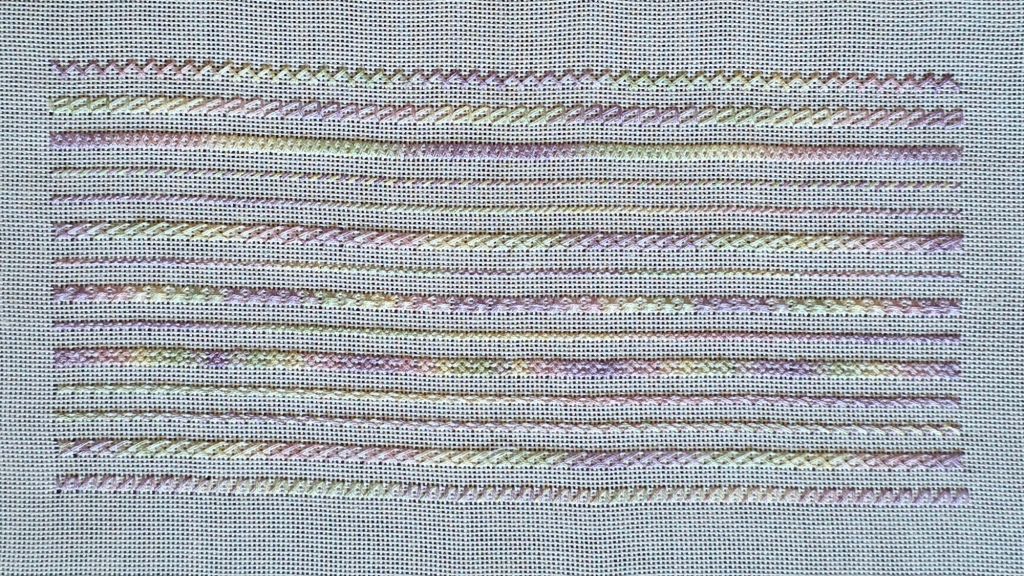
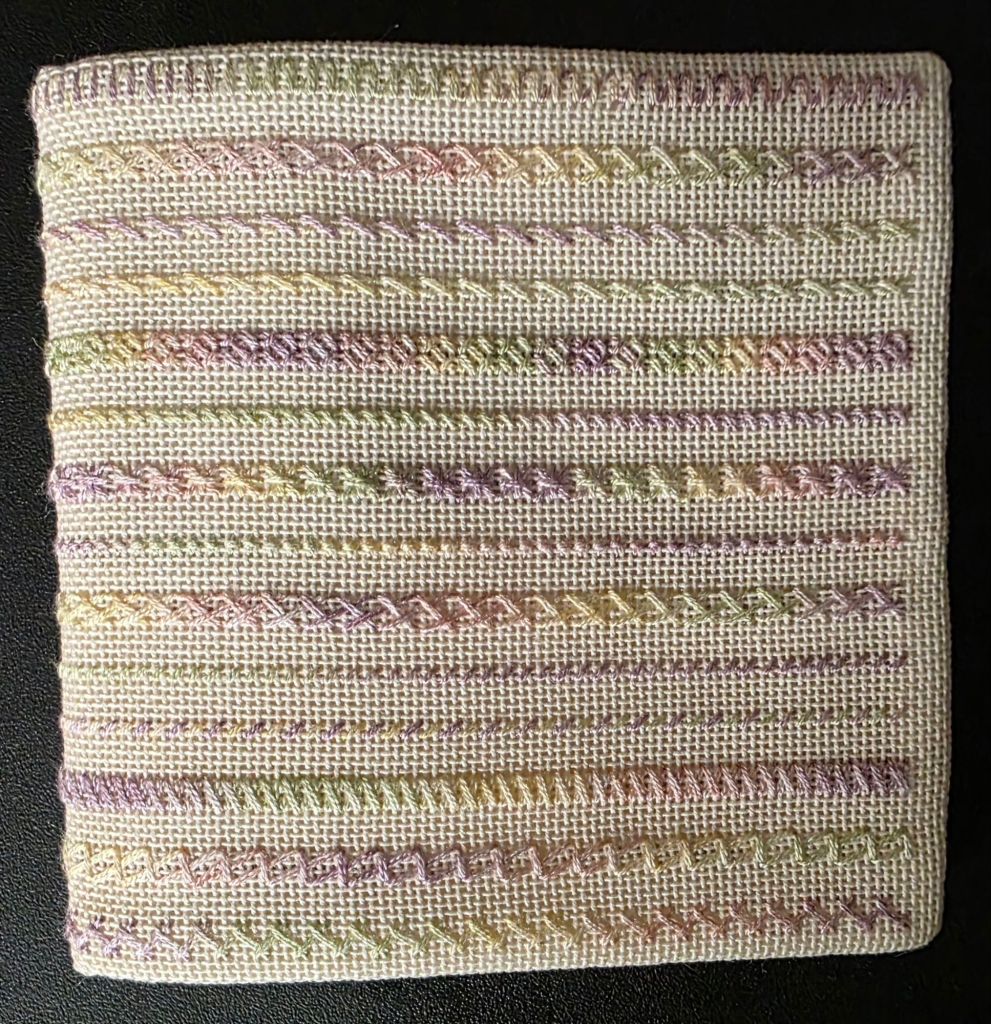
I’d picked up Cross Stitch and Beyond by JoAnne Westerhaus (with some additional rows) off and on over the last couple of months.
EGA Brandywine Guild held our Quarterly meeting last Wednesday and I stitched rows 9 and 10 there and finished it during the baseball playoff games. I have stitched the Montenegrin stitch (row 13) before but have done it differently.
Then, I finished it into a thread bed. That is a place to lay to rest some working threads until you need them again while working on a project. Patrick made his into a thread bed and it looked like a great idea and useful.
I make up my finishing as I go and use what supplies I have on hand. This is just for me!
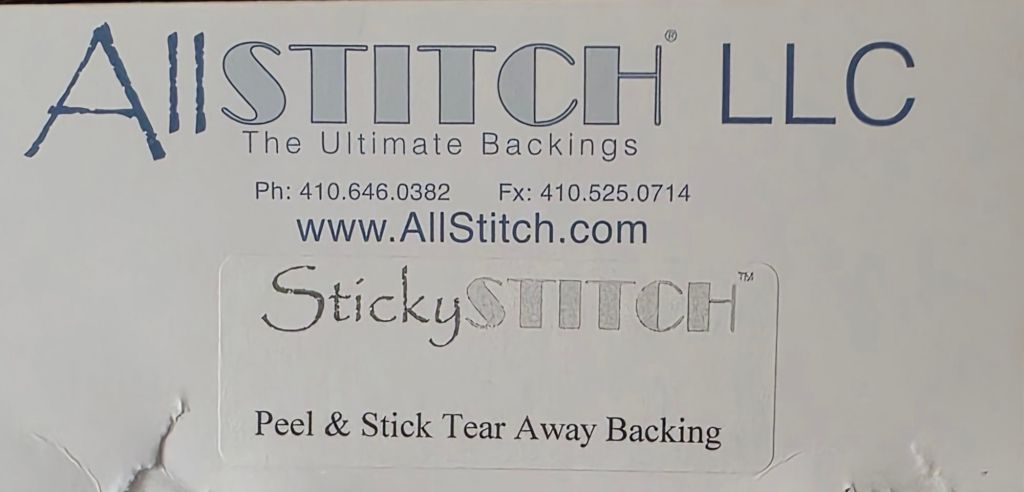
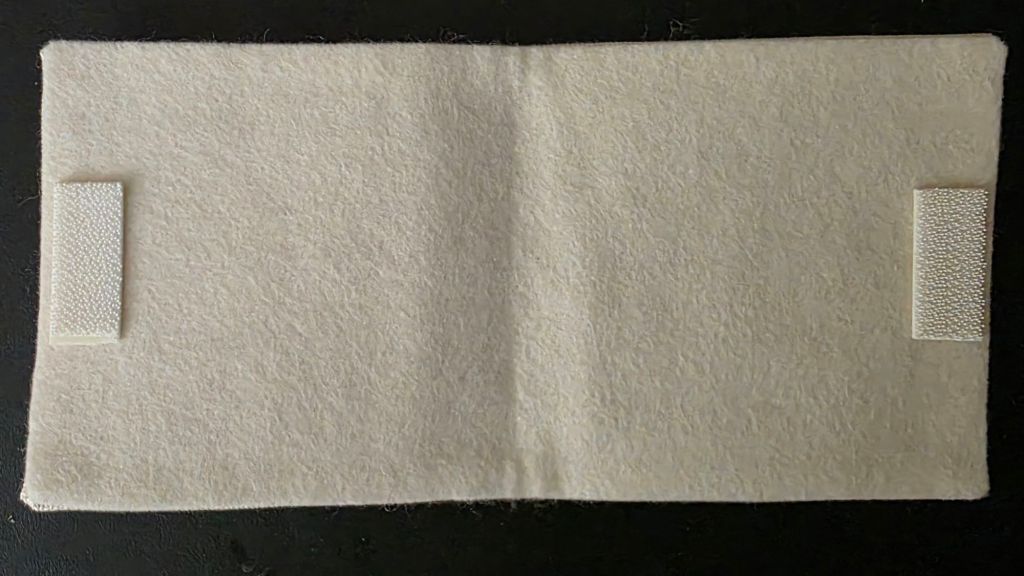
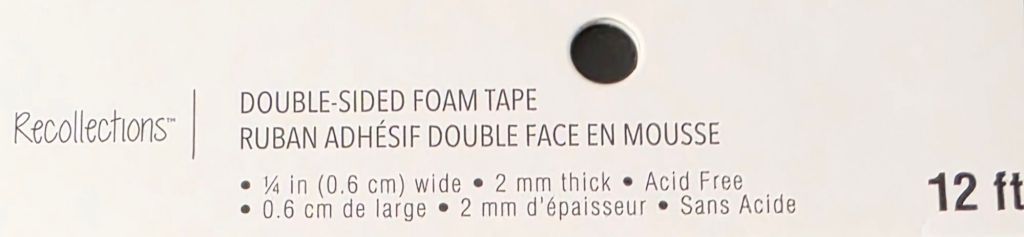
I didn’t want anything too thick. This peel and stick backing is super thin and been in my stash for years! I cut one large piece and had a strip left over that fit perfectly on the end. And, I added an edge of double sided foam tap that’s also been in my stash for years.
The Congress Cloth folded over and came together in the center. It was meant to be!

I trimmed, folded, and glued the ends in place with Aleen’s Super Fabric Adhesive.

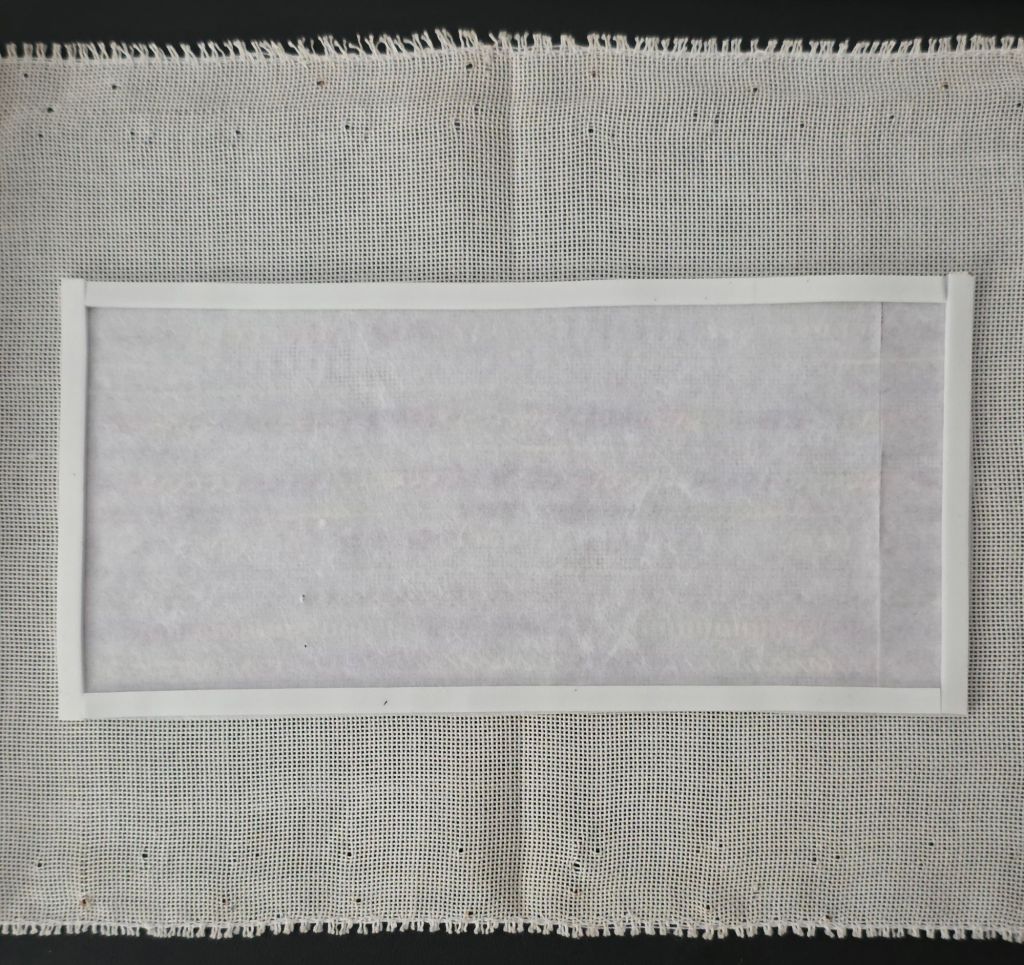
I used this double stick fusible web (the last one in the package).

I cut the fusible web and felt to size and attached white Command Strips rather than Velcro because my Velcro squares were black. I wanted white and these link together really nicely whereas Velcro rips the one side apart. So, I’m glad I used what was available.
Is it possible the fusible interfacing is old and not working well? Also, I was not happy with the puckering in the fold area. Any recommendations for next time on how to not to get any puckering?

I sewed around the edge using Coats and Clark Quilting & Piecing 35 wt thread. While I was at it, I tacked the Command Strips in place using a really sharp leather needle and a thimble being very careful not to jab myself. It’s much better now.

Here are a couple of threads ready for bed. You can leave needles threaded because the lining is felt (not craft felt which isn’t good for needles).

Now they are tucked away for bedtime!
Filed under: Beaded Super Duo Tape Measure Cover Kit by Carole Ohl, Brandywine Chapter, Embroidery Guild of America, Mid-Atlantic Region, Zokins
The 3rd session of the 3rd quarter for my EGA Brandywine Guild meetings led by Kathy A and Karen S was well attended yesterday by about a dozen members many of us hanging out even after lunch.
Adding the cloth pages were easier than I expected especially when I focused on reading the directions! Amazing how well that helps. I prefer visual instructions but they work better when explained in text.

At least Joanne M and I prefer canvaswork more because getting precise lines in this free form stitching is nearly impossible. Others found the freedom enjoyable. What do you prefer?
Joanne M made a bucket drawstring kind of purse – really nice and the lines looked straight! Nancy G sized her cover to fit over her booklet of needles. Patrick B found a few fabrics with sayings for his. Others were still piecing theirs together. Everyone’s turning out different and it was fun to look at them all.
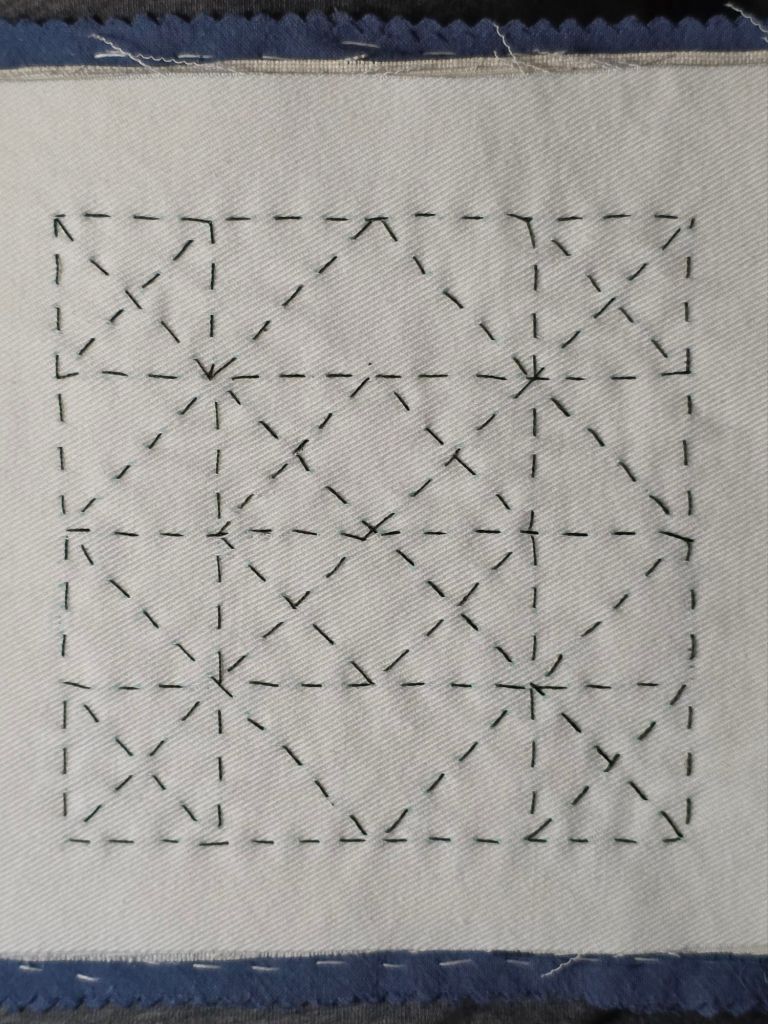
Kathy A talked about the related Sashiko embroidery and brought several books and tons of stencils. So, I transferred a couple of patterns with a borrowed a Sewline mechanical pencil with 5 different colors that can be used. Karen S has had her pencil quite awhile and I would need to buy each color pencil separately. But, after a discussion with Linda from Main Line Stitchers about the few quilt stores left in our area where Sewline products are likely to be found, she is giving me one of her extra Sewline air erasable fabric pens. I look forward to playing with that!
Here is my completed booklet ready to sew over my stencils. You can just about see this pattern but I can see it under my lamp. At least with the stencil, the stitching should be more precise.
This pattern is easier to see. I’m thinking that I’ll add little motifs inside each scallop.

The running stitch with long Sashiko needles allows for faster stitching than the stabbing method of stitching but there is still room for improvement where threads come together at intersections. But, this is a doodle booklet. Also, I can’t say I love all those little fraying threads but it’s a doodle booklet. And, having the pages in a booklet makes stitching a little more logistically challenging. The pages could come out and get reattached but it’s a doodle booklet. Bottom line, it’s all good enough.
As usual, I come away with more to do! When we split up the gift baskets Sue won at the EGA MAR Regional Seminar in Gettysburg, I had expressed interest in this beaded Carole Ohl Tape Measure Cover kit but so had Kathy A. Well, this month she gave it to me because she found she already had one in her stash. So, now it’s in my stash! So pretty. I love how the beads fit precisely packed together. Hopefully, mine will look this good (when I get to it).

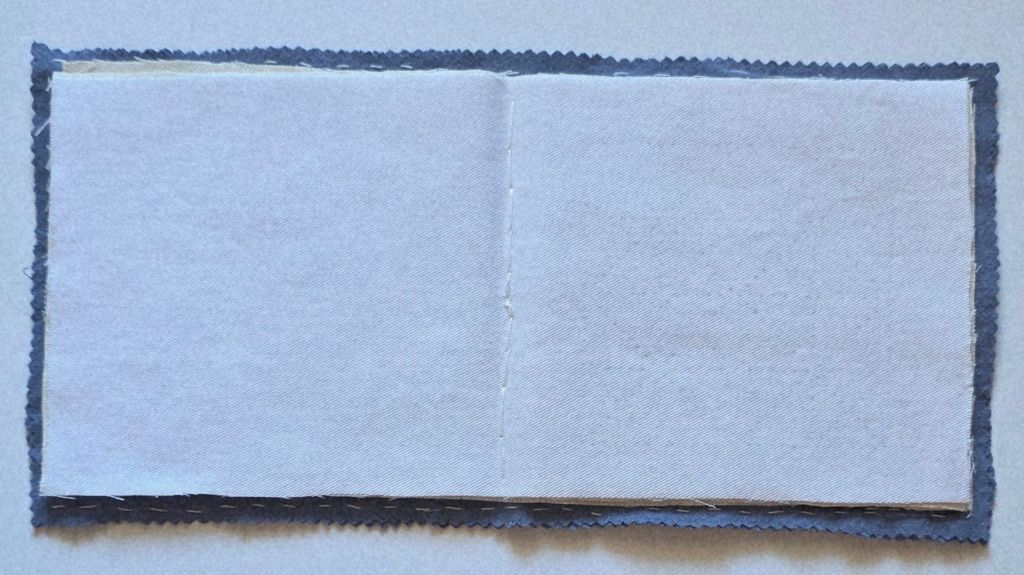
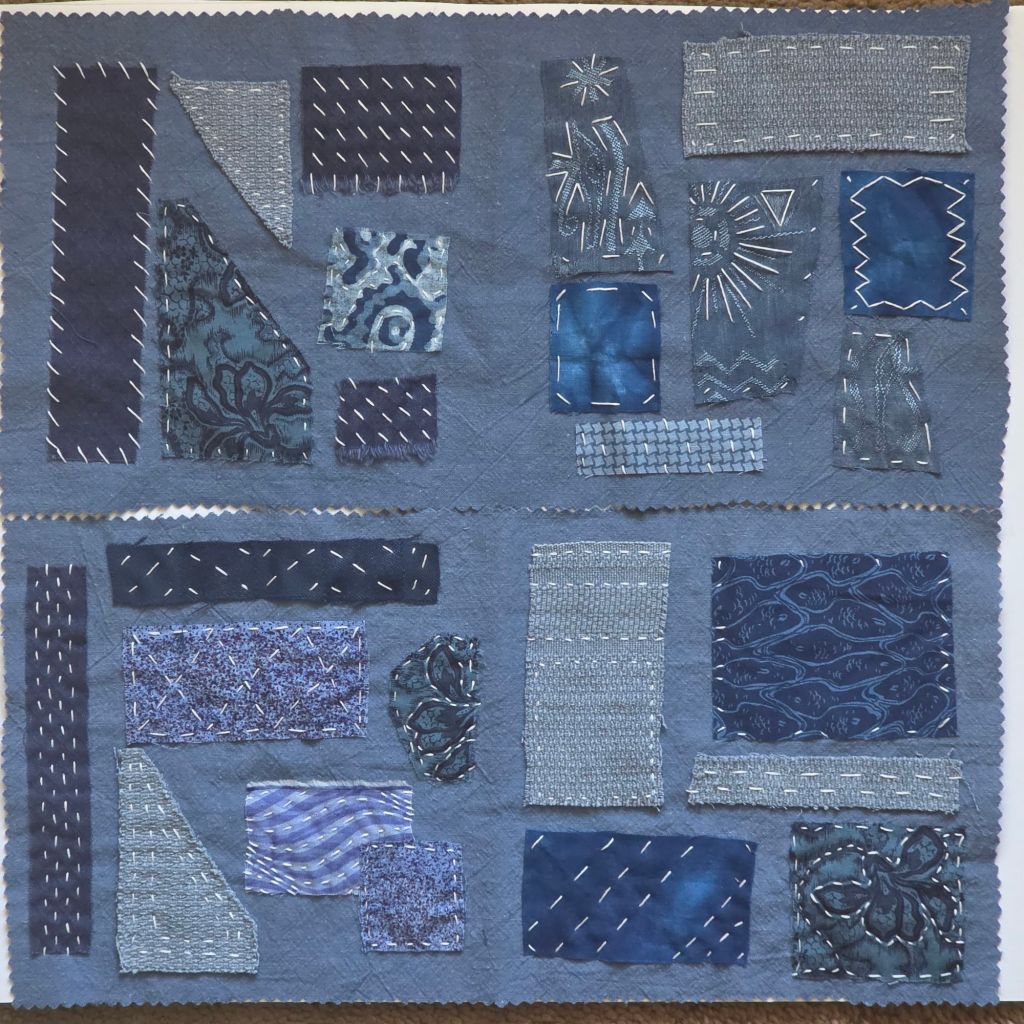
Kathy A and Karen S are leading members in making Zokins. They didn’t think we’d want a traditional Japanese Zokin (layered pieces of fabric to use for cleaning). So, we made covers for a stitch booklet. Both sides get stitched together to make a lined cover. Then fabric pages attached.
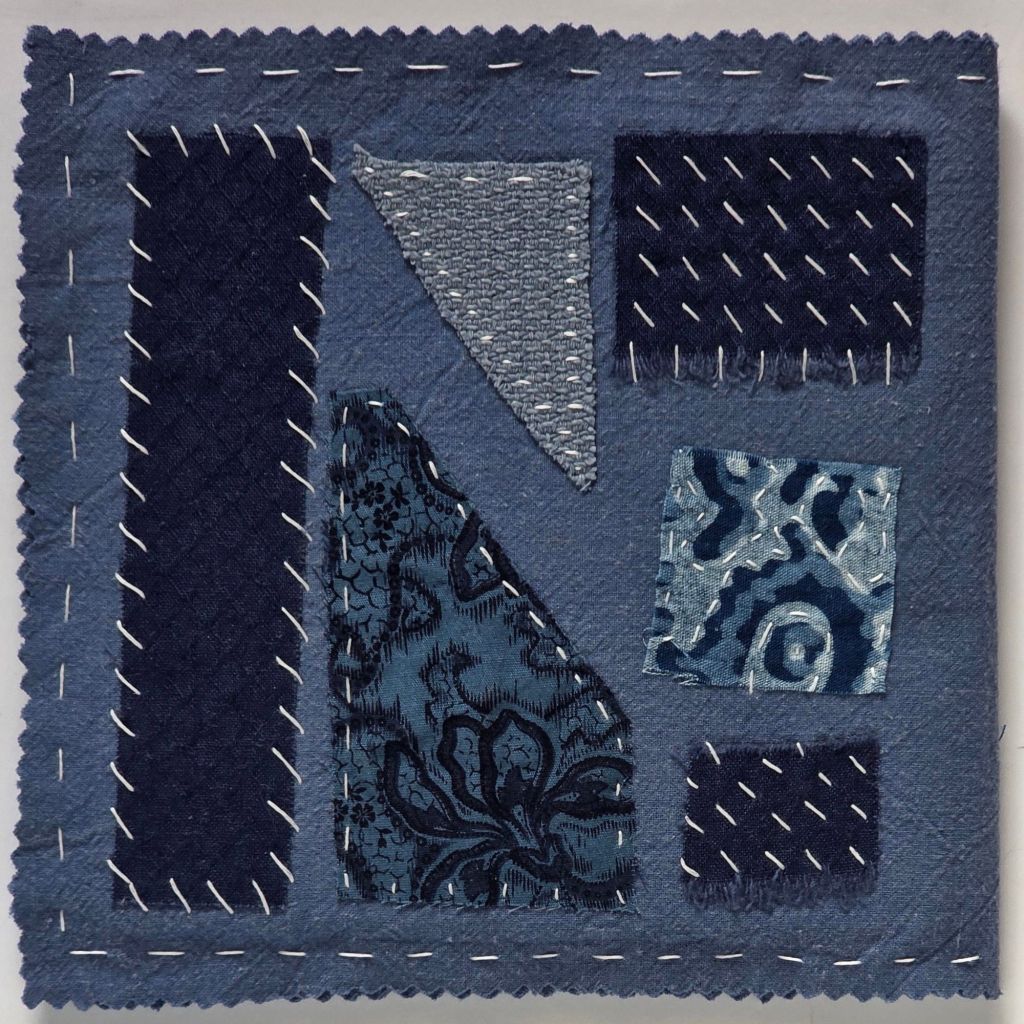
I was going to stitch a diagonal grid going in both directions to stitch the small swatches in place. However, the 2 lines I started with were not straight so I ripped them out and attached each one uniquely.
I placed a layer of Craftex to each side held in place with fusible interfacing to make the cover stiff but with a gap in the center to attach the pages. It is not too thick and still will be flexible and not heavy. If I used magazine board, it could get bent. Foam board would be too thick and hard.
I am ready for Wednesday September 17 and the EGA Brandywine Guild session to add the pages and maybe add some stitches!


Filed under: General comments, Needles, Technique Issues, Zokins
Last night, Judy, Merril and I joined forces to cover Sashiko stitching at our Needlework and Fiber Guild of Media (we meet on the 2nd Tuesday of the month at 7 pm). From my research on the topic of Sashiko, it is a traditional Japanese stitching technique used for decorative and functional purposes, while Boro refers to the patched textiles resulting from repeated mending, embodying a history of resourcefulness and sustainability. So, a Zokin must be a type of Boro since it is a traditional Japanese cleaning cloth made from old clothes, towels or fabrics.
I showed my Zokin and discussed it previously (Zokins | Melitastitches4fun’s Blog). After Show & Tell, we dove into Sashiko. Merril had fabric swatches and threads. I brought threads too. The chapter purchased Sashiko needles for everyone. This is one large needle! Puts my 2 needles to shame.
We each got 3 fabric swatches. Two decorative ones and a blue denim to make a needle book for the Sashiko needle. But, I have a box I store my needles in. So, I made a bookmark.
Merril came with rulers and fabric marking pens. We didn’t have a lot of time and I just did 3 parallel lines in the basic running stitch. It’s a reversible stitch. Without marking the stitch lengths, this was as even as I could get. I wasn’t going to get particular about it. Having loose edges with threads fraying makes this an art form that I don’t need to pursue although I do have a small notebook that I was thinking of covering with fabric.