Filed under: General comments, Radiance Metallics by The Meredith Collection, Threads
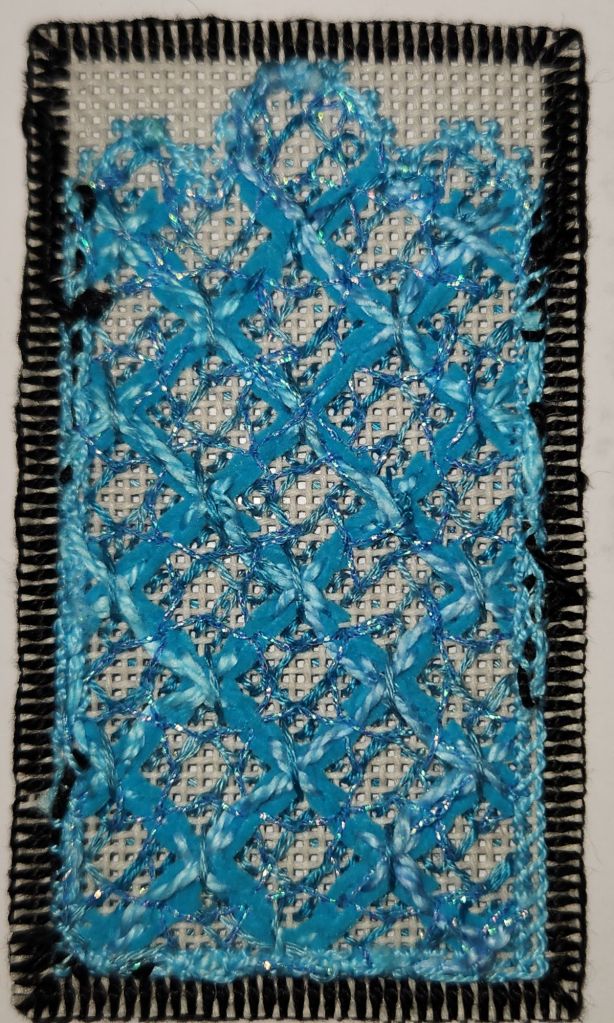
I had plenty of Radiance left from Nights in White Satin by Jennifer Riefenberg so I cut one length. It was more difficult to get the first strand out and each one got easier to remove. I needed to gently massage small bits at a time but I got it separated. Then I tested three strands unironed and ironed. The strands did get smoother with ironing.
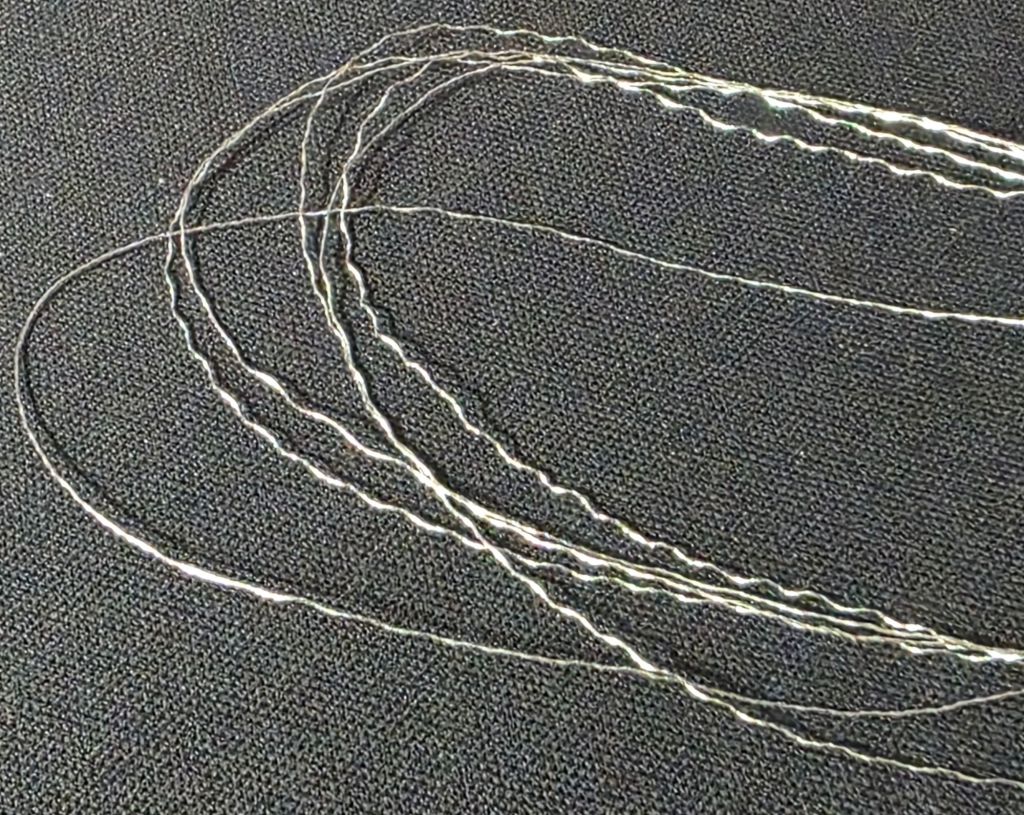
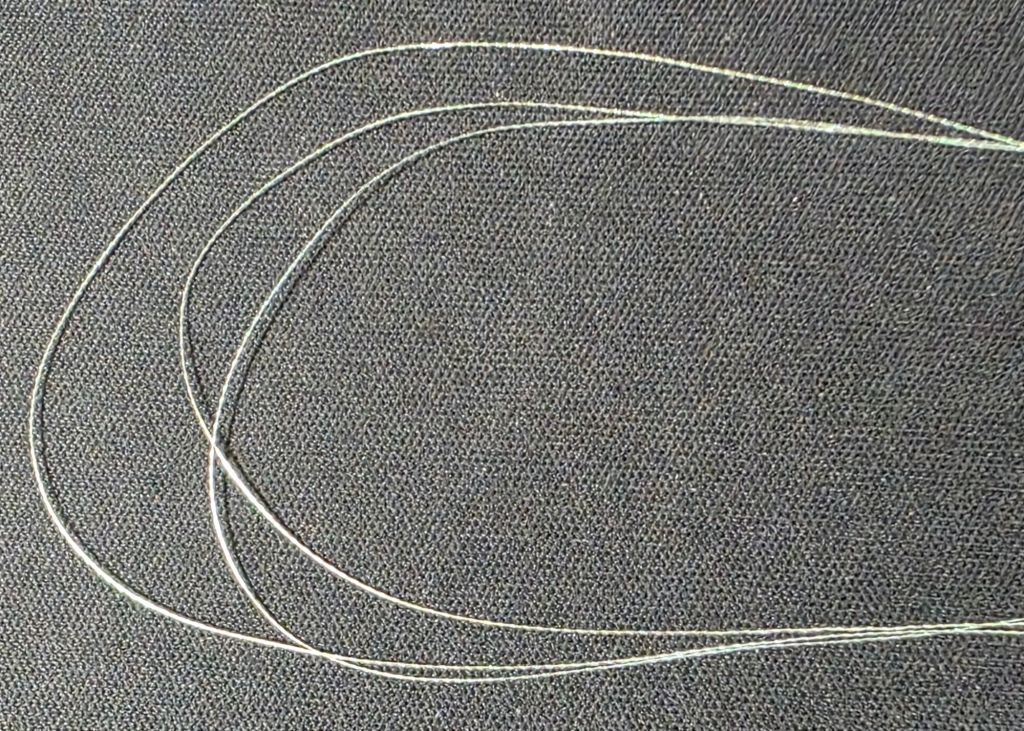
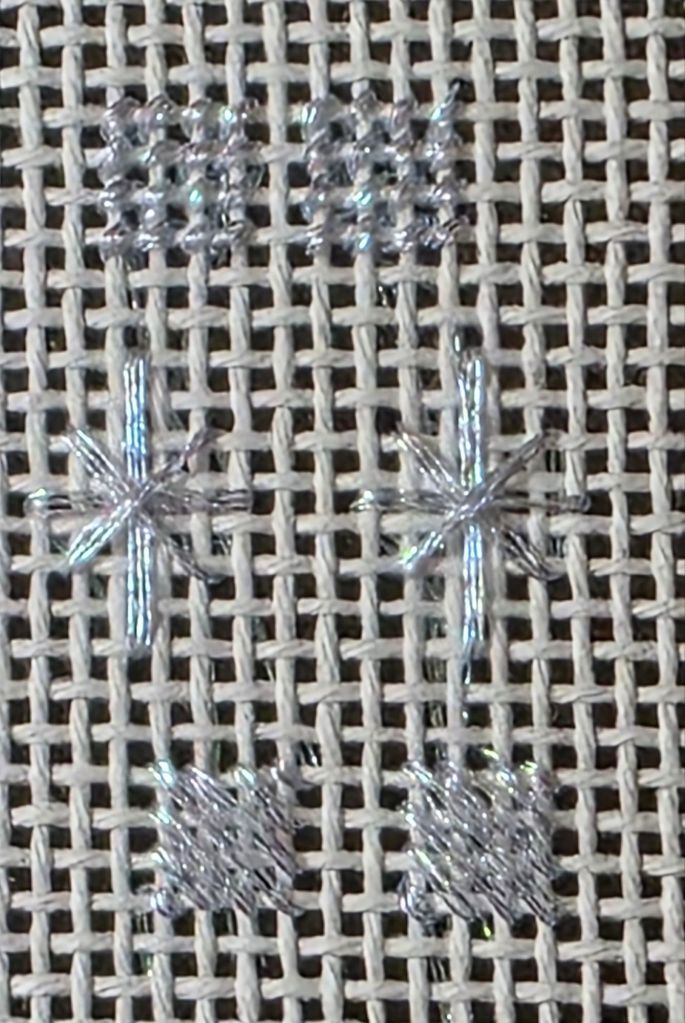
It’s like stitching with Accentuate which I find difficult to handle. Ironing improved my ability to get the strands to lay nicely. The ironed strands are used in the stitches on the left. As you would expect, longer stitches reflect more light and are shinier than shorter ones. They would make great snowflakes or window panes (Scotch Stitches).
So, you could separate this thread into strands, iron or not, and you could also couch with it.
Overall it’s a nice thread and I would use it again. It really sparkles in person and does in close up photos too.
Maybe it’s too well known that I was looking for Rhapsody! But, thanks to Kristen and the great Ebay deal she found that I couldn’t pass up, I now have enough Rhapsody to keep making another set of these ornaments in a variety of colorways!
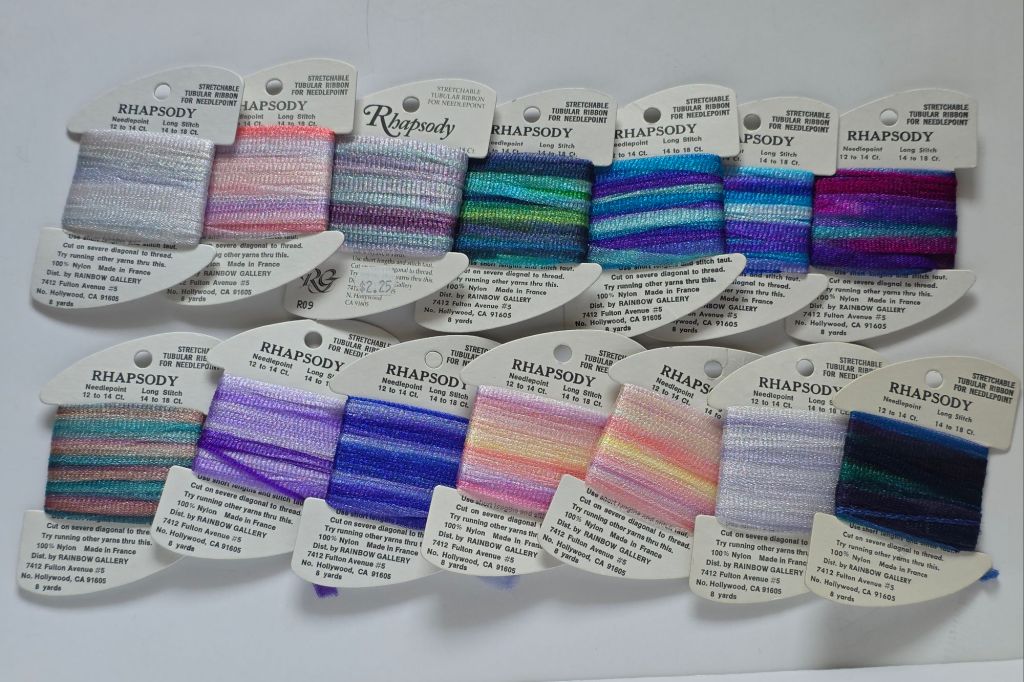
Eventually, I will need more cabochons. I bought more rimsets because some were bent. The 10 mm (also sized 45 ss whatever that means) pointed rimsets in silver were not available so I got them in 40 ss hoping they would work but they do not. So, I will have to find slightly smaller cabochons. But, that should be easier than finding Rhapsody or rimsets!
Luckily, I was able to unbend the existing silver rimsets and got extra gold 10 mm rimsets. I remembered seeing a jewelry tool for enlarging rings and found a pen to substitute allowing me to reshape to round with a little the help of jewelry pliers.
It’s funny that as much as I love overdyed threads I know one woman in my ANG Main Line Stitchers chapter who hates them! On which side of the thread aisle do you gravitate towards? Overdyed or not and can you explain why? I’m intrigued by the combination of colors and seeing how the color shifts.
There may be alot of controversy over AI (Google in Chrome browser) but it’s sure easy and quick to get answers!
While handling Soie d’Alger right after Splendor in a project, I realized that Soie d’Alger is softer. They are both 100% silk. So, why the difference? Here’s what AI Overview provided:
The perception of Soie d’Alger being softer than Splendor is mainly due to differences in their manufacturing processes and fiber characteristics.
Soie d’Alger
Spun Silk: Soie d’Alger is a stranded spun silk made from “strusas,” a high-quality spun silk.
7 Plies: It is composed of seven easily divisible plies.
Softer Twist: Soie d’Alger has a slightly softer twist compared to cotton, which gives it a better “spread” when stitched and makes it feel softer.
Natural Sheen: It possesses a natural, soft sheen, unlike the chemically produced sheen of mercerized cotton.
Versatile: It’s suitable for various embroidery stitches and is known for its beautiful satin stitch and long and short stitch.
Splendor
Spun Silk: Splendor is also a spun silk, with 12 plies, according to Rainbow Gallery.
Tighter Twist: The twist of each individual strand in Splendor is tighter than many other silks, making it easier to handle and potentially less prone to snagging.
Handles like Cotton Floss: Due to its tighter twist, it handles more like cotton floss, which some stitchers find easier to work with.
In essence, Soie d’Alger’s softer twist and inherent softness contribute to its luxurious feel, making it particularly appealing for needlework where a delicate and elegant finish is desired. Splendor, while still a high-quality silk, has a tighter twist that can make it feel slightly firmer to some users.
Very interesting and it called for a test.
Using 4 strands of each, I stitched diagonal stitches over 1, 2, 3, 4, 5, and 6 canvas threads. Coverage is excellent for both but it did seem like Soie d’alger (tan) was more difficult to lay the threads and have them stay there. They have some loft to them that Splendor (blue) does not. Splendor held snug to the canvas with each stitch.
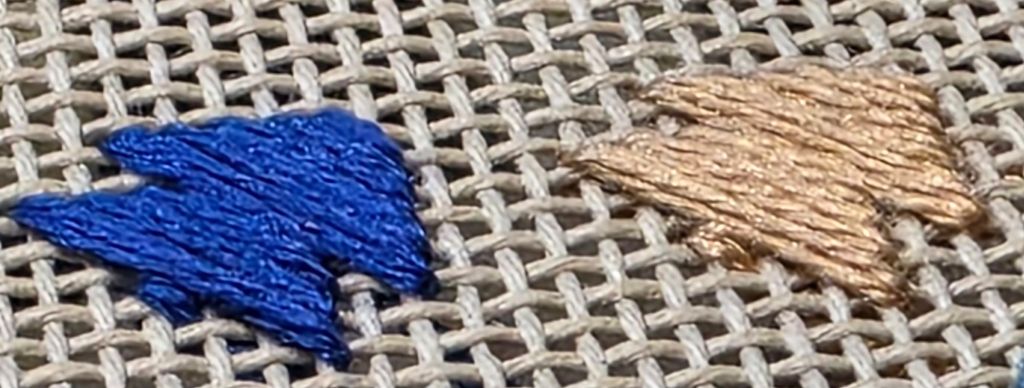
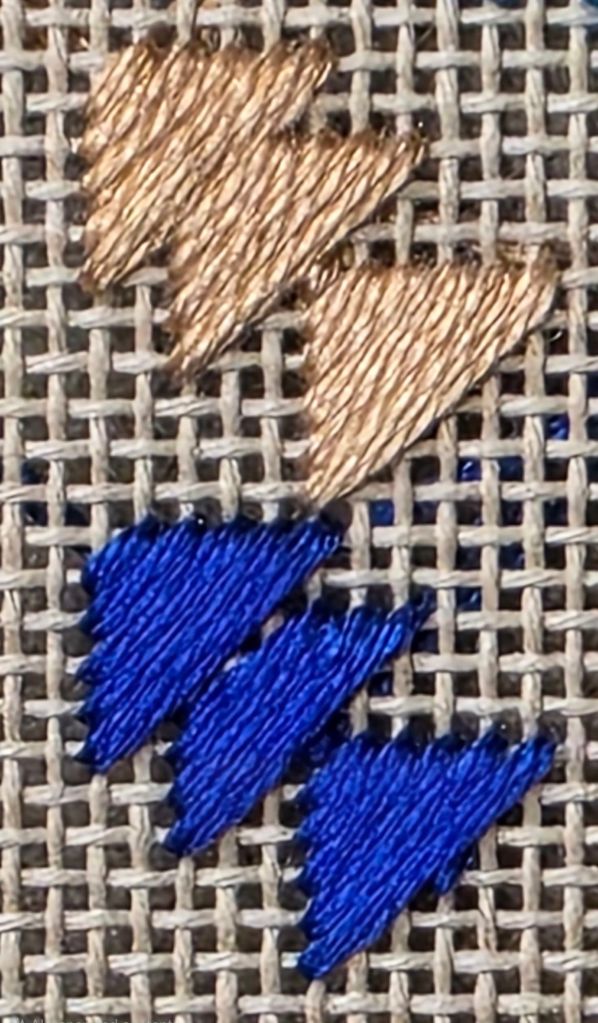
Using 3 strands of each, I found the Soie d’Alger easier to lay, stayed flatter than 4 strands, and coverage was still fantastic. It was a little harder to get the 3 strands of Splendor to cover but I did. The 3 strands of Soie d’Alger laid like 4 strands of Splendor.
Very interesting indeed!
Filed under: General comments, House of Embroidery (H of E), Needlepoint Shops, Radiance Metallics by The Meredith Collection, Threads, Threads Too Needlepoint
Bill and I met Linda P and Cynthia S from ANG New Jersey Needle Artists at Threads Too Needlepoint in Fair Haven, NJ to get books for redistribution from Nanette Costa’s library. Over half of the 60+ books have been claimed by either members of my EGA Brandywine Guild or ANG Main Line Stitchers Chapter. I will take the rest as an opportunity to visit a couple of other nearby chapters!
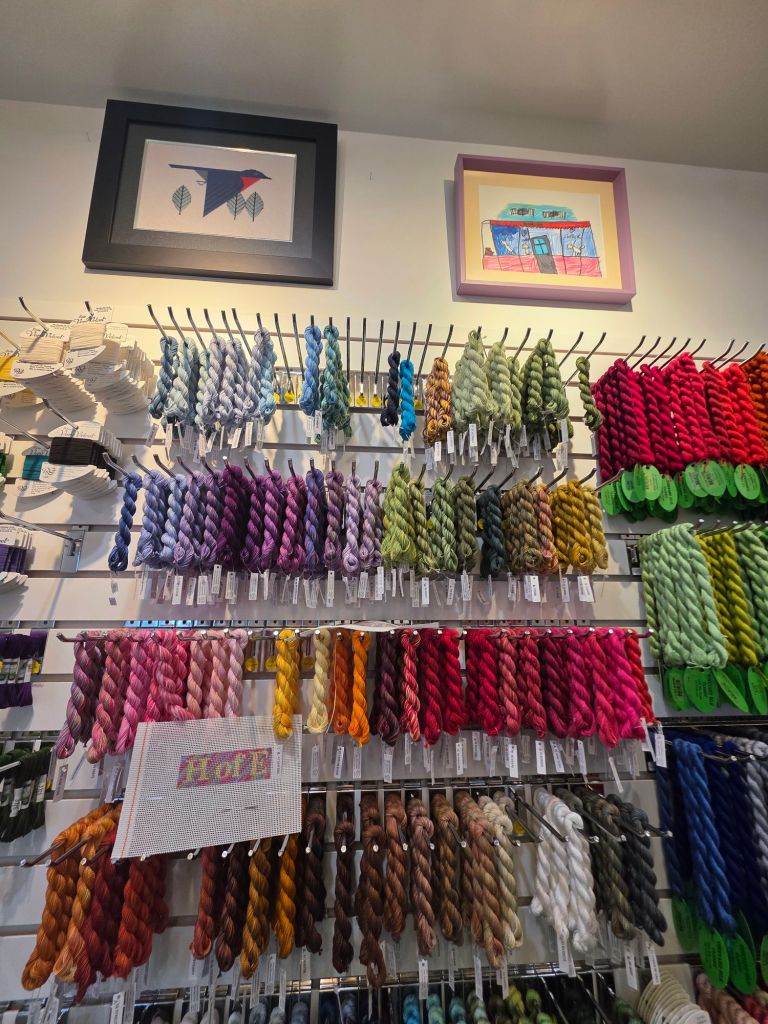
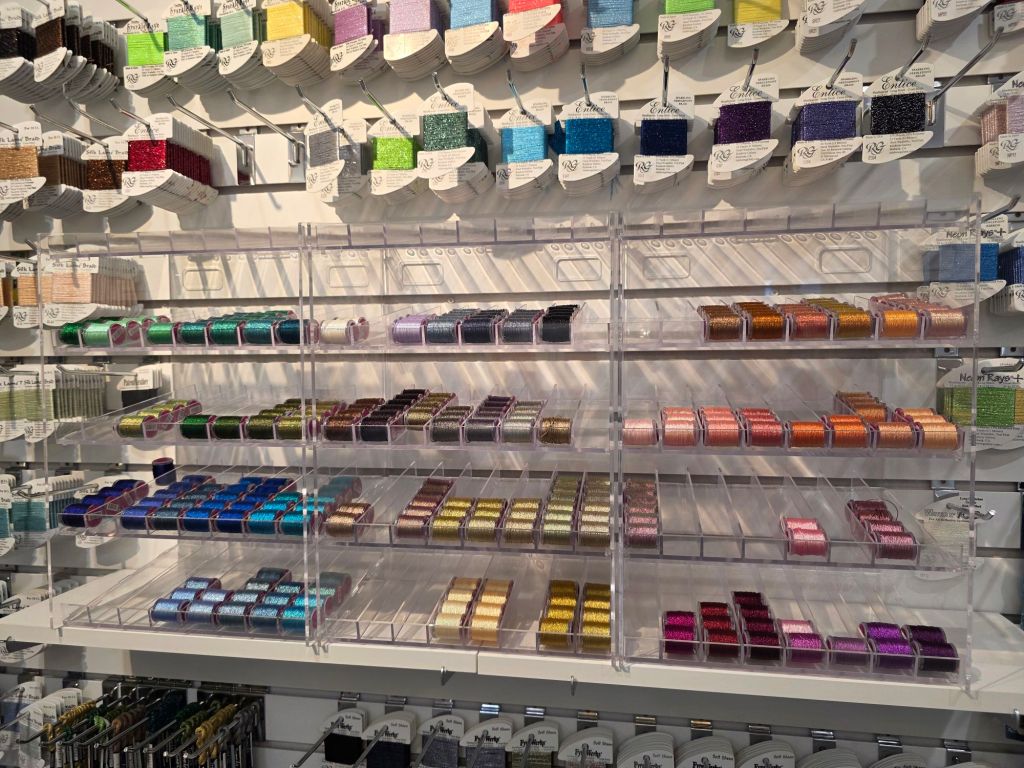
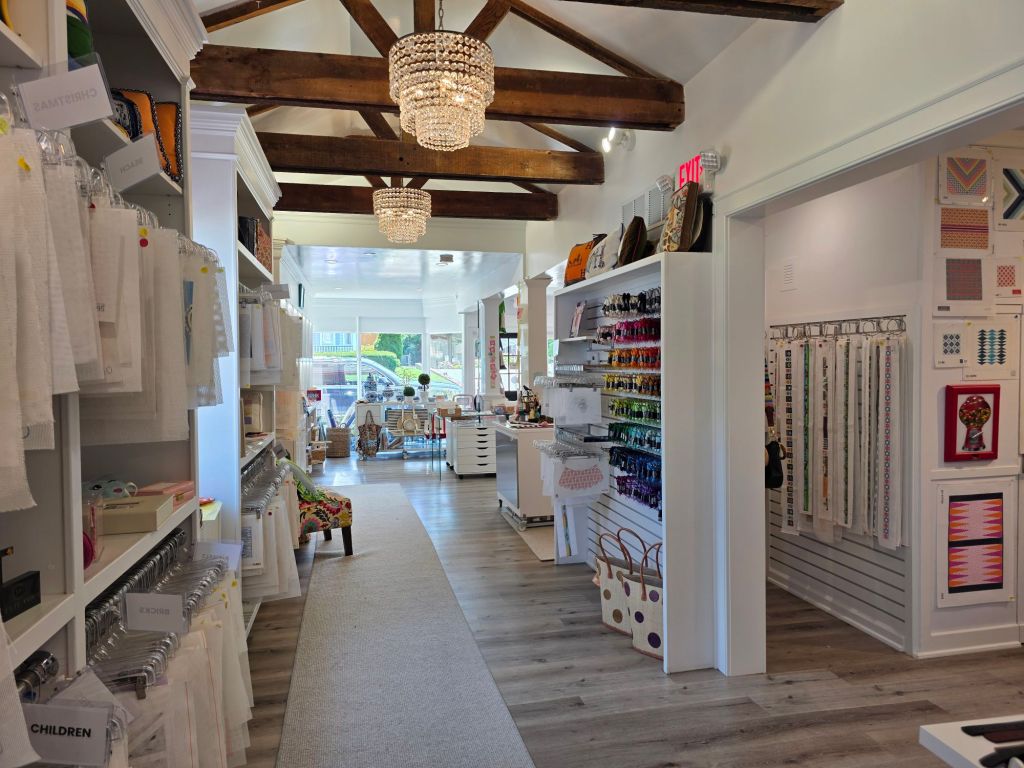
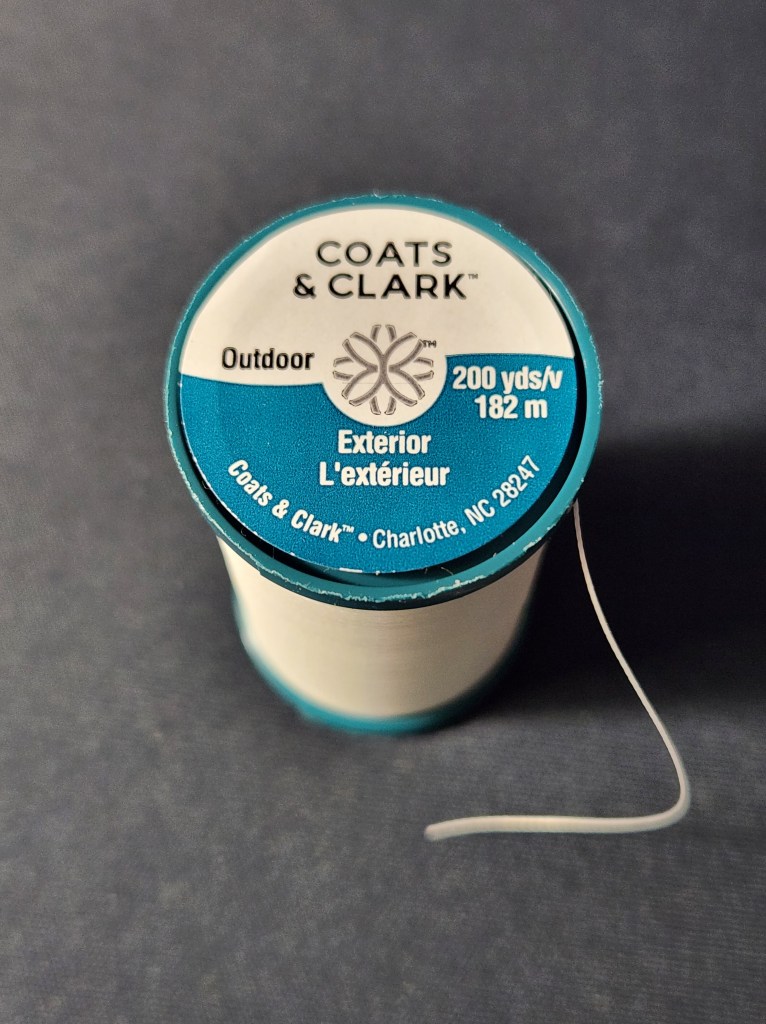
Threads Too Needlepoint is a bright colorful store with lots of canvases, finishing accessories, and a variety of threads including couple of unique threads: an overdyed Perle cotton #5 by House of Embroidery (H of E) and Radiance Metallics by The Meredith Collection. I resisted both not having a specific project for them.
It was a HOT day in Philadelphia and a tad cooler at the shore especially in the shade sitting at a favorite Seaside Park bar in the breeze sipping on a cool refreshment (Bill and I). Crabs at our favorite restaurant, Bum Rogers, capped off a lovely day.
With multiple finishes over the past few weeks, it leaves me with a pile of threads to be stored away. I do it by color. What a mess! I wish I were disciplined to put them away after each project.
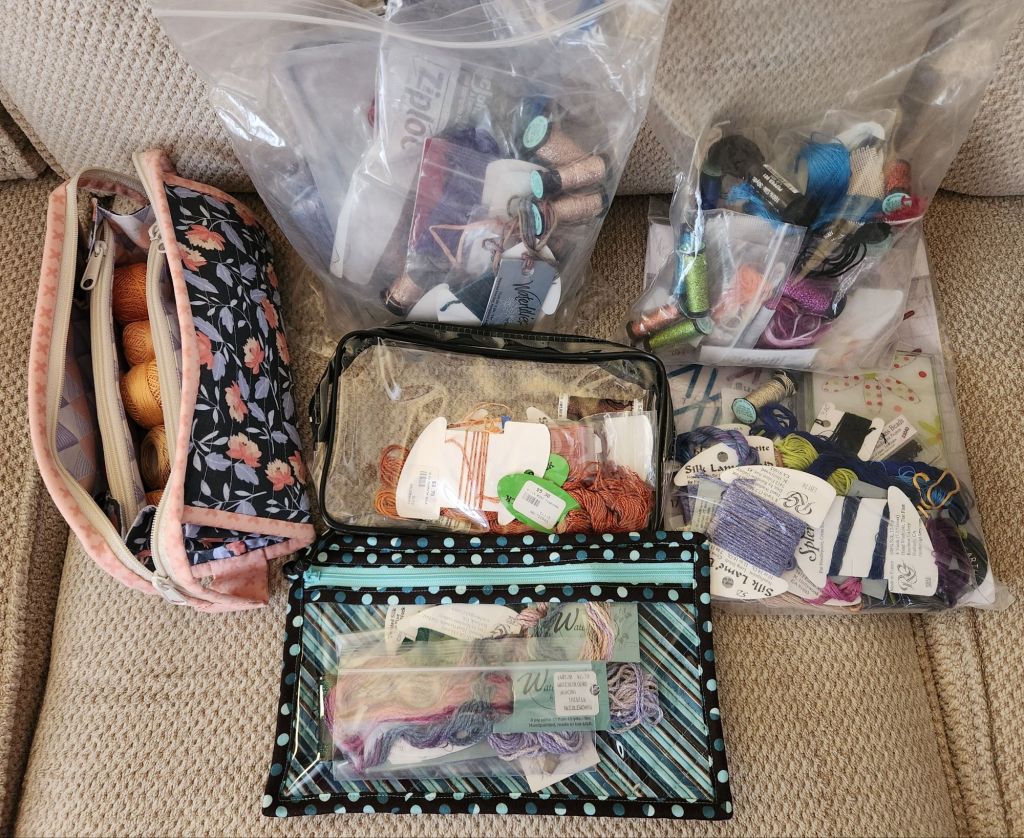
How do you manage your threads after finishing a project?
Filed under: ANG New Jersey Needle Artists Chapter, Embroidery Guild of America, General comments, Ruby Razzle Dazzle by Ann Strite-Kurz, Seminar 2023 - Boston, Threads, Understanding Color Relationships: Luster and Luminosity with Patricia Goaley
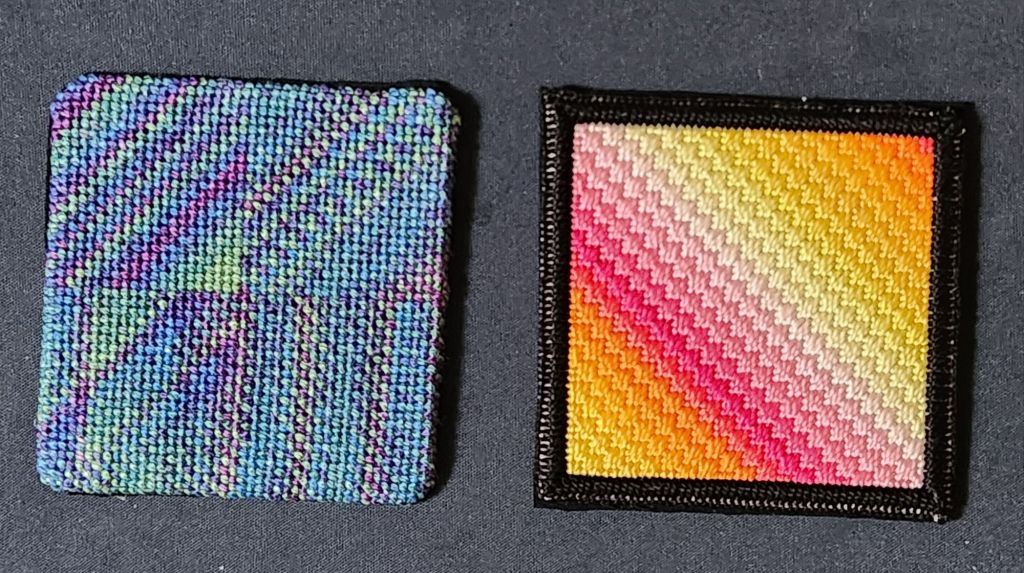
I’ve got a lot of small stuff to finish. I decided to get back into the swing of it with new coasters for us.
For Bill’s coaster (on the left), I folded over along the edges and tacked them into place with invisible thread. Details on how I stitched the 4 corners differently are at: https://melitastitches4fun.com/2024/03/02/manipulating-overdyed-threads/
For mine (on the right), I folded over along the edges and practiced the buttonhole stitch. I used black DMC Perle #8 and could have used #5 because some canvas is showing through. The design is from a class on Color and Luminosity with Pat Goaley during the EGA Seminar in Boston (more on that at https://melitastitches4fun.com/2023/09/03/ega-seminar-class-2-understanding-color-relationships-luster-and-luminosity-with-patricia-goaley/).
For both, I glued black ultrasuede on the bottom using Aleene’s Fabric Adhesive.
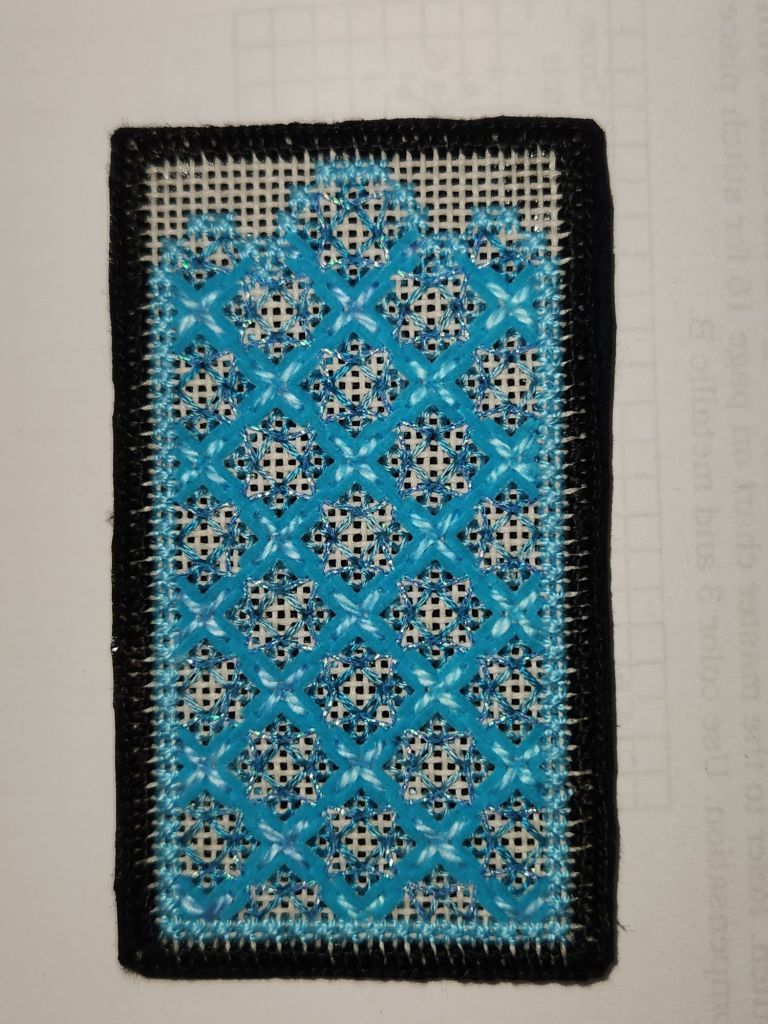
Next up is a blue sample from Razzle Dazzle by Ann Strite-Kurz that I made into a bookmark. More on this at: https://melitastitches4fun.com/2024/02/16/ruby-razzle-dazzle-by-ann-strite-kurz/
I used black DMC Perle #5 this time to make the buttonhole edging across 3 canvas threads. It has less white showing. I didn’t fold back the edges to make it a thinner, lighter finished piece (compared to the coasters that have the edges folded over). Then, I cut very slowly, carefully, and close to the stitching without cutting the threads. Here’s the back before covering it with a dark blue ultrasuede.
Again, I glued a piece of ultrasuede to the back (Aleene’s). I placed the glue all along the edges so that the glue touched only the DMC Perle buttonhole stitching. The width of three canvas threads accommodated a nice amount of glue.
It’s thin enough for a bookmark. A pretty one too!
I’m still cleaning up and organizing my needlepoint (fighting a never-ending battle against acquisition, clutter, and letting go). One pile had this experiment with skip tent basketweave and skip tent horizontal that I decided (for a little while) did not have to continue.

Then, I found another 3″ square already stitched. So, I decided to finish this one for a pair of coasters (not that they match). When these get worn, I won’t mind (as much) throwing them away.
I found the repeat of colors on a skein of Watercolours (Painted Desert 093). I made sure colors did not repeat when folded in half. Then, I cut the threads the same length. Each of the 4 areas was stitched differently as follows:
The upper left corner for 19 diagonal rows starting in the upper right corner of that square: Skip tent basketweave, reverse thread to fill in, then skip tent basketweave.
The upper left corner for the next 11 diagonal rows: Basketweave every other stitch up and back down, reverse thread, and repeat. Ok, I admit that I actually made a mistake following my own diagram and wasn’t ripping it out! I can see the middle is different from the two corners.
The upper left corner for the last 15 diagonal rows: Skip tent basketweave, reverse thread to fill in, then skip tent basketweave.
The upper right corner starting in the upper right corner: Skip tent horizontal, reverse thread to fill in, then skip tent horizontal.
The lower left corner starting in the upper right corner of that square: All basketweave.
The lower right corner starting in upper right corner of that square: Skip tent basketweave, reverse thread, then skip tent horizontal.
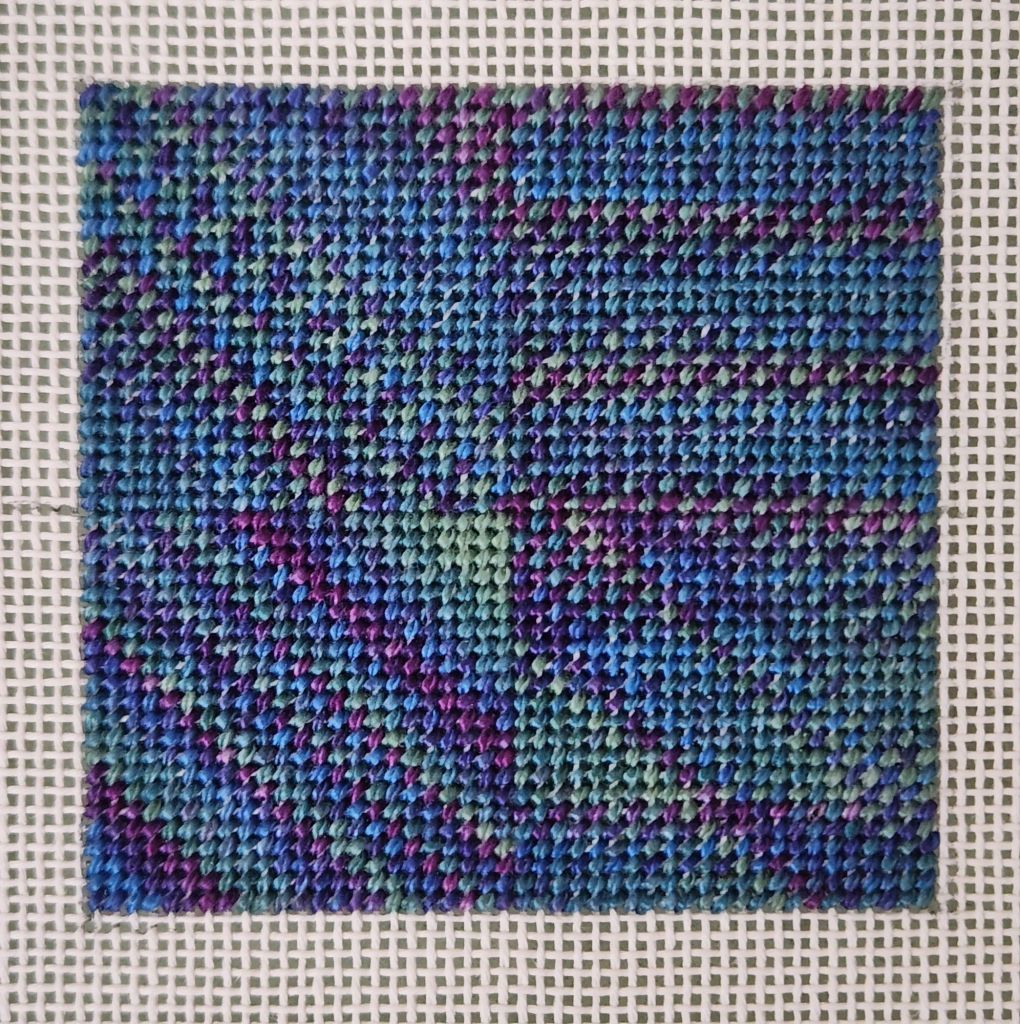
What did I learn besides what I already knew which was that the stitch path makes a visual impact on the color flow?
The skip tent basketweave may have had the least streaking if I stitched it correctly.
A horizontal effect can be obtained. That was a surprise, probably because I had never stitched skip tent horizontally before.
Basketweave created the most streaks, which are clearly diagonal.
Combining skip tent and skip horizontal resulted in some diagonal streaking and some clumping of colors.
Another overdyed thread probably would have yielded different results. And, where you cut the thread will also change the look.
I wanted to repair a handle on one of our favorite grocery bags. It’s a promotional bag (for Augmentin) from GlaxoSmithKline (the company that I retired from). So not only is it sentimental, but it works great because it’s sturdy, vinyl, and large.
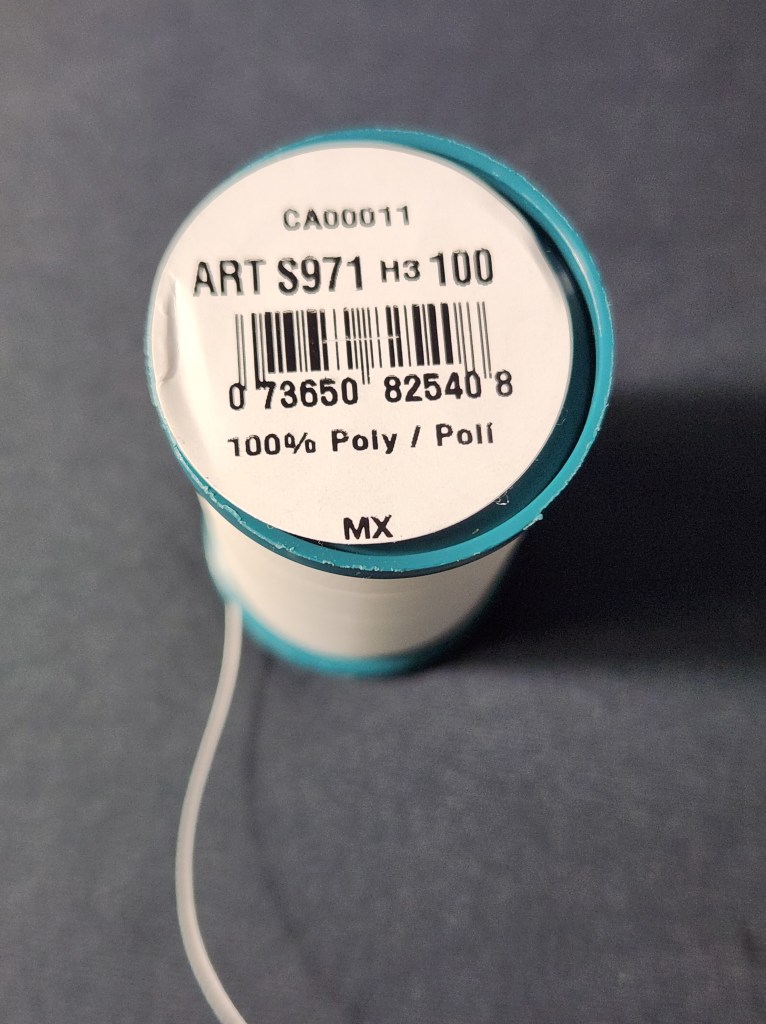
The clerks at Joann Fabrics recommended an upholstery thread as the strongest thread they sell. Maybe the numbers on the spool mean something, but I don’t know what. I’ll probably use this when making cording instead of a 6 lb fishing line recommended by Kelly Starke. The fishing line wasn’t easy to see or tie.
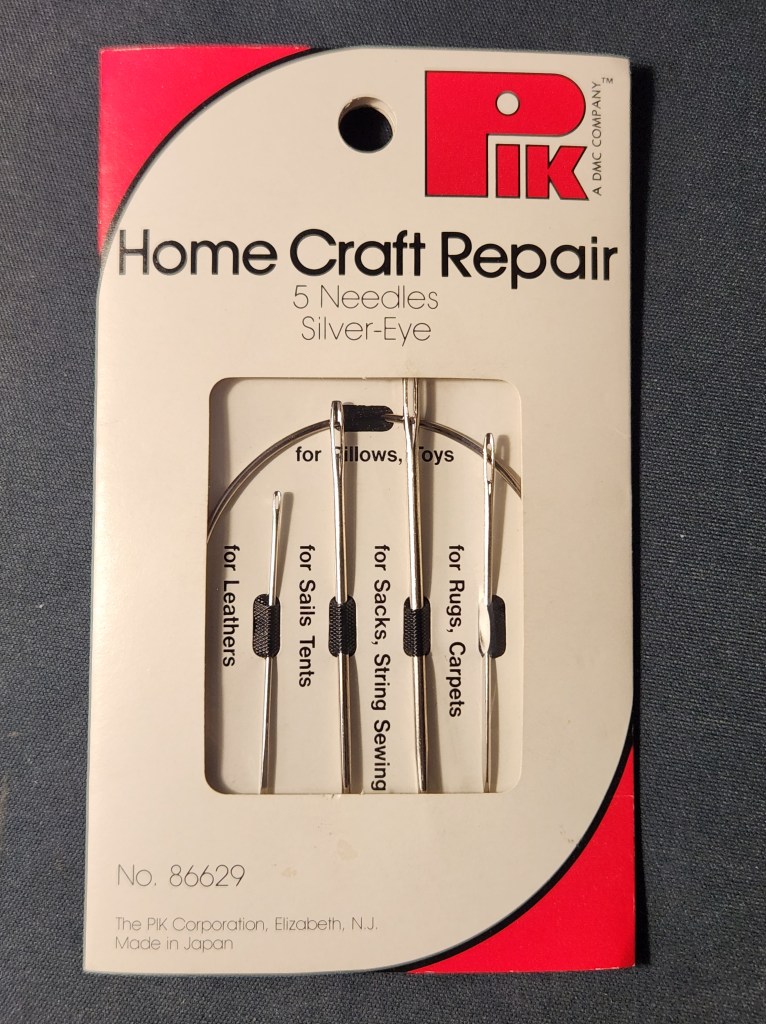
It was also an opportunity to use the needle for leather from this kit of needles. I don’t know how I got this package, but I got to use it for the second time! That’s practically a pointed blade with an eye for the thread. A couple of months ago, the thread broke on a small key holder sewed in place in Bill’s leather wallet. A shoe repair guy said it couldn’t be fixed. I knew I could fix it since I had a needle designed for use with leather. I don’t recall what thread I used, but it was fixed!
Filed under: Color Complements, Framed Sevens - Mar/Apr 2022, Needlepoint Now Magazine, Threads
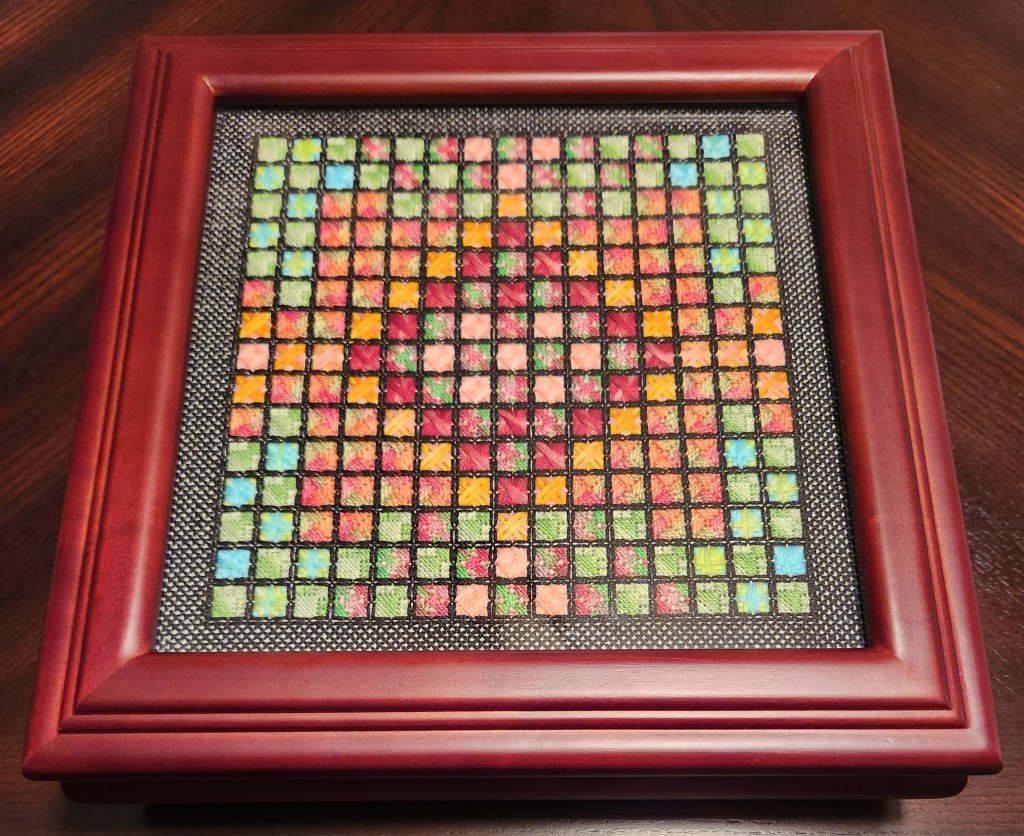
In order for Framed Sevens to fill in the 7.5″ x 7.5″ visible design area in Carol’s Fancywork Box by Sudberry House (Item #99021), I filled in the surrounding area with the T stitch using DMC #5 Pearl 310 Black. It fit exactly with 9 stitched and 2 empty canvas threads on each side without blocking of any kind. I’m using the glass to cover it.
Framed Sevens was published in Needlepoint Now (March/April 2022) and a thread kit is available from Colour Complements: https://colourcomplements.com/product/framed-sevens-thread-kit

Filed under: General comments, Silk Threads, Threads, Tips
I pulled out my Beeswax following a suggestion to possibly use it to prevent the silk thread from snagging while working on Nautilus.
The first thing I noticed is how much red thread got left in the wax from a previous project. So, I cleaned it up by scraping off the top layer. I also see in the photo that this only cost $4.40. So, getting a new one wouldn’t break the bank but I like the heart shape! This looks better.
Before I did use it though, I decided to research the issue on Mary Corbett’s website (On Thread Conditioning & Beeswax for Embroidery – NeedlenThread.com https://share.google/oEKTD6N6ppVkR75pm).
She says in part: If you coat your threads with beeswax (or anything, really) it changes the look (darkens) and performance of the thread (won’t spread or reflect light as well).
So, I searched her website again and found her post with lots of great suggestions in Working with Soie de Paris (& Other Filament Silk) at NeedlenThread.com https://share.google/8Z1Z6onu77qKHBRZ1 .
Thanks to Mary, I’m less afraid of starting back on Nautilus now! Mary is on vacation and taking a well-deserved break from posting. Her website is such a great resource. If you haven’t checked it out you’re missing out!