Filed under: Brandywine Chapter, Embroidery Guild of America, General comments, Needles, Tools, Zokins
Lots to share about my EGA Brandywine Guild meeting earlier this week!
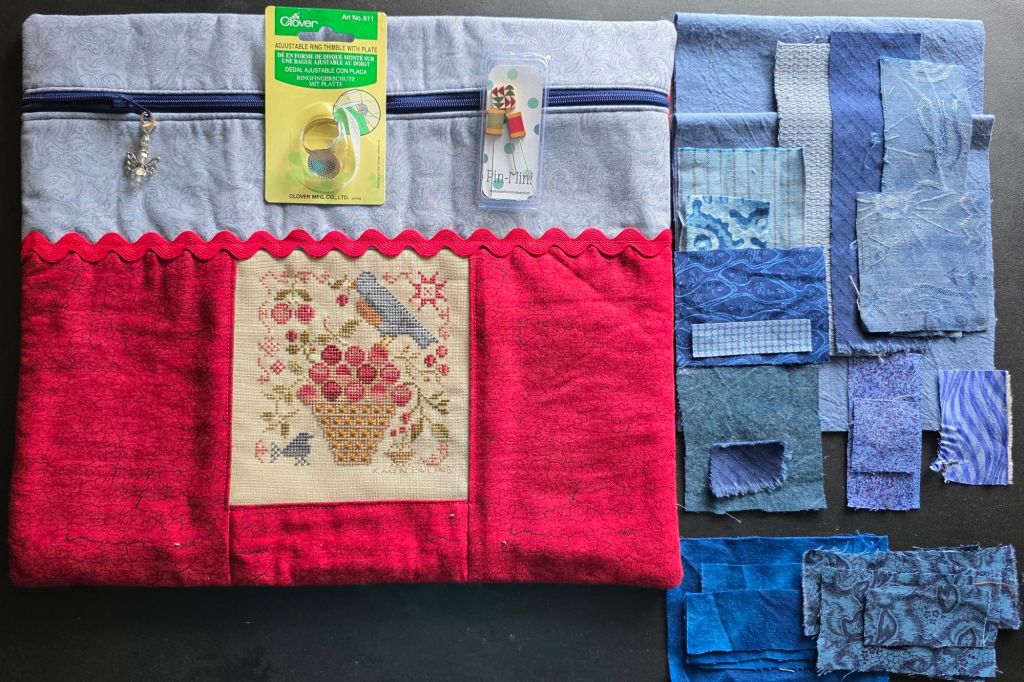
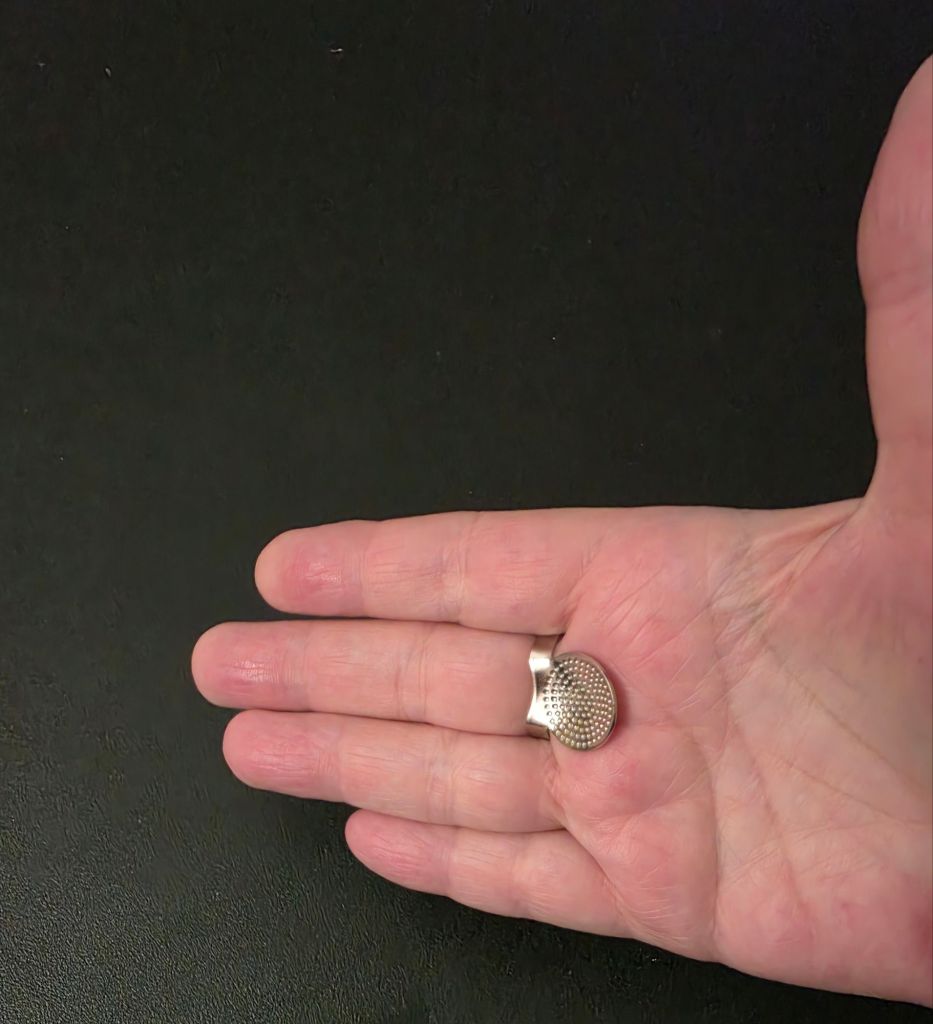
Kathy A and Karen S had prepared pieces of blue cloth and scraps of various fabrics for us to select. The right side of photo are the pieces I took. There were 12 of us. There could have 12 more and still had fabric left over! They also purchased a Clover adjustable ring thimble with plate for everyone. A new tool. It feels comfortable. Looking forward to trying it.
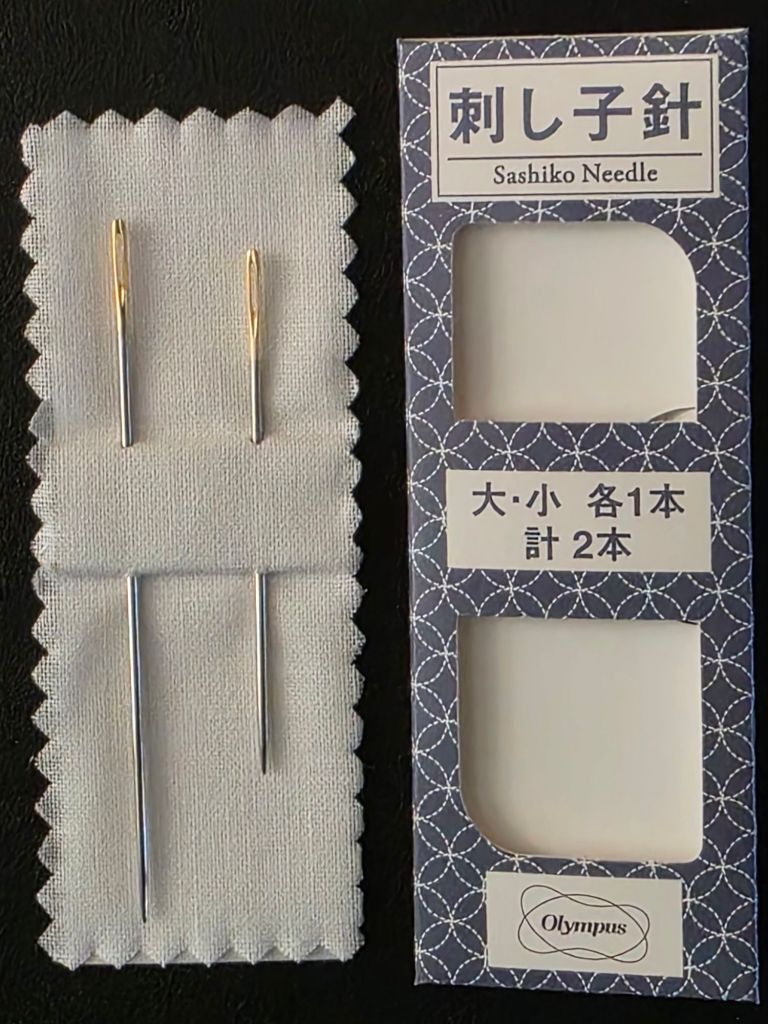
You stitch boro like you stitch Sashiko. So, I can use my Sashiko needles! I have a 2 pack. They have large eye for easy threading. The shorter (almost 1″) needles are for smaller, decorative designs while the longer needles (a little over 1.5″) are for straight stitches and basting. So, I will use the long one.
And, we got to share in the two opportunity baskets that Sue S, our Chapter’s MAR Rep won at the EGA-MAR Regional Seminar in Gettysburg! One of the baskets was from the EGA Molly Pitcher Stitchers Chapter in Carlisle, PA who are celebrating their 40th anniversary as a chapter. Congratulations and thank you for your generous contribution – it was a huge basket! Between the two baskets everyone got multiple gems. Not pictured are three red kitchen towels that I took.
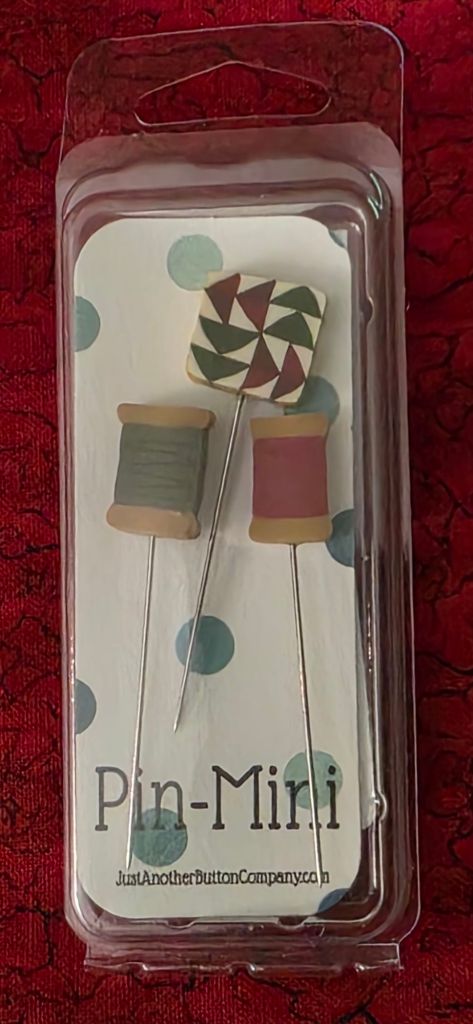
I wanted and needed the project bag for the blue fabrics since I had intended to work with my fabrics and still will. Karen R from Molly Pitcher Stitchers stitched a lovely design and finished in coordinating colors. The Mollies have stitched two of my designs, Overdyed Spools and A Spring Sampler. I visited them after Overdyed Spools was posted as a Petite Project. So, I really appreciate having something of theirs. The counting pins are cute and came from them too! These will be perfect to carry in my travel tool bag.
Here’s the arrangement of my fabrics ready to stitch into place. I used all the straight pins I own!
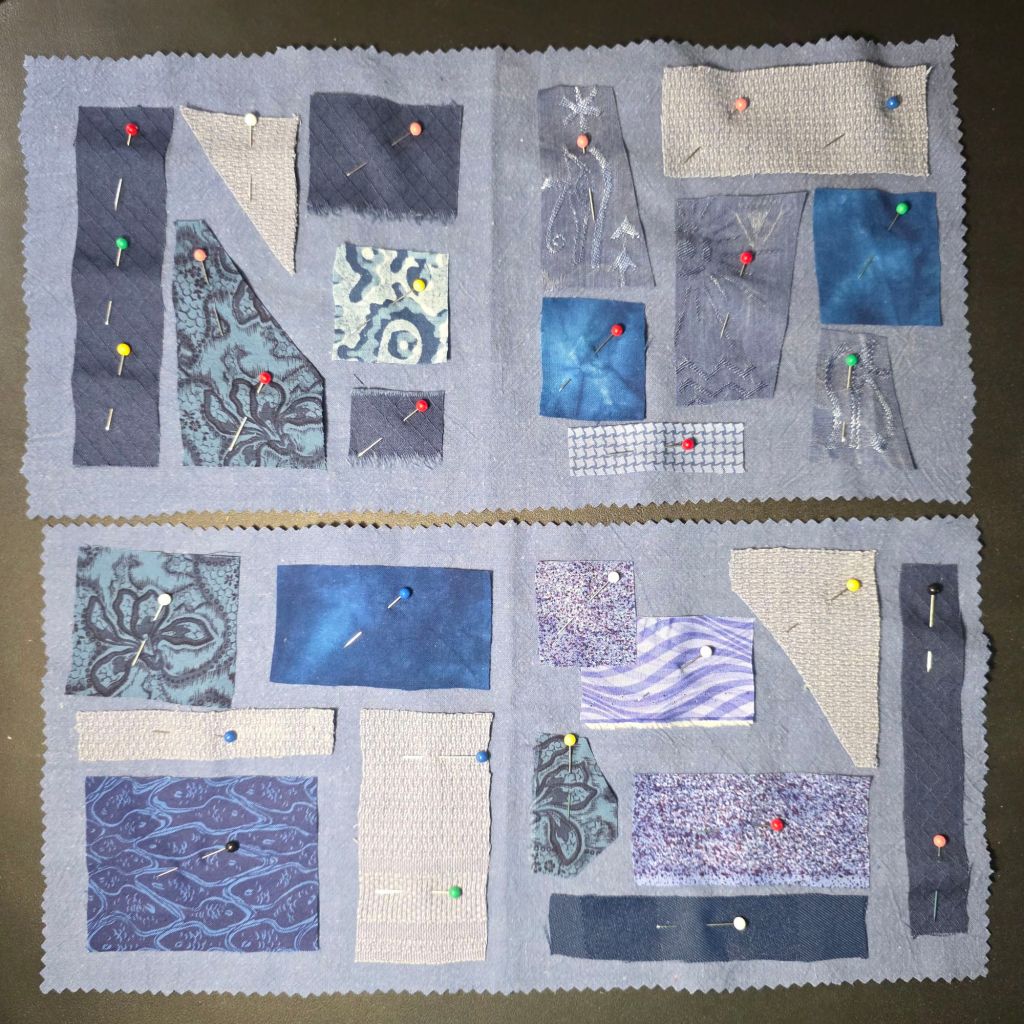
We have until September to stitch the small pieces onto the larger ones when we finish them into a cloth booklet (back to back with pages).
Filed under: Brandywine Chapter, Embroidery Guild of America, General comments, Tools
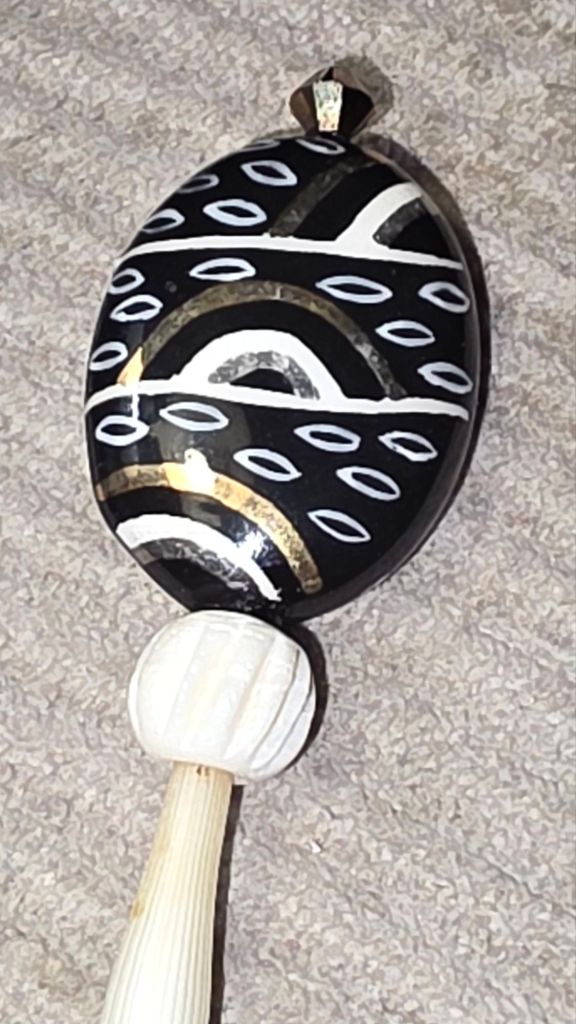
A few years ago, Patrick made and gave me a lovely porcupine quill laying tool. On Wednesday, he gave everyone at our Blue Santa Bead EGA Brandywine Guild outing a porcupine quill for us to make our own. Several of us found toppers to adorn them as he had done. I looked through almost all the drawers in the store and found several beads for my second quill. I didn’t have time to make it then.
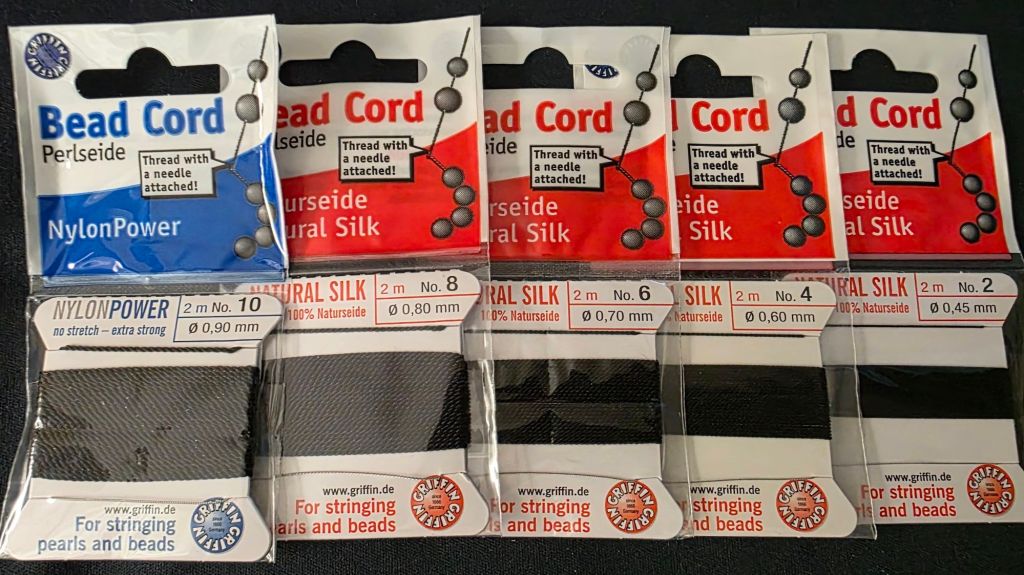
I used the smallest black bead wire (No. 2) to attach the small bicone on top of the large black bead. I tied the bead wire off just below the large black bead.
The decorative black bead and the white one below it fit snugly on the end but I used the Super NEW GLUE to really secure them.
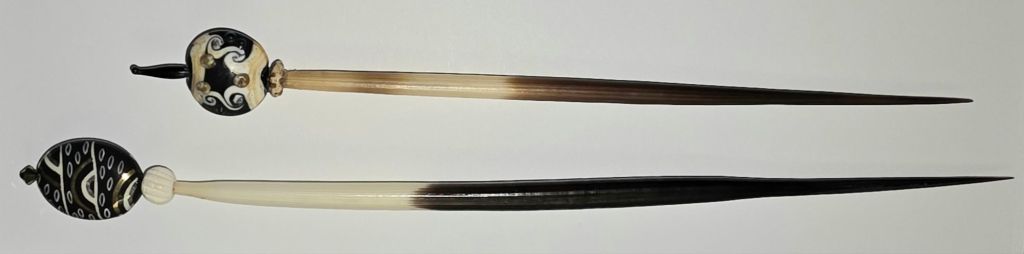
Patrick’s gift to me is on top and my new one is on the bottom.
Filed under: Brandywine Chapter, Chatelaines, Embroidery Guild of America, General comments, Scissors, Tools
Patrick led us through making chatelaines today at Blue Santa Beads in Media. I needed a special tutorial from my neighbor, Susan, after she figured it out while Patrick helped others. There were 10 of us there. He did an excellent job of getting us through this project. Getting rings on is not easy. I had 2 different sets of instruction and they still don’t make sense!
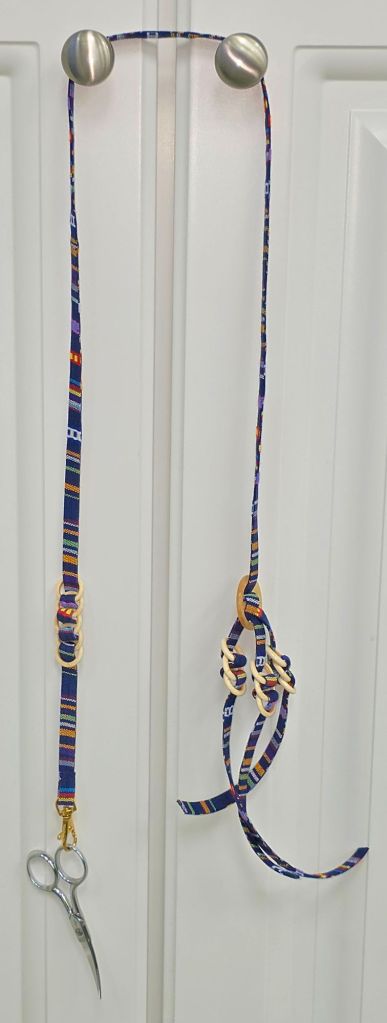
When I got home, I found scissors that have a protective leather sheath so that I won’t get stabbed when I wear it. It’s from ANG 2012 Seminar in Philadelphia celebrating the Guild’s 40th Ruby Anniversary. And, I placed the EGA Brandywine Guild strawberry on the other end. I can add 3 more tools. I haven’t decided what else to add.
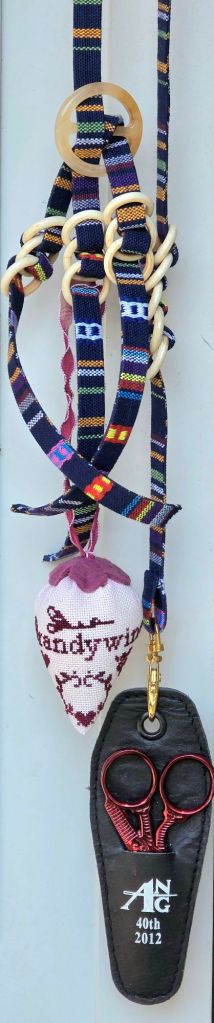
I had cording and rings left over. It’s not long enough to hang around my neck. And, I don’t know what I’ll do with it yet. But, something will come along.

There was plenty of time to shop for beads for 2 other pieces that I’ll be posting about over the next few days.

During Friday’s reorganization, I gathered all my laying tools.
On the top is an African porcupine quill topped with a bead that was made by Patrick B. The middle row starting on the left has an extra Trolley Needle (went to Ebay; my other one is in my travel tool tote). Next is my fancy Celtic laying tool based on the Trolley Needle design that I use at home (it has a blunt end, and I’ve never come close to poking my eye with it). The “Stitcher’s Best Friend” (SBF) is third and has a nice angled tip, so I brought it upstairs to give it a try. The 4th is the “Best Laying Tool” (BLT), but not for me, although I will keep it in the basement cabinet because it says it’s an American style “Tekobari” with a really sharp tip which is needed doing goldwork.
On the bottom is a double end dental tool that I got as a free gift when daily drawings were held at ANG Seminars. It comes in handy for different things!
Since Saturday was ANG Main Line Stitchers chapter Stitch-in, I grabbed the Adjustable Stretcher Bars by Frank A Edmunds (they didn’t keep the canvas tight and easily got bumped out of shape) and my plastic hoops (I will use Morgan hoops or wooden ones wrapped in twill tape) and dropped them off for sale on Ebay.
I also threw in 1 of 2 Crafter’s Pride “Stitch A Ruler” because I plan to stitch a blackwork piece for 1 of them (I won’t need 2).

It may not be much to get rid of, but it’s some progress in a never-ending goal of getting organized.
Filed under: A Spring Sampler, Brandywine Chapter, Embroidery Guild of America, General comments, Needles, Tools
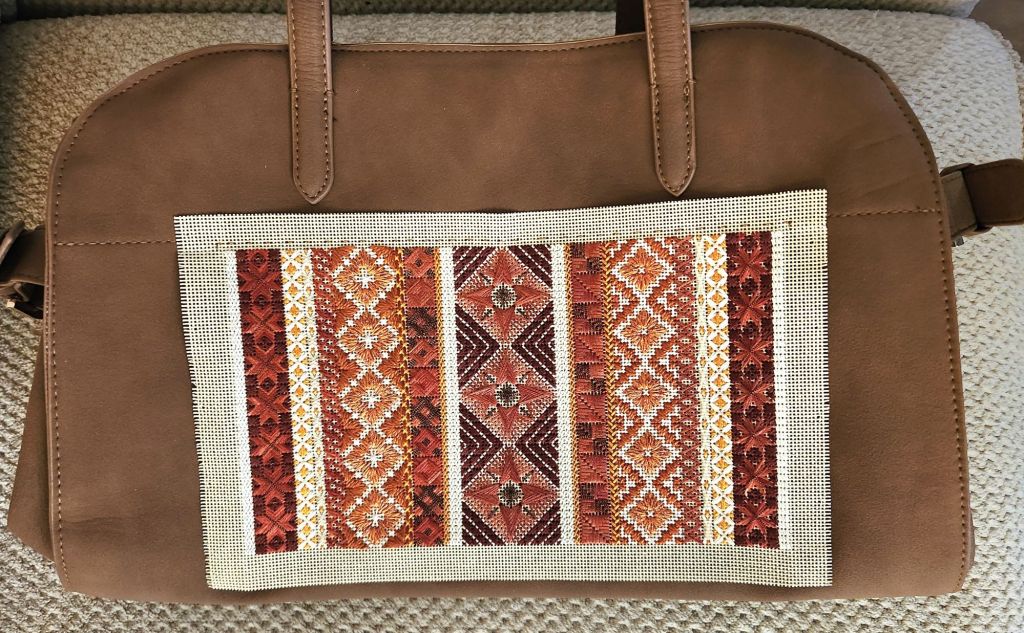
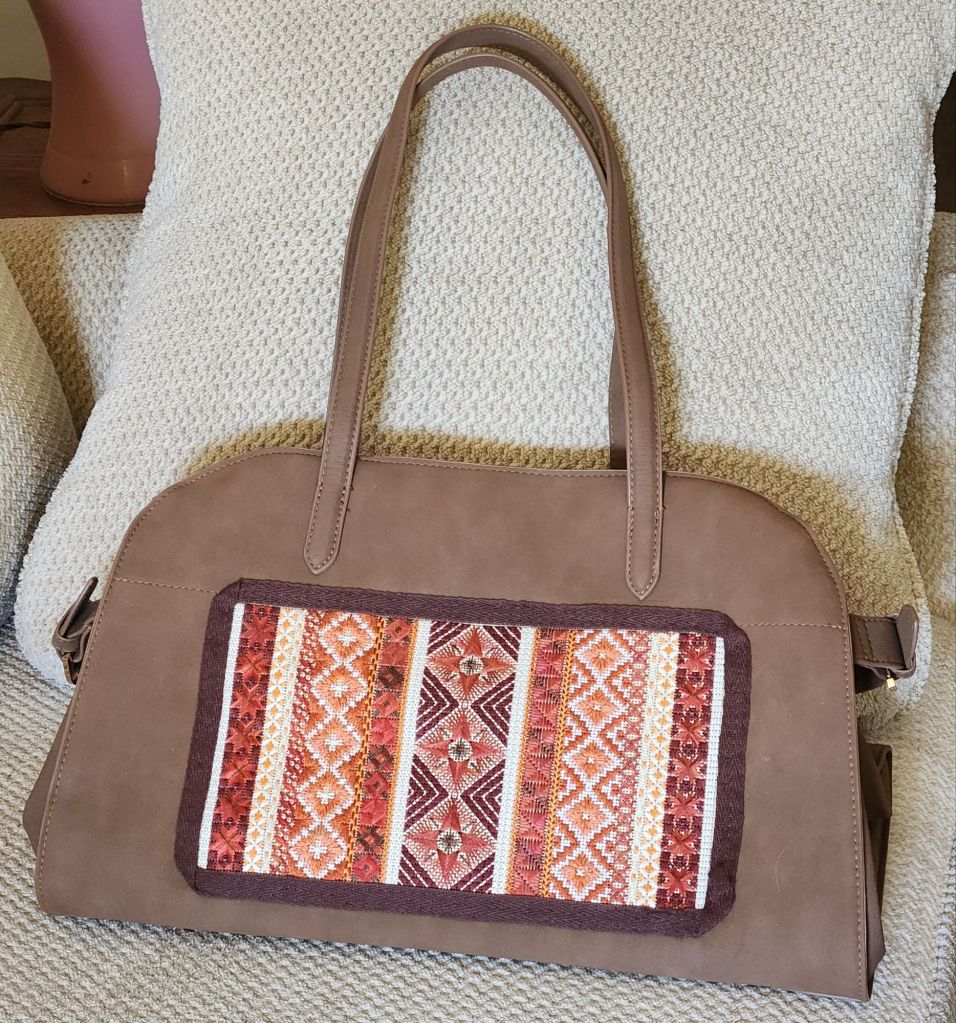
I found this bag at Target (https://www.target.com/p/solid-soft-satchel-handbag-a-new-day-8482-tan/-/A-91898942). It’s 10″ (H) x 15″ ![]() x 8″ (D) – perfect for the fall color skinny version of A Spring Sampler. Good price, too ($35). It will hold my battery pack, the Chapter’s eMeet speaker, Chapter business cards, travel tool kit, portable light, and curling iron. I am avoiding glue for this bag.
x 8″ (D) – perfect for the fall color skinny version of A Spring Sampler. Good price, too ($35). It will hold my battery pack, the Chapter’s eMeet speaker, Chapter business cards, travel tool kit, portable light, and curling iron. I am avoiding glue for this bag.
I needed the needle for leather from my Home Craft Repair kit of needles because the bag is made of polyurethane. I pinned the canvas in place and stitched through the inner lining, but it isn’t puckering too much, and I retained full access to the 2 cell phone pockets on the front inner side. Here’s the top edge attached.
The process of stitching the top in place made me think a thimble and a curved sharp needle would make the sides and bottom easier to stitch through the bag and hopefully not catch the lining. And, at this point, my hand needed a rest, and a trip to Joann’s was needed to get the sharp curved needles because I only have tapestry curved needles.
The curved sharp needles didn’t work well. Leverage was the problem. But, the package came with a small eye, very sharp straight needle. The real improvement came because of the Dritz thimble. What a difference that made.

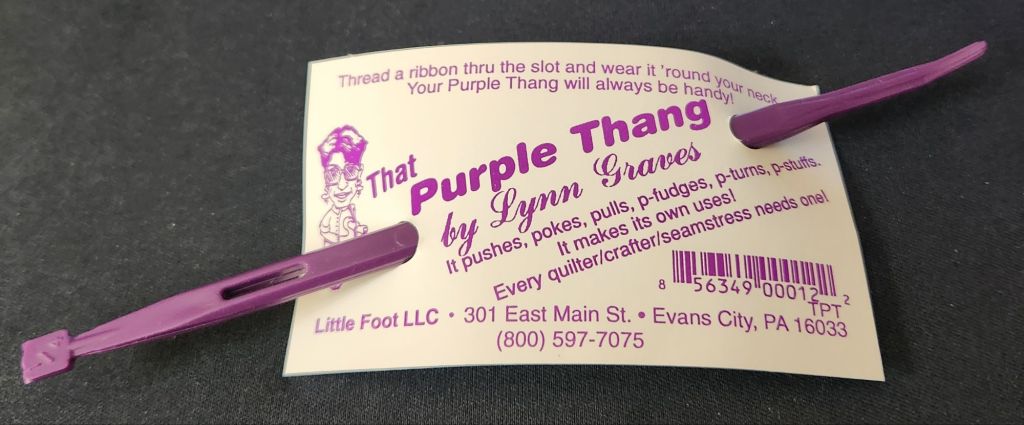
An aside: In order to find the thimble when I need it again, I am putting the thimble in my Stitch pen/tool cup on top of That Purple Thang by Lynn Graves which I have not used much (if ever). If I get rid of it, I’ll need it!
I was able to pull the lining away on the sides and bottom and push the needle through the front of the polyurethane, angle the needle back to the surface further along the canvas like a running stitch. I didn’t care how far. Some stitches are longer than others but the trim will cover it.
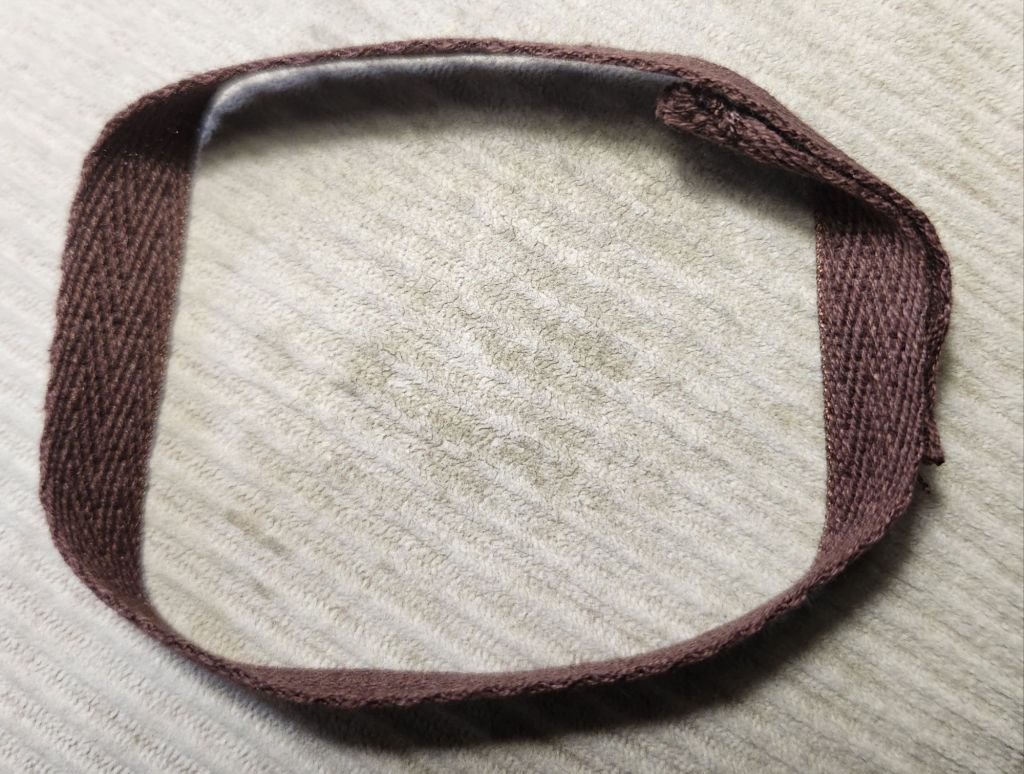
Once all 4 sides were attached, I cut the canvas down to 7 canvas threads wide and attached the trim. I found a 1/2″ wide dark brown flat trim at Joann’s. And, Mandarin Floss M833 was a perfect color match. I decided to catch the polyurethane and canvas periodically as I attached the trim down the center using 2 strands. I pulled out my mini pliers and that helped too.
When Bill and I were in the store looking at different trims, he placed this trim on the needlepoint and folded it around a corner. Before I started, I worked out how to do that on all 4 corners with a short length first. I had to cinch the ends together to stop them from fraying (no glue) and taper them to hide the ends easier.
I went back around a second time with one strand to sew down the outer edge. It probably took me 12 hours altogether since starting this on Thursday. There was some cursing but no bleeding. I didn’t jab my fingers once! I was very careful. That leather needle would have hurt.
The most exciting part is that it’s even at 1.75″ above the bottom edge. It looks good and no glue!
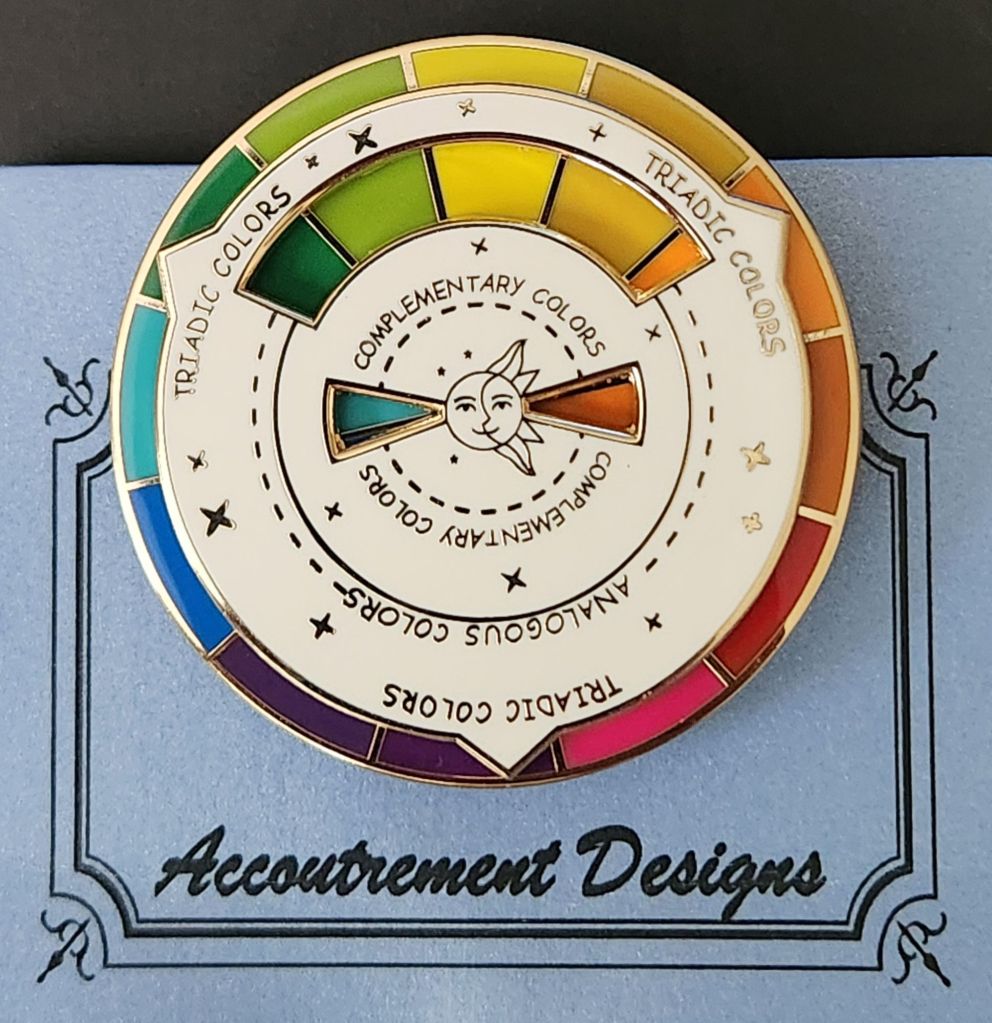
Look at this amazing magnet. The white to part actually turns! It’s 2″ across and so strong. Accoutrement Designs has excellent magnets. Such good quality. Birthday gift to myself.
I’m using my new mug, Taking it one STITCH at a time, from Linda to help me get organized. This is only one of a few gifts for my birthday, which is one of the big ones as far as birthdays go! Thanks to Linda for thinking of me and for the fun new projects (subjects of future posts).
The mug clears up some table space next to where I stitch. The tall wooden holder outgrew my needs and would periodically tip over. But it’s great for holding my skinny tools and scissors. So, I put the wooden holder inside the mug and added the stuff that had been laying flat.
One of my goals is to get organized. It’s tough to get my mind around this, but taking one area at a time is like taking one stitch at a time – right!?! The rest of the table space still needs to be organized, so I am posting only the mug! But, I am going back to my table space now.

I heard about Adjustable Stretcher Bars by Frank A Edmunds and found a set of 12″ and 16″ online and had to try them – because they exist!
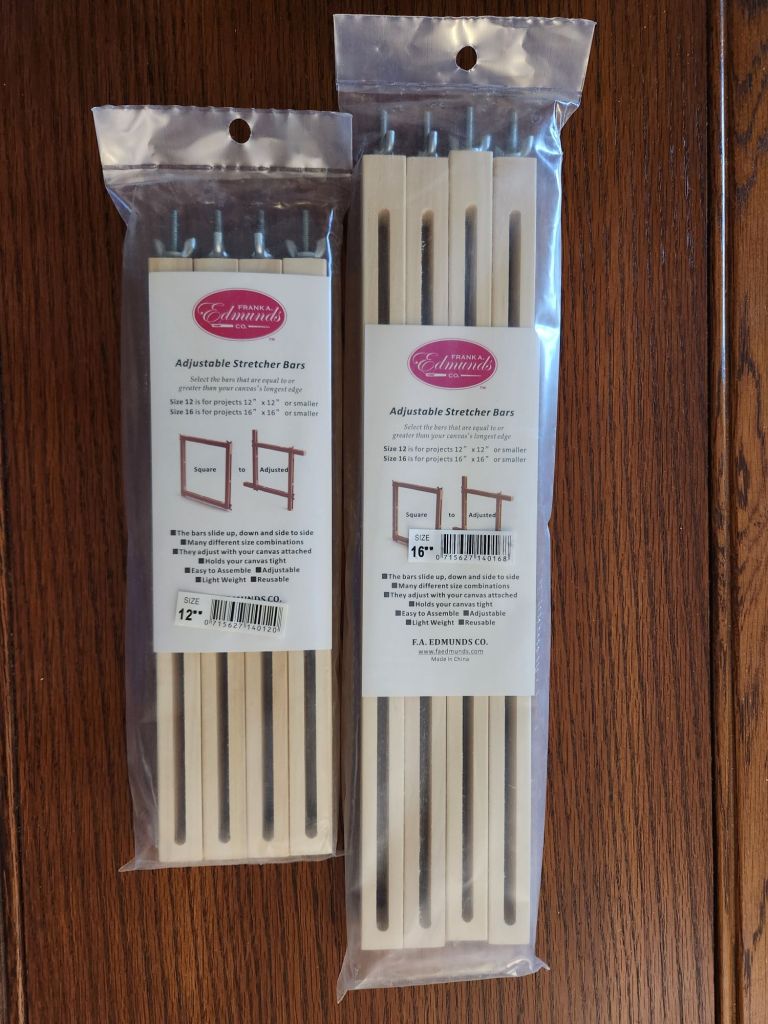
They are easier to put together than Evertite bars (no hammer needed) and square up better. But, some of the bars hang off. With the first arrangement, I could attach my lap stand along the upper left extended bar which which would be good but the lower right extended bar would be cumbersome because I am right handed.
So, I switched orientation.

I can’t make the canvas more taut by shifting the bars because they interlock. Evertites are easy to stretch taut with the turn of a screw.
Once I get stitching on this project, I’ll see what it feels like.
Does anyone else use these?
Updated November 2024: They are going to Ebay. They didn’t keep the canvas tight. And, they easily got bumped out of shape. Not for me.
Filed under: ANG Central Jersey Chapter, General comments, Name Tag Lee Canvas, Tools
I decided to add a blue “mat” by stitching 3 rows of tent stitch using the same dark blue Impressions 6040 used to frame the name.

I cut 4 tabs on each side, folded them back, steamed the canvas, added a piece of magazine board, placed a piece of double stick fusible web on the canvas (about 1/2″ smaller than the canvas), placed a piece of blue Ultrasuede on top and pressed it into place with my iron. I used my ironing cloth to protect the Ultrasuede since I had and still have no idea if applying an iron with or without steam to Ultrasuede is a good idea or not! It is sufficiently stiff and not too thick. I had left about 1/2″ around the edge so I could glue the edges to the white canvas tabs on the back. Glue could not reach the front because of the magazine board. If it did, it would only be on the blue “mat.”
I should have attached the pinback to the Ultrasuede first but my curved needles allowed me to attach it relatively easily. The pinback measures 1.5″ end to end but the center part is 1″.
Have I mentioned that I don’t like necklaces? Well, I don’t! So, I’ve come up with a way to display these.
I started using my Smasta in 2022 as a travel tool kit. Here is the inside. Note the pointed metal arch at the top.
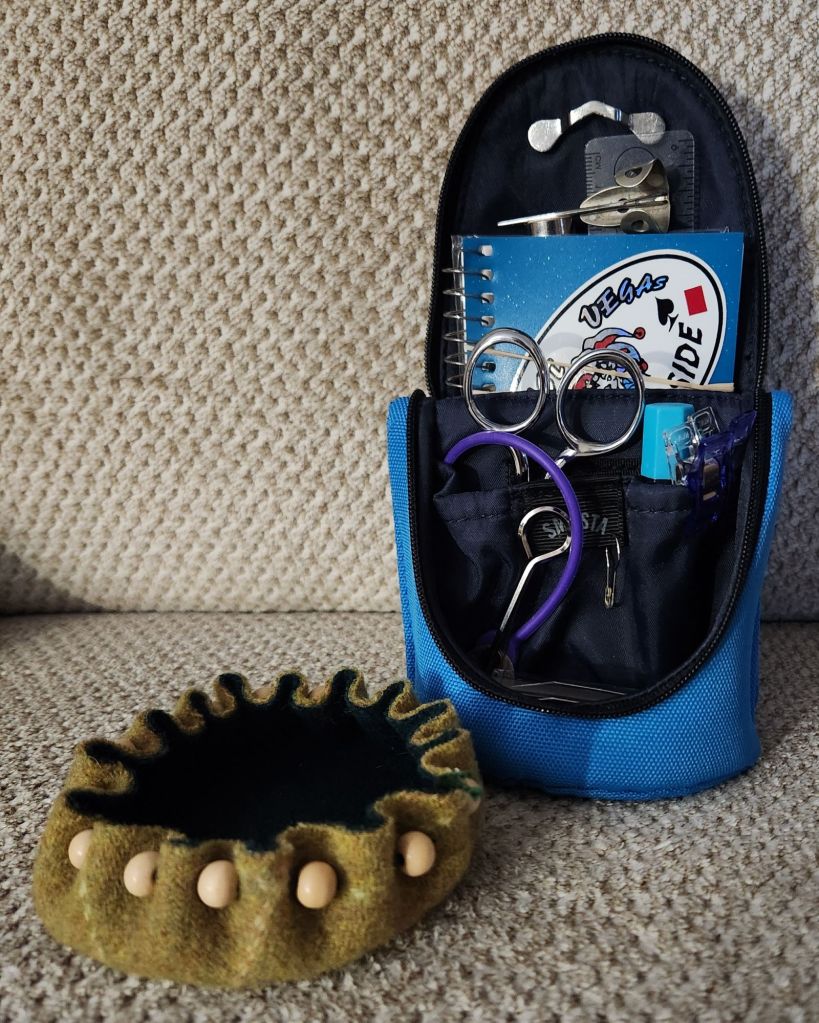
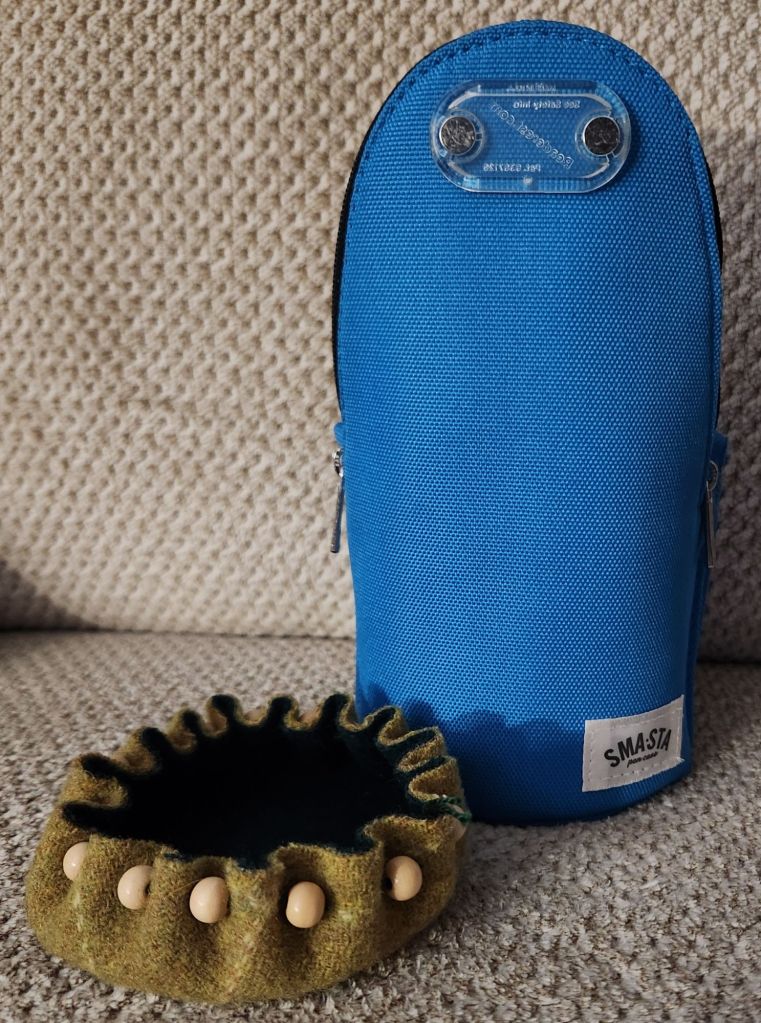
Here is the outside. Note the clear plastic oval. It has 2 magnets that are paired with the pointed metal arch on the inside (originally purchased at Barnes and Noble to hold glasses, but I never used it for that). It was in my travel tote as an extra needle minder if needed at a class.
By placing it where it is now, I can use it to display my name tags as I stitch! My Brandywine Chapter name tag already had a pinback. So, I knew this would work.
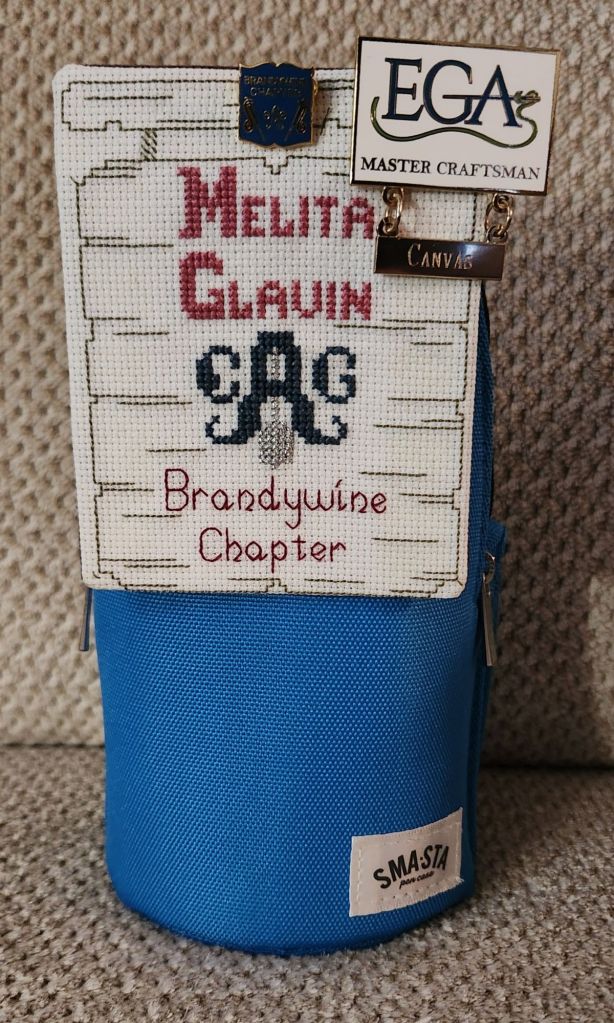
I added one to the back of my Main Line Stitchers Chapter name tag just in time for our Saturday Stitch-in tomorrow.

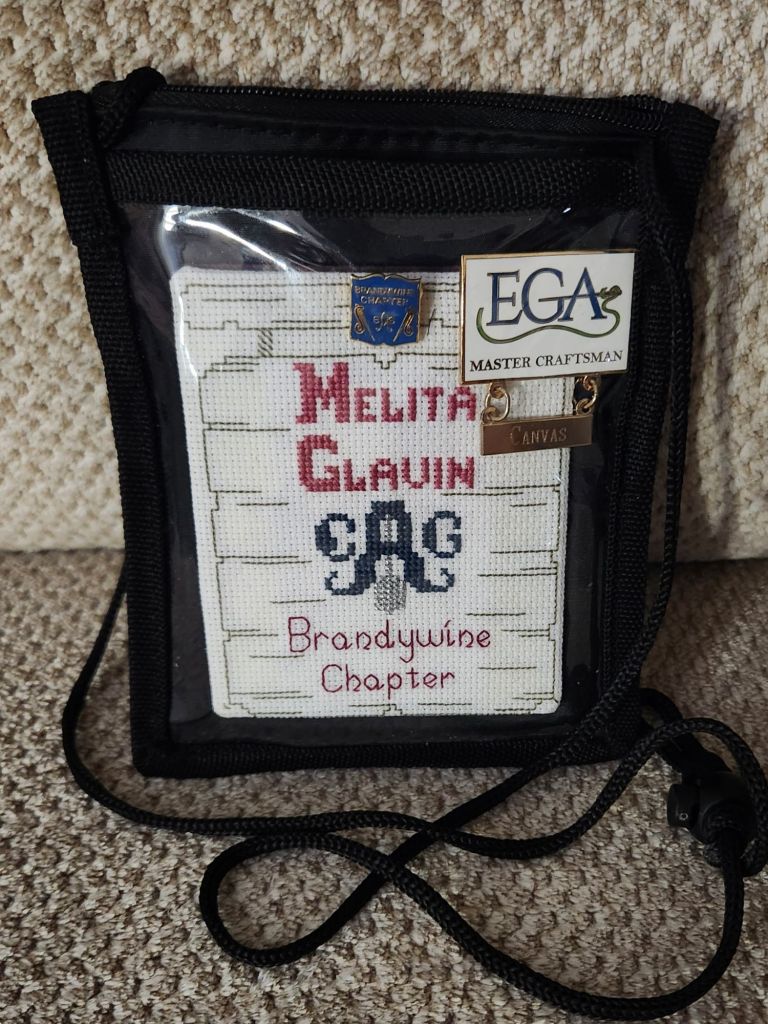
And, the newest name tag . . .

All 3 look great with the blue Smasta!
I believe I got this name tag holder at an EGA Mid-Atlantic Regional meeting. It holds all 3 name tags! The newest one just fit in the center zipper pocket.

That leaves New Jersey Needle Artists as the odd man out. I do have instructions for theirs. Maybe someday.

Filed under: General comments, Tools
Just about everyone that I know has been shown how to make cording! This past week was my Needlework and Fiber Guild of Media.
This past Tuesday, I demonstrated the 2 color candy cane, Herringbone, and 4 color candy cane methods described in the instructions. Sally brought enough thread to cord a tree (like a ‘yarn bomb’ – google it if you’re not familiar with the term). I’d love to see a yarn bomb in person. Anyway, . . .
In preparation for the evening, I had to practice the 4 color method. Between Bill, a table, and tape I got it done. It’s too complicated to do routinely and 2 colors are fine. But, we had a nice turn out at the meeting and 4 other people had cord makers. So we broke into groups and practiced.
Prices of the Kreinik Custom Corder vary at different sites online so shop around. Or, you can put a pencil at one end and hand twist the pencil. You can also use a hand drill.
I’ve gathered quite a selection of samples of cording.