Filed under: National Academy of Needlearts (NAN)
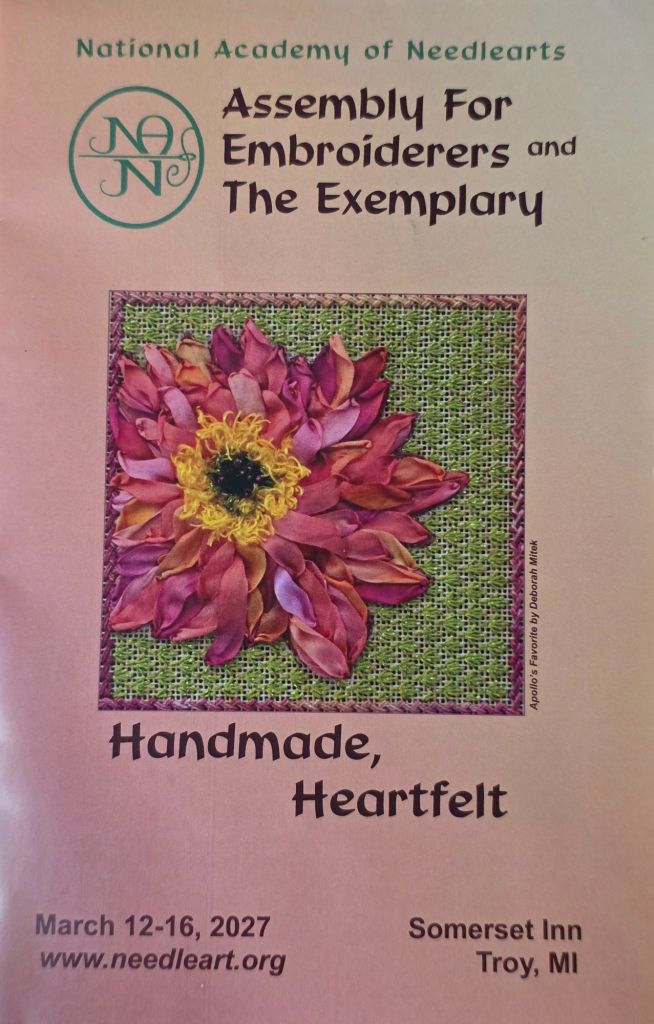
While I would like to attend everything, I feel like 2027 will be catch up time on what I already have. So, while I would love to take Star Dance with Margaret Bendig, at the 2027 National Academy of Needlearts Assembly (https://share.google/PssnFHgqkmWKlpY84), I am going to pass.
It’s smaller than the ANG or EGA Seminars but it’s just as well run, is a lovely hotel, and I have nothing but excellent memories including winning Best in Show last year!
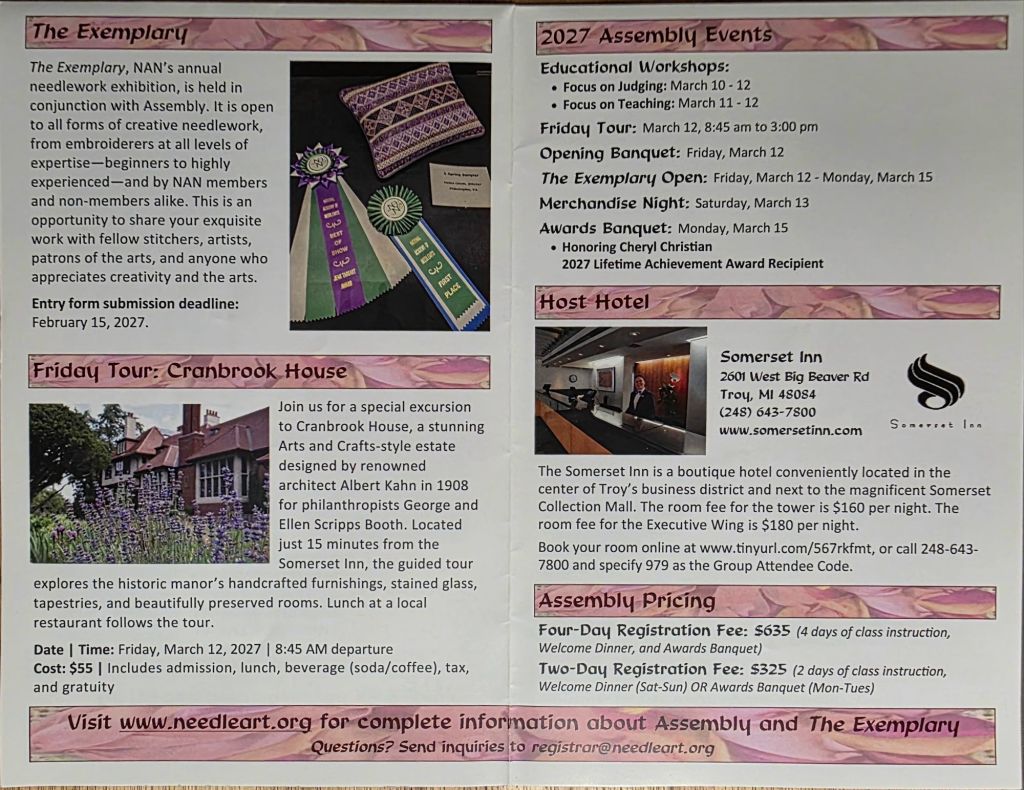
If you’ve thought about attending and see a class or two calling to you, registration opened October 1. So, don’t delay.
Filed under: 2026, Magical Color with Jennifer Riefenberg, National Academy of Needlearts (NAN)
While preparing for painting mainly in the upstairs bedrooms and hallway, I tried to let go of stuff that has been displayed or tucked away in drawers. We donated 2 boxes of stuff. It’s a start. But, I came across one item that is going to be repurposed. It’s a cover for my daily planners that I used in the 80s and 90s. Yeah, I have a hard time letting go! And yes, I like pandas and my panda cookie jar currently filled with Keurig coffee pods fulfills my tribute to that adorable animal. Elephants and orangutans are right up there and are also represented in our home. Bill brought an owl into the fold when we married and later 3 dogs (statues). But, I digress.

This cover is perfect for Magical Color by Jennifer Riefenberg. It’s the perfect size, is stiff, will hold a notebook, and will stand up to be displayed if desired. I stitched the gobelin border as Jennifer intended. Then, I stitched a buttonhole border over 2 canvas threds so that I could cut right up to the stitching. I didn’t want bulk from folding the edges back like when you finish as a flat ornament. I laid long strands in the well between both borders.

I used a piece of black felt with a sticky back and tacked each piece onto the felt by couching the long laid thread into place before applying the felt to the daily planner cover. And, I can easily take it off the felt if desired.

Filed under: 2026, Magical Color with Jennifer Riefenberg, National Academy of Needlearts (NAN)
Black borders really allow the colors to pop in Magical Color by Jennifer Riefenberg!
The same threads are used across each row. The difference in appearance is all due to the different canvas painted colors showing through.

I have the finishing planned. Stay tuned.
Filed under: 2026, Magical Color with Jennifer Riefenberg, National Academy of Needlearts (NAN)
Over the past month, I got back to stitching on Magical Color by Jennifer Riefenberg. It’s quite a variety of warm and cool colors being added on each row and it’s interesting to see how they combine with each other and differ depending on the painted base color.

A black border is all that is needed now. Then, finishing. Jennifer made hers into a book jacket type of thing although I don’t think that it held a book. Even though this looks like one canvas thanks to Photoshop, it is two separate pieces. I am undecided about what to do with it. Thoughts?
Filed under: 2026, Magical Color with Jennifer Riefenberg, National Academy of Needlearts (NAN)
From my class, Magical Color, with Jennifer Riefenberg, I have now completed Step 1 across both the warm and cool colorways by using mostly color matched overdyed threads when they were called for. That maximizes the color experience for me.

There are up to 4 steps to complete per row but I will take a break from it for now and study the interactions a bit more.
Filed under: 2026, Magical Color with Jennifer Riefenberg, National Academy of Needlearts (NAN)
Day 2 of Magical Color with Jennifer Riefenberg. Remember yesterday i wondered about people only buying one of the two colorways? Well I mentioned it to Jennifer and she said once people get to class and see how the cool and warm canvases work to tell the whole story, they usually buy the second one and Jennifer brings extra ones. Smart!
Kathy Rees headed out early but I got our comparison photo before she left. Hers is on the left and mine on the right. The red thread on the third row really contrasts on mine and looks like it changes color from red to orange! If I wasn’t stitching these, I would find it hard to believe.

I got my 3rd row done on my warm canvas. I spent time color matching Waterlilies for the 5th row. By working with longer strands, I could complete a square but got a few knots that took time to loosen and only got one motif copleted on the 5th row.

I will definitely work through all step 1 stitches before adding more to them. It’s quite interesting seeing these develop.
An excellent event once again. Thanks to everyone who made it happen.
Day 1 of Magical Color with Jennifer Riefenberg. I purchased both colorways (cool and warm). How could anyone buy one without the other? It’s like reading half of a book!

Kathy Rees sat next to me and she decided to stitch the warm colorway. So, I went with the cool colorway. That allowed us to see the color develop simultaneously across the color wheel of canvases that both create. Kathy makes as great a fellow student stitcher as she does a teacher.
Class started at 9 am. I am not a morning person. First we color matched lengths of thread from a ball of DMC #8 Perle (strong colors). I hadn’t heard or read we needed about 1 yard/square. And, I hadn’t heard or read that Jennifer started in the lower right corner. So, I started on the bottom left corner to make the longest repeatable portion of the Arrowhead Pattern. There was enough to complete half of another row in the dark brown. For the rest of the square, I selected the lightest yellow portion. So, mine looks different from Kathy’s but the gist of the saturation still was relevant.
Row 1 Melita’s on the left and Kathy’s on the right.

Row 2 Melita’s on the left and Kathy’s on the right. Here the thread, Impressions, was muted compared to the thread used in Row 1.

After the Farewell Dinner as we watched the World Baseball Classic, I finished the 2nd row of my warm canvas.

To maximize the color experience, we’ll only work the first step on each of the 5 rows before doing more steps.
During class Jennifer discussed the saturation aspects of both threads we used as it related to the warm and cool canvases. She talked about value, contrast, and more. Luckily, this is all written out for us to digest.
Filed under: 2026, Exploring Needlelace with Diane Clark, National Academy of Needlearts (NAN)
In the late morning of Day 2 of Exploring Needlelace with Diane Clark, I had two revelations.
First, I knew the class was all about needlelace but it wasn’t until today that I realized needlelacing isn’t at all like needle weaving.
Second, the detached lacing doesn’t get cut away from the muslin! So the pattern is reusable! When the light bulb went off for me, I blurted it out causing quite a chuckle.
I finished all assignments from today and finished yesterday’s beaded sample top center). I have blank frames to practice more at home. The bottom one was freestyle! Anything goes. There some very creative people in the class. It’s fun looking at everyone elses.

Filed under: 2026, Beads, General comments, National Academy of Needlearts (NAN)
I can’t get hooked but it would be so easy! There are two beaded designs in the National Academy of Needlearts Exemplary that are beautiful. The stitcher/beader, Lyn K from Chicago did a fantastic job with the designs. One indicates that the designer is Sabine Lippert. So, I googled sabine lippert beading patterns and found plenty of examples and more on her website Trytobead(.com). Amazing!
The one is titled A Song I Your Heart and I think there is a class being offered. But, I already have plans in October and wouldn’t go to California for it anyway. Maybe Blue Santa Beads in Media, PA does classes like this. No, I can’t!

The other design, Hibiscus, is a flower shaped bowl with an upright center extension like a ring holder dish but it didn’t state the designer. And Google didn’t find it.
Filed under: 2026, Exploring Needlelace with Diane Clark, National Academy of Needlearts (NAN)
Day 1 of Exploring Needlelace with Diane Clark. The kit even came with a 4″ hoop!

We selected threads and a bead packet. Very extensive directions with lots of photos (I removed her contact info from the cover page).

Since I had two 4″ hoops at home, I brought them along just in case. I’m glad I did. There were 3 squares that I didn’t finish during class (2 upper right and oval ones bottom right).

Our homework was to finish the foundation squares like the one on the bottom left which I got done. Diane also wanted the padded oval finished. So, I did that too. That left 2 partially stitched squares and I ran out of steam when I got to the beaded square (upper right). That’s ok!

I really made progress getting more consistent and even lacing as I did more of it. The padded oval turned out well.

We covered the Cordonnet/Foundation, Brussels stitch, Double Brussels stitch, Pea stitch, pea stitch with beads, and needle lace over padding.
Diane is an excellent teacher, has great demos, and is taking this at a nice, steady pace.

