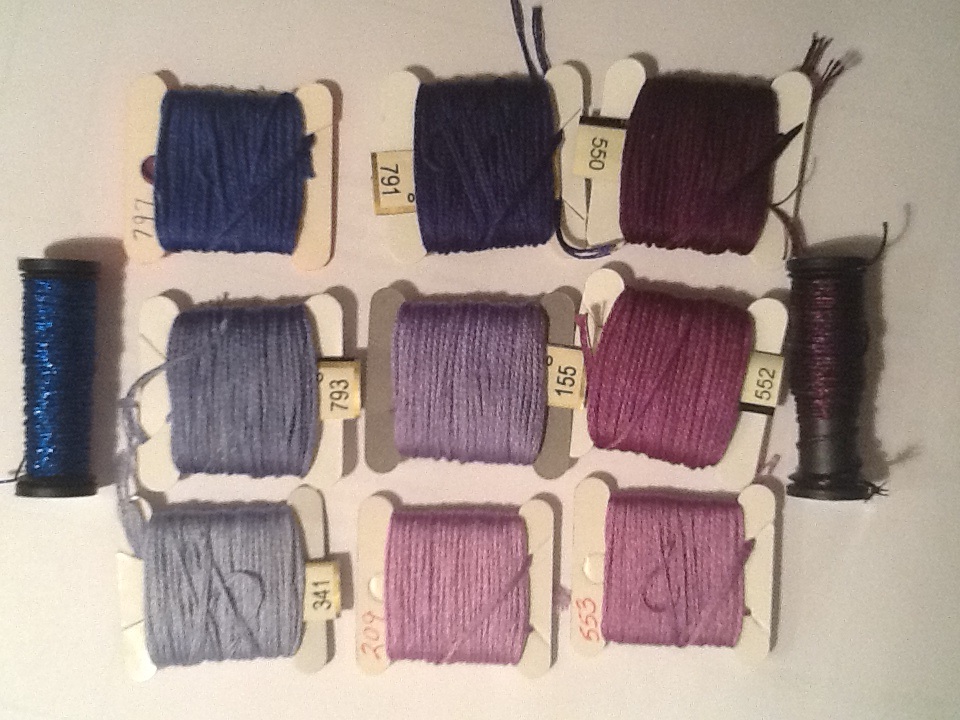
I am not thrilled with the analogous colors I selected for this project. They looked ok together before I stitched but didn’t come together as I expected. Oh well, back to the color wheel for another spin! I’m looking forward to seeing how my chapter members made out with theirs.
It should not reflect badly on the design which I tried to shrink to fit into a 3″ x 3″ space. The bottom left corner turned out the best. But, this will not be getting a mate for another set of bookends.

Filed under: ANG Main Line Stitchers Chapter
Main Line Stitchers (PA):
On April 8, we’ll be sharing our progress on Color Effects, practice stitching the h in hope, and selecting a piece for our Fiber Arts project. This project will remain a mystery until you arrive at class.
And, on May 13, Mary Smull will join us and add to our understanding of “Fiber Arts”. Mary is a fiber artist and educator from Philadelphia, works with needlepoint as a Conceptual art form, gave the keynote speaker address at the ANG 2012 Philadelphia Seminar Welcome Banquet, and founded SPUN, the Society of the Prevention of Unfinished Needlework.
All meetings will be held at St. Luke’s Lutheran Church, on the second Monday of the month at 7:15 pm. GPS: 203 North Valley Forge Road, Devon, PA
MainLineStitchersChapter@needlepoint.org
Filed under: ANG Main Line Stitchers Chapter, Or Nué Star Lily with Brenda Kocher
Please join Main Line Stitchers on Saturday May 18, 2013 from 9:30 am to 4:30 pm for:
Or Nué Star Lily with Brenda Kocher

Brenda Kocher is a needlepoint designer and teacher (http://www.brendakocherdesigns.net/). Brenda participated in The Hand Dyed Fibers Needlework Exhibit in June 2011, showed new designs in The Online Needlework Show in April 2012, and is exhibiting through February at Half Moon Handwerks.
You’ll find that Or Nué can be quite addictive and is a wonderful way to use your stash of threads. The Star Lily is a quilt pattern with beautiful splashes of color. Gold threads are covered with couching threads which create the design (2” x 2”).
Proficiency Level: Beginner/Intermediate Skill Level; Pre-stitching Required: None
Guild Membership: Not required to be a member of ANG or the ANG Main Line Chapter
Class Fee/Details: Class cost is $70 which includes the instructions, threads, and 18-count canvas (choice of black or white) and covers the cost of the room, the teaching fee, and travel expenses. This is non-refundable unless the class is cancelled. If you can’t attend, you will still get your kit (a $25 value) or you may find your own substitute to take your place in the class.
Please note: Once 14 students enroll, the cost will drop to $60. And, if we reach the maximum class size of 20 students, the cost will be $50. You will get a cash refund at the class. This is on a first-come-first-serve basis. So, register now to learn this technique!
Register Now: Please give me your phone number, email address, and indicate whether you want a black or white canvas. The model is stitched on black but white will be easier to work on.
Make your check out to Melita Glavin and mail it to: 4331 I Street, Philadelphia, PA 19124.
Please note: Students must supply their own stretcher bars (6” x 6”), regular stitching supplies, and lighting if desired. A stand or frame weight will help keep your hands free. You’ll be using several needles threaded in different colors that you will park on the sides of the canvas when you aren’t using them. So, magnets may be good to have too. You should bring a bag lunch. Iced tea (regular and diet) will be provided.
Location: St. Luke’s Lutheran Church. GPS: 203 North Valley Forge Road, Devon, PA; Free parking
Questions: Please contact Melita Glavin at glav257@yahoo.com
On behalf of ANG MLS Board, we look forward to seeing you in May!
Filed under: ANG Main Line Stitchers Chapter, General comments | Tags: needlework
Something different today for my 300th posting since I started blogging. I came across a website with various needlepoint quotes (http://www.quotegarden.com/needlework.html) that I want to share.
The reason I went looking for quotes was to find one to use in thank you notes that I am preparing for an upcoming class our ANG Mainline chapter is offering. More on the class in a future blog.
I think of one of our members, Patrick, when I substitute wife for husband because he says he is constantly losing needles (I have had my fair share go missing despite trying to use magnet holders):
My husband is a human pincushion. ~Author Unknown
Most of us can relate to this one (I have a 5&1/2′ x 3′ cabinet, 4 files drawers (20″ deep x 15″ wide), 10-12′ of books on shelves), and still have a couple free-standing bags of projects):
Sewing fills my days, not to mention the living room, bedroom, and closets. ~Author Unknown
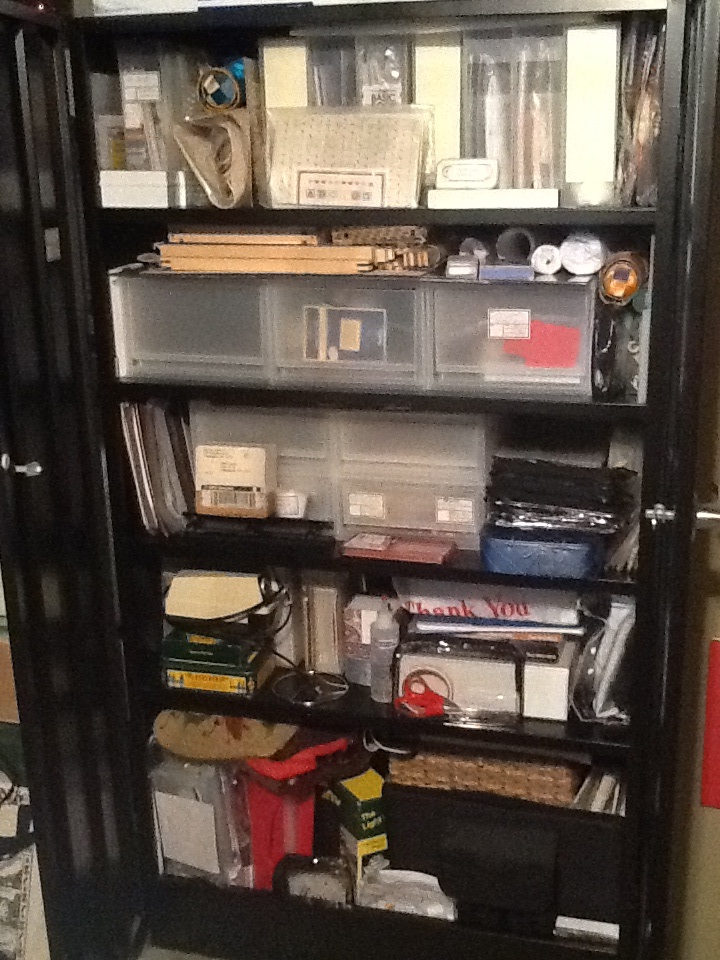
As you can see, I agree with this quote:
Sewing: A creative mess is better than tidy idleness. ~Author Unknown
And, who doesn’t agree:
Any day spent sewing, is a good day. ~Author Unknown
When you have time, read more on the website for some wonderful quotes. Which one makes you smile?
Join us on February 11, we’ll be “Talking Color” as we begin Color Effects by Joni Stevenson, from the 2011 ANG Chapter Project Book (http://www.needlepoint.org/CPB/images/Color-Effects.jpg). Then, bring the stash you selected and a canvas on March 11 for “Playing with Paint”. You will paint a canvas as we continue with Color Effects. We’ll supply the paint and brushes. Cover or provide accents to your canvas to enhance your stitched piece!
All meetings will be held at St. Luke’s Lutheran Church, on the second Monday of the month at 7:15 pm. GPS: 203 North Valley Forge Road, Devon, PA
MainLineStitchersChapter@needlepoint.org
The last of the quartet ornaments is finished.
I used the same threads as before but back to using 2 strands of Pebbly Perle (P66) because now that is running low. Stayed with 2 strands of DMC Perle #8 (3071) because I had plenty of that left (and still do). And, I did go back to the solid light purple Kreinik #8 braid Color 023. This will also be for a set of bookends.

Another particularly good tip for me from CyberPointer’s Chris L for the double upright crosses was to do the full pattern before attempting the outside edges. That allowed me to get the hang of crossing in the proper direction before doing the partial crosses which are required as part of compensating. I have tended to think that compensating should not be necessary if the design is layed out purposefully. But, as I stitched this, I decided that it can serve as a border while maintaining the continuity of the design. And, in a sense, it makes the piece expand beyond the edge. How do you feel about compensating stitches around the edge?
I have one more set of bookends to make for a gift. Now, I have to pick different threads because the Pebbly Perle and Kreinik stash is depleted and because I want to work with something else! And, I need to find a pattern.
Another of the quartet, the Bargello Ornament, reached completion and worked up quicker than the first two. I stayed with the same threads but used them differently. I didn’t unstrand the Pebbly Perle (P66). I thought it would like nice to be round and match the roundness of the Kreinik thread (271). Now, I am almost out of that Kreinik, the one with the slight green and purple coloring. So, if the last ornament calls for Kreinik, I’ll have to use the solid color again. And, I ran out of DMC floss 3041, the contrasting purple color floss. But, I had plenty of the DMC Perle #8. So, I used that for the border and corner motif. Looks great. I have since replenished that floss.
I am so glad to have Chris L. from CyberPointers’s notes – her tip about following the chart carefully where you turn the corners on the border was fantastic. You get into the rhythm of going over 4 threads and can easily miss that it is over 3. I did much less restitching than I likely would have without the tip!

The Pattern Couching Ornament is now done as well. It is on the same light green canvas & I used Perle Cotton #8 Color 3041, DMC Floss Color 3041, Pebbly Perle P66, and Kreinik #8 braid Color 023. But, I added DMC Floss Color 3042 between the darker rows of the inner corners because I didn’t want a solid mass of dark color as Marilyn describes on page 2:6. And, I didn’t want to leave it blank. So, the next shade lighter worked out well. And, instead of a contrasting #12 braid for the center pattern couching, I used a #16 braid Kreinik Color 271 that has a hint of green throughout it and matches the other Kreinik nicely. I do not have a single #12 Kreinik in my stash! But, #16 worked fine.

I have chosen this one (after consulting with my husband) to accompany the already completed String Art Ornament as an insert for a pair of bookends. I am thinking about using mylar to place behind each insert because there is enough canvas showing through that it might look good. Thoughts? Has anyone used this? And, does anyone know who/what type of store sells mylar? I have not taken time to google and search that out yet.
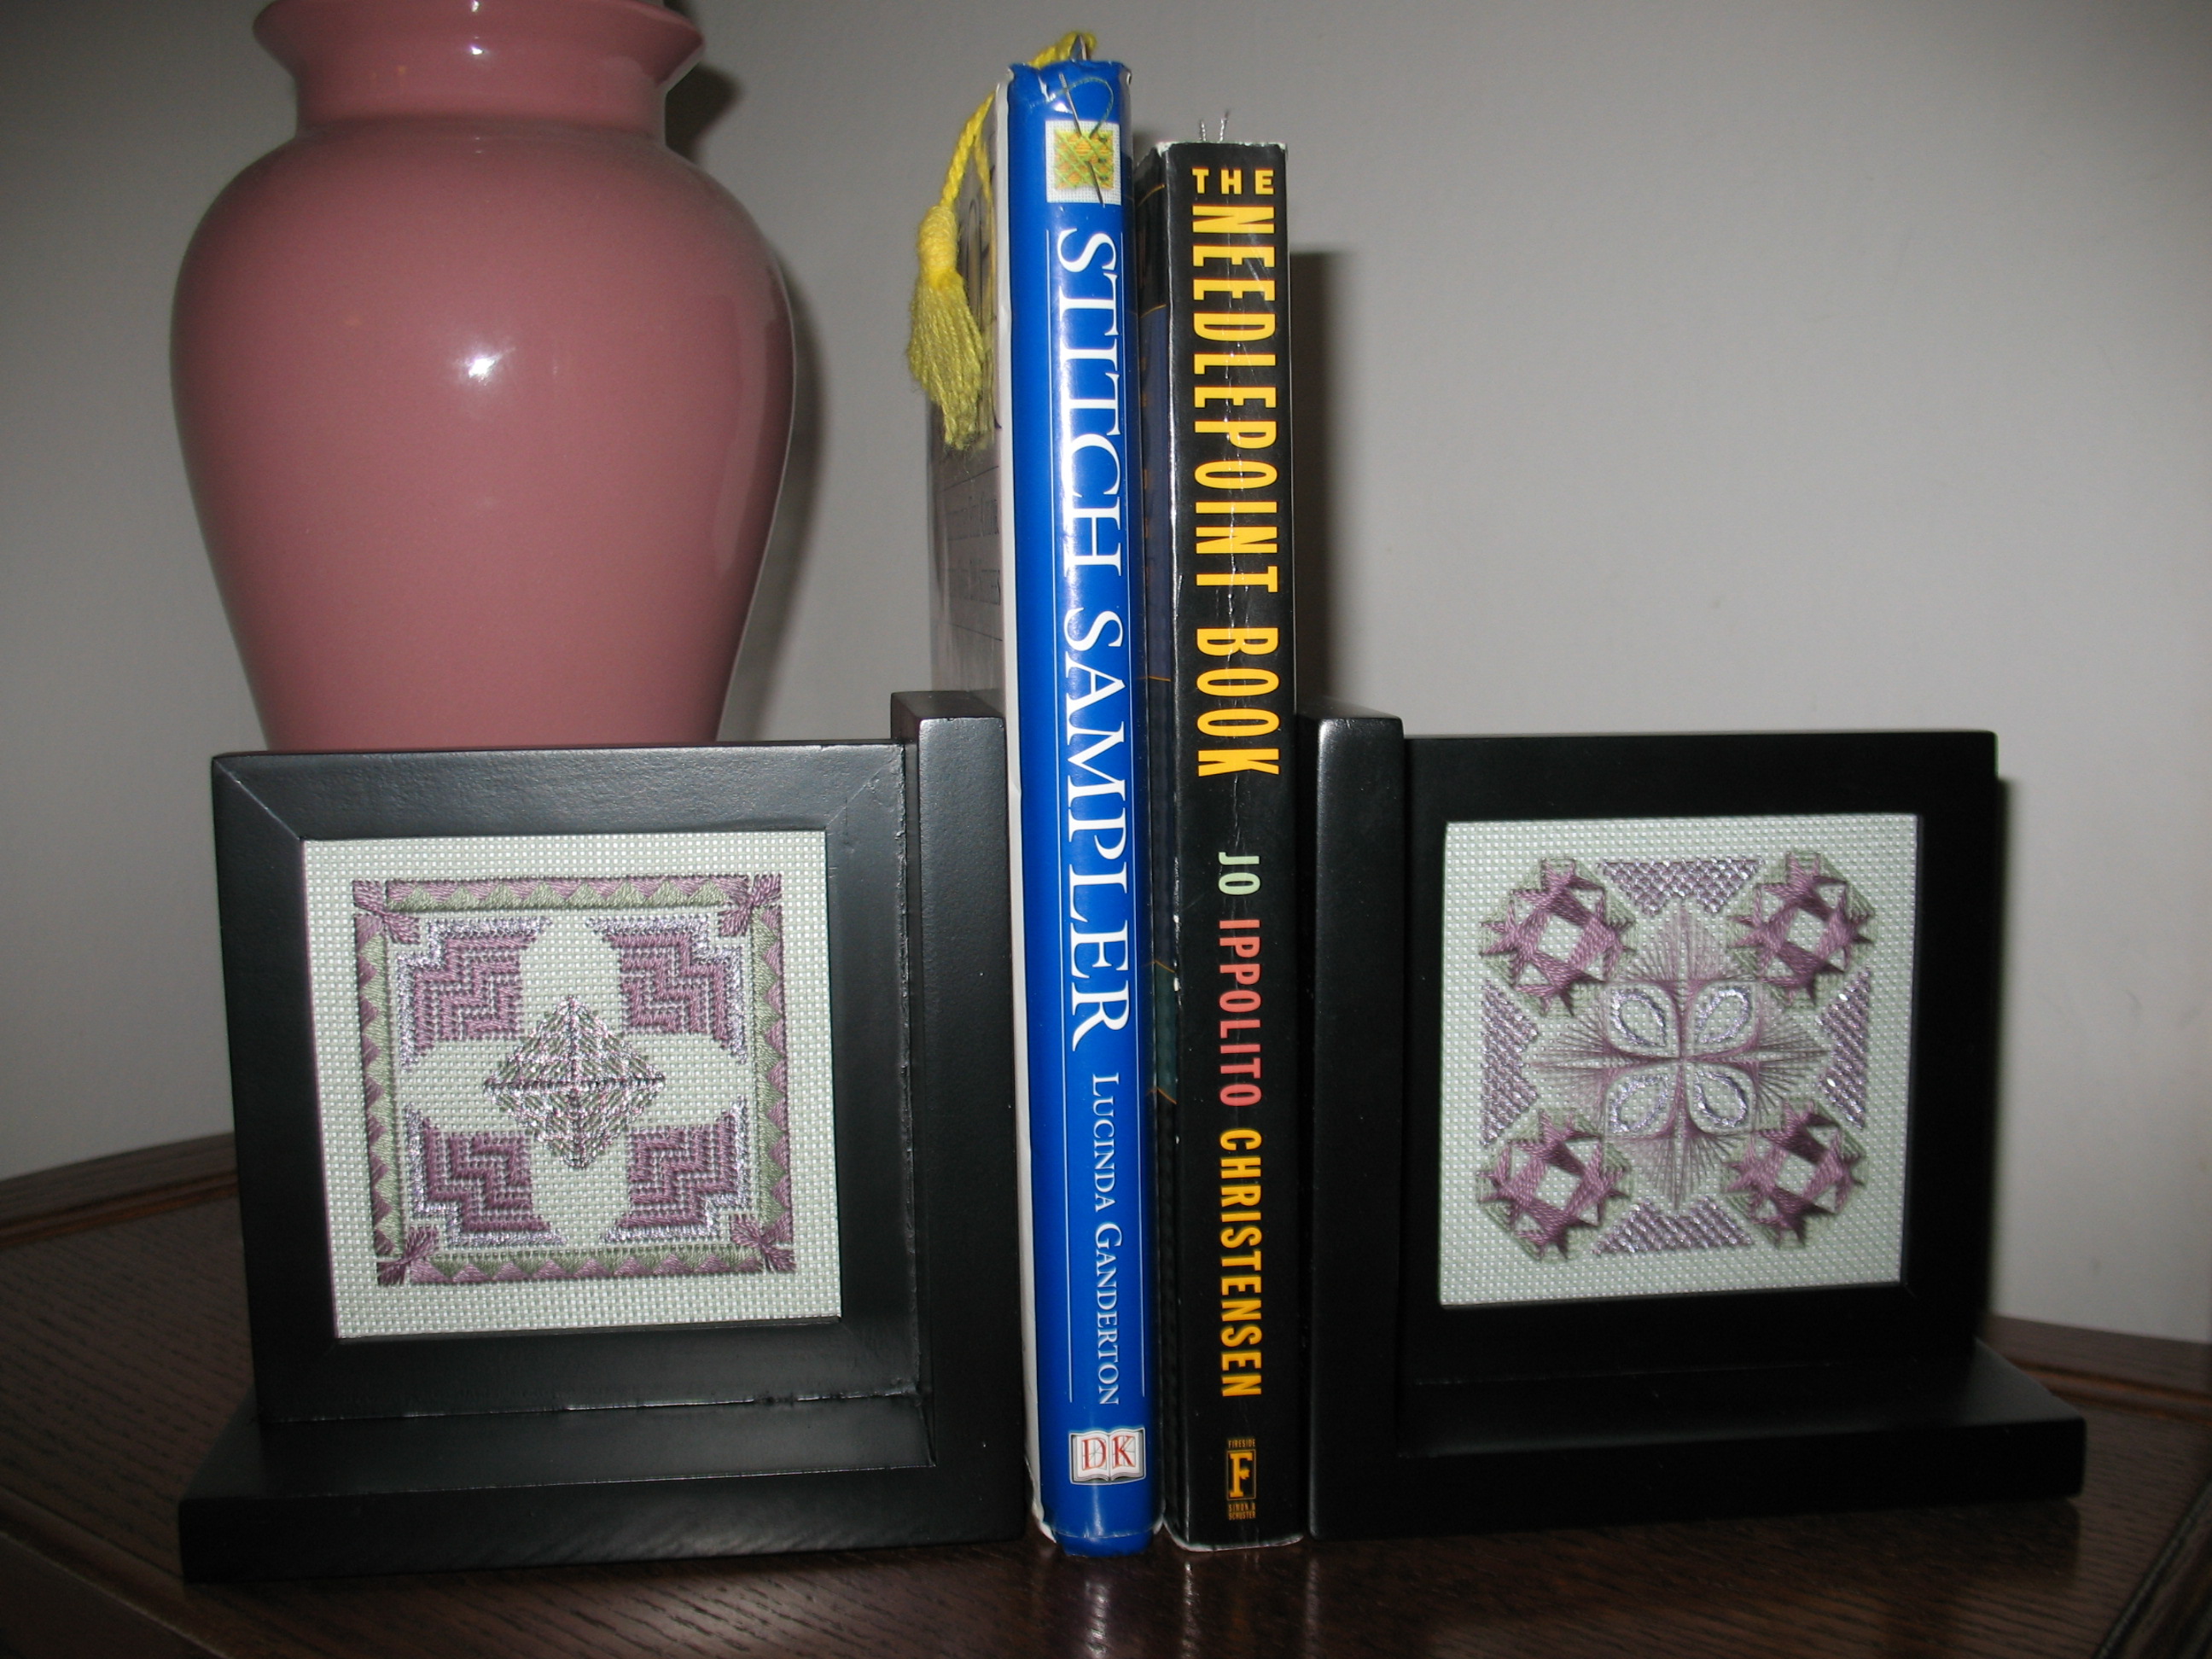
I found a nice deal on the bookends at Kmart and thought instantly of using these designs as singles for the inserts. They are Joe Boxer Frame Bookends measuring 5.5″ x 5.5″ x 3.15″ with the insert area measuring 4″ x 4″. I always keep my eyes open for different ways to display needlepoint! I especially like these because they don’t need to go to the finisher and will make a nice gift without costing a lot of money!
The Nun’s Stitch Finishing stitch works perfect and I found polyester sewing thread with my basting threads! It is thin and so it didn’t add any bulk to the edges. I thought I was careful when cutting but apparently had not pulled as tight as I should have for one stitch and it got snipped when I cut along the channel. I decided to go back and reinforce with 2 stitches on each side of the snip just to be on the safe side.
As a reminder, both ANG CyberPointers and ANG Mainline Chapter decided to do the Ornament Quartet by Marilyn Owens from the 2011 Chapter Handbook (http://www.needlepoint.org/CPB/images/Ornament-Quartet-Composite.jpg).
On to the next ornaments in the quartet! I am pleased with how the first 2 came out and want to see the next couple.
Both ANG CyberPointers and ANG Mainline Chapter decided to do the Ornament Quartet by Marilyn Owens from the 2011 Chapter Handbook (http://www.needlepoint.org/CPB/images/Ornament-Quartet-Composite.jpg). And, I have finished the String Art one. Looks nice but I think I made up a new stitch by accident! Look closely at the Walneto. They don’t match. So, does that make it a Meleto? I realized when I saw Ann’s at our December Chapter meeting – she was leading us through the design & had pre-stitched the ornament. Everyone agreed that mine was fine and not worth ripping out.
It is on a light green canvas & I used Perle Cotton #8 Color 3041, DMC Floss Color 3041,Pebbly Perle P66, and Kreinik #8 braid Color 023. I have to do one more ornament of the four for a set of . . . I don’t know which of the remaining 3 designs I will select but I know what it is going to be a set of.

Filed under: ANG Main Line Stitchers Chapter, Christmas Ornaments, Christmas Trees, Melita's Other Completed Pieces
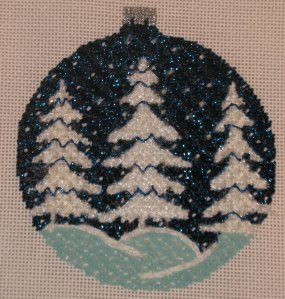
Our ANG Main Line Stitcher’s Christmas meeting is tomorrow night and I have been working steadily over the past few days in order to finish this for the meeting. I “stole” it last year because I thought it was beautiful and I love Christmas ornaments! I talked about this piece previously (https://melitastitches4fun.wordpress.com/2011/12/31/christmas-trees/). But, I found the tree pattern from Stitch Landscape by Little Shoppe Canvas Company for the middle tree (16) that I selected quite difficult and time-consuming. I think that is why I put off working on it for so long. So, I switched to tree pattern 13. And, I switched to slightly less bright white threads (Fuzzy Stuff FZ27 and Arctic Rays AR3). The grass was supposed to be grass pattern 4 but the top cross thread looked messy. So, I skipped that and added some white Fuzzy Stuff to add the effect of fallen snow. For the snow just below the trees at the top part of the grass, I layed Snow (00 White) by Caron and couched it with Fuzzy Snow. Then, I layed one thread of Fuzzy Stuff on top of the Snow and couched that with Fuzzy Stuff.
There is no way that I’ll pay extra for a rush to finish it so that it can hang on my tree for this year – but I finished stitching it! Thanks again Connie!! Happy Holidays. And, what will I “steal” tomorrow tonight???