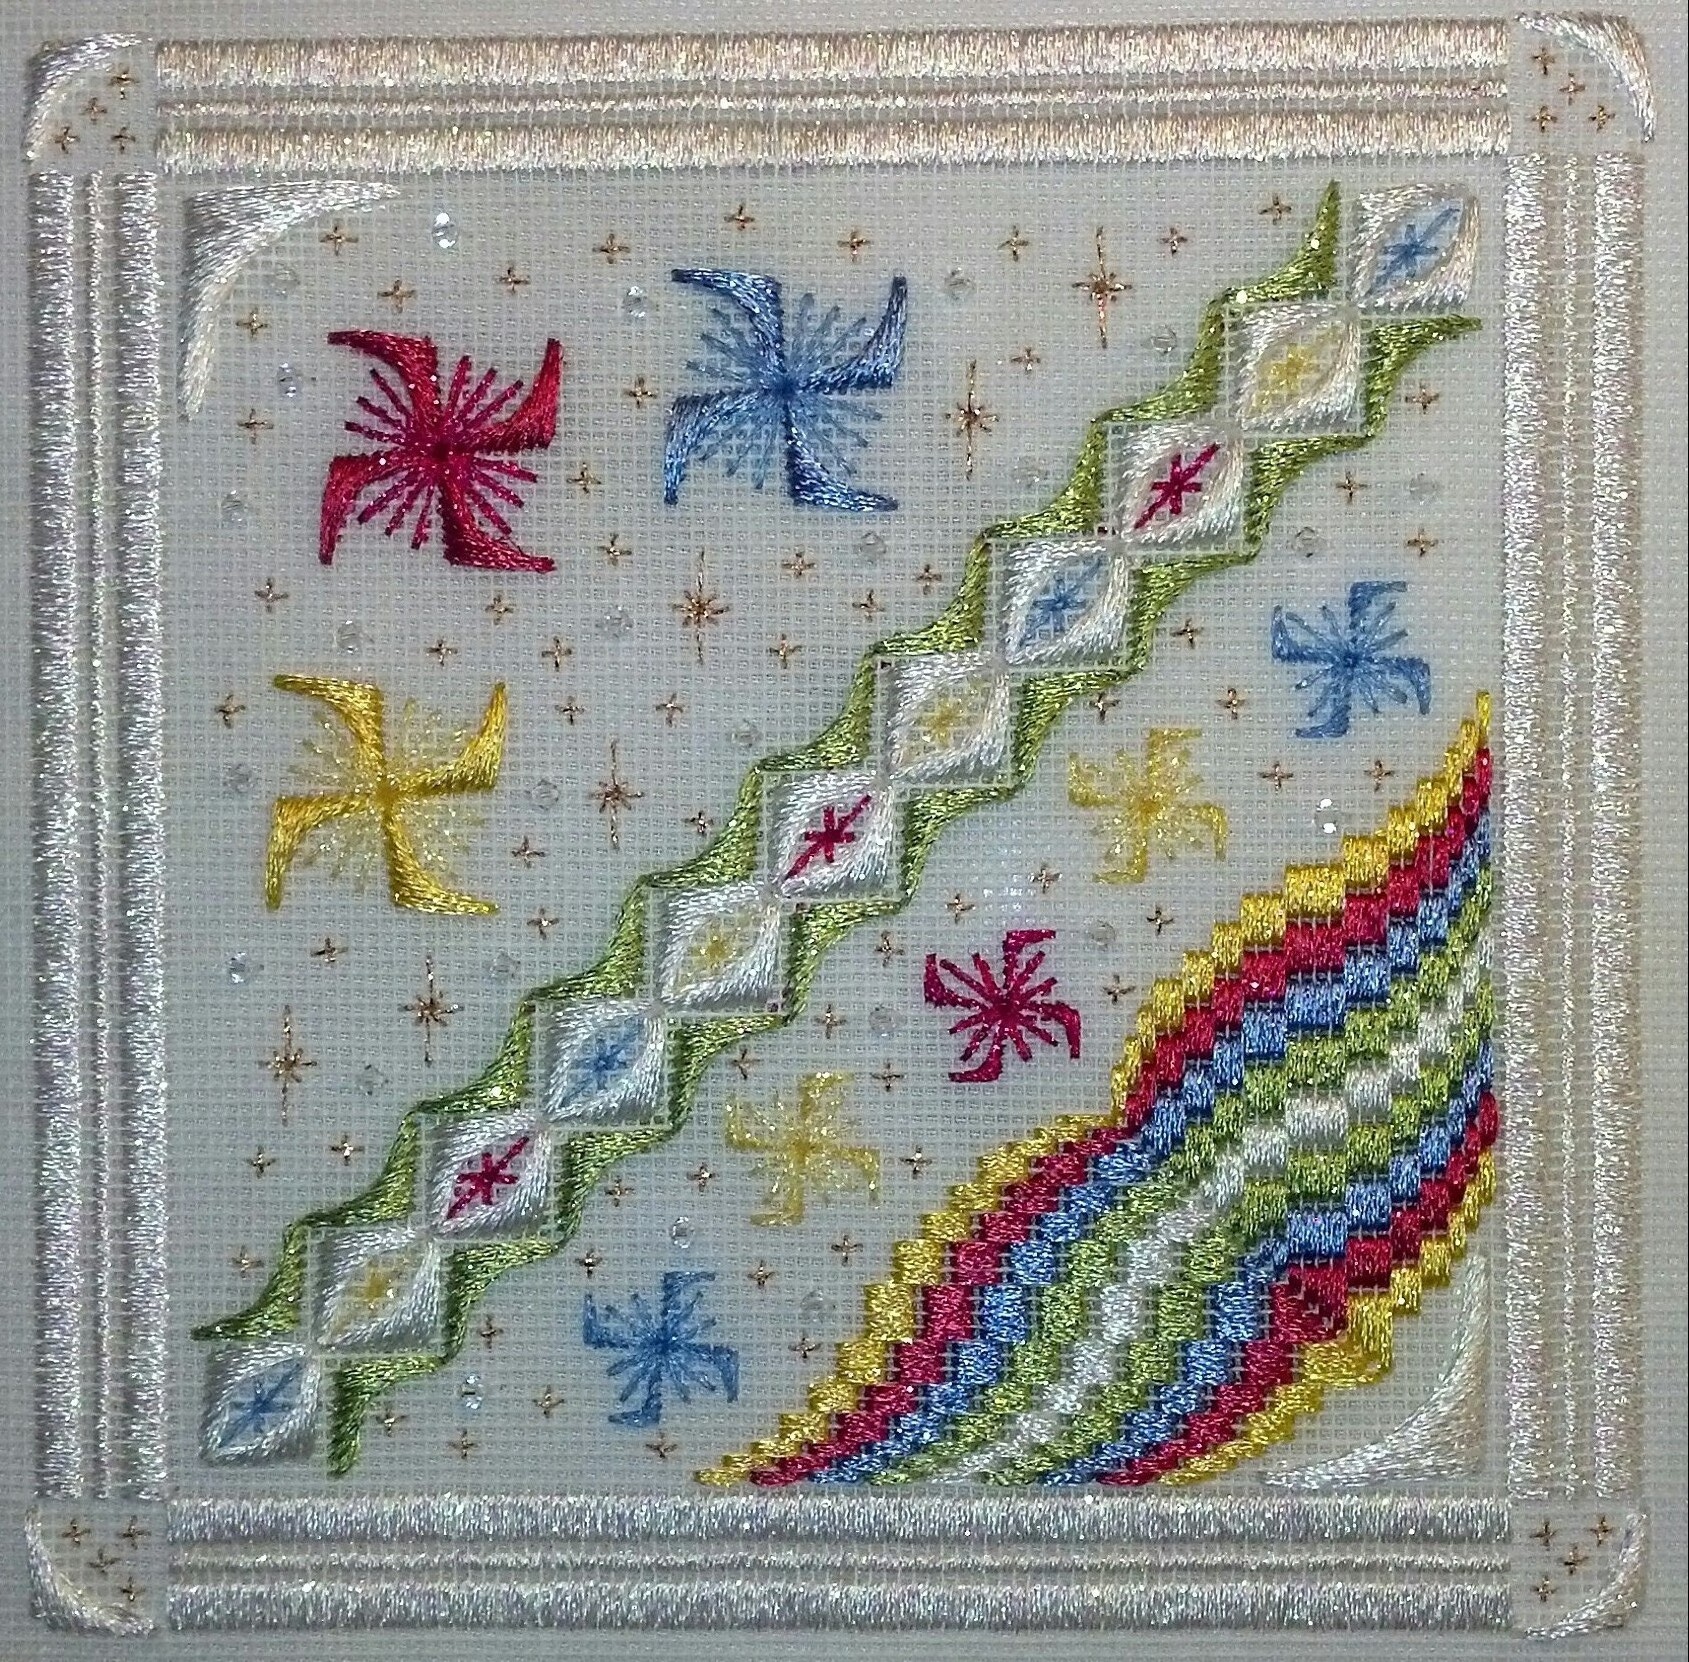
I’ve been keeping up with the monthly project since we started in February but I just haven’t blogged about it. And, I don’t have the progression captured but most of the multi colored thread went in March (took time to do as a mirror image for the right/left and top/bottom sections), the 4 diamond shaped Rhodes stitch went in for April, and I just added the 4 stars on the left and 4 on the right with a blue (ish) ThreadworX surrounded by purple Splendor in an interrupted Pavillion stitch. And, it’s fun seeing everyone’s colorway come together.

Enter a caption
This year, in addition to the main projects for the year, Trish has started the ANG Keystone Garden Chapter on a monthly mystery project designed to help us select threads to go with an overdyed thread.
Basically, there is Color A and B with a neutral. These are mine: Waterlilies 086 Tahiti, ThreadworX #8 Braid 710161, maybe Kreinik #8 Braid 012HL purple, Kreinik #8 Braid 850 dark green, maybe Kreinik #16 Braid 5982 medium dark green, Kreinik #16 Braid 102C gold, Splendor S1086, Splendor S932, maybe Mill Hill Seed Beads 02009.

They look ok on the Grey scale, a feature on my phone’s camera that makes checking so easy! I see light & dark values. And, the Waterlilies has some medium value to it.

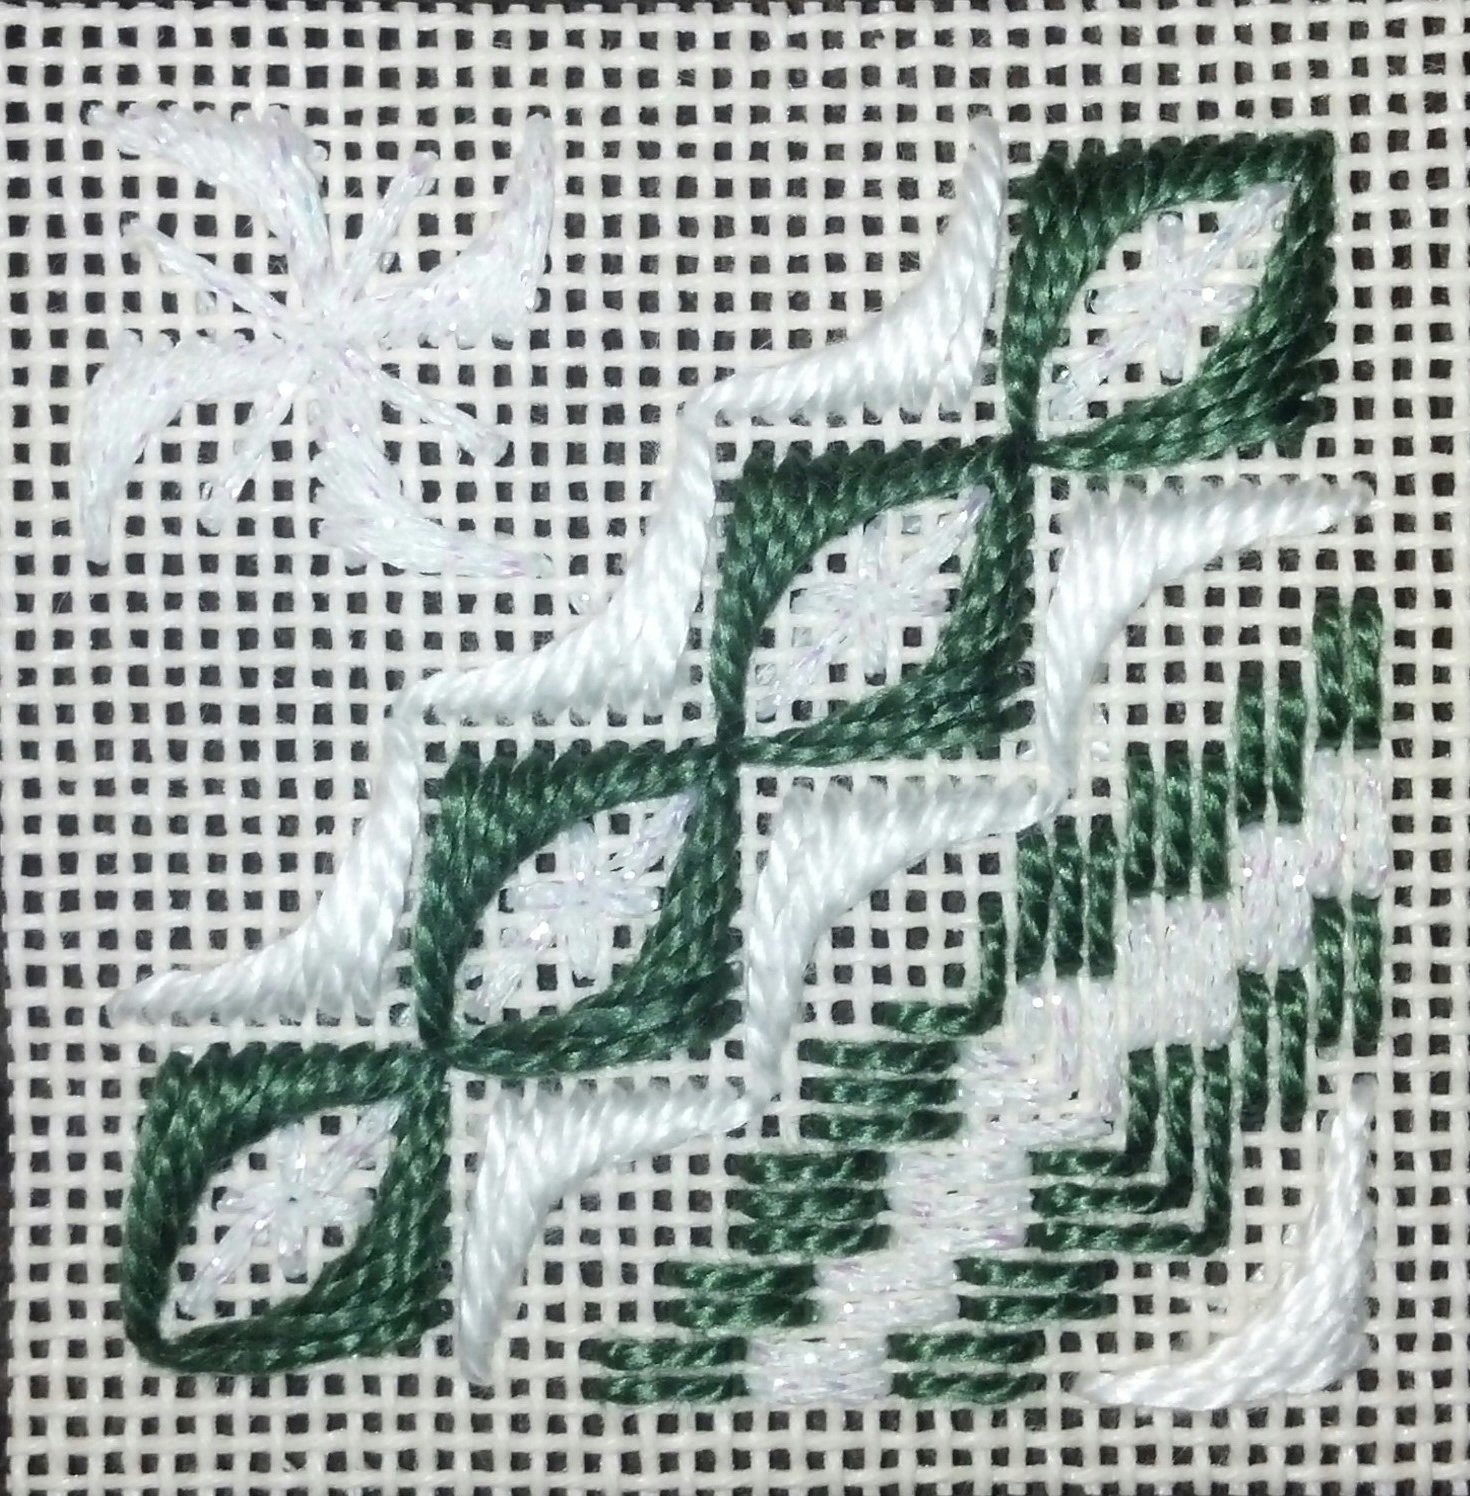
And, this is January’s portion completed except for the beads which I will add last.

Filed under: ANG Keystone Garden Chapter, Walking the Water's Edge by Diane Herrmann
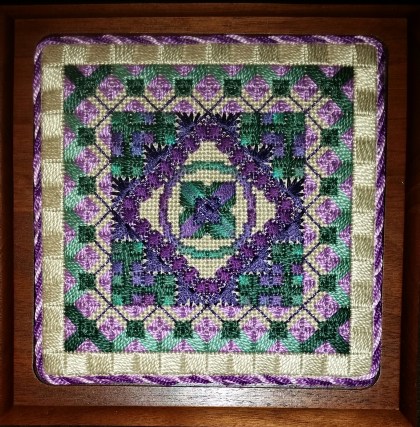
Woo hoo! I got the starfish & beads done! What a beautiful piece to complete for my final finish of 2015. A Happy New Year indeed! Thanks again to Diane Herrmann for a great class. Note: Gifted to Fred R, our financial advisor, of many years upon his retirement to Florida. I can’t find a photo of it framed. We presented it to him and Margo at his retirement party (2016?).
Filed under: ANG Keystone Garden Chapter, Color Delights, Camouflage by Kathy Rees
My ANG Keystone Garden Chapter had this as program last year and I finished stitching it in May 2014 (https://melitastitches4fun.wordpress.com/?s=Delights&submit=Search). Well, I finally “finished” it. I did have a nice Sudberry House Walnut Box. I covered the mounting board with a smaller piece of felt. Then, I laced it side to side on the back.

And, I used my new Kreinik Custom Corder for the first time.

And, it turned out nicely! Attaching the braid was the hardest part & I expect that I can do better next time. But, I am happy with it. Practice makes perfect. As long as you don’t use a magnifier to examine it, I think it is good or else I wouldn’t give it as a gift. Merry Christmas to Terri D from my shuffleboard league at the Philadelphia Quartet Club who ended up with the box at our Santa gift exchange (steal). It was a great evening with some wonderful women!
Filed under: ANG Keystone Garden Chapter, Walking the Water's Edge by Diane Herrmann
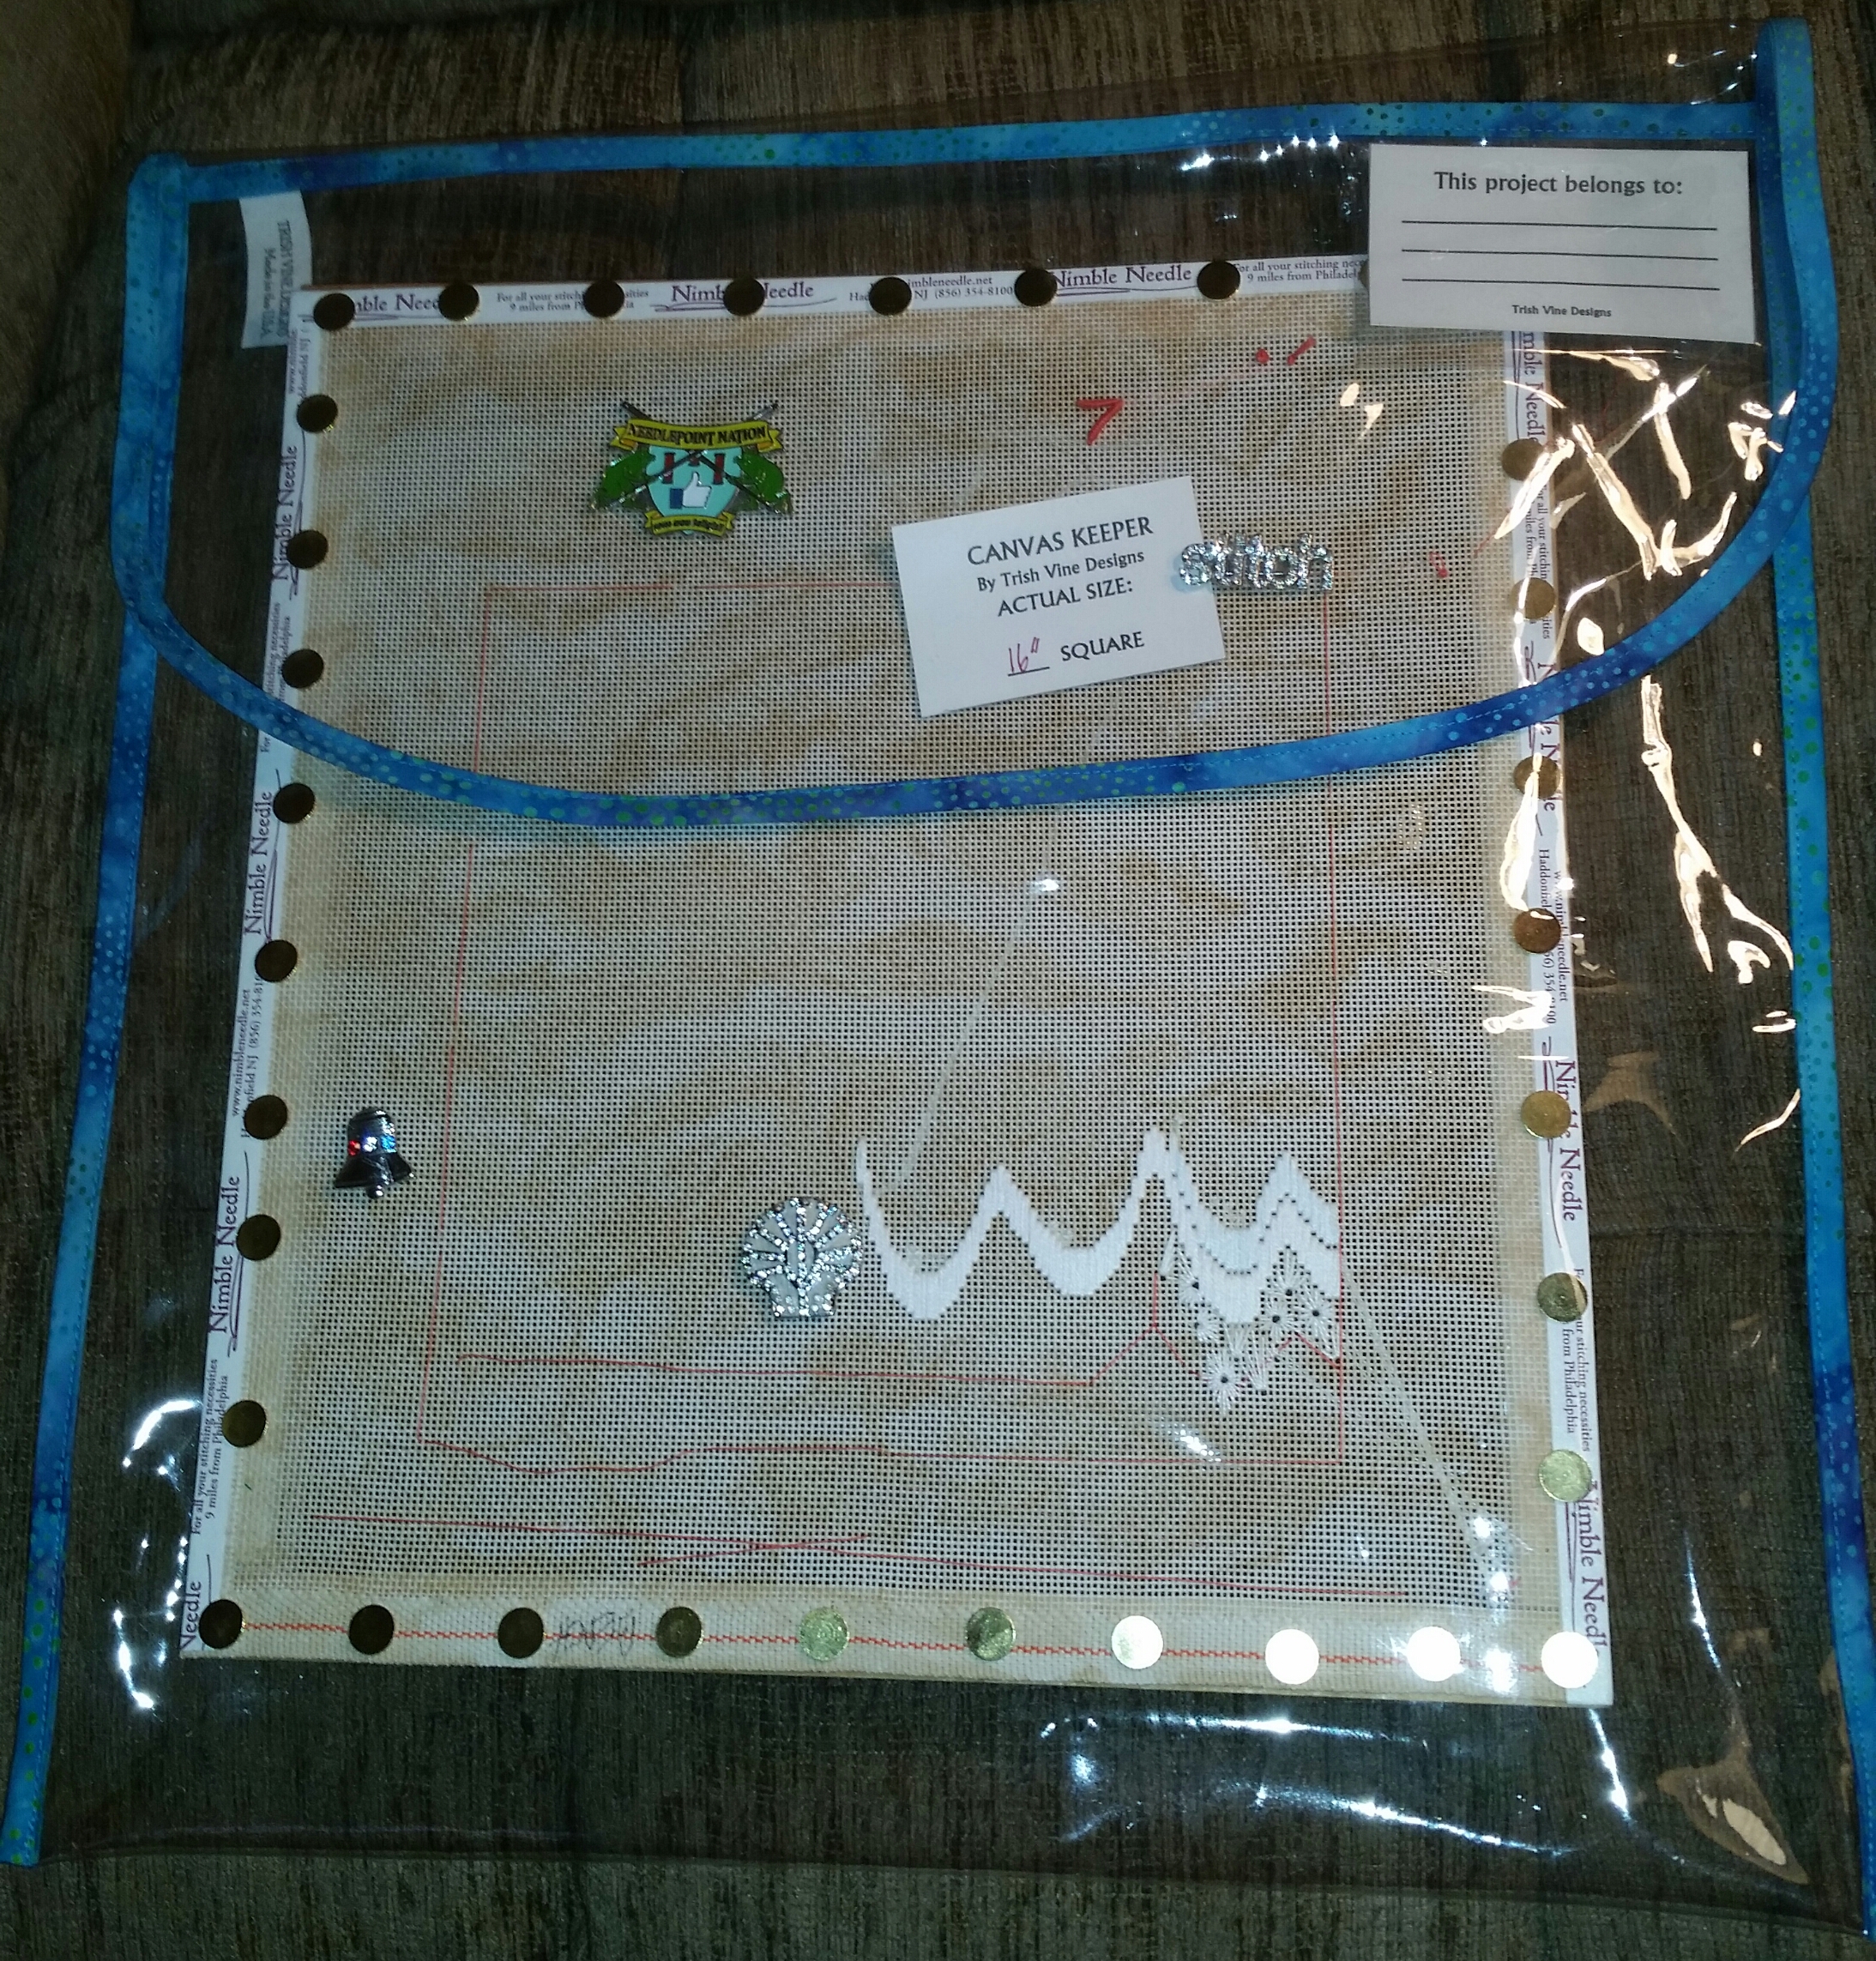
For a 5-hour class, it may not look like I got much done (Hubby, Is that it?). But, I got half the base row done, only did a little of row 2 to learn the blending technique (you can see just a touch of light blue), started the eyelets, and practiced the bullion for the starfish (in the top extra area).
It should move along once I get the base row completed. The random eyelets are fun too.
And, didn’t Trish make wonderful matching project bags for the project!
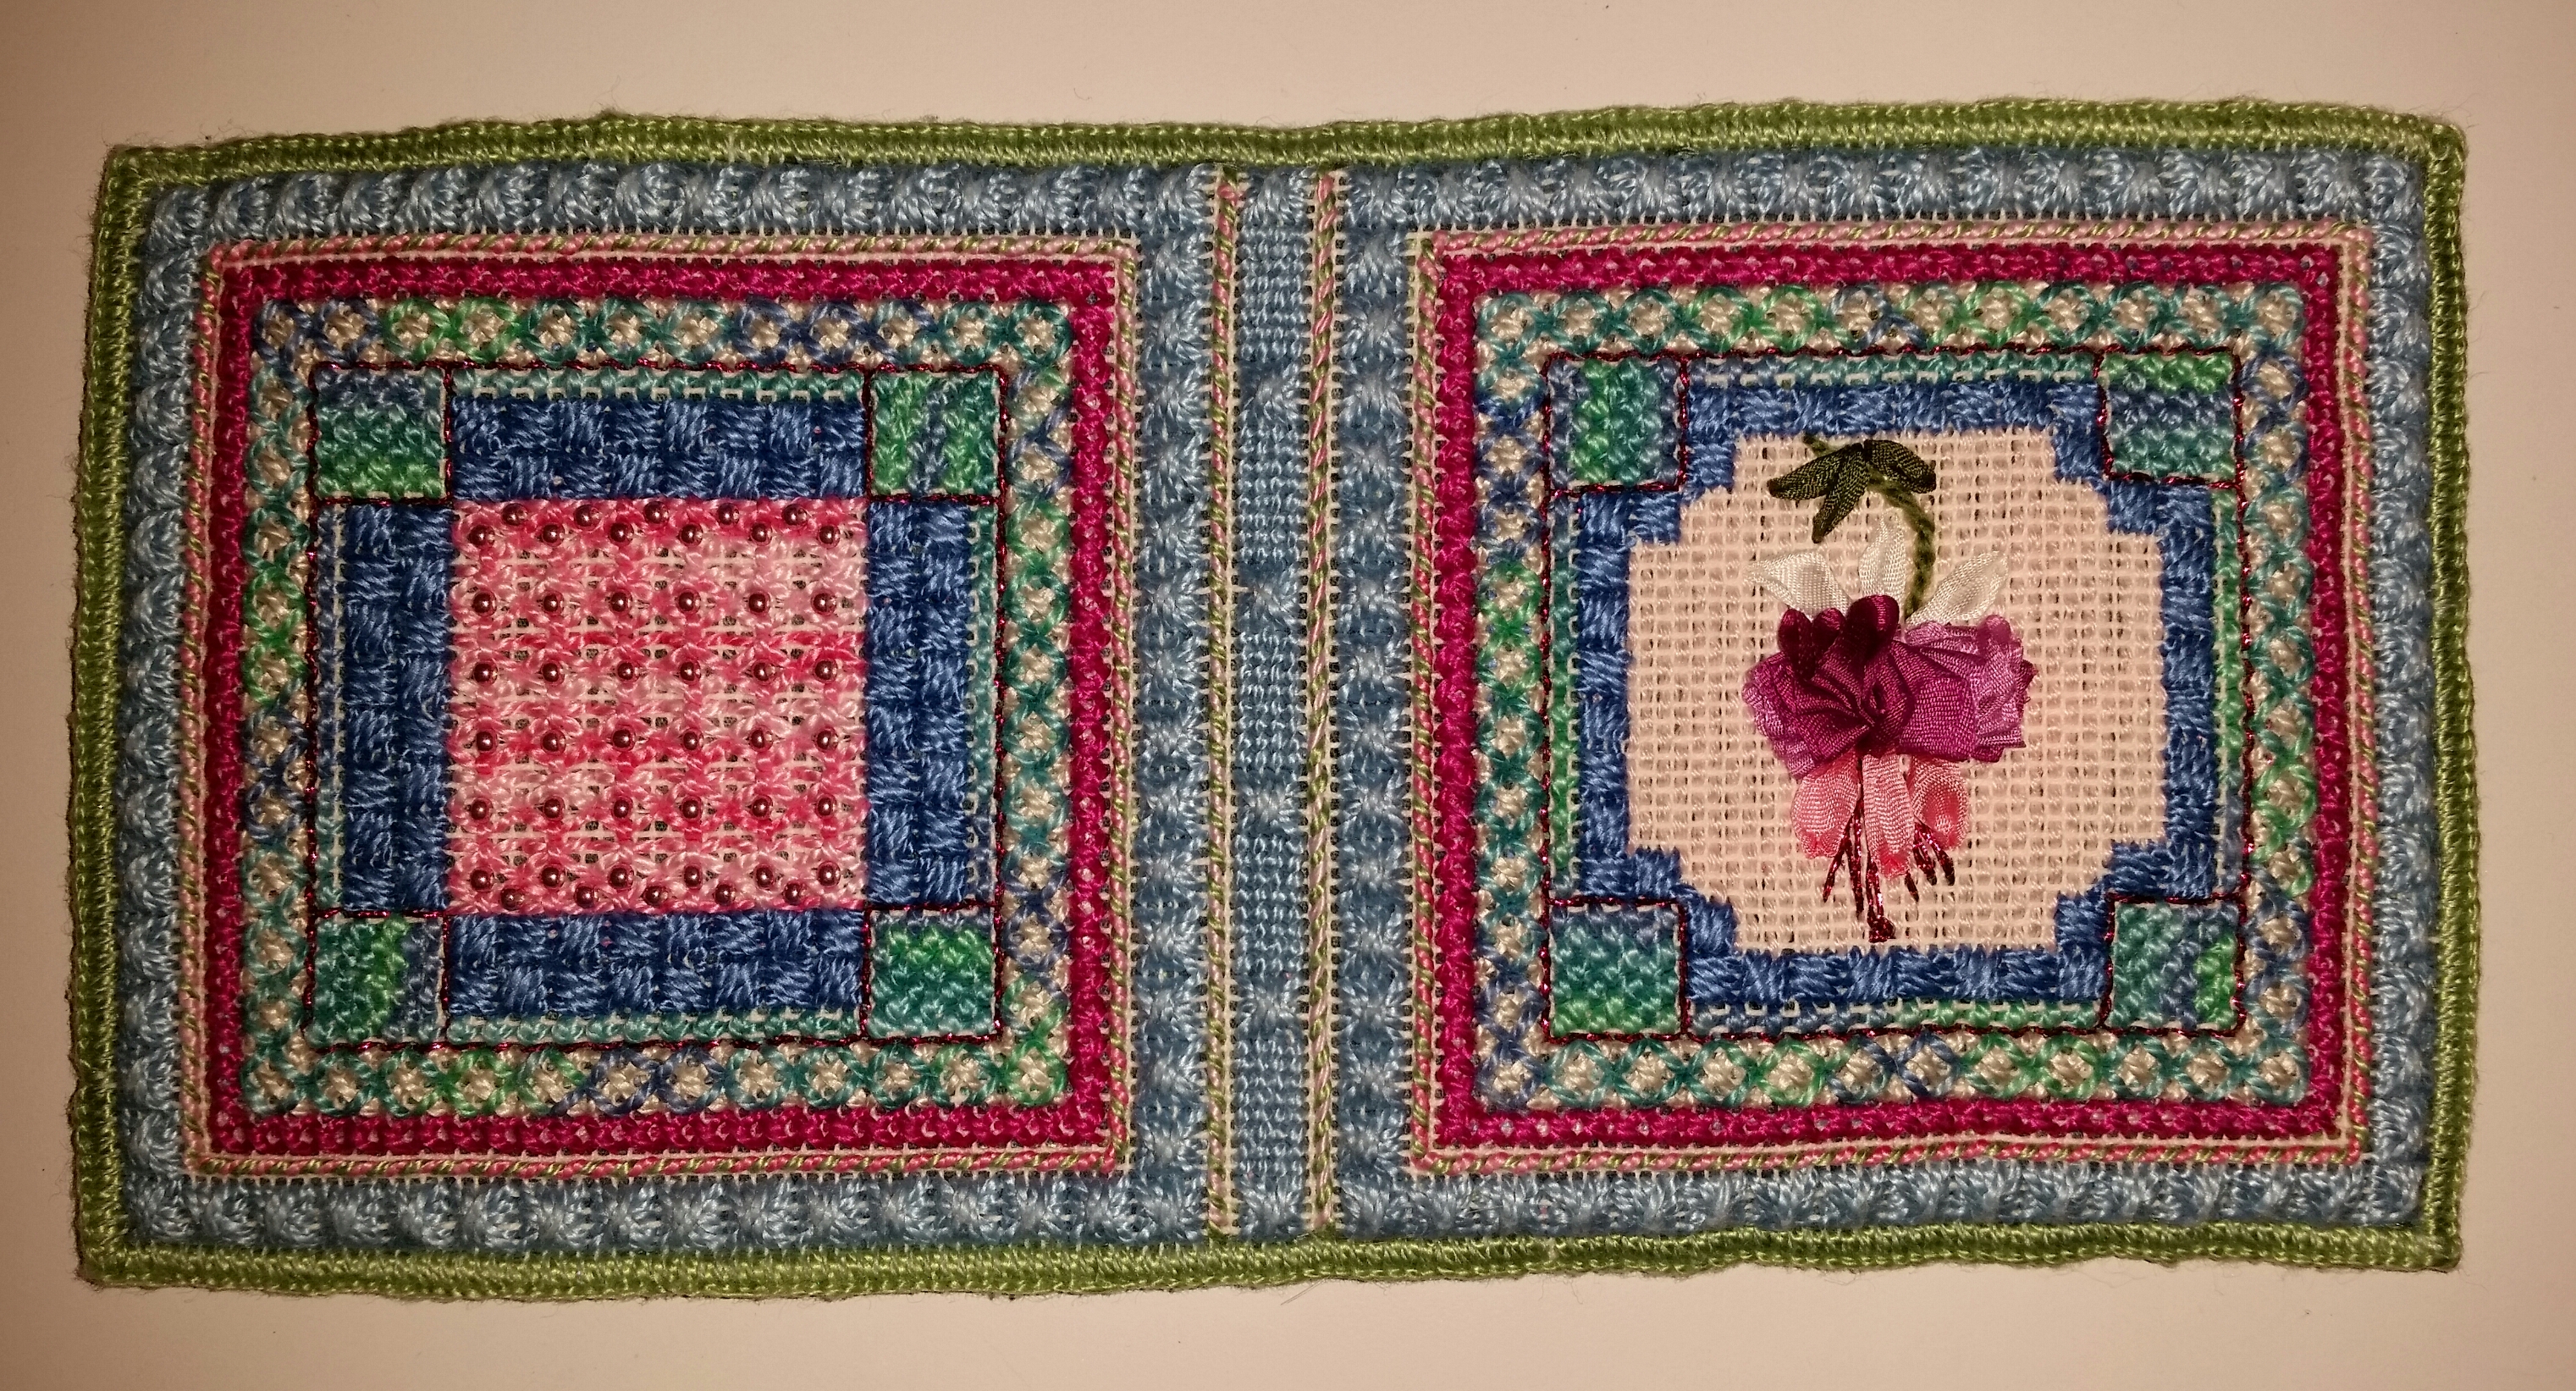
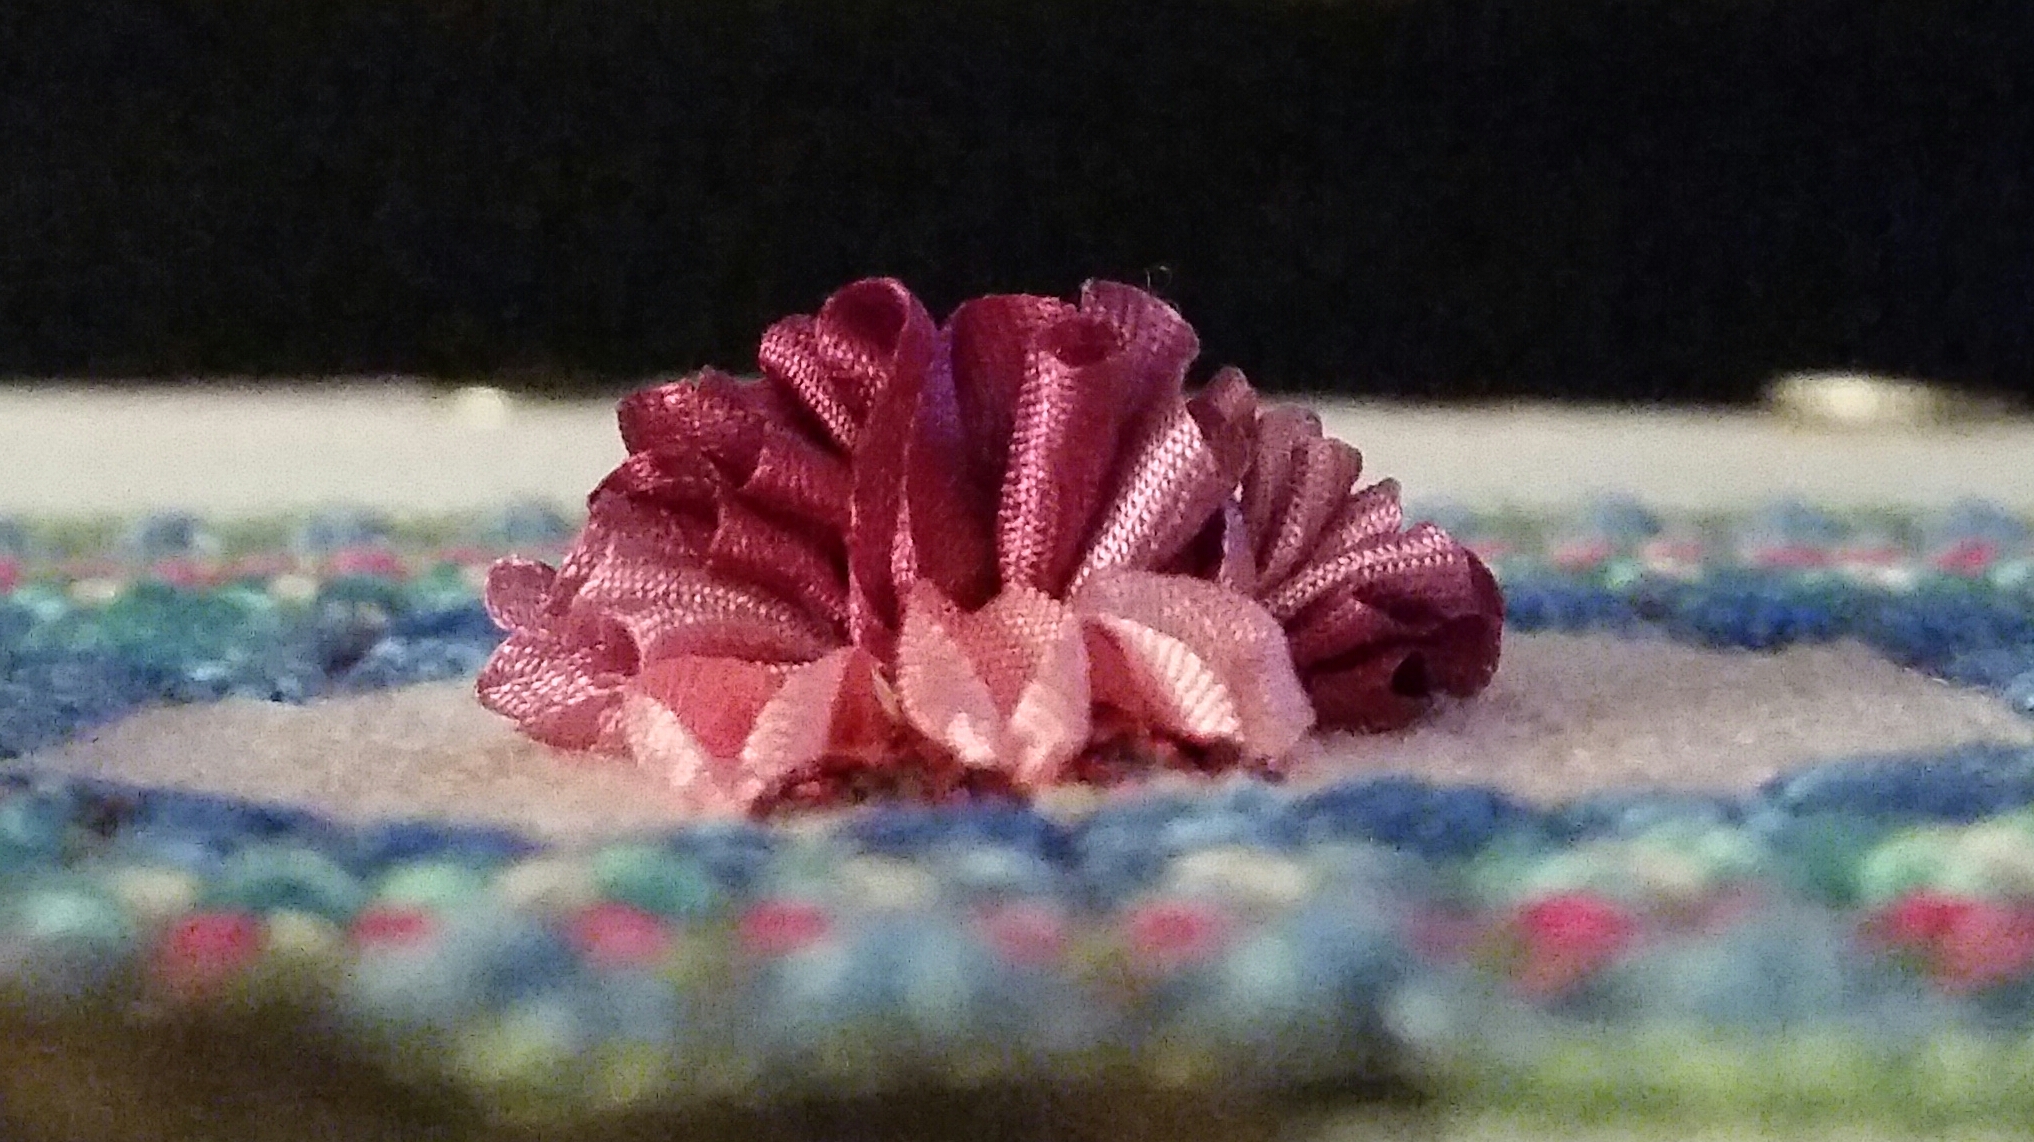
Filed under: ANG Keystone Garden Chapter, Fuchia Needlebook by Merrilyn Heazlewood
One of the projects from my second local ANG chapter, the Keystone Garden chapter, is a needlebook called “Fuchia Needlebook”. The designer is Merrilyn Heazlewood & this was published in Needlepoint Now Mar/April 2014. I’m happy with how it turned out! It’s a stem stitch connecting the pages mainly to the lining but I picked up enough from just below the lining that it doesn’t pull up the lining. This is going to be donated to ANG auction. I’m not sure it’ll be sent in time to make it into this years auction or next.

Filed under: ANG Chapter Book Projects, ANG Keystone Garden Chapter, ANG Main Line Stitchers Chapter, Chapter Book Project, Jeannie's Windmills
Another season begins at ANG Main Line Stitchers tonight! I am leading the Chapter Book Project, Jeannie’s Windmills by Pat Mazu. I’ll also use my tips for my other chapter, Keystone Garden. But, they don’t need it until October. So, the timing works out great!
I had gotten most of it done before seminar but it still took 2 or 3 evenings to finish it. And, several hours today writing up my tips including lengths of threads needed for the crescents, windmills, and bargello. Now, I am all ready. Here are some of the key tips:
• A gold sparkle canvas probably would have looked pretty since a lot of canvas shows.
• I attached each bead horizontally because the bead appeared to be tipping backwards and was showing more of the beading thread than I wanted.
• There is a discrepancy and an omission in the diagram.
– The discrepancy is between the crescent placed in the upper left corner of the chart and the diagram of the crescent seen in the upper right corner of the chart. The left image shows Stitch 1 – 2 being one thread apart and an extra stitch that would be numbered Stitch 17 – 18. The diagram and how I stitched it was to allow for 2 threads to separate Stitch 1 – 2.
– The omission is that Stitch 15 – 16 is not shown in the diagram of the crescent (upper right corner).
– Batiste fabric attached just before the small crosses are added allows the threads to move from one to another without being seen.
Very bright & colorful design & not too tough to stitch.
We meet at St. Luke’s Lutheran Church, on September 8 (always the second Monday of the month) at 7:15 pm. GPS: 203 North Valley Forge Road, Devon, PA. For those who can, please join us for dinner at 5:30 pm (ish) at Minella’s (320 W Lancaster Ave).
Filed under: ANG Chapter Book Projects, ANG Keystone Garden Chapter, ANG Main Line Stitchers Chapter, Chapter Book Project, Jeannie's Windmills
Both my local ANG chapters, Main Line and Keystone, are going to do the Chapter Book Project, Jeannie’s Windmills, by Pat Mazu (http://needlepoint.org/CPB/images/Project-4—Jeannie’s-Windmills.jpg). And, I volunteered to lead it for each group.
I picked up the threads from Karen at Nimble Needle – love the ANG 10% discount she gives! Even so, I’ll keep track of the amount of thread needed & we may make mini kits for folks to keep costs down. We can get 5 kits from the bag of beads. And, we’ll split up a spool of beading thread. It doesn’t seem like this piece will use a ton of thread. And, as Pat suggests, this makes a great stash project. Some may opt to go that route.

Initially, I was going to jump in with both feet today until I decided to practice the crescent stitch. And, I’m glad I did. I kept missing the 3rd hole because I couldn’t see it do to the angle & because the thread covers the hole from the bottom. So, I practiced until I finished this little guy (2″ square).
Filed under: ANG Keystone Garden Chapter, Triangle Santa Ornament by Peg Dunayer
The instructions of Peg Dunayer’s Triangle Santa ornament called for a satin stitch for the hat trim but the picture used a more decorative stitch. I decided to try a new stitch after thumbing through Stitches To Go by Suzanne Howren and Beth Robertson. It is the Triple Cross Stitch done over 4 threads wide as shown in the diagram but vertically over 5 threads. As you may have noticed in the last posting, I layer some threads to give the trim some height. And, thanks to the stitch, it created a layered effect. It is also non-directional and filled the space up fully.
And, rather than leaving the threads of the mustache in a figure 8 as shown, I cut the ends. I also layed a thread below the satin stitch for the eyebrows for some height.
Now, I’m ready for our September class at Keystone when we learn some finishing techniques and do some braid making!

Filed under: ANG Keystone Garden Chapter, Triangle Santa Ornament by Peg Dunayer
With the polar vortex swirling, what better time than now to be stitching Triangle Santa from Needlepoint Now (Nov/Dec 2007) designed by Peg Dunayer. It is the Christmas in July project from my ANG Keystone chapter. It is a cute little ornament that is a fantastic “stash buster”. My threads are:
Red: Sampler Threads Claret 0310 (shoulders) and Cherry Wine 0330 (hat)
Dark blue eyes: Needlepoint Inc Silk 823
Flesh: Kreinik Silk Mori 3042
Cheeks/nose: Kreinik Silk Mori 3045
White beard: DMC Perle 5
White moustache & brim of hat: Fuzzy Stuff FZ15
I couldn’t decide on Cherry Wine or Claret for the red overdyed thread from my stash. So, I put both in the project bag. When I stitched the hat, I decided the lighter Cherry Wine would be better & thought 3 threads provided enough coverage on the 18 count canvas.
Then, I stitched the beard and layed a few base stitches to give the brim of the hat some depth. I am probably going to do a different stitch than the satin stitch that is suggested but am still thinking. Any suggestions anyone would like to offer?
When I went back in my bag to get thread for the shoulder, I grabbed the darker Claret quite by accident. And, I saw a note that 4 threads are recommended for use on 18 count. In the meantime, I’d seen an article on “dandruff” and decided this was an example of that. You can see the hat has speckles of white canvas showing through but the shoulder has almost none.


So, I went back to the hat and added 2 threads of the darker Claret on the hat outlining the Byzantine stitch. Then, to lighten up the shoulders, I outlined them with 2 threads of the lighter Cherry Wine. A definite improvement and lesson learned about thread coverage.

