Filed under: ANG Main Line Stitchers Chapter, ANG Seminar 2021, Finishing, General comments, Interpreting Color Theory for Needlework with Susan Hoekstra, Seashells, Snail Shell
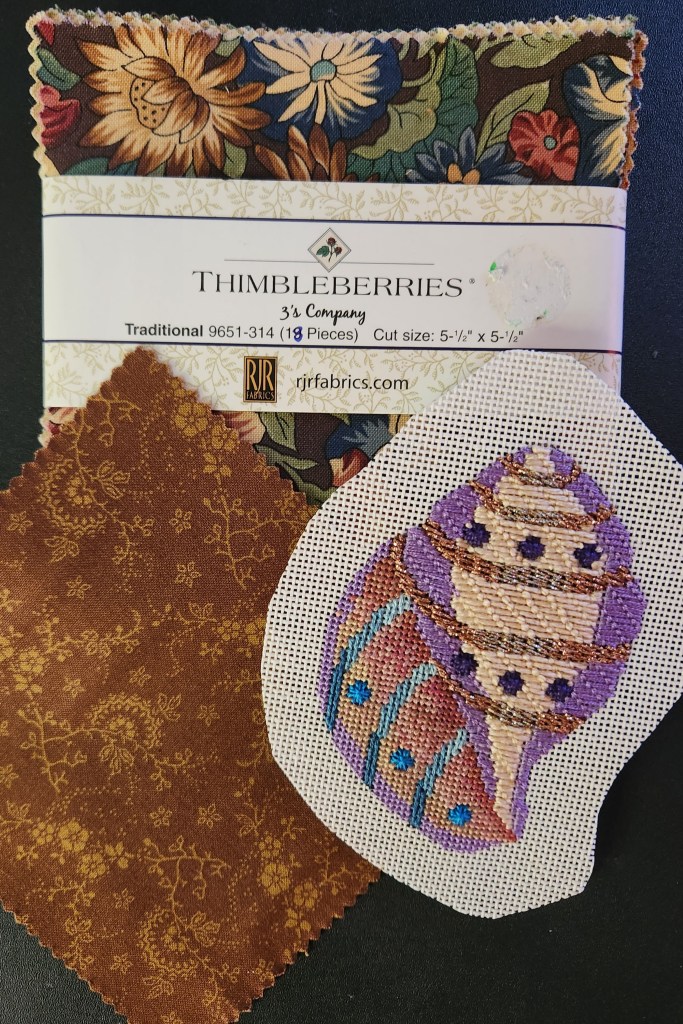
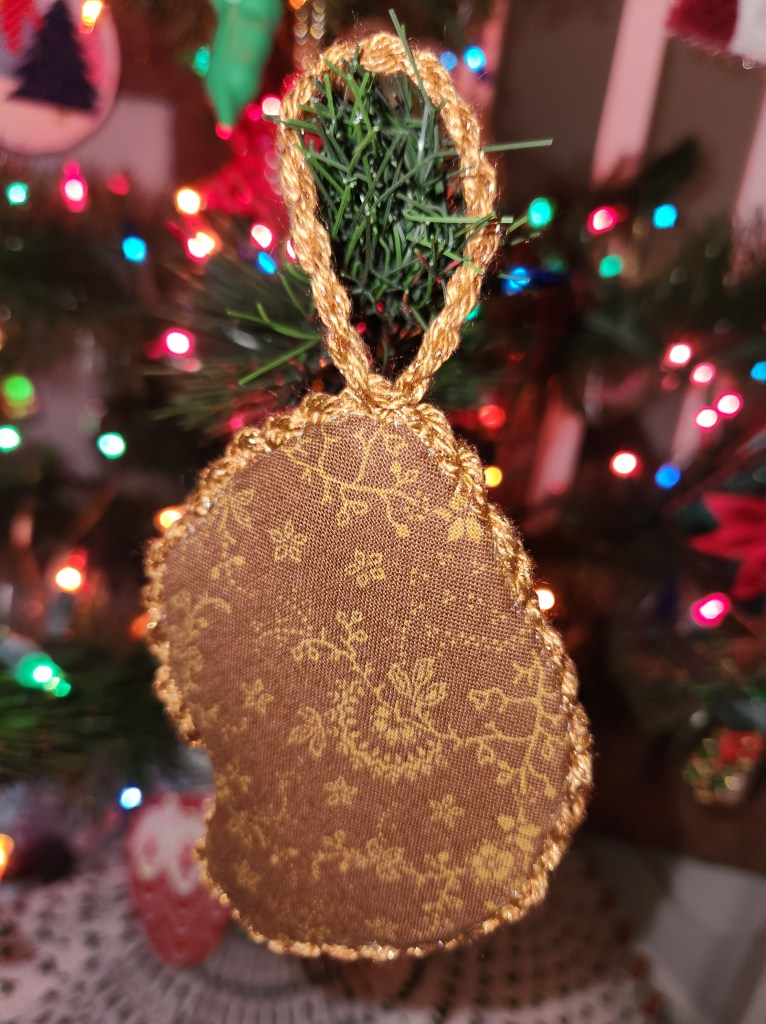
Thanks to stitch suggestions from Susan Hoekstra in a Seminar Color class in 2019 and a thread from Rosie at NJ Needle Fest in 2021, I finished stitching this Seashell ornament. Fast forward to 2022 when I won fabric pieces as a door prize at Linda’s Quilt Guild Show. There are 19 pieces 5&1/2″ squares all different but coordinated. I narrowed the choices for the backing down to 6 and let my husband pick the fabric to coordinate with the seashell.
I did my cutting and ironing of the fabric and fusing web onto Skirtex as previously described.
On the canvas, I see areas that appear raised and want to accentuate them. So, I spent time cutting and tacking felt into the vertical areas along the bottom left and the larger upper right area. One layer of felt on the outer 2 vertical areas, two in center 2 vertical areas, and two in the upper right area.
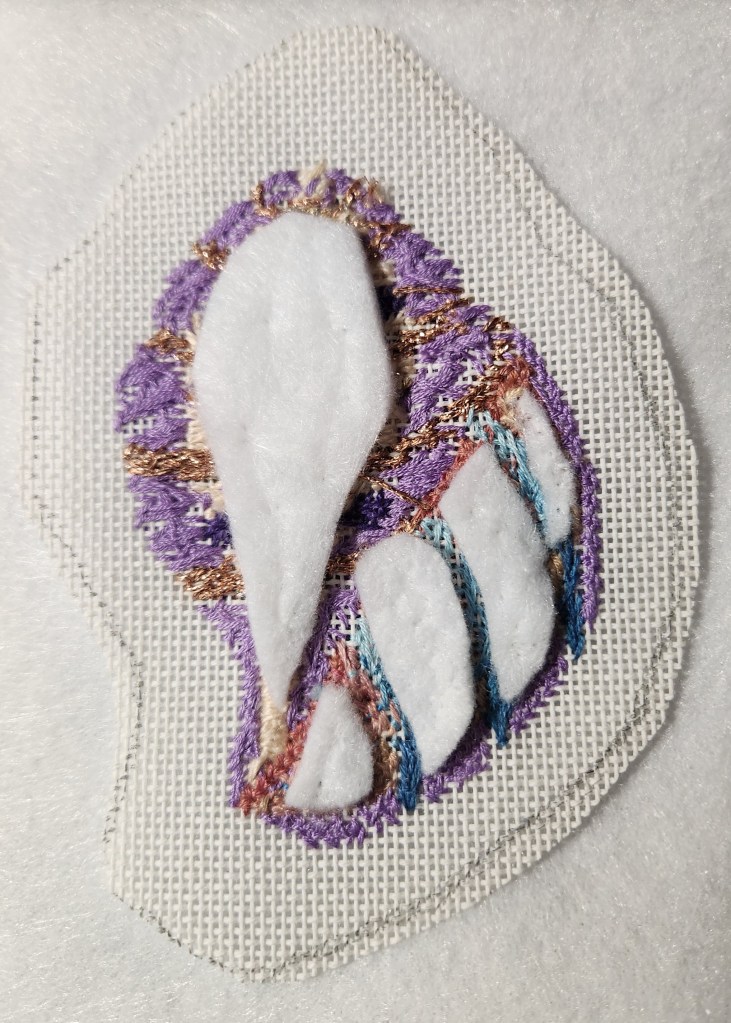
Then, I attached the padded canvas to another piece of Skirtex in the unpadded areas to make the padded areas raised.

I tacked the edging back using invisible thread (not the lacing technique).
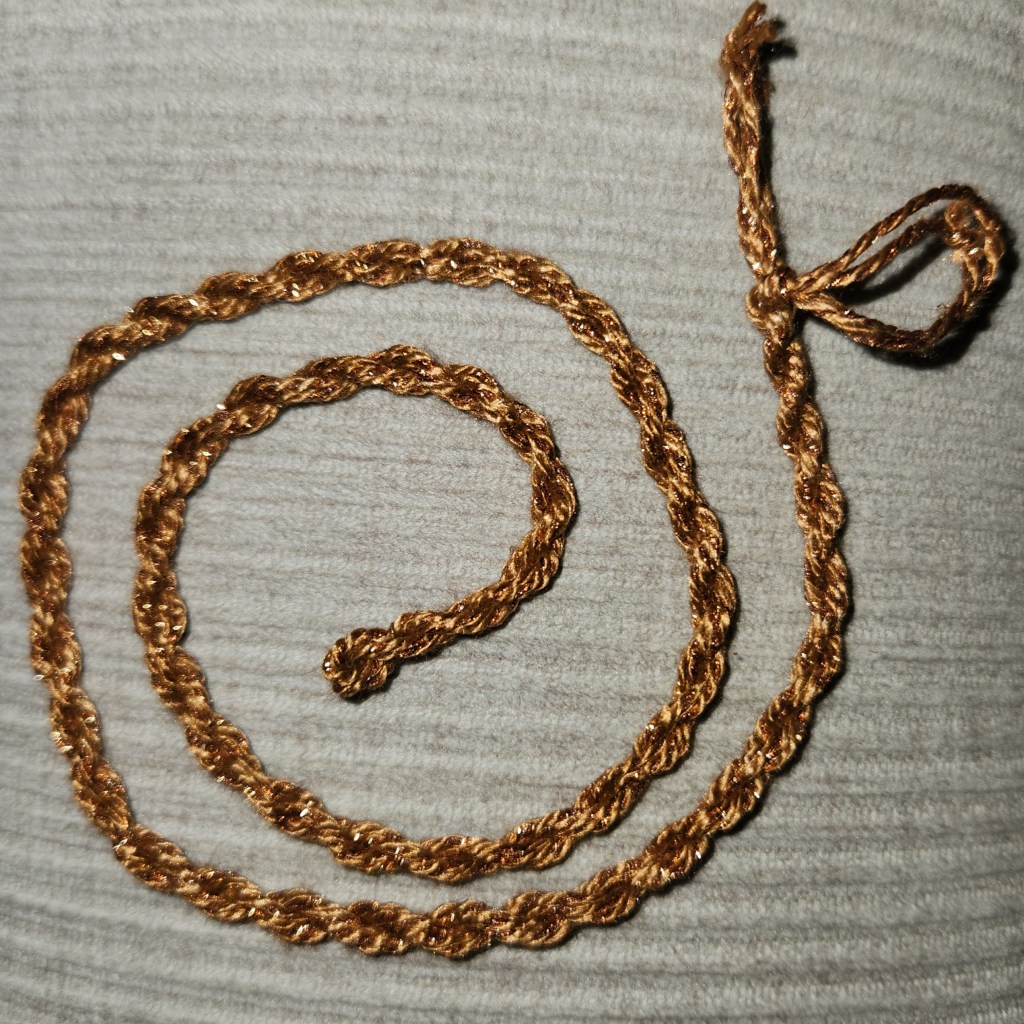
I didn’t have any cording I liked. So, I went into my stash and found Vineyard Silk Shimmer S-515 Toffee which is brown to match the back, frames the seashell nicely, and has a little gold sparkle. The skein was already cut into 38.5″ lengths. So, I thought I’d need 11″ without a hanger. The instructions for the Kreinik Custom Corder say to start with 3x what you need. Tension can vary ending length.
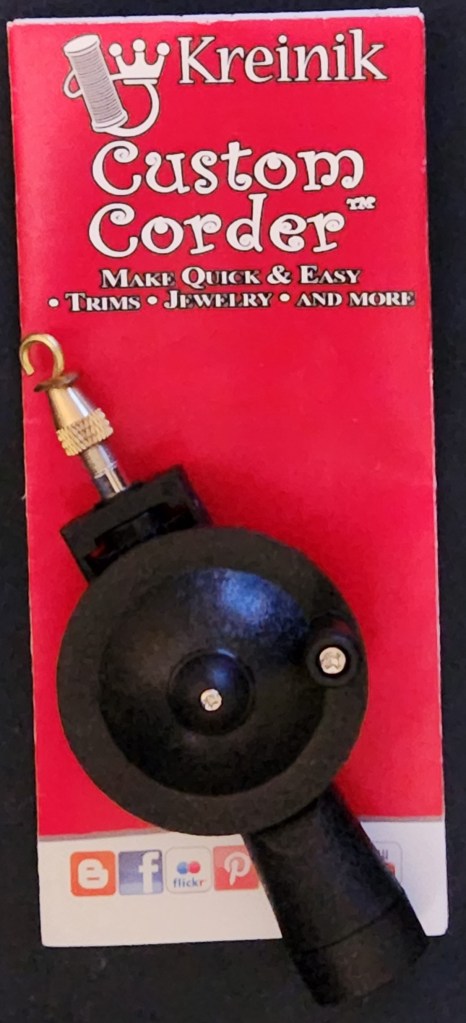
By tying together 2 lengths for one large loop and 2 for the other, I got 16″ final twisted cord which even allows for a hanging loop. Between the Kreinik written instructions and YouTube video, I made the cord and hopefully I got enough twist.
With more invisible thread and Wonder Clips to hold the back and front together, I attached the twisted cord between the two layers.

Plenty of time to clean up the dining room table before Christmas!
Filed under: ANG Keystone Garden Chapter, ANG Main Line Stitchers Chapter, Brandywine Chapter, Christmas Diamonds by Kurdy Biggs, Embroidery Guild of America, Finishing, General comments, Tree Ornament Vicky Witterschein, Winter Scene Sleigh
Well, I channeled Cleo, of Busy Lizzy, a professional finisher, who works on multiple ornaments simultaneously. I saw her in her workroom during a Zoom meeting working on at least 6 ornaments. I have all the supplies on my dining room table but am working on a tray table in the living room going step by step. My husband is very tolerant of the mess. One more odd shaped ornament after these and then I will clear the table for Christmas.
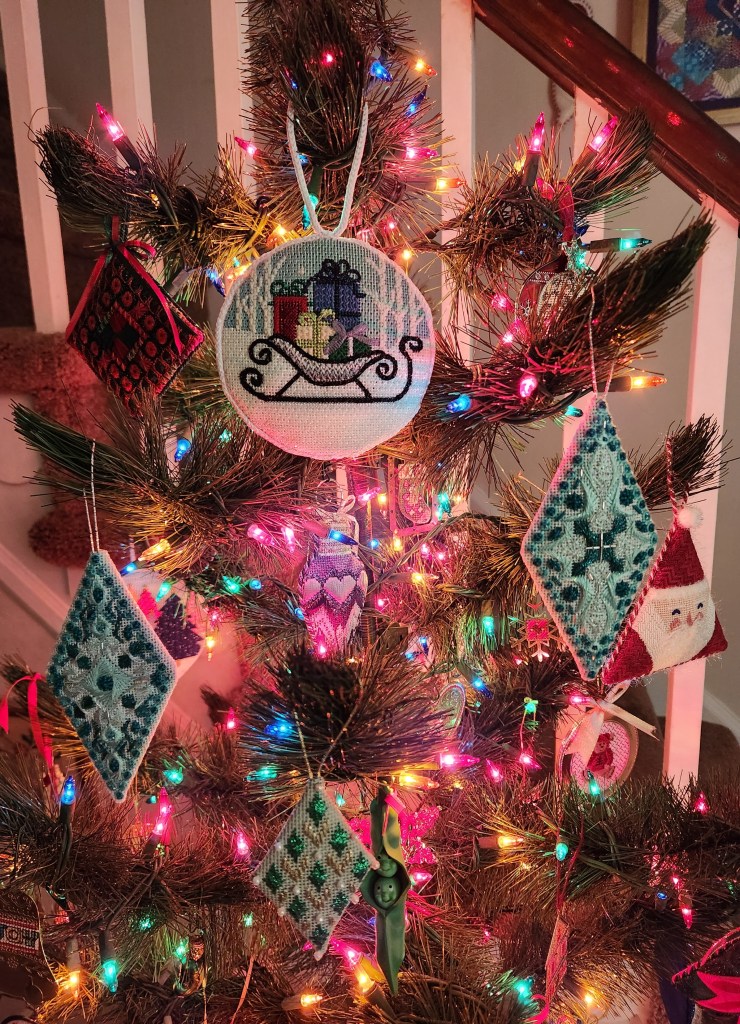
Step 1. Make copies of the ornaments at 100 & 135%. Two diamonds are the same size. The Winter Sleigh is a painted canvas by Alice Peterson that ANG Main Line Stitchers discussed using 2 stitch guides in 2019 just before the shut down, the 2 large diamonds are by Kurdy Biggs from Needlepoint Now November/December 2015 issue that was a 2018 project with ANG Keystone Garden chapter that I finished in 2019, and the small diamond is by Vicky Witterschein which was stitched during a Zoom class in 2021 with my EGA Brandywine Chapter.

Step 2. Cut out paper templates and cut ornaments out of canvas allowing about a half-inch larger than the design.

Step 3. Using the larger of the 2 templates, trace and cut out fabric backs. All will get the new silver fabric and was an opportunity to use my Karen Kay Buckley micro serrated scissors (which stops edges from fraying). The right tool for the job helps.
Step 4. Cut the Skirtex and fusible web slightly smaller than front design for the fabric backing.
Step 5. Iron the fabric backing onto the Skirtex with fusible web (like that better than glue-much neater-as long as I make fusible web smaller than the smallest side).
Step 6. Using the exactly sized template, cut a piece of magazine board.
Step 7. For the sleigh, I cut 4 layers of felt smaller than the magazine board to make it puffy, tacked the felt in place, placed the magazine board on top of the felt. There are 2 layers of felt on the 3 diamond ones.
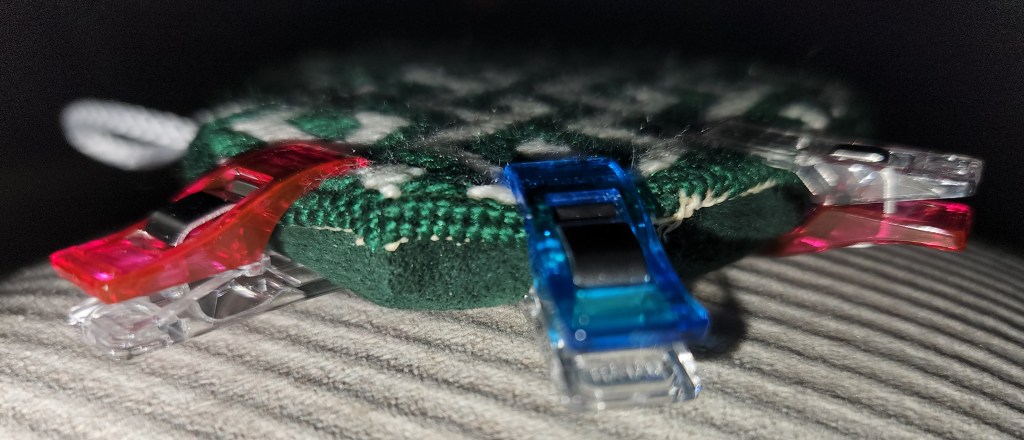
Step 8. I found my Wonder Clips and used them to hold the folded-over canvas while I laced the canvas side to side with invisible thread. One spool has 2,200 yards. I’ll never need another!
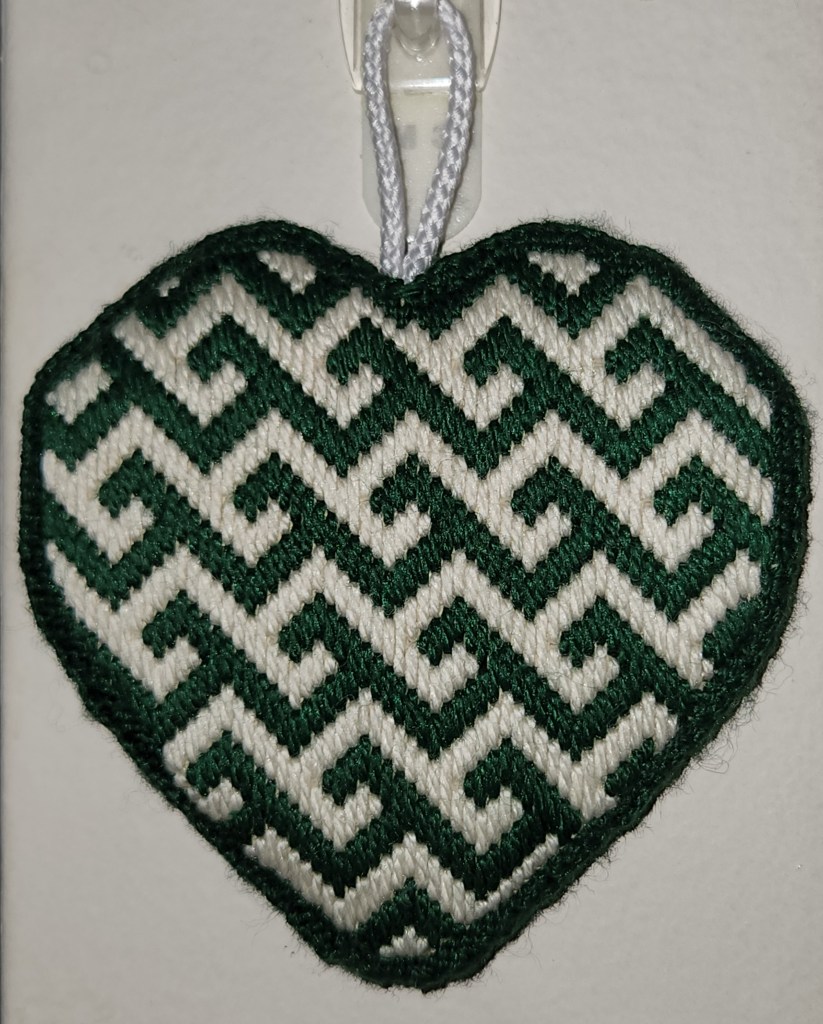
Step 9. Attach hanger for the 3 diamonds. I used a Kreinik #16 Braid which I tied into the felt to start and finish but run it up through the canvas and back down right in the center. Very easy! I am reminded of a Brian Regan joke sarcastically saying “you’re breaking some new ground there, Copernicus”. It’s probably not a new way to add a hanger but I can’t recall seeing it suggested anywhere.
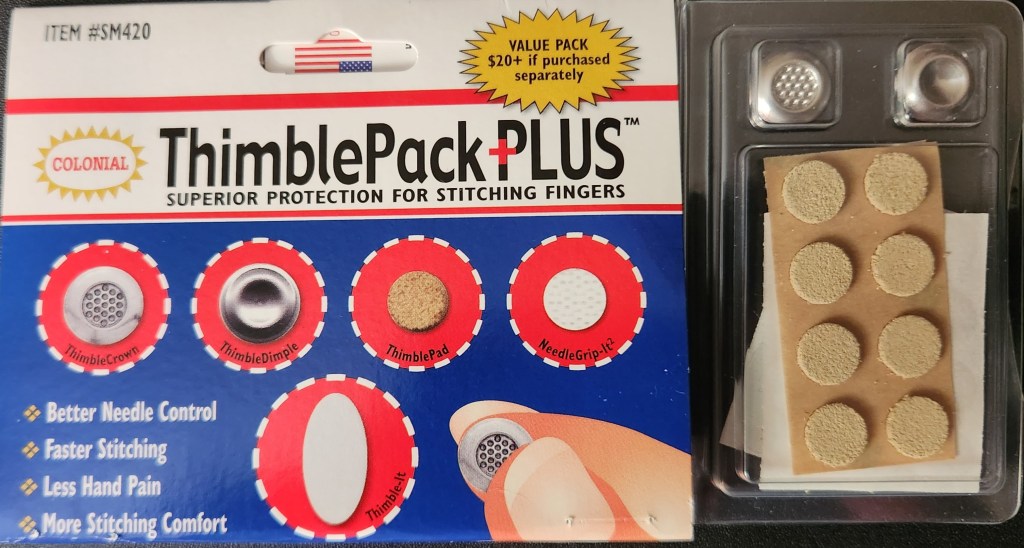
Step 10. Get my Thimble Pack out because my index and middle fingers only made it through 2 ornaments. Using a small Crewel needle pushing through Skirtex and sometimes magazine board was tough on my fingers!
Step 11. I sewed a cord on the edge for the sleigh simultaneously with the backing but cord is not needed on the others. The others look fine with just raw edge I guess because the design has some open canvas. I’m very happy with the results and see improvements with each one. Reminds of the old adage, “Practice makes perfect”. I still prefer to spends the hours stitching.


Step 11. Hang and enjoy the ornaments!!
Filed under: ANG CyberPointer's Chapter, ANG New Jersey Needle Artists Chapter, Bargello Project, Finishing, General comments, Hearts of Gold by Michele Roberts
Practice is supposed to make perfect. We’ll find out. This one is by no means perfect but I’m happy with my first attempt. “Finishers” really earn their money. Since I have about 8 ornaments and an eyeglass case to finish, I will not be sending them out!
I have multiple sets of finishing instructions from various sources. So, I have used some techniques from each.
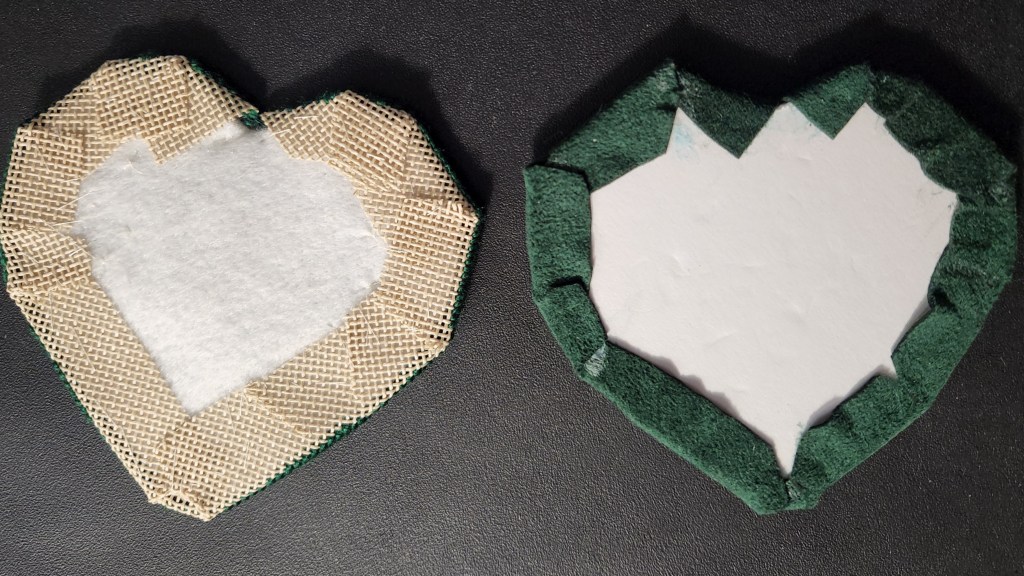
I sewed the edges down on the left and Sewline stick glue to attach the ultrasuede to the foam board on the right.

They lined up adequately.

There was a pretty decent gap between the front and back. I had just seen Mary Corbet’s post on finishing an edge with a Palestrina stitch. I am not adding any beads. But, the stitch was perfect for covering the gap. However, I had stitched 2 rows around the design because one finisher said that having long stitches on the edge would make finishing more difficult. Bargello is long stitches. Well, stitching through basketweave, folded back canvas, and ultrasuede was not easy. I pulled out my jewelry pliers. That helped pull the needle through. This first one took much, much longer than I had hoped. I did take breaks but it had to be around 6 hours.
Part of my break during the day included a stop at Michael’s to use my 40% off coupons. Two of them! With one, I got a cutting mat. Self-healing! I’ll be testing that. Hope it can survive.

The Wonder Clips are working wonderfully.
So, I am going in the edge between the two rows of basketweave and canvas. Picking up a little of the ultrasuede for the decorative edging using the same Silk & Ivory 86 Shamrock that was used on the design.

Once is was done, I was happy with it and really felt a sense of accomplishment. So, I encourage you to give it try – if you have plenty of time and want to save money. Otherwise, send it to a professional!

Filed under: Brandywine Chapter, Casalguidi Flower by Becky Quine, Embroidery Guild of America, Finishing, General comments
A lovely white lacquered tissue box from The Container Store is perfect for Casalguidi Flower by Becky Quine.
I posted about this design previously at https://melitastitches4fun.com/2024/07/25/roman-ruins-by-joan-rinehart-and-casalguidi-flower-by-becky-quine-for-ega-brandywine-chapter/
Since I have enough coasters, I thought about a tissue box for small designs/stitch samples. I initially bought a clear acrylic one but the tissue box didn’t fit. Crazy! Then, I decided clear wasn’t a good idea anyway. This one is white and 5″ wide x 6″ high, it fits a box of tissues, perfect size for small stitched pieces/samples, and is functional.
I finished it as a flat ornament wrapping the excess fabric on the back over a piece of magazine board and piece of wool felt. It is attached to the box with sticky back velcro.
It’s near other yellow decorations in our bedroom. Love it!!
There are 3 more sides that can be decorated. And, I bought 3 more tissue boxes. Eventually, one will be in our bathroom (blues), extra bedroom (purples), and the other in the living room (whatever goes with brown/beige).