Filed under: General comments, Painting Needlepoint Canvases with Fancywork Finishing
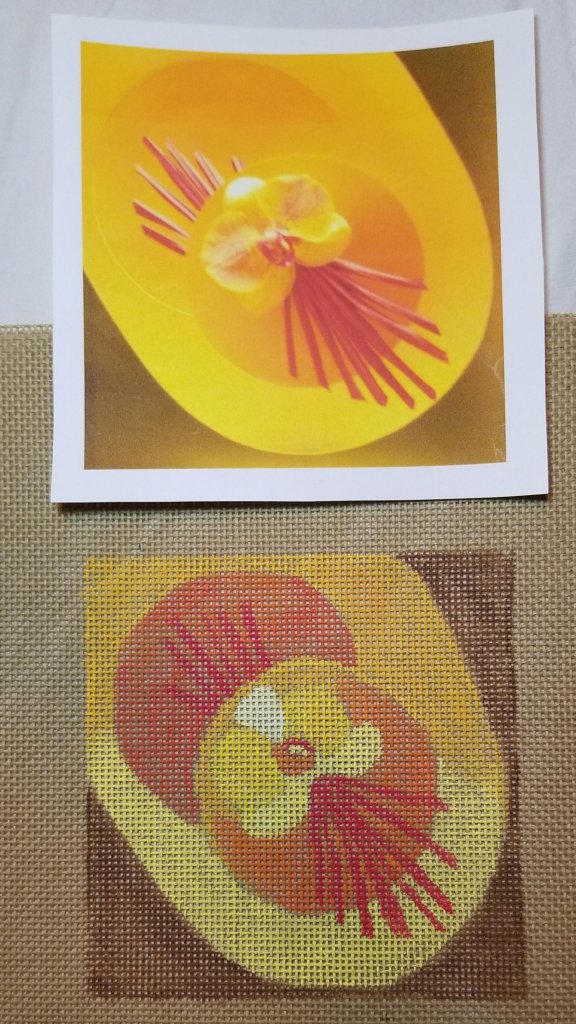
Well, I don’t see a dog now! Neither does Bill. But, I’m not getting the depth perception within the flower.
Filed under: General comments, Painting Needlepoint Canvases with Fancywork Finishing
Today was our second class and I will paint again tomorrow. While I ponder what I want to stitch, I finished stitching the first coaster. I used Silk & Ivory (colors: 213 banana, 01 natural, 29 guacamole, 150 peony, 198, ahoy!, 36 admiral blue).
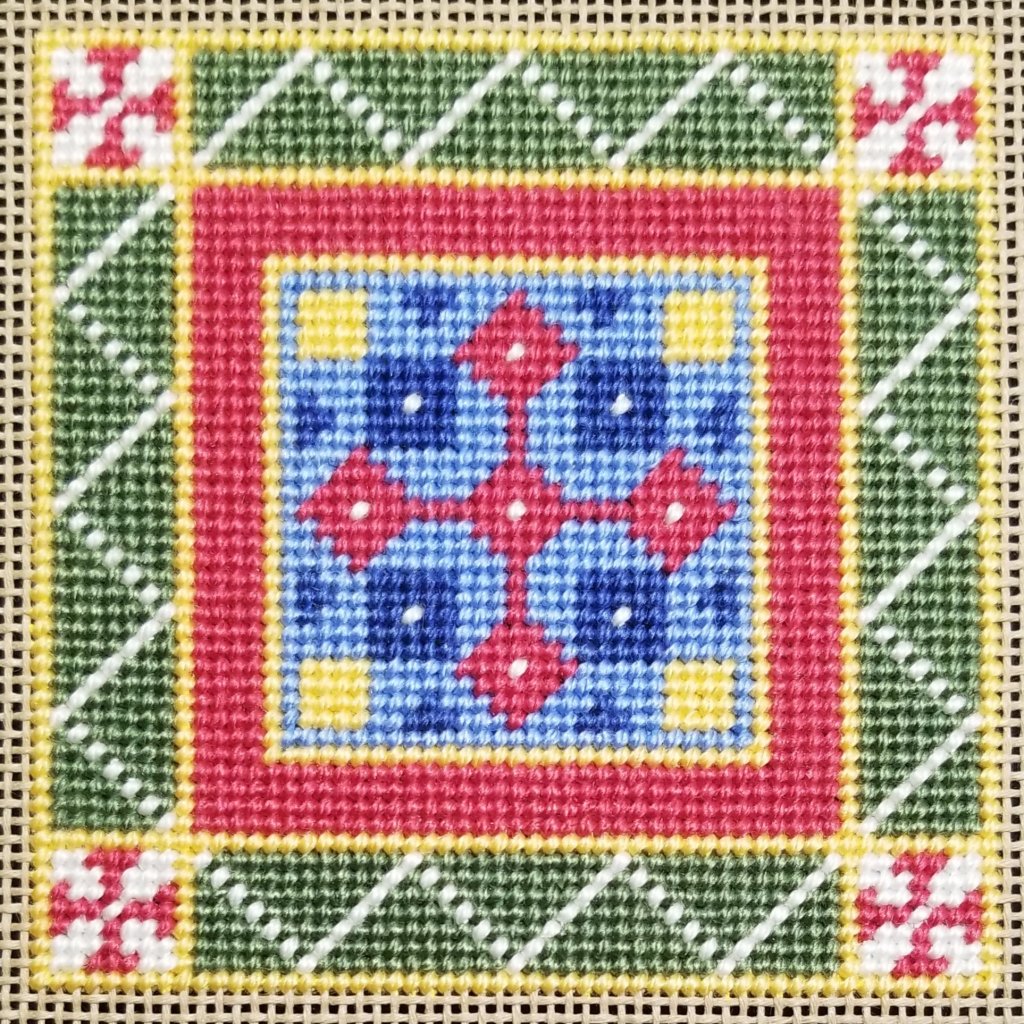
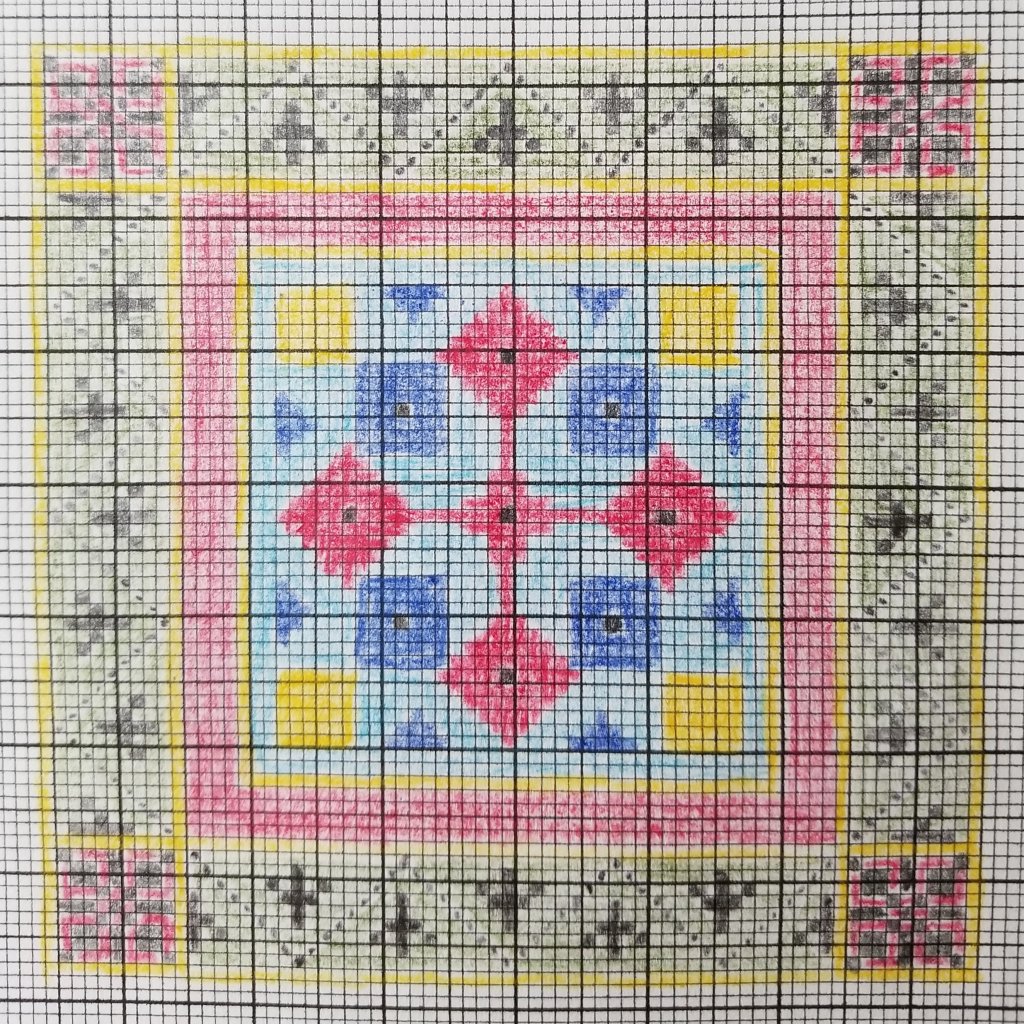
And, I finished graphing the second coaster on Excel to see how it would turn out. If this were a design that I wanted to paint again, I’d use this version (rather than my colored pencil version). And, it stores easily on my computer. I’ll stitch this one too.

Filed under: General comments, Painting Needlepoint Canvases with Fancywork Finishing, Technique Issues
According to The Needlepoint Book by Jo Ippolito Christensen, a tent stitch is either a half cross, continental, or basketweave stitch depending on what direction you stitch it. They all look like a 1 x 1 diagonal stitch on the top of the canvas. The way I stitched the single row of the zig zag white line doesn’t appear to follow any one of these directions. So, I will just call it a tent stitch and you know I am referring to a 1 x 1 diagonal stitch going from the bottom left to the upper right.
There is an issue with a single line of tent stitch when you are moving on the diagonal of a V shape. On the right side of the V, the stitches form a connecting line. However, on the left side of the V, the stitches form something like a step ladder not touching one another. On occasion, I have laid a thread from upper left end of the V to the center of the V in the same color thread to form a connecting line on both sides of the V and make it a stronger visual. It’s like couching on the diagonal. I’m sure I learned it in a class and used it before (but can’t remember where).
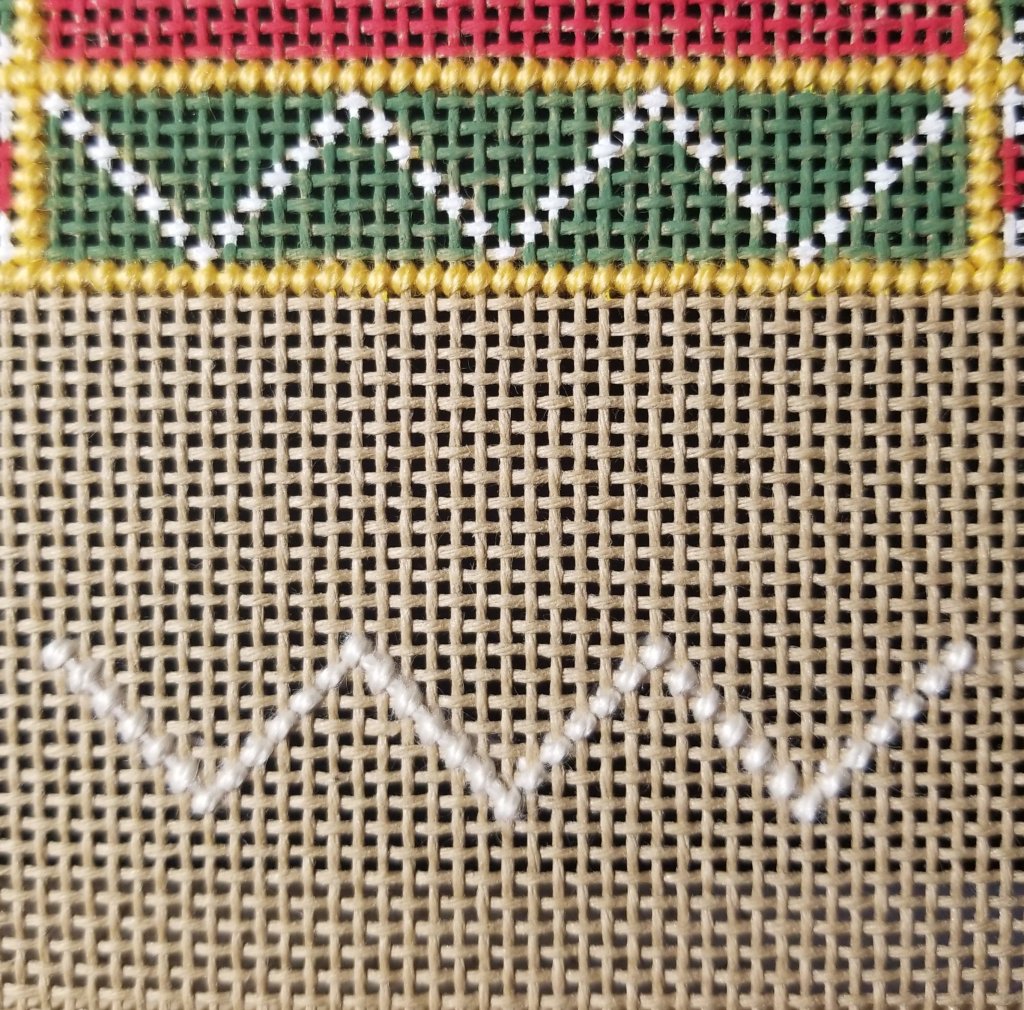
I decided to see if it would work for the coaster I painted. I stitched the first V with all tent stitches (right V). The second V (left V) has Silk & Ivory laid on the left diagonal line.
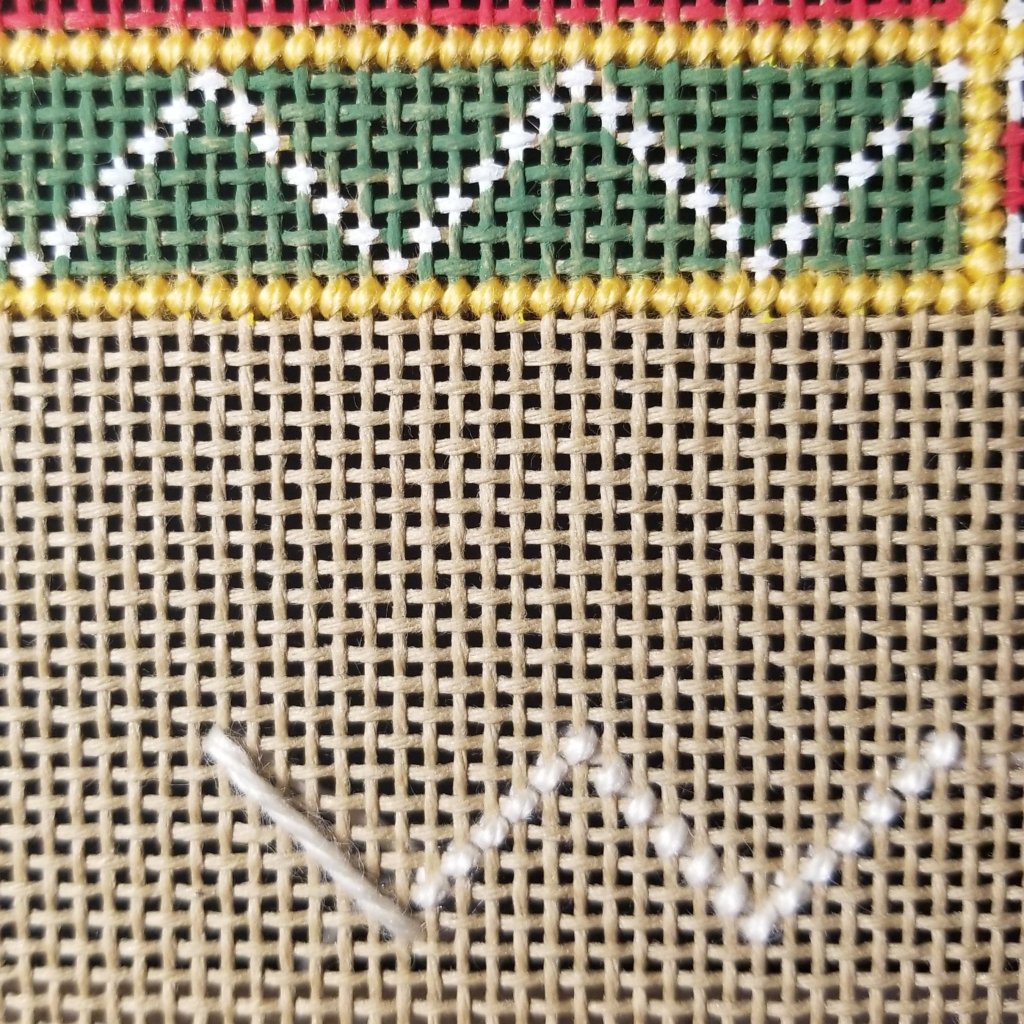
Once the tent stitches were placed on top, it resulted in a thicker line than the right side of the V. It may not be visible in the photo (center V) but you can feel it. The third V (left V) has one strand of Silk & Ivory laid on the left diagonal line. Silk & Ivory is a 3-ply thread not normally split into 3 strands but it can be.

Then, tent stitches were placed on top.
Once the green thread was added, it pinched the laid white into a very thin noticeable line.

The fourth V (on far left) has two strands of Silk & Ivory laid on the left diagonal line after I stitched the surrounding green thread first.
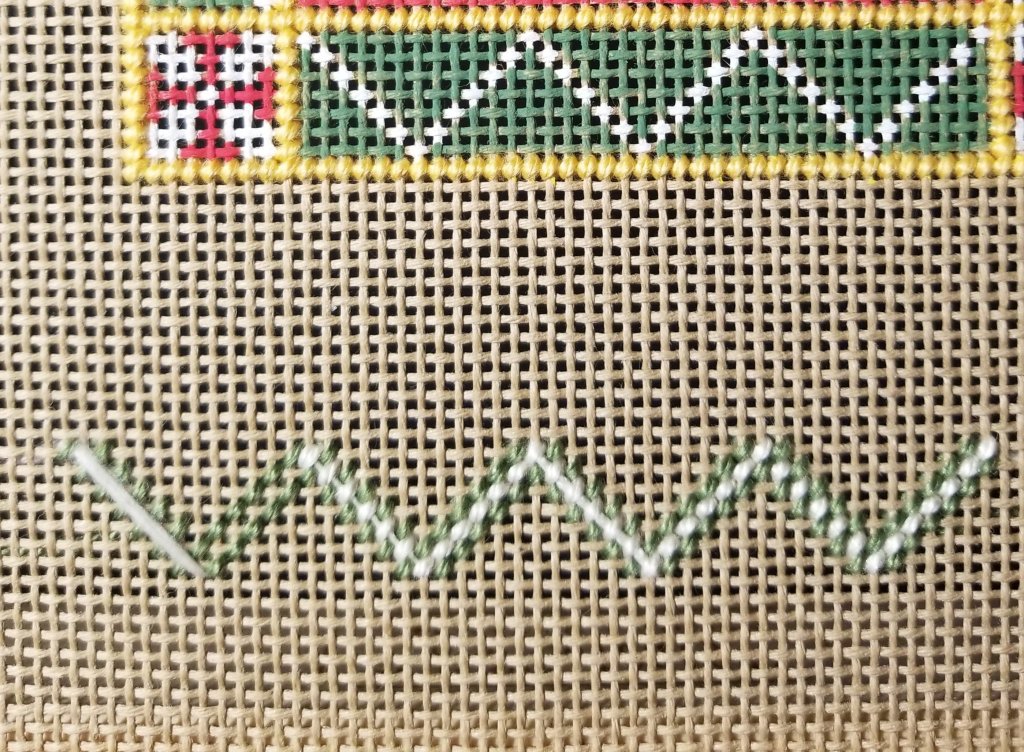
Then, I placed tent stitches placed on top. This was the end result of my experiment.
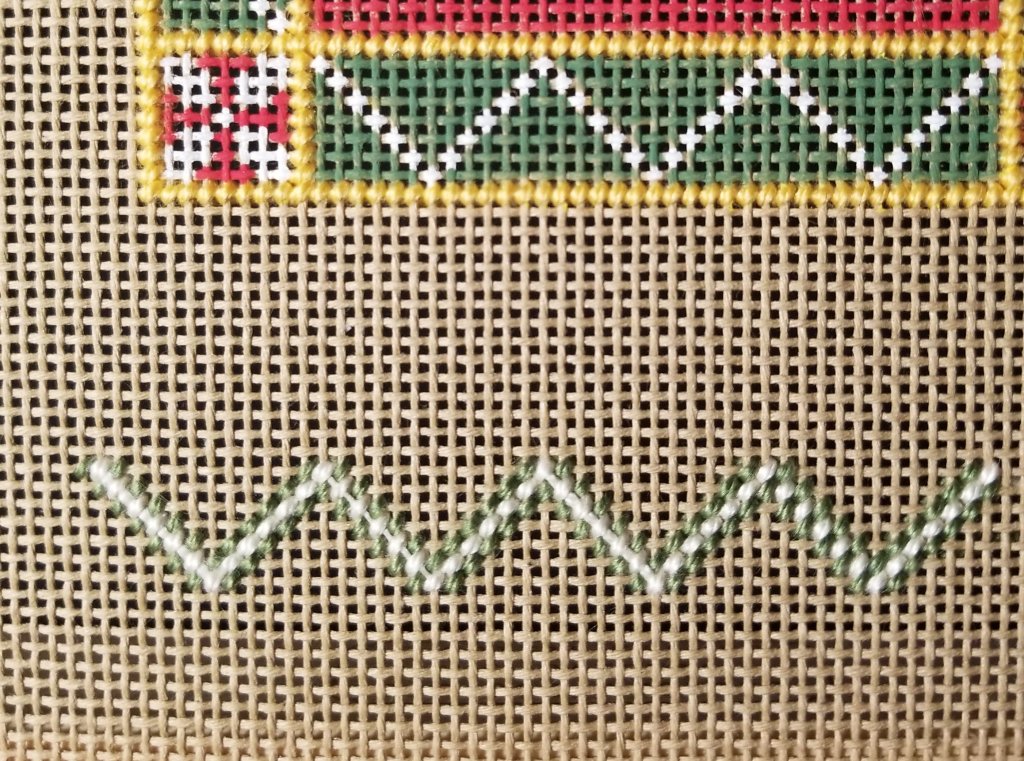
I’m glad I practiced because I decided that it didn’t work as well as I remembered. My husband likes the third V from the left. I will stick with far right V which has the tent stitches on the left side of the V without a laid thread allowing the eye to perceive it as a line even though it doesn’t actually connect as a continuous line.
Then, it dawned on me that it might work better if the line were a darker thread surrounded by the white thread. So, I had to test my theory.
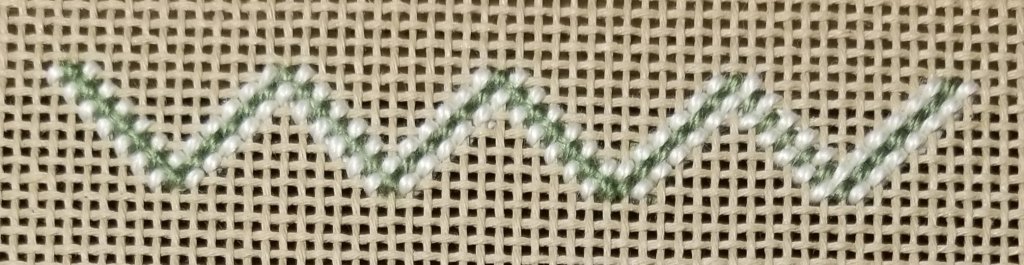
Again, my husband likes the third V from the left. I’m inclined to agree. And, I least like the V on the far right. So, my take away is the darker the thread worked better than the lighter. However, I will probably try this again on the 18 count canvas. I think it’ll work better with either color combination because the canvas threads will be closer together to begin with.
Did anyone stay with me through this discussion? What are your thoughts? Have you done or heard anything like this before?
Filed under: General comments, Painting Needlepoint Canvases with Fancywork Finishing
As I said, I pulled out some 18 count graph paper and transferred the design there. It’s still the same size (4″x4″). But, I was able to get more details on the 18 count tan canvas particularly in the border because there are more canvas threads. It took longer (3 & 1/2 hours) to paint (again, with breaks).
I didn’t get the light blue as light this second time but the color doesn’t really matter for this coaster anyway.


For first attempts, I am happy with them and can easily and accurately stitch these. But, when I compare them to professionally painted canvases, I see room for improvement. There are specs of brown canvas showing on both of mine.

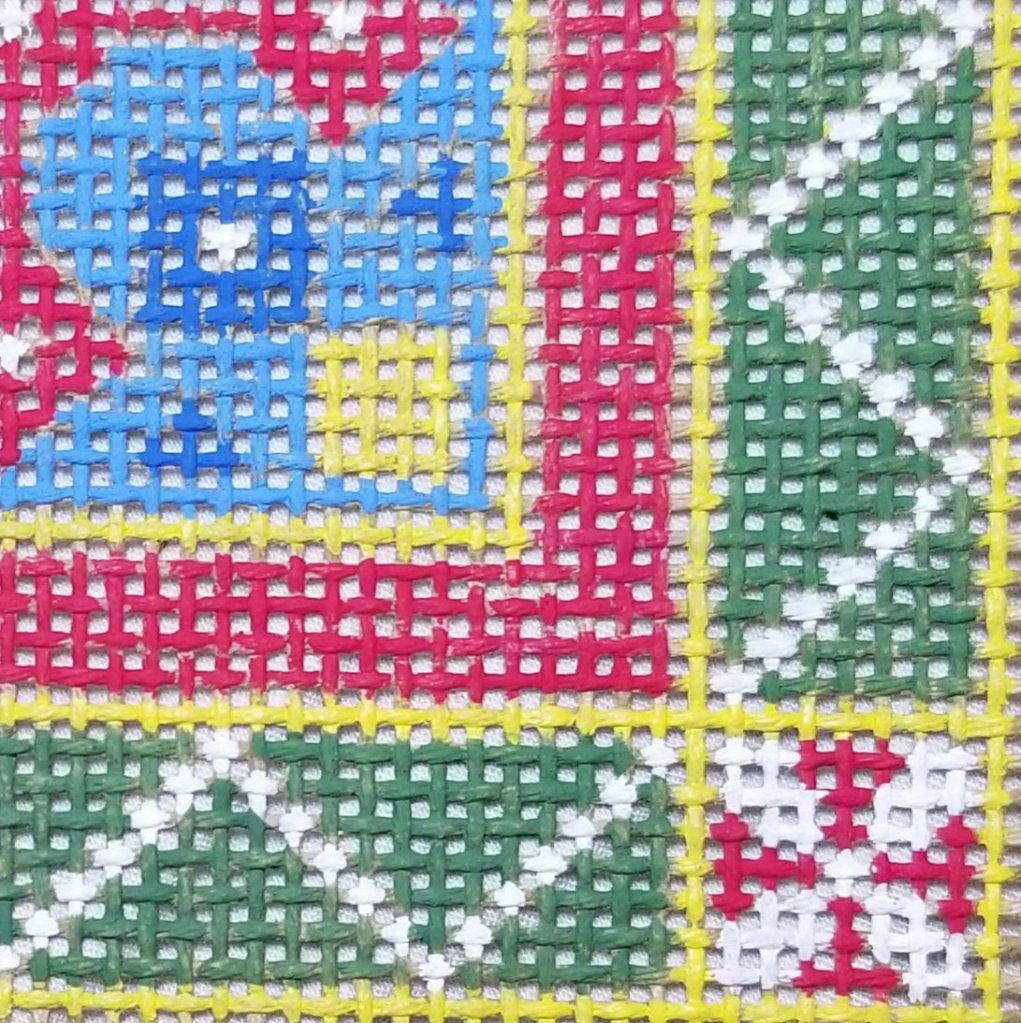
I already have a greater appreciation of the painted canvases and why they cost what they cost. On the other hand, I can easily stitch these from the diagram without spending the time painting first. But, this a simple geometric design.
Since I painted these, I might as well stitch them!
Filed under: General comments, Painting Needlepoint Canvases with Fancywork Finishing
It didn’t take long until I needed to use the Oops paint! A tan jar filled with a tan paint to match the canvas. No wonder she gave us the most of that color.
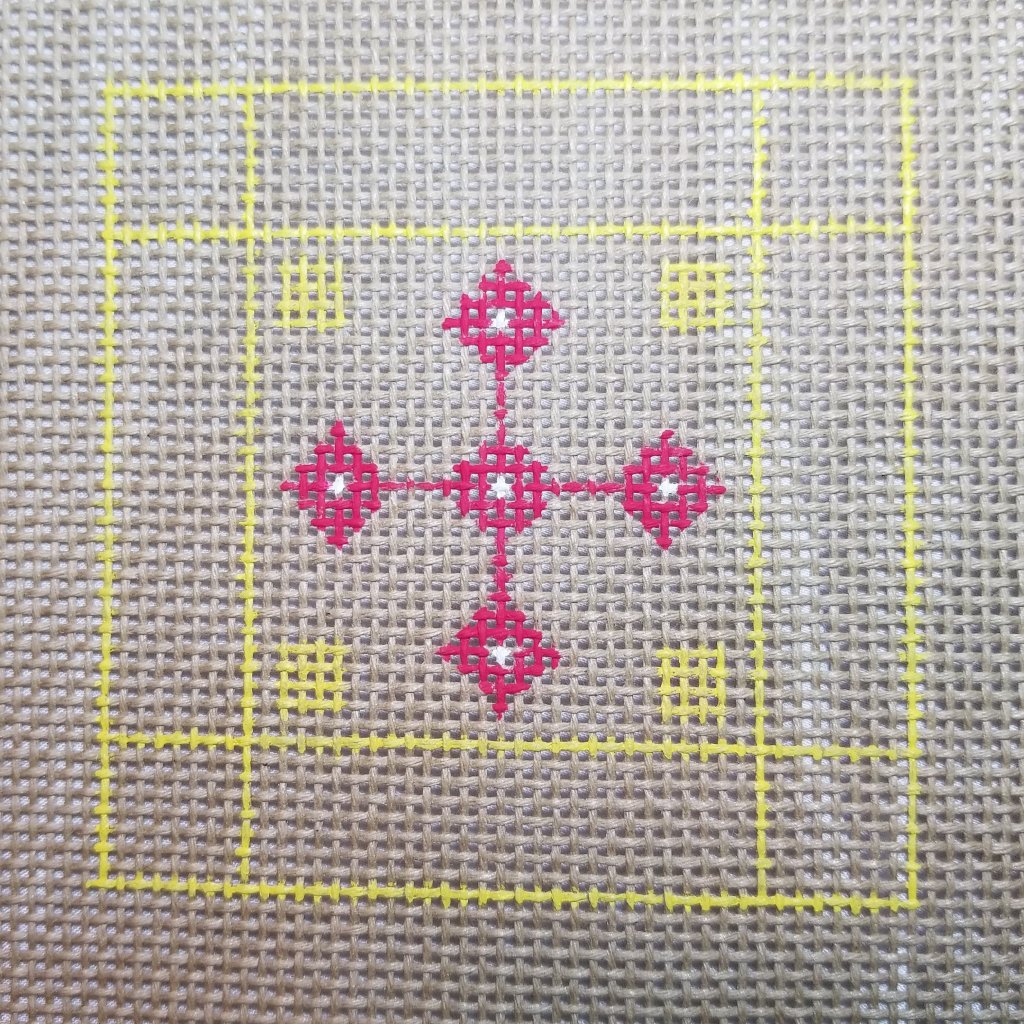
If you look hard hard enough, you can see where I covered the yellow.

But, once I painted the correct colors, you can’t even tell at all.

That wasn’t as tough as I thought it would be. And, only took 2 and 1/2 hours of painting time (I took breaks). And, while I took breaks from painting, I went back to the graph paper – my 18 count graph paper and transferred the design there. But, more on that later.
Filed under: General comments, Painting Needlepoint Canvases with Fancywork Finishing
I’ve started another class yesterday! Painting Needlepoint Canvases is being held via Zoom by Nancy of Fancywork Finishing (Maryland). We’ll have a class per week for a total of 3 classes.
Zoom is great since we can’t be in person. And, because we are from various parts of the country, we didn’t have travel expenses. She has the proper equipment to project as she demonstrates. It’s good!
We were sent 2 pieces of tan, 13 count canvas. She works mostly on Ecclesiastical projects and uses 13 count canvas and Appleton Crewel wool. I am happy to start on this size canvas. The technique will apply to all sizes of canvas.
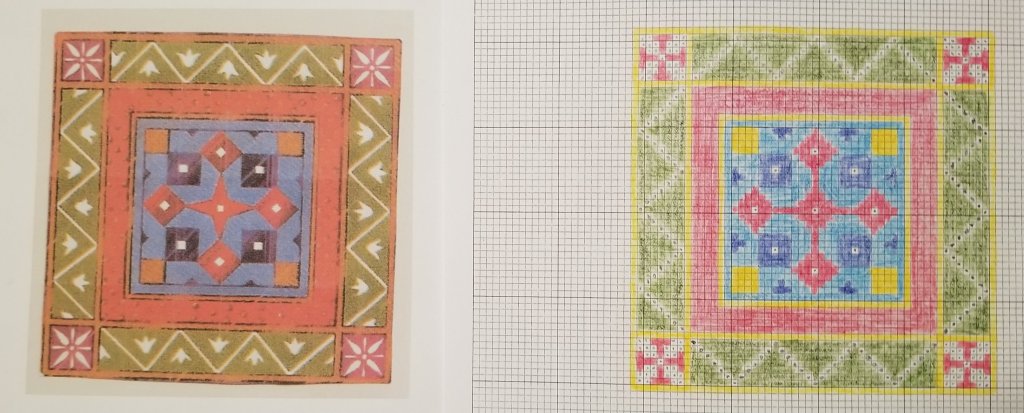
I’m also happy to start with a small (4″x4″) piece and basic colors (we can do whatever colors we want but why complicate it when you’re first learning). We traced the design onto transparent paper and then worked it out onto graph paper. It took some tweaking but it was not too difficult.
Because it is 13 count canvas, I will not be able to get all the detail. For example, I modified the 4 corners.
While Bill golfs tomorrow, I will be painting!
Filed under: ANG Main Line Stitchers Chapter, Color Complements, General comments, Rainbow Ribbons, Threads
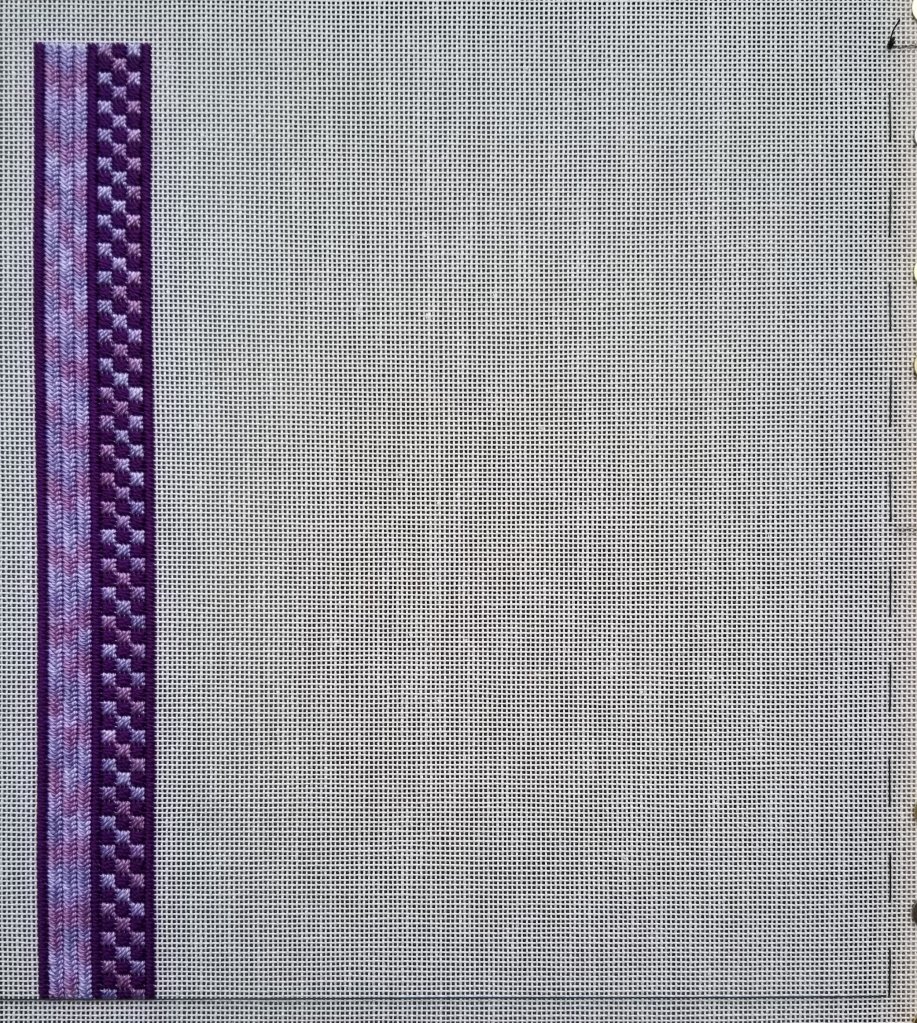
My ANG Main Line Stitchers chapter is stitching Rainbow Ribbons by Kam Wenzloff published in Nov/Dec 2019 issue of Needlepoint Now.
I am stitching another and last pillow for the guest bedroom. So, I have more purple threads again. This is Lavender (51) from Color Complements and DMC #5 Perle 550.
Many of us are changing the dimensions of the stitched area and we discussed enlarging the piece at our last meeting. The piece is designed to be 163 threads wide by 160 threads high. The designer suggests stitching some of each band until you get to Band 7 because there are 40 giant rice stitches from top to bottom eliminating the need to count to 160 threads and potential counting errors. You can compensate any band to any length. However, Bands 8 and 11 are also important widths to consider when deciding the length. Band 8 is stitched as a repeating unit of 20 threads and Band 11 over 10 threads. Band 12 is also over 4 threads like Band 7. Only Band 2 is over an odd number of 3 threads. So, if you want to lengthen the piece, doing so in 20 thread increments (a little over an inch on 18 count) will eliminate compensation for Bands 7, 8, 11, and 12. Then, only Band 2 gets compensated. So, I basted in increments of 10 because I want to stitch complete columns moving left to right going down 11″.
We’re going to do 2 bands each month. And, I am ready for Monday’s October 12th Zoom meeting.
Speaking of Zoom, our Starbucks location closed permanently anyway. Another casualty of 2020. Trying to look on the positive side of it, we have Zoom and plenty of time to look for another place. I don’t believe that we will be meeting face to face at least until the spring. Between coronavirus and the weather, I have to hope by spring things will be better!
The 2020 Annual Needlework Show ended in the Woodlawn Mansion on August 2nd, but great news! With a donation today of just $12.00, you can download an online slideshow of the fantastic pieces submitted for the March 2020 event. Once your donation is processed, you will receive a unique “admission” link which will allow you to download the Show slideshow and view it at your convenience. This download will only be available until October 15, 2020.
Check it out at http://woodlawnpopeleigheyhouse.squarespace.com/annualneedleworkshow
It’s the first time that they have done this. And, I hope it won’t be the last.
Filed under: ANG Main Line Stitchers Chapter, ANG Stitch of the Month, 2020, Color Complements, General comments, Rainbow Ribbons, Threads
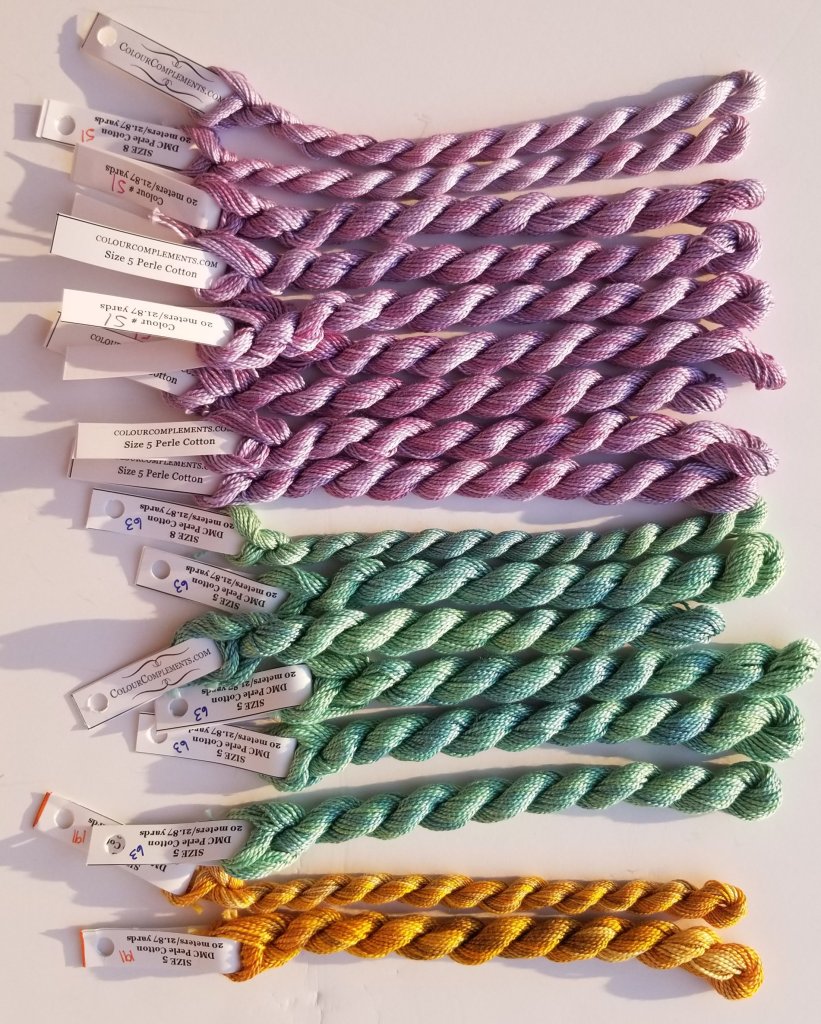
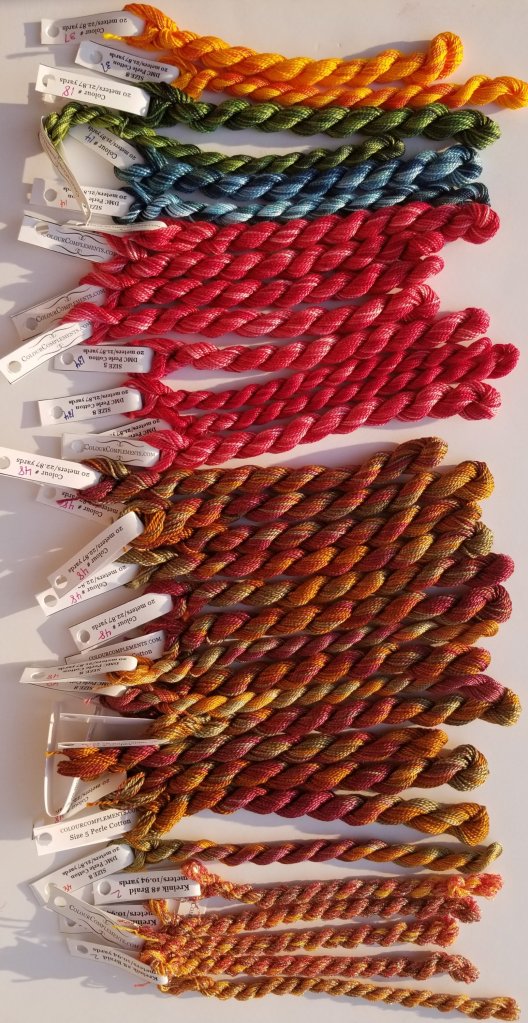
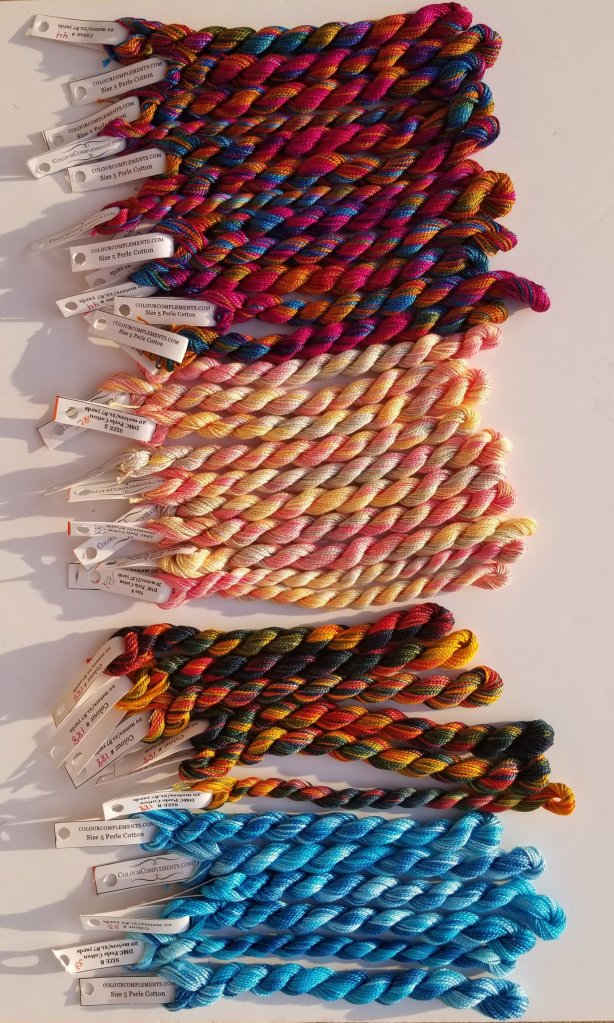
September starts another year for our ANG Main Line Stitchers chapter. We will start out with 2 new counted projects. Twelve of us are stitching Rainbow Ribbons by Kam Wenzloff from Needlepoint Now Nov/Dec 2019 issue. And, six of us are stitching the ANG 2020 Stitch of the Month (SOTM) with three of us switching from Watercolours to Color Complements.
Most the threads got distributed to folks over lunch outdoors at Nudy’s. Everyone is very excited about getting started.
Only 2 people selected the same color as the stitched model. The rest are a wonderful array of color. Not everyone is doing the 9 x 9 design size. There are a variety of sizes including two people who are doubling the width or length.



Filed under: General comments, Painting Needlepoint Canvases with Fancywork Finishing
I was able to get a better mix of colors when I did as Nancy suggested and selected threads before mixing colors. I didn’t worry about getting the two light pinks the right colors though because I was not going to use much anyway.
It took longer than my other 2 attempts to paint but Bill thinks that it “looks great” and so do I as far as being able to stitch the design not to sell it. But, that’s not my goal anyway. I definitely would buy the paints if I were trying to sell painted canvases. Getting the right colors is tough. And, duplicating the color would be practically impossible. That’s why some areas are not painted as well as other areas. I was running out! Creamacoat has a good range of yellow-orange colors and DMC has more yellow-orange threads that I could use.
If I stitch it with thread blending with the colors I selected to shade areas, it should turn out better than the painted version.
This is just 4″x4″ and making it larger would allow more details. It wouldn’t be the first time I stitched a design more than once!