Filed under: ANG Main Line Stitchers Chapter, Christmas Ornaments, Kumihimo, Melita's Other Completed Pieces
Our theme for this year’s ANG Main Line Chapter meetings is “small”. In the fall, we’ll learn how to finish a small ornament using simple finishing techniques & a Japanese braiding technique called Kumihimo. Then, in the winter/spring, we’ll make an “Ort Box”, a small, collapsible container. Also, in spring, we’ll explore the world of “Marnie’s Miniatures” (one of our member’s is an award winner in miniatures). Lastly in the spring, we’ll have a small “tasting” of other Japanese craft techniques at the start of meetings when we work on the small ANG bear frame weights for the 2012 seminar.
On Sept 12, I’ll lead an introductory class in creating a simple 8-cord Kumihimo braid, a Japanese technique. I made braids using floss, DMC # 5 threads, Watercolour overdye threads, 1 mm hemp cording, 2 mm satin cording, & a combination of threads. And, I have 2 finished bracelets. The chapter will provide the Kumihimo disk, some hemp cording, and materials to finish one bracelet. The application of braiding to needlepoint can lie in creating a decorative matching braid to hang your piece of needlepoint, finishing the edging of an stitched piece, & couching onto a design. From left to right: (1) DMC # 3 (4 strands of white & 2 each of blue & white); (2) 1 mm Hemp cording (4 strands of red & 2 each of blue & white). Mine & my husband’s! I learned in about 20 minutes how to finish the bracelets at a cost of about $2 each with the wonderful folks at The Bead Garden in Havertown.

I wanted to explore textures & thicknesses. So, these are my results & comments about each. From left to right: (1) Blue braid: 2 colors of Silk & Ivory with 2 colors of Watercolours (2 strands each color) – you can just barely see the effect of the overdye but they wasn’t a lot of variation in the overdye thread to begin with; (2) Large red, white & blue braid: 3 colors of 2 mm satin cording (4 strands of red, 2 strands of blue & white) – too thick for a bracelet – better for a necklace; (3) Medium red, white & blue braid: 1 color Flair (4 strands), 1 color Frosty Rays (2 strands), 1 color Fyre Werks (2 strands) – it is surprisingly rough for how the soft threads feel separately so it not good for a bracelet & it stretches after being braided; (4) Very small red, white & blue braid: 3 colors of DMC floss (4 strands of white, 2 strands of red & blue) – it took a long time to stitch that small example so it is impractical to use on a large-scale but perhaps would have some application for miniature work.

On Oct 10, Carol from The Bead Garden will teach an advanced 12-cord Z-braid. She’ll share tips and show us a different way to start the braid. Carol has examples of various braid techniques. And, she has learned even from books written in Japanese! We’ll have enough hemp cording to distribute or they can use their own thread & have it ready for November’s finishing class. These are 2 of her braids using 12 cords & comments about each. From left to right: (1) Pink & black braid: 2 colors of wool/yarn (8 strands of pink, 4 strands of black) – the 3-dimensional effect is more obvious than in the smaller braid; (2) Pink & white braid: 2 colors of DMC #3 (4 strands each of mauve, pink, & white) – a little fancier braid than the simple one

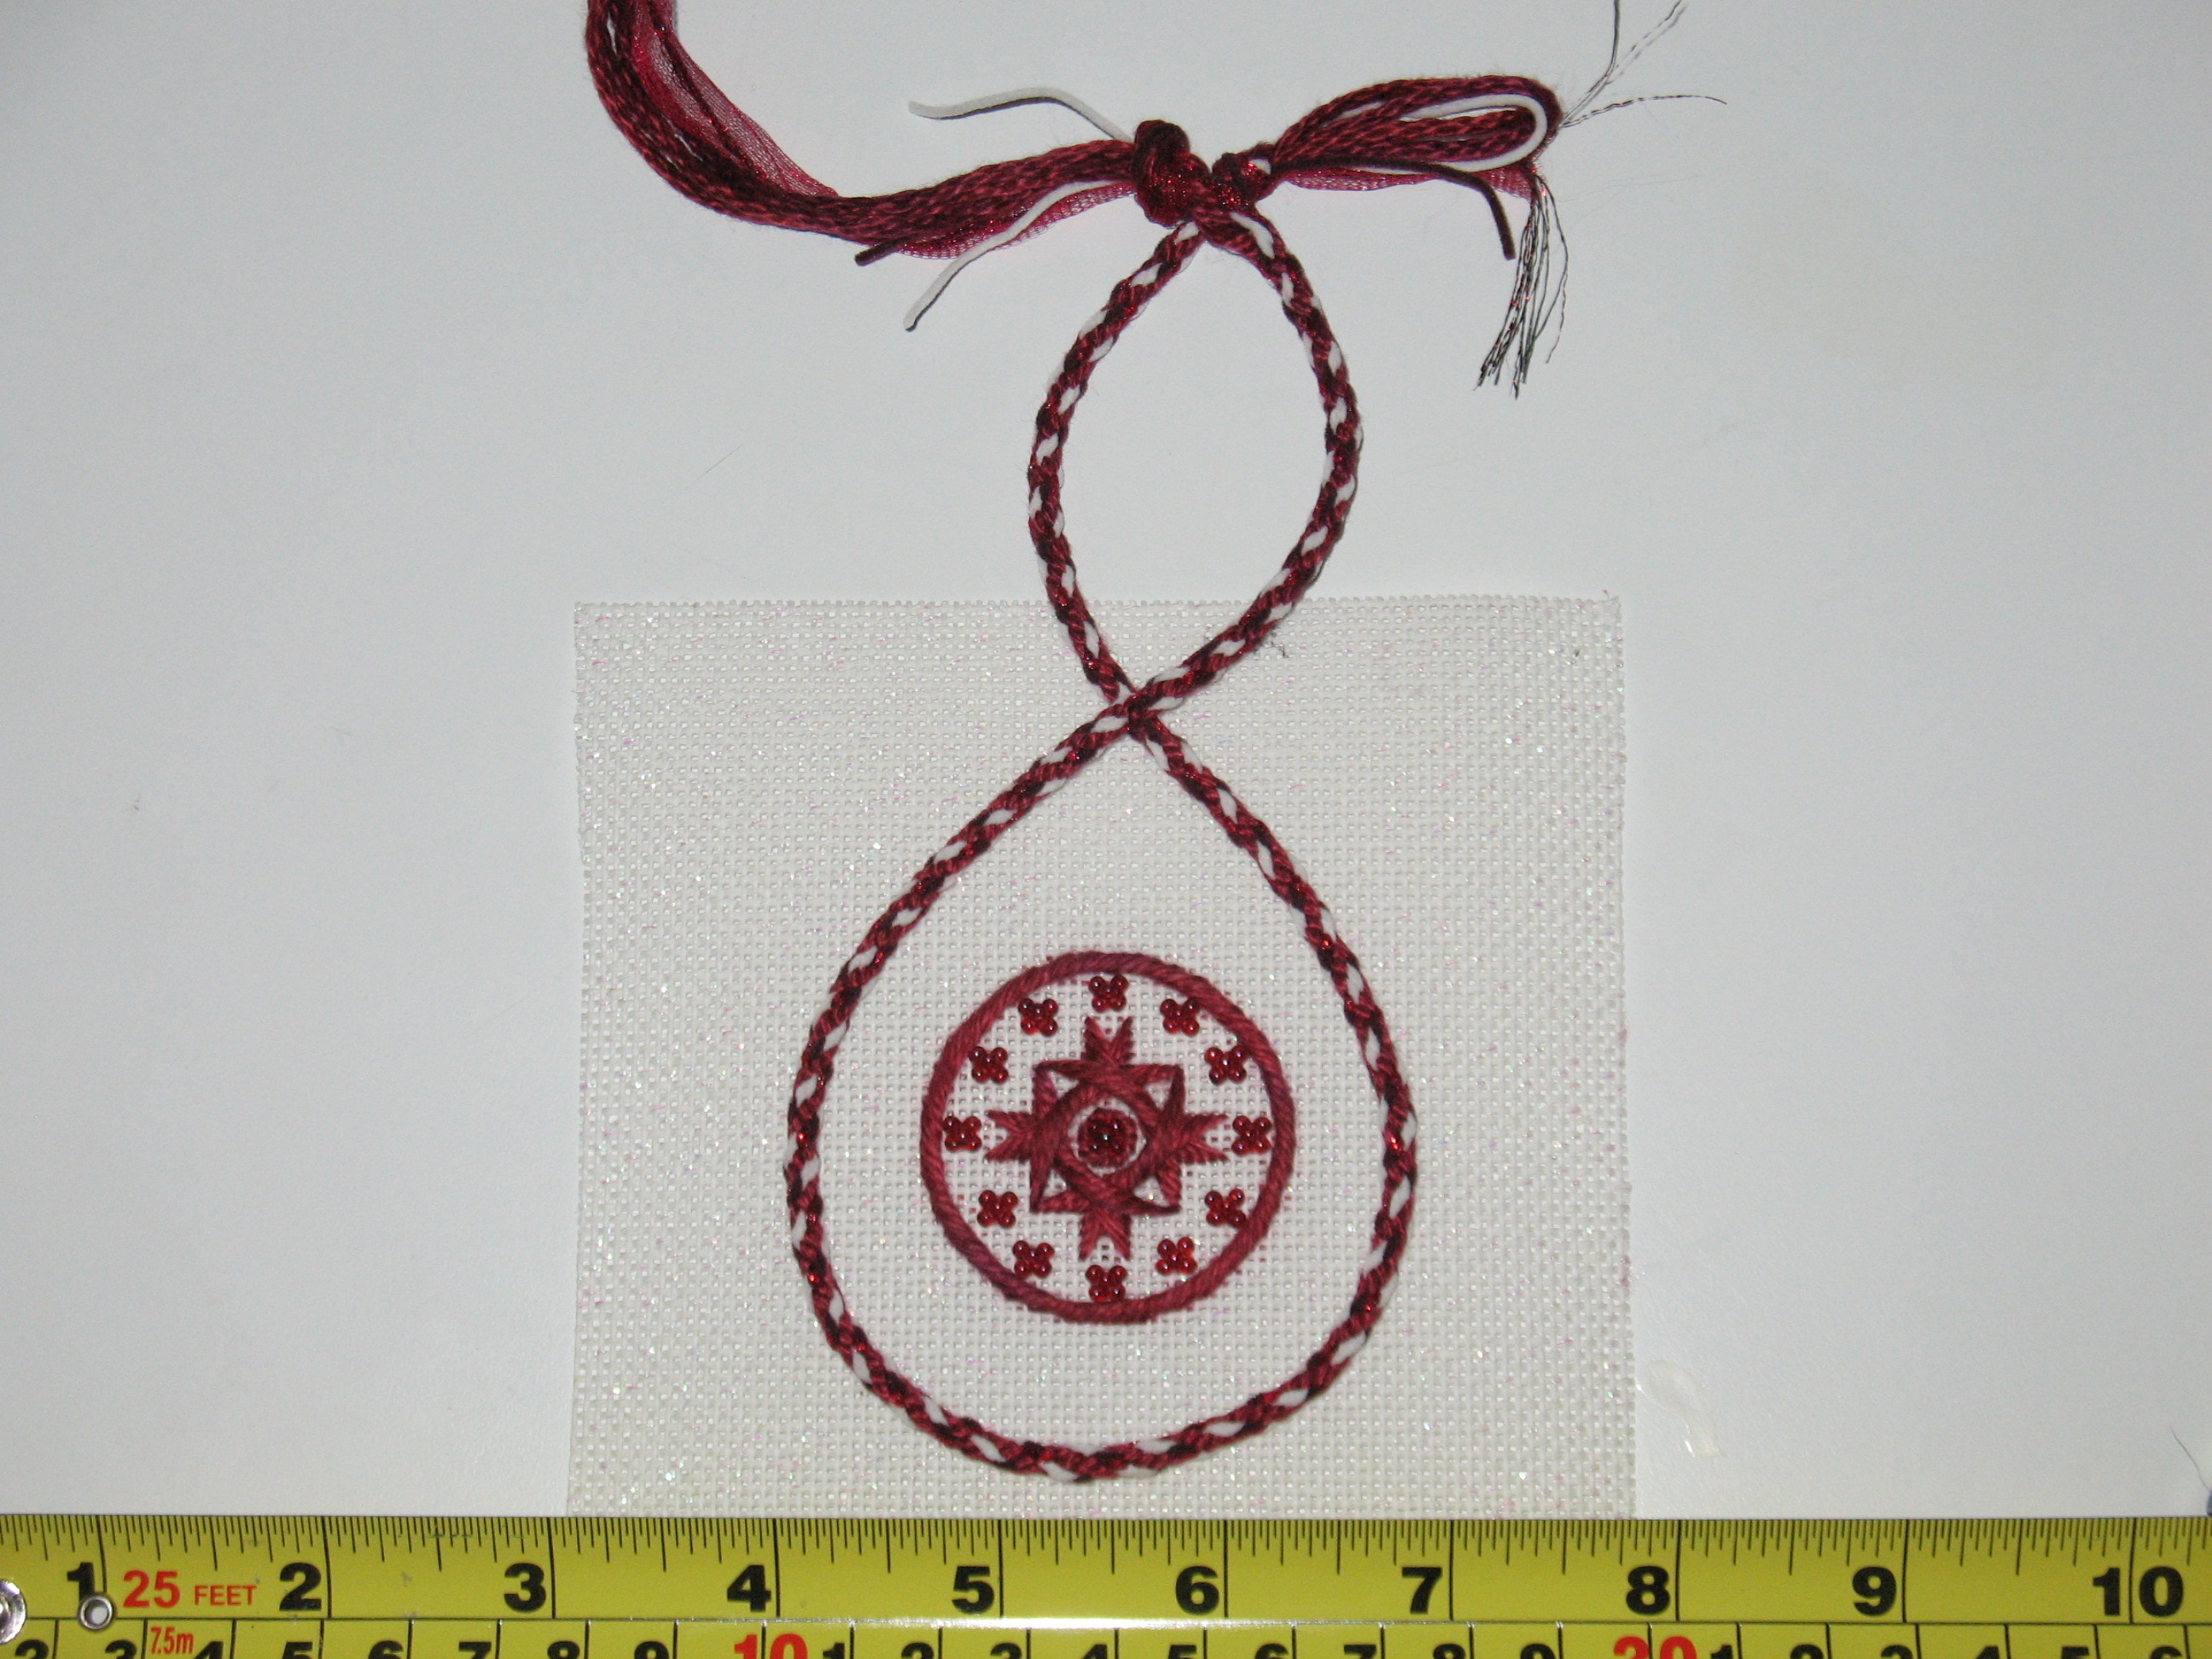
Then, on Nov 14, Karen from Nimble Needle will teach us a simple finishing technique for the 2 & ½” ornament. If we bring a stitched design and about a 12” braid (which allows for a 2” loop), we’ll be able to leave with a completed ornament! I’m ready as you’ll see below. For this, I used: 2 colors of Petite Very Velvet (2 strands each of red & white), 1 color Frosty Rays (1 strand of red), 1 color Watercolours (3 strands of Cinnabar an overdye without a lot of variation in it & the same as I used for the deign of the ornament) – I just wanted a little sparkle & needed the 3-ply per cord of the Watercolours so that it would be a thick enough braid.

Main Line Stitchers (PA): Join us as we explore Japanese braiding, Kumihimo. We’ll begin with 8 cords in Sept, then 12 in Oct, & use some braid to finish a 2&1/2 inch ornament in Nov! Come join us at 7:15 pm on the 2nd Monday of each month at St. Luke’s Church (203 North Valley Road, Devon, PA) just 30 minutes from Center City Philadelphia & 10 minutes from King of Prussia. Contact us at: MainLineStitchersChapter@needlepoint.org for more information.
Please note, I have no financial connection to artists or companies mentioned in my blogs.
The golf tee holder looks great! And, it arrived in time for his Labor Day tournament. Hope it brings him good luck!
Karen Milano at Nimble Needle did a great job finishing it & was kind enough to send me a picture of it! No affiliation with the shop (50D Tanner Street, Haddonfield NJ 08033, 856- 354-8100, www.nimbleneedle.net), just glad to have another wonderful store to visit. Now, we have a great excuse to go to Jersey for breakfast & pick it up Saturday before Hurricane Irene blows by us dumping more rain on us. Earthquake earlier this week & now a hurricane! Wild weather for Philly!

The design is all stitched & ready for finishing. So, I have an opportunity to visit Nimble Needle again while Bill is out golfing! How appropriate. Karen did explain how I could do the finishing myself but that was about 3 weeks ago & it sounded a little tricky because the edge has to be cut so close to the design. There is no point of ruining it now.
I just got the thread so I could indicate what color I used for the background & you’ll never guess the name it – I hadn’t noticed it until now. It’s Honeydew (Wildflowers, #228) – for my Honey!! I can just hear everyone go ahhhh!!

