Filed under: ANG Correspondence Courses, ANG CyberPointer's Chapter, Bargello Techniques by Liz Morrow
There is one more Bargello piece I have been wanting to work on & that is Bargello Techniques by Liz Morrow. It is an ANG Correspondence Course (http://www.needlepoint.org/CorrClasses/classes/bargello-techniques.php) that the CyberPointer’s chapter selected as a project. I am looking forward to learning the techniques behind Bargello which is what Liz describes in her very detailed booklet. It will be a wonderful resource to keep on hand for future projects.
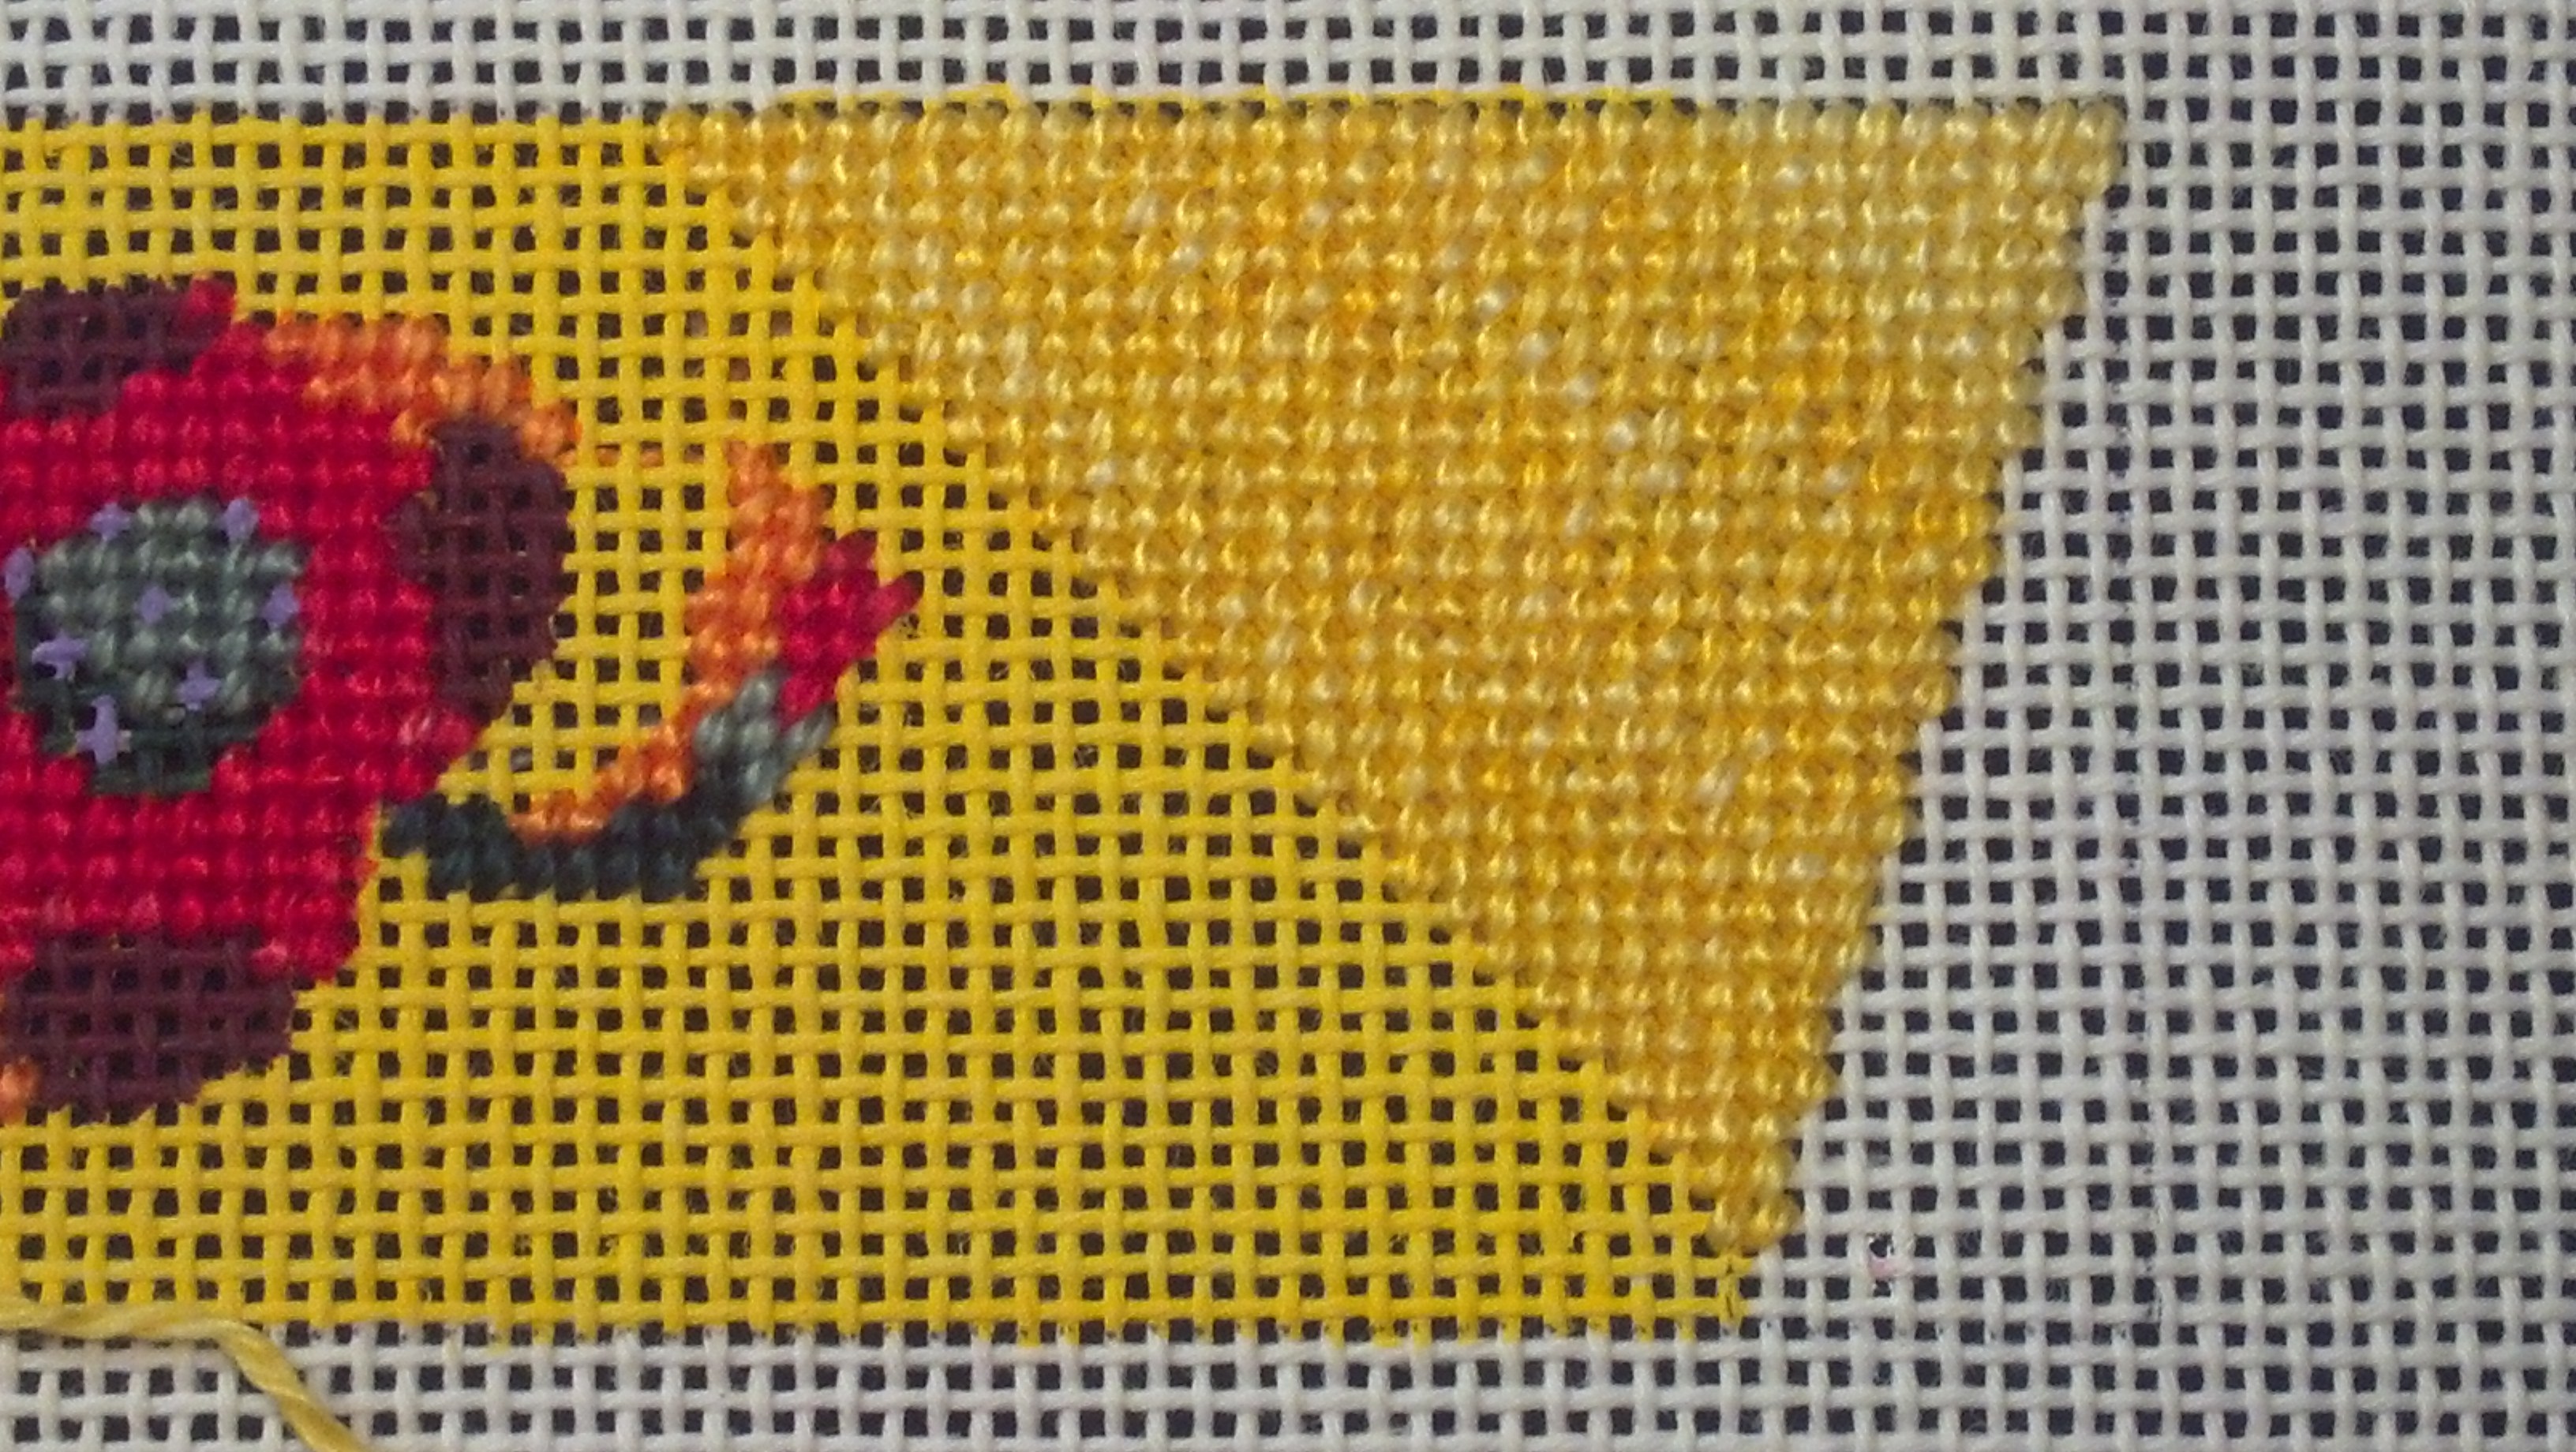
The threads were selected in Arizona during our Christmas vacation while at Old Town Needlework. After seeing Frank Lloyd Wright’s Taliesin West, I decided I wanted to have as close to Cherokee Red in the piece as I could get. So, I selected reds as my main color and went with blues as the contrasting color. I got a light and dark blue in case I want to mix it up a tad. Because, as usual, I am not going to stitch it exactly as pictured. I have a black collage frame that I have been wanting to use. That won’t take up less wall space but will be a different type of finishing than I’ve done before. Black will look good with the reds. I remember reading that you should know where you are going to finish before you begin. Tonight I began my adventure!
I decided on Vineyard Merino (from left to right):
Dark blue/Polo blue #M1210
Medium blue/Gentlemen’s grey #M1209
Darkest red/Sangria #M1135
Dark medium red/Brick red #M1019
Medium red/Quartz #M1017
Light medium red/English rose #M1016
Lightest red/Conch #M1136

Filed under: General comments
Last week, I happened to read through several old ANG NeedlePointer magazines and found an article on basketweave that explained what direction to stitch. This week, I picked up this piece for some easy stitching and realized that I could figure out the proper place to start. The article said, if you are right-handed, work up the horizontal and down on the vertical. And, I can see that clearly on this piece now!
I must come down on the vertical:
Filed under: General comments
I do like finishing some pieces on my own in various ways mainly because I do not have much wall space left. And, one of the stitches I use is the whip stitch to finish the edge without blocking. It works good for small pieces to go in such things as ready-made frames, bookends, or box tops – it doesn’t create a thick edge & won’t ravel. As long as I don’t pull threads too taut, the canvas doesn’t get distorted. But, I still haven’t used the stitch often enough that I have it memorized. So, this is my stitched example that I can pull up anytime to refer to it. I have to work it left to right. And, it is better to start and/or end on an edge – not a corner!

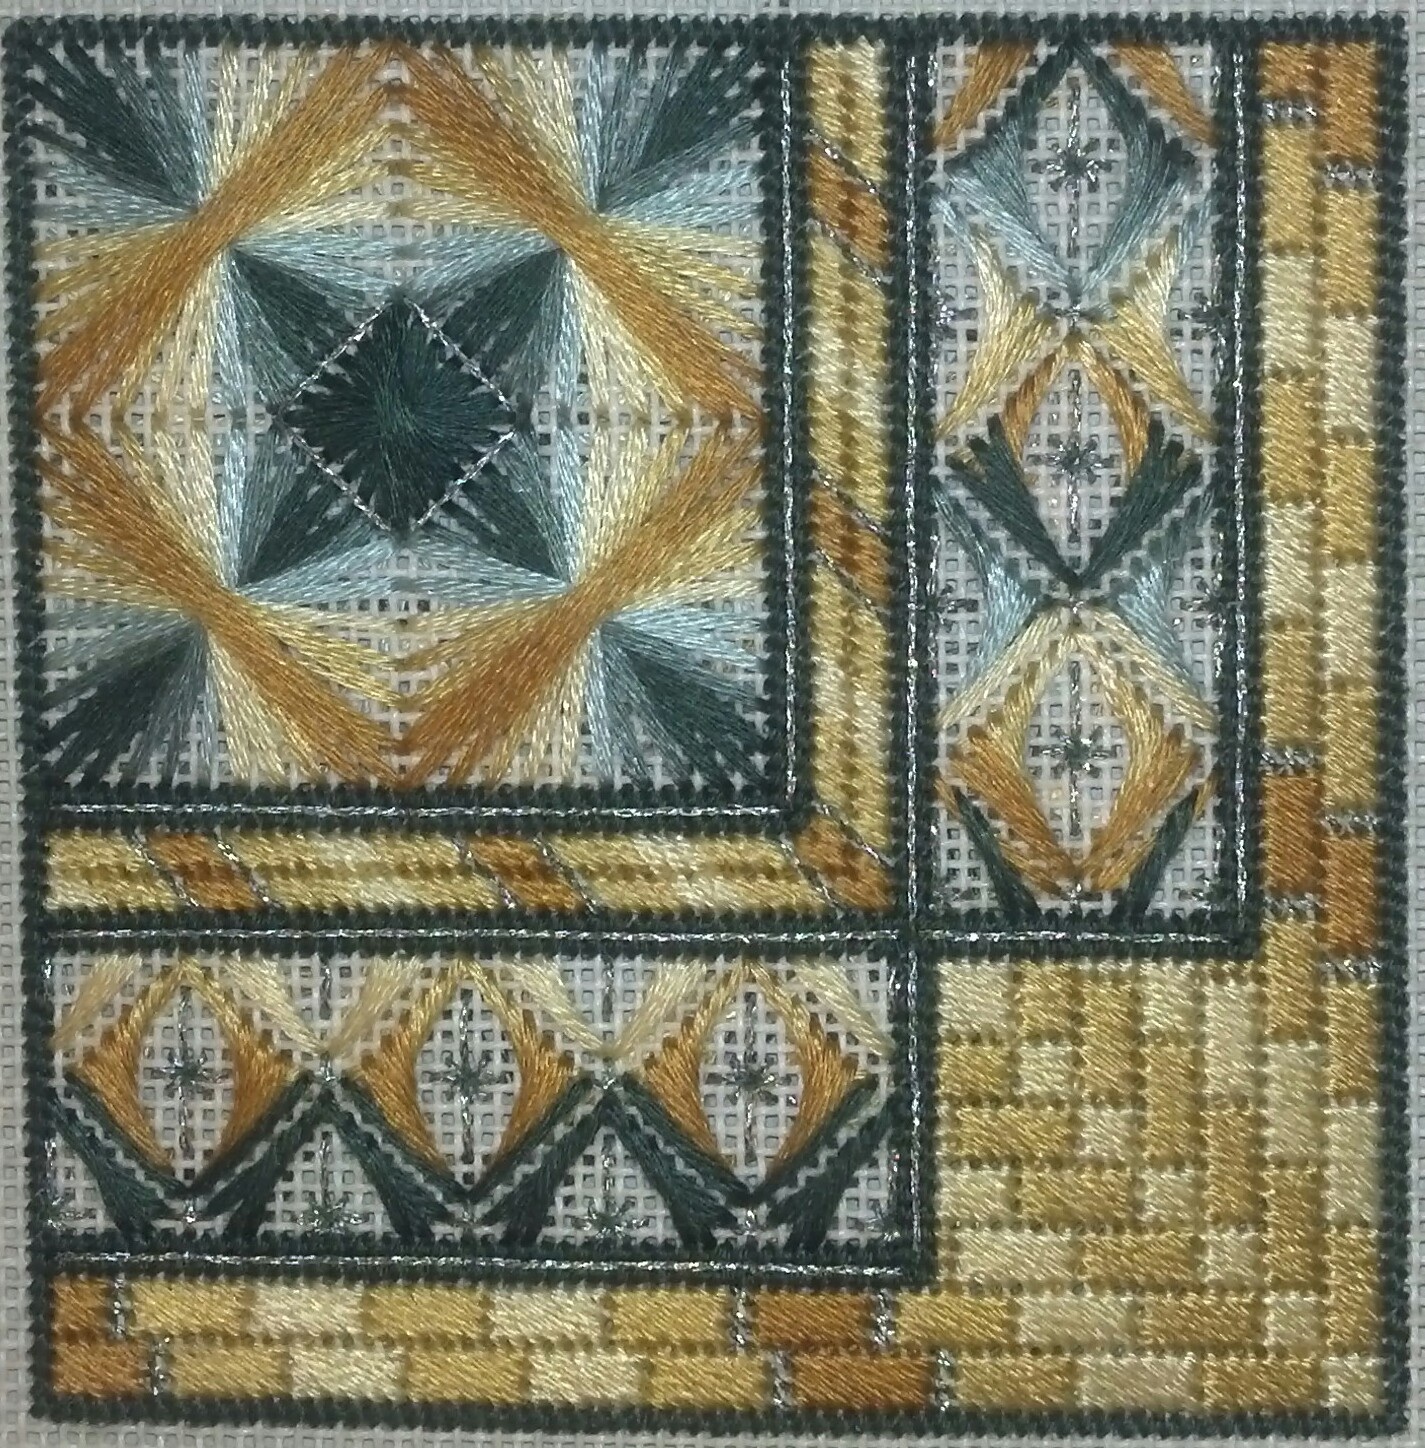
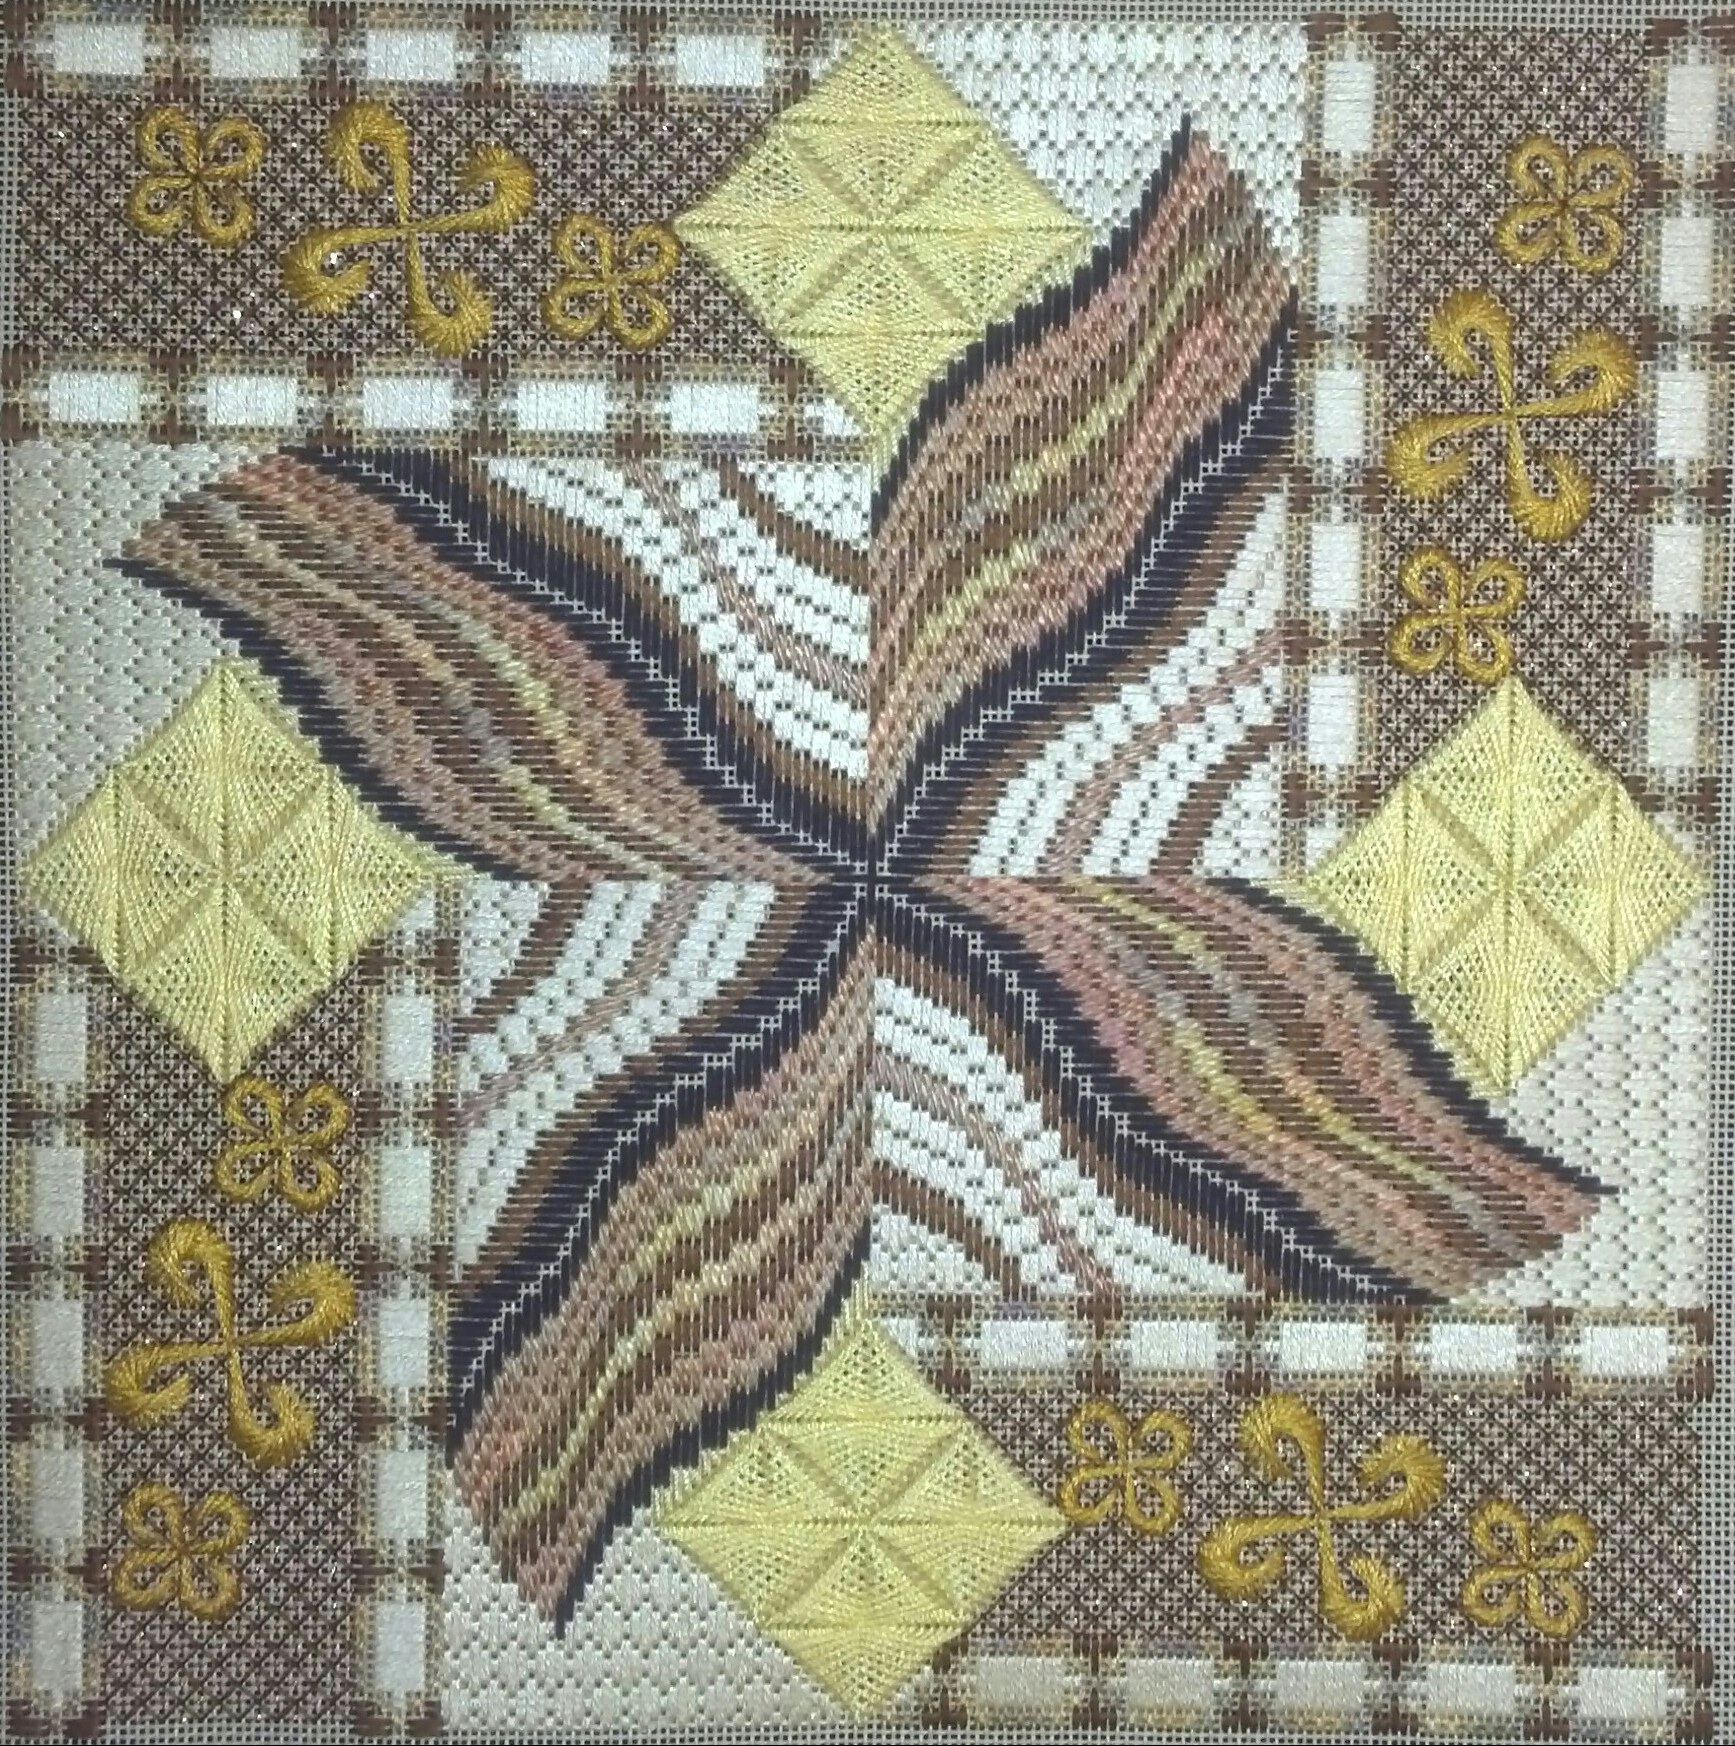
I used Jean Hilton’s Stimulating Stitches to put together a matching design to Pat Mazu’s Diamond in a Square which will go into a pair of bookends. Many of Jean Hilton stitches would work fantastic for this thread effect.
The main design in the upper left corner shows 4 plaited rays radiating around the corners which left room for a Jessica circle with Rhodes stitch in the center. And, I was able to fit 3 butterfly double fans into each of the columns.

I’ve been exploring shading with my ANG chapter and decided I had to take Patricia Mazu’s Diamond in A Square which is being offered through ANG’s Correspondence Courses (http://www.needlepoint.org/CorrClasses/classes/diamond-square.php). Pat describes it perfectly as an adventure in creating an overdyed thread effect.
What I really like is learning how to control the color as it moves through a stitch pattern. I knew that I’d have to do her pattern & then try it on my own design to see if I really understood it. I did have to modify her design slightly to fit into bookends. These make a wonderful opportunity to create a companion piece with my design. The first design is done! And, I’ve begun the next.
Filed under: ANG Main Line Stitchers Chapter, Tootsiebubbles: Pinwheels & Whirligigs
The background to the pinwheels is Alicia’s Lace, one of my favorites. I read somewhere that basket weave or tent stitch should be added to a piece so your eye has some place to rest. In the piece, I believe Alicia’s Lace serves this purpose because it is non-directional. The x inside the diamond is a little sparkly but difficult to photograph. I used Accentuate and it is such a thin thread that it is a little tough to see even in person.

Crescent River returned from the framer. I used The Great Frame Up in Wayne, PA this time. My husband, Bill, & I with one of the employees spent quite a bit of time selecting it. Bill has a good eye & commented that the grooves in the frame made the piece continue outward on all sides just like I hope you think when you look at the piece – it spans a vast area but you are seeing just a small part.
And, by now, it should have floated down to Woodlawn for the 51st annual exhibit! They want an artist statement but only allow 50 words & I have a lot more that I could have said but settled on this:
I kept seeing a river from the sky in my mind. The crescents added motion to the waves of the river on a hand painted surface of blue. The bumpy, random mix of Smyrnas and Rhodes became the rocks banked on either side by grass or eyelet flowers.

Looking forward to March already. It is always a fantastic show with hundreds of pieces – each one just fantastic.
Postscript, no ribbon at Woodlawn but 3rd place ribbon at ANG Seminar 2014 in Chicago!
