Filed under: ANG Main Line Stitchers Chapter, From Dawn to Dusk by Textured Treasures
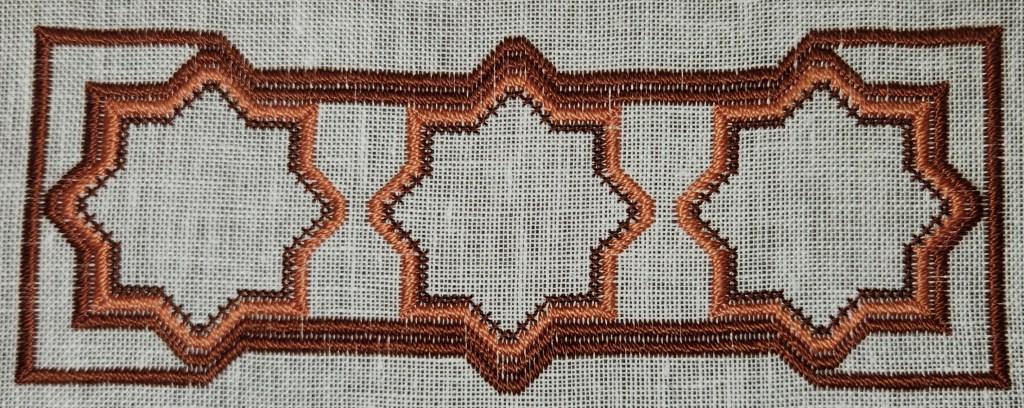
Back in October, my ANG Main Line Stitchers chapter started From Dawn to Dusk by Textured Treasures (you can find them on Facebook). The full design is 12 motifs done on 18 count canvas. But, they also sell the instructions in batches of three done on 28-count on Lugana and four motifs individually (count unknown). I think I am working on 28-count Cashel linen or Lugana.
In December, I added the outer border but didn’t feel it was blog worthy!
Well, I decided to get back to it for my Saturday Stitch-in project today. So, I had to stitch some difficult areas over the last couple of days. Kristen has given us some good tips for the motifs. The Mexican Stitch in the corners of the center motif and the raised Chevron Stitch were very challenging stitches. The Mexican Stitch would make a good background.
I color matched my overdyed thread in the first two motifs so, I will have to color match in the third! I still have a few beads to add. In the left motif, I used the largest yellow section of the overdyed thread for the diamond Rhodes and the darker colors for the Algerian Star eyelets.
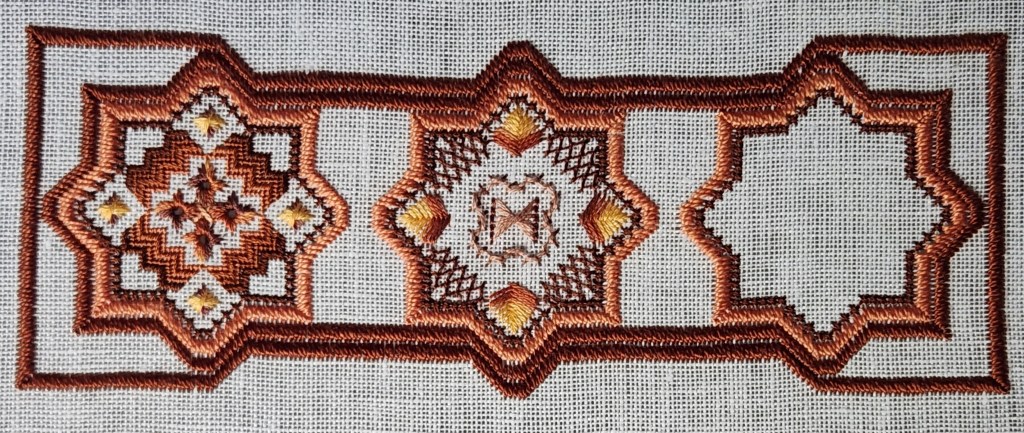
I’m going to focus on this piece until it’s done!
Filed under: ANG Certification Programs
Did you know Sheila B was the first to complete American Needlepoint Guild’s (ANG’s) Master Needlepointer Program revamped program? Her experience with the first 4 stages is written up in the Sept 2018 issue of Needle Pointers. Briefly, there are 2 phases. The first 4 stages test the stitchers techniques, use of color, and texture. The first 2 pieces require transferring a design provided by ANG and the second 2 pieces require you to select stitches appropriate to a painted canvas (either one you paint or purchase) with a landscape or a seascape. The second phase, Senior Master Needlepointer, requires creating original designs. Judging is twice per year but you can take up to 5 years to complete the first 4 stages.
The other four ANG certification programs are discussed in the following issues:
- Master Needle Artist, Sept 2020; “designed to advance the artistic skills within the Candidate and to develop that ART into an original needlepoint design”.
- Judging Certification, May 2021
- Master Teacher, Sept 2021
- Needle Appraisal, Nov 2021
Brenda has shared her experience with ANG’s Master Needlepointer Program on her blog, Brenda’s Needlepoint Studio. She learned about this program from an article written in ANG’s January 2021 issue of Needle Pointers where a description of the four stages was given. Brenda completed Stage 1 which had to use 8 of 20 stitches including a pulled thread stitch in a monochromatic colorway using DMC floss to demonstrate the usage of the appropriate number of strands. She used basting and pencil to transfer the design to Congress Cloth. Brenda worked within the blue-greens and used a variegated thread from ThreadworX. Brenda passed by receiving 99 out of 100 points. Love her colors. Looking forward to seeing her second stage piece!
For more info go to https://www.needlepoint.org/page/Certoverview

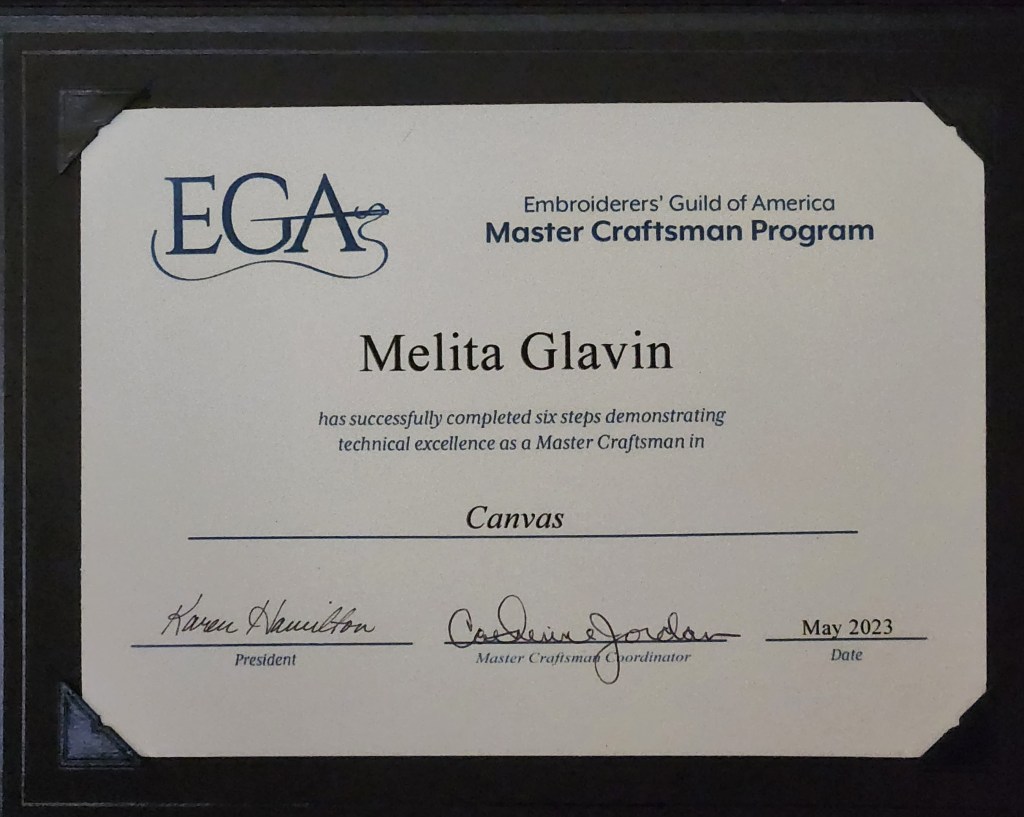
Filed under: Canvas Master Craftsman Program, Embroidery Guild of America, Steps 1-6
One more post about the EGA Master Craftsman Program for Canvas! I decided that I wanted all 6 pieces in one post. I began the EGA program in the fall of 2019 and completed all 6 steps by the spring of 2023.
EGA has eight Master Craftsman Programs. Briefly, the programs “are designed to promote excellence in embroidery by providing the accomplished needleworker the opportunity to demonstrate skills and become certified as a “master” in her or his area of expertise. Each program area consists of six steps that test the ability and workmanship of the candidate.” To obtain further details about each program online, you must be a member of EGA. Judging is usually twice per year but you can take up to 2 years to complete each step.

Step 1 has you demonstrate that you can transfer a design and execute 10 stitches (no more and no less). The fabric type (18 count monocanvas), type of threads (stranded cotton), and color scheme are specified. I used 5 monochromatic values in what DMC calls Golden Yellow. I used lighter colors and smaller stitches to have certain elements recede. I turned the stitch on the right fish’s fin to add movement. I employed thread blending in some manner on all 3 fish. Documentation in an Artist’s Statement must include stitches used, source of stitches used, and threads (including 4” samples of any threads used).

For Step 2, you demonstrate that you can transfer a design, execute 21 stitches (including Turkey Work), and compensate using an analogous (Yellow, Yellow-Green, and Green) colorway. EGA supplied the geometric pattern again. It had to be done in an analogous colorway in cotton floss. I selected Yellow, Yellow-Green, and Green for my analogous colorway (which is 3 adjacent colors on the color wheel including a primary color; tints and shades allowed).
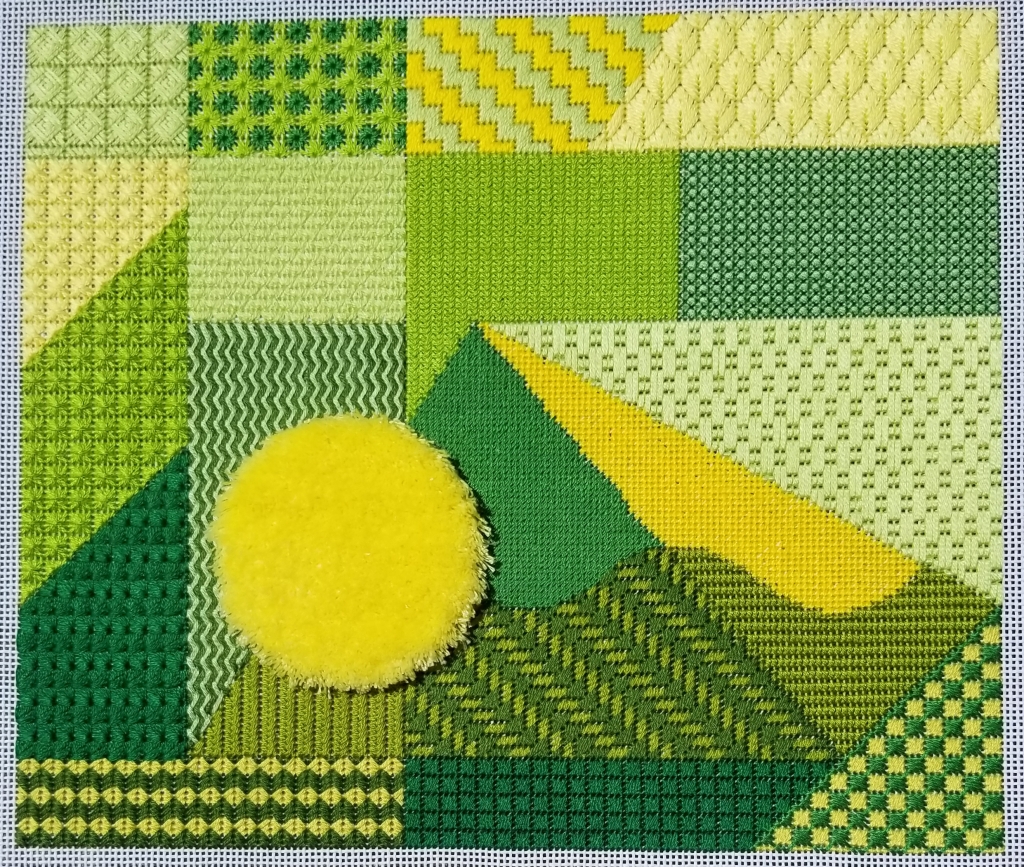
As I did the Turkey Work from bottom to top, the nap of the threads were pressed downward. So, I didn’t notice that the coverage wasn’t as full as I expected when it was fluffed up. I used 2 strands in the left side of the photo and 6 strands (as Mary Corbet suggests in her YouTube video) in the right photo. Much better! At least the stitching was easy to remove from the backside.

Step 3 has you use at least 4 diaper patterns in a split complementary color combination (mine is yellow-orange, blue-green, and blue-violet). Diaper patterns create strong visual diagonals in both directions. After studying the extremely thorough book, Diaper Patterns, by Ann Strite-Kurz, I decided to make this a diaper sampler by incorporating the eight basic pattern networks (square, diamond, brick, half-drop, triangle, hexagon, scale, and ogee) into a design. Networks moving clockwise from top left are: Scale, Brick, Half-drop, Diamond, Square, Hexagon, Brick, Half-drop, Triangle, and Square on the Diagonal with an Ogee in the center.

Step 4 has you incorporate 8 different bargello patterns but not into a “sampler”. However, each pattern must touch another Bargello pattern in the design. Any color combination was allowed. I selected a tetrad that are two sets of complements: yellow-orange (browns), yellow-green, blue-violet, and red-violet.

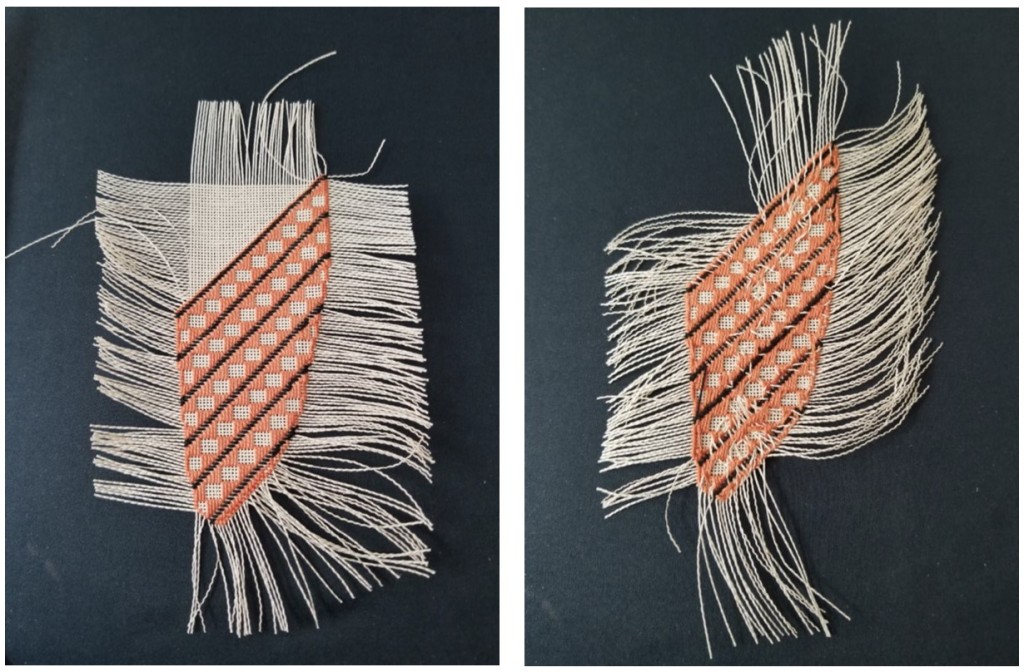
Step 5 has you place a canvas applique of a smaller size count canvas onto a larger size count canvas (my wings are 24 count placed onto 18 count). Pictured are my 2nd and 3rd practice wings. This is the only step that took me a year (thinking, planning, and practicing). I’d never done applique before. At least one applique has to be an irregular shape and greater than 1” square. I started this piece shortly after seeing the article Tale of Two Stitchers in the Needle Pointers (Mar 2021) regarding the 2 painted canvases of owls “Who Gives a Hoot” although mine doesn’t look like them. At first, I was going to make the round eyes the applique until I realized that a circle is not irregular! So, I switched to making the wings the appliques which actually made better sense since they should be in front of the body anyway. I would have padded it but the instructions didn’t say you could pad it. After my submission, they changed their instructions to clearly state that padding is allowed.

In a nutshell, Step 1 of making a canvas applique is to pull threads out to the stitched piece (in progress in left photo). Step 2 buries some threads on the back of the applique (right photo). The rest of the threads are pulled to the back and buried in the surrounding stitched area. It is time consuming.
Step 6 had to be an original design utilizing previous steps. This was an opportunity to redo a piece I designed years ago after taking First Steps by Nanette Costa. I learned 30+ stitches through my first ANG Correspondence Course and used those stitches in this fireplace. I especially wanted to make the design area taller instead of square and change the candles and background. This has well over 30 different stitches most requiring compensation. Bargello for the flames and a diaper pattern for the background. The rug employed a 21-step thread blending formula to move from light to dark using DMC Floss 842, 841, 840, 839, 838 (5 strands).

At least one of the judges felt the white in the flames was a little strong but that the ThreadworX overdyed was a perfect choice for the sooted walls inside the fireplace. The diaper pattern wallpaper recedes (as it should) and adds just enough texture to add interest. Different values of the bricks and logs add dimension as do the Smyrna cross stitches around the large Jessica. The glow on the rug is lovely and well-executed. I provided the 21-step thread blending formula to move from light to dark using 5 strands of 5 brown DMC Flosses in the Artist’s Statement.
I enjoyed the challenge, highly recommend the program, and thank the panel of three judges who thoughtfully reviewed each piece.
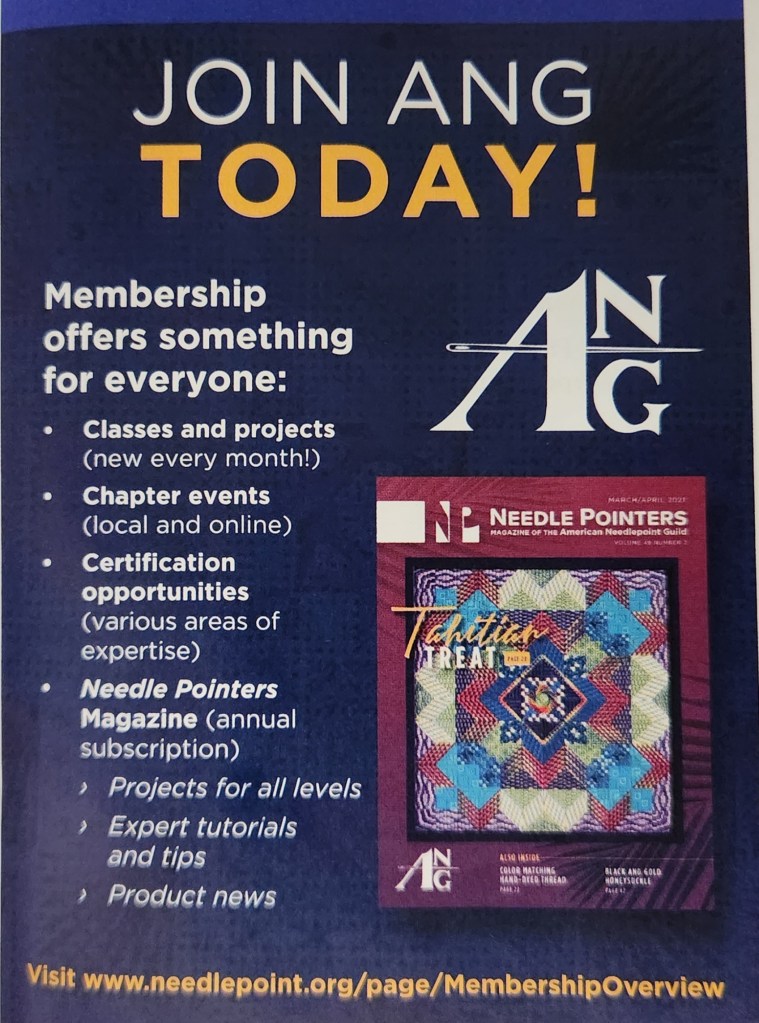
The March issue of the Embroiderers’ Guild of America magazine, Needle Arts has an advertisement for the American Needlepoint Guild (ANG). Look at the cover on the issue – it’s my design, Tahitian Treat – from the Mar/Apr 2021 of ANG’s magazine, Needle Pointers! Very cool.
Filed under: Canvas Master Craftsman Program, Embroidery Guild of America, Step 6
Step 6 of the EGA Master Craftsman program for Canvas had to be an original design. This was an opportunity to redo a piece I designed years ago after taking First Steps by Nanette Costa. I learned 30+ stitches through my first ANG Correspondence Course and used those stitches in this fireplace.
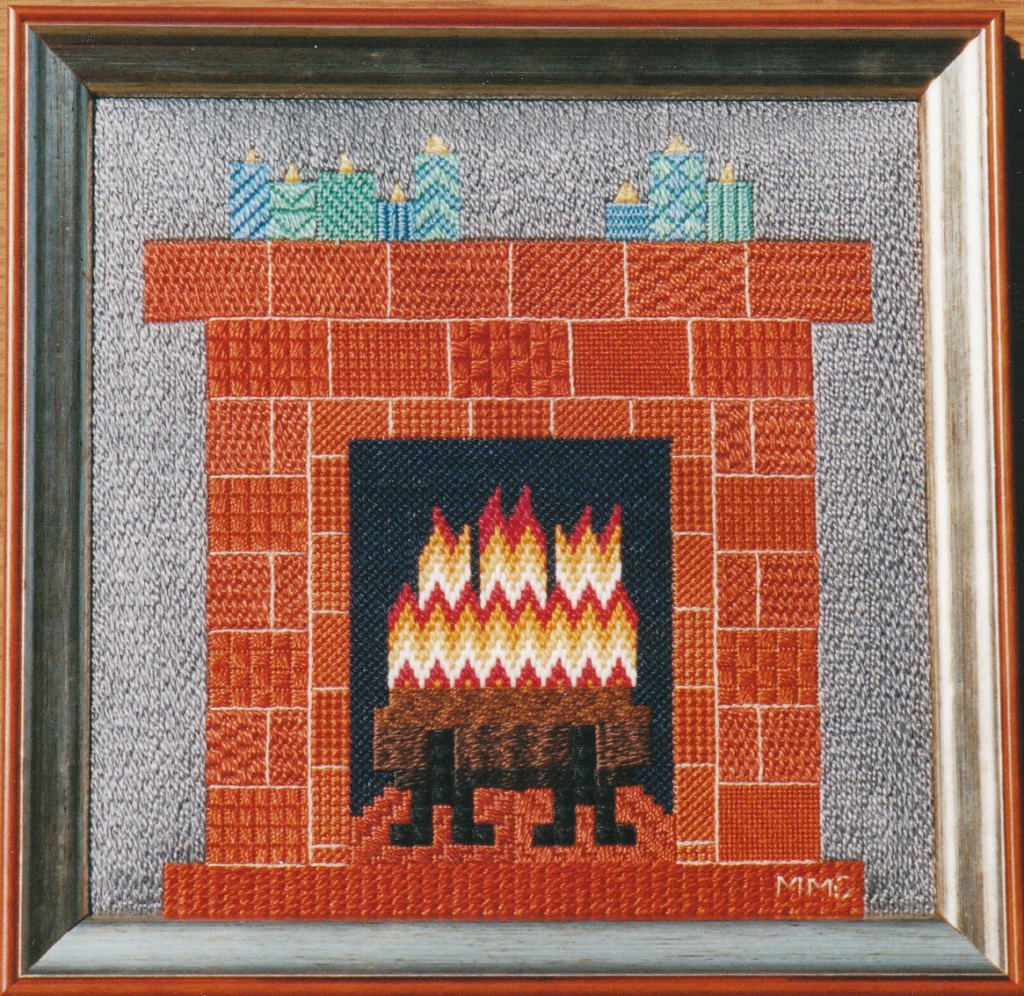
I especially wanted to make the design area taller instead of square and change the candles and background.
The updated piece (pictured below) passed with distinction and all 6 pieces will be going to Boston for the Seminar!
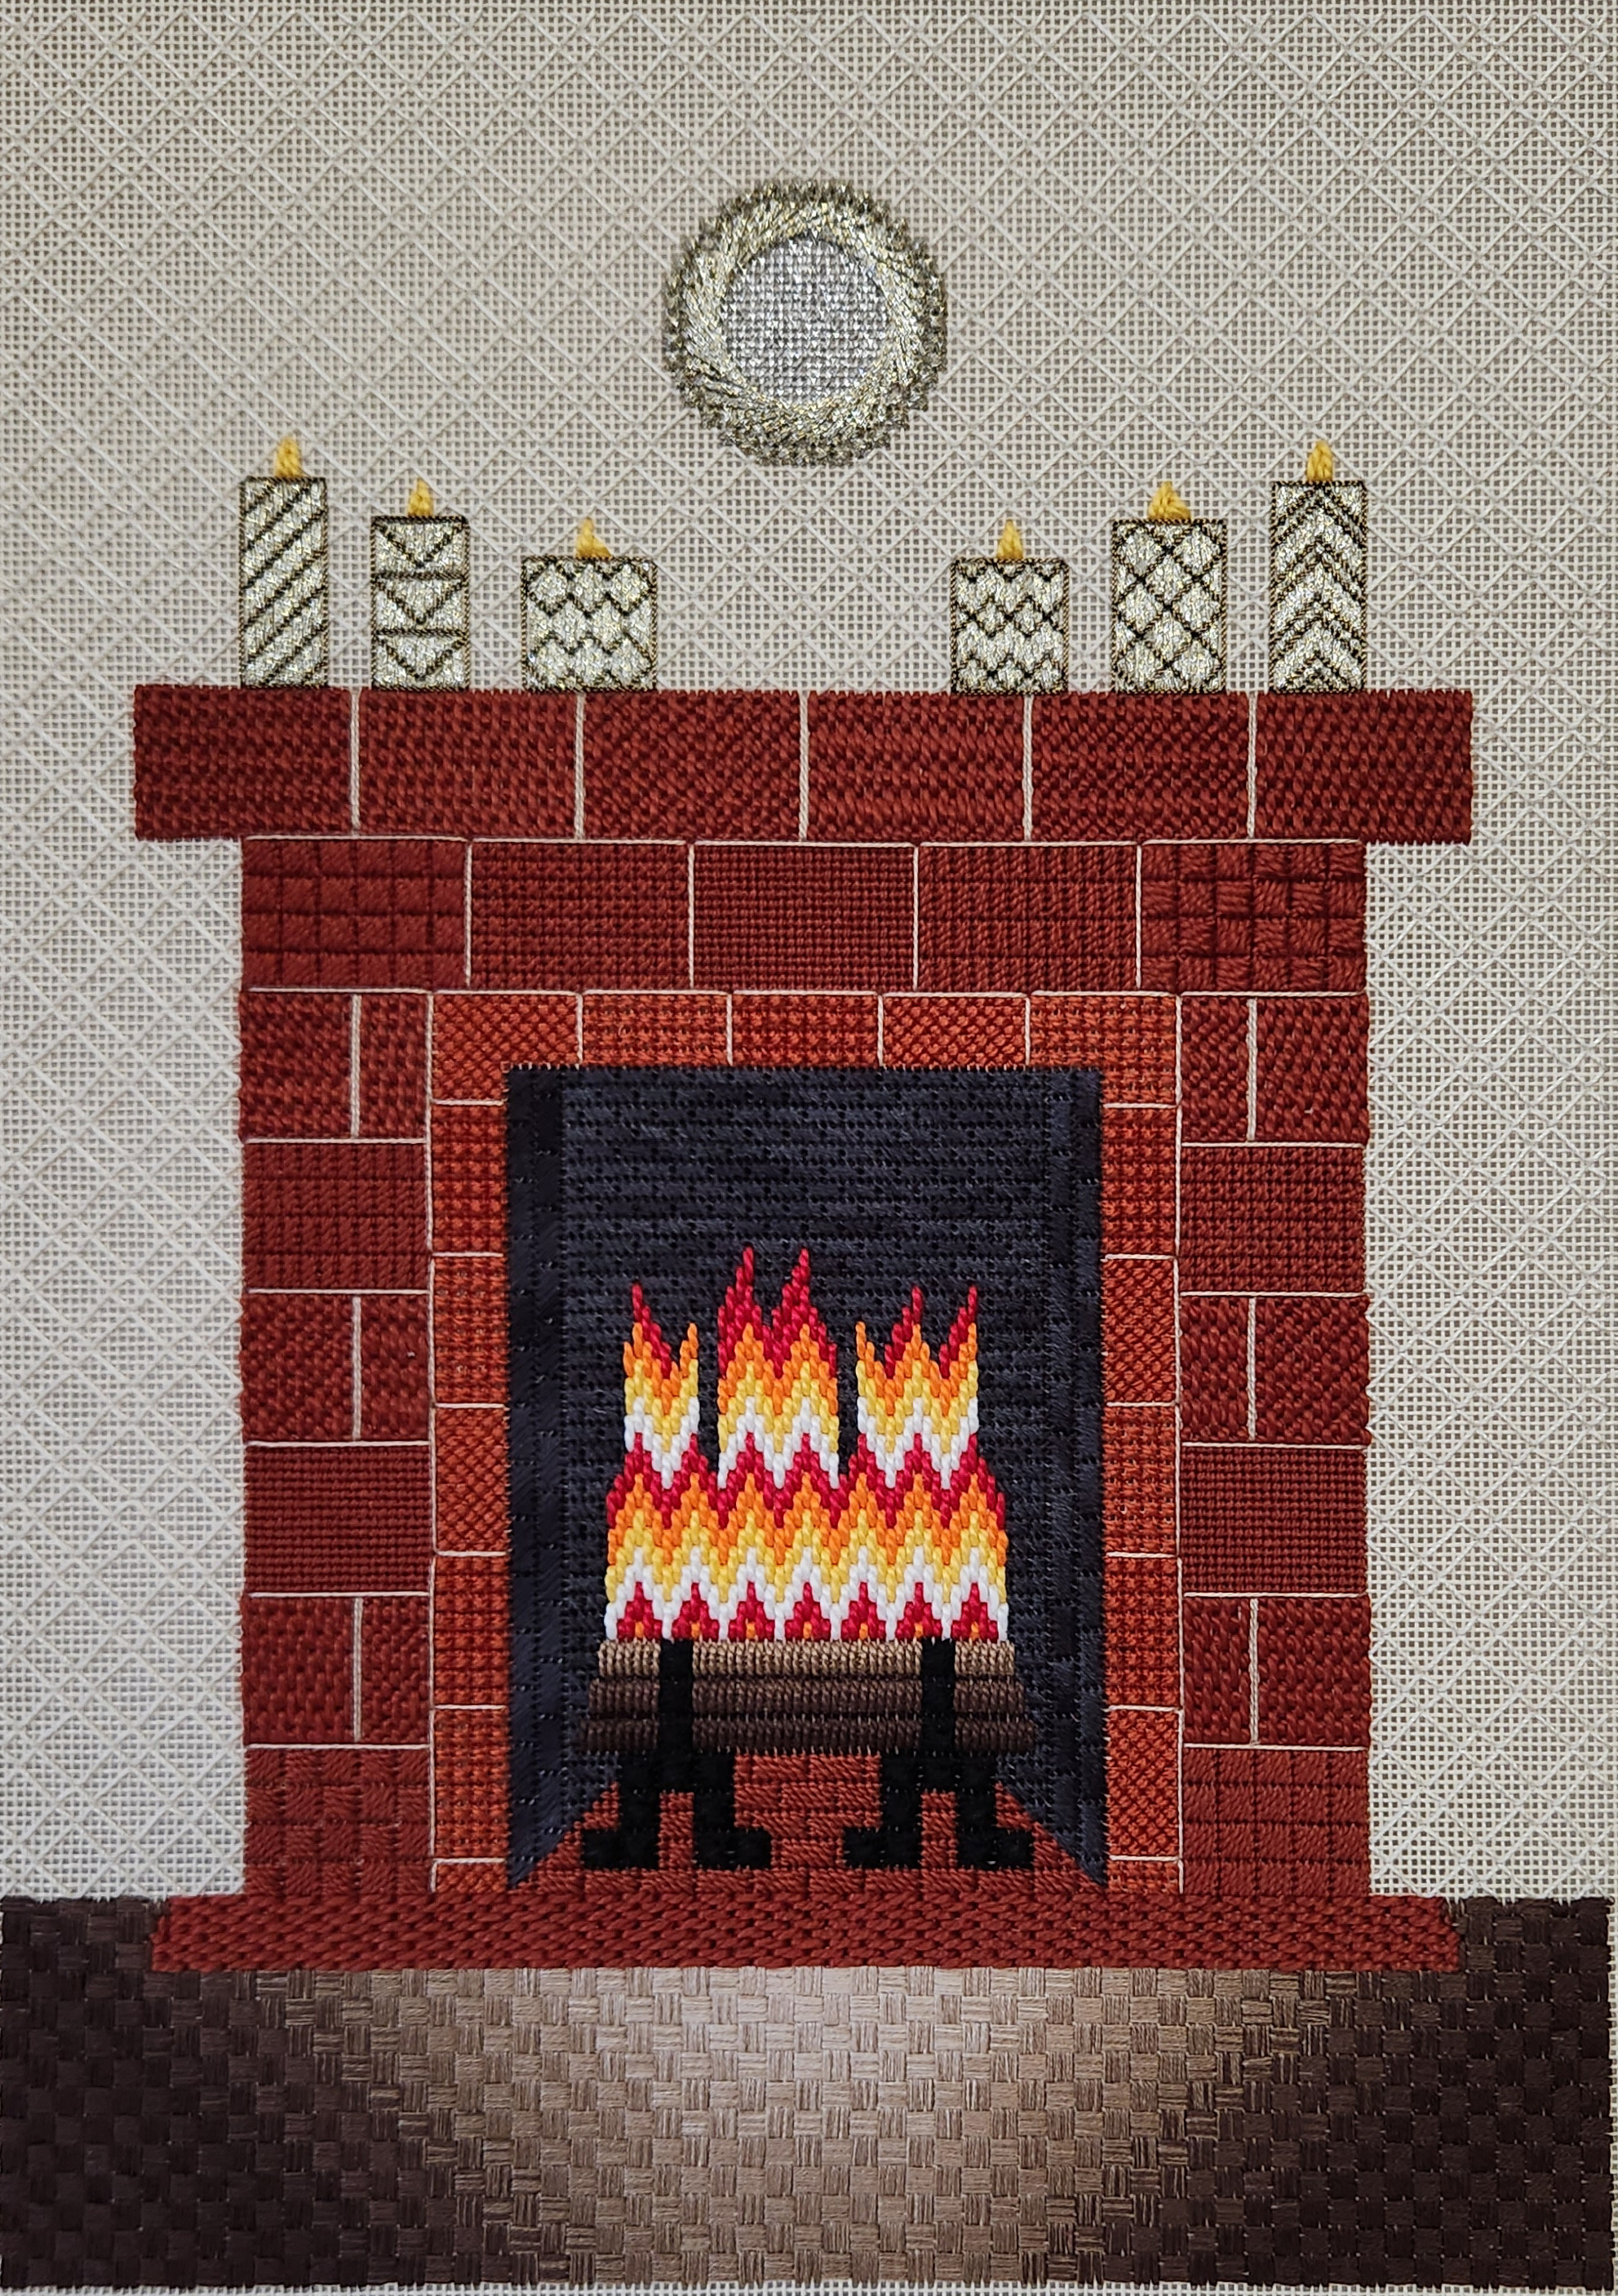
At least one of the judges felt the white in the flames was a little strong but that the ThreadworX overdyed was a perfect choice for the sooted walls inside the fireplace. The diaper pattern wallpaper recedes (as it should) and adds just enough texture to add interest. Different values of the bricks and logs add dimension as do the Smyrna cross stitches around the large Jessica. The glow on the rug is lovely and well-executed. The rug employed a 21-step thread blending formula to move from light to dark using DMC Floss 842, 841, 840, 839, 838 (5 strands).
Thanks so much to the three judges who take the time to review and critique the pieces. It was a challenging experience with some angst occasionally but I enjoyed the process.
Filed under: Crewel Stitches - Judy Jerow, Embroidery Guild of America, Mid-Atlantic Region
The EGA Mid-Atlantic Regional Spring meeting was held Saturday May 6 in Wilkes-Barre, PA. I went up on Friday because the Take Home a Project (THaP) class, Stitching with Crewel Stitches, with Judy Jerow started at 8:30 am. THaPs are geared towards chapter representatives returning to teach it to their chapter members. It’s my 2nd class as a student after teaching Overdyed Spools as a THaP in 2021.
Judy published Creative Crewel Embroidery: Traditions and Innovations. I don’t own the book but wanted to mention it because she is extremely knowledgeable and talented. One student had just gotten a copy of the book (used for a steal at a library sale-lucky lady-Donna!) and got it autographed.
With this design, we learned to use stitches other than long and short to shade a floral design. We learned how Judy makes chain, burden, French Knots, Coral Knots, stem, and outline stitches. She was frank and funny particularly when she said you can show me how you make these stitches but I’m here to show you how I make them. Then, you can do whatever you want!
I bought polyester Twill tape to wrap the inner hoop. There are 3 issues with the hoop (that I can live with for this project but a purist might find troublesome). 1. The hoop is plastic. Wood is preferred because they grip the ground fabric better and apparently don’t distort as easily. 2. The Twill tape is polyester. Natural cotton is preferred. The ground fabric can grab the cotton better keeping it stretched better. 3. The fabric is linen Twill and so wrapping the hoop wasn’t even necessary!

It was a 3-hour class that felt like half that long. The first stitches, chain (right sise in photo) and Coral Knot (left side of photo), weren’t worked on the hoop. And, I didn’t get to stitch the others. So, I didn’t use the hoop! I can’t stitch and listen. As I heard someone in class say, it’s not a race. With that said, this was my progress in class (except for the French Knots that I practiced on a napkin). There is no shading evident. But, there will be.

Cindy, one of my tablemates from Williamsburg, joined me at my table – nice to see her again. Several of the ladies let me know how much they and their chapter members have enjoyed Overdyed Spools.
Class was over in a flash. I learned how to start a thread and Judy even discussed her blocking method. I’m glad I got to get a lesson from her before she retires. She recently celebrated her 64th Wedding Anniversary!
Using 2 stranded wool is required to make it Crewel. This design and techniques are applicable to other threads but then is would be called Surface Embroidery. Good to know. Appleton wool is THE wool to use. And, I don’t care for it. It feels almost rough. We had 2 colorways to select from. One had pinks and the one I selected had yellows. We got 9 needles. Once I start shading, I’ll need them.

