I neglected to post this before I left. Yes, we are home (it was a great week but it’s nice to be home). I’m mostly unpacked & getting caught up on needlepoint issues.
There was so much at vendor night & I only got one booklet. Another woman returning to her room only had 2 NeedlePointers issues for $1 each. We agreed we must have been the rarity. The lines at multiple tables were lengthy even though tables had plenty of staff! Most people were buying.
Linda M from my chapter pointed me back to Mindy Patterson’s table. This was a new name for me. And, her canvases were beautiful. She’s in Oregon & her shop is Mindy’s Needlepoint Factory. But, with so much on my horizon now, I had to resist. Plus, I could have bought a dozen of them! How could I have decided?
What I got was a new release by Stitches From The Heart called A la Mode (you can see it on their website better). And, after winning 4 silent auction items, my credit card needed a rest! Now I see it is a companion to another design, Baroque – also a pretty design.

Filed under: ANG Seminar 2014
There were 824 items available at the silent auction! This included stitched/finished items, unstitched canvases, kits, leaflets, and charts. There were 70 more items at the live auction but I didn’t attend after seeing that I won four of my silent bids!
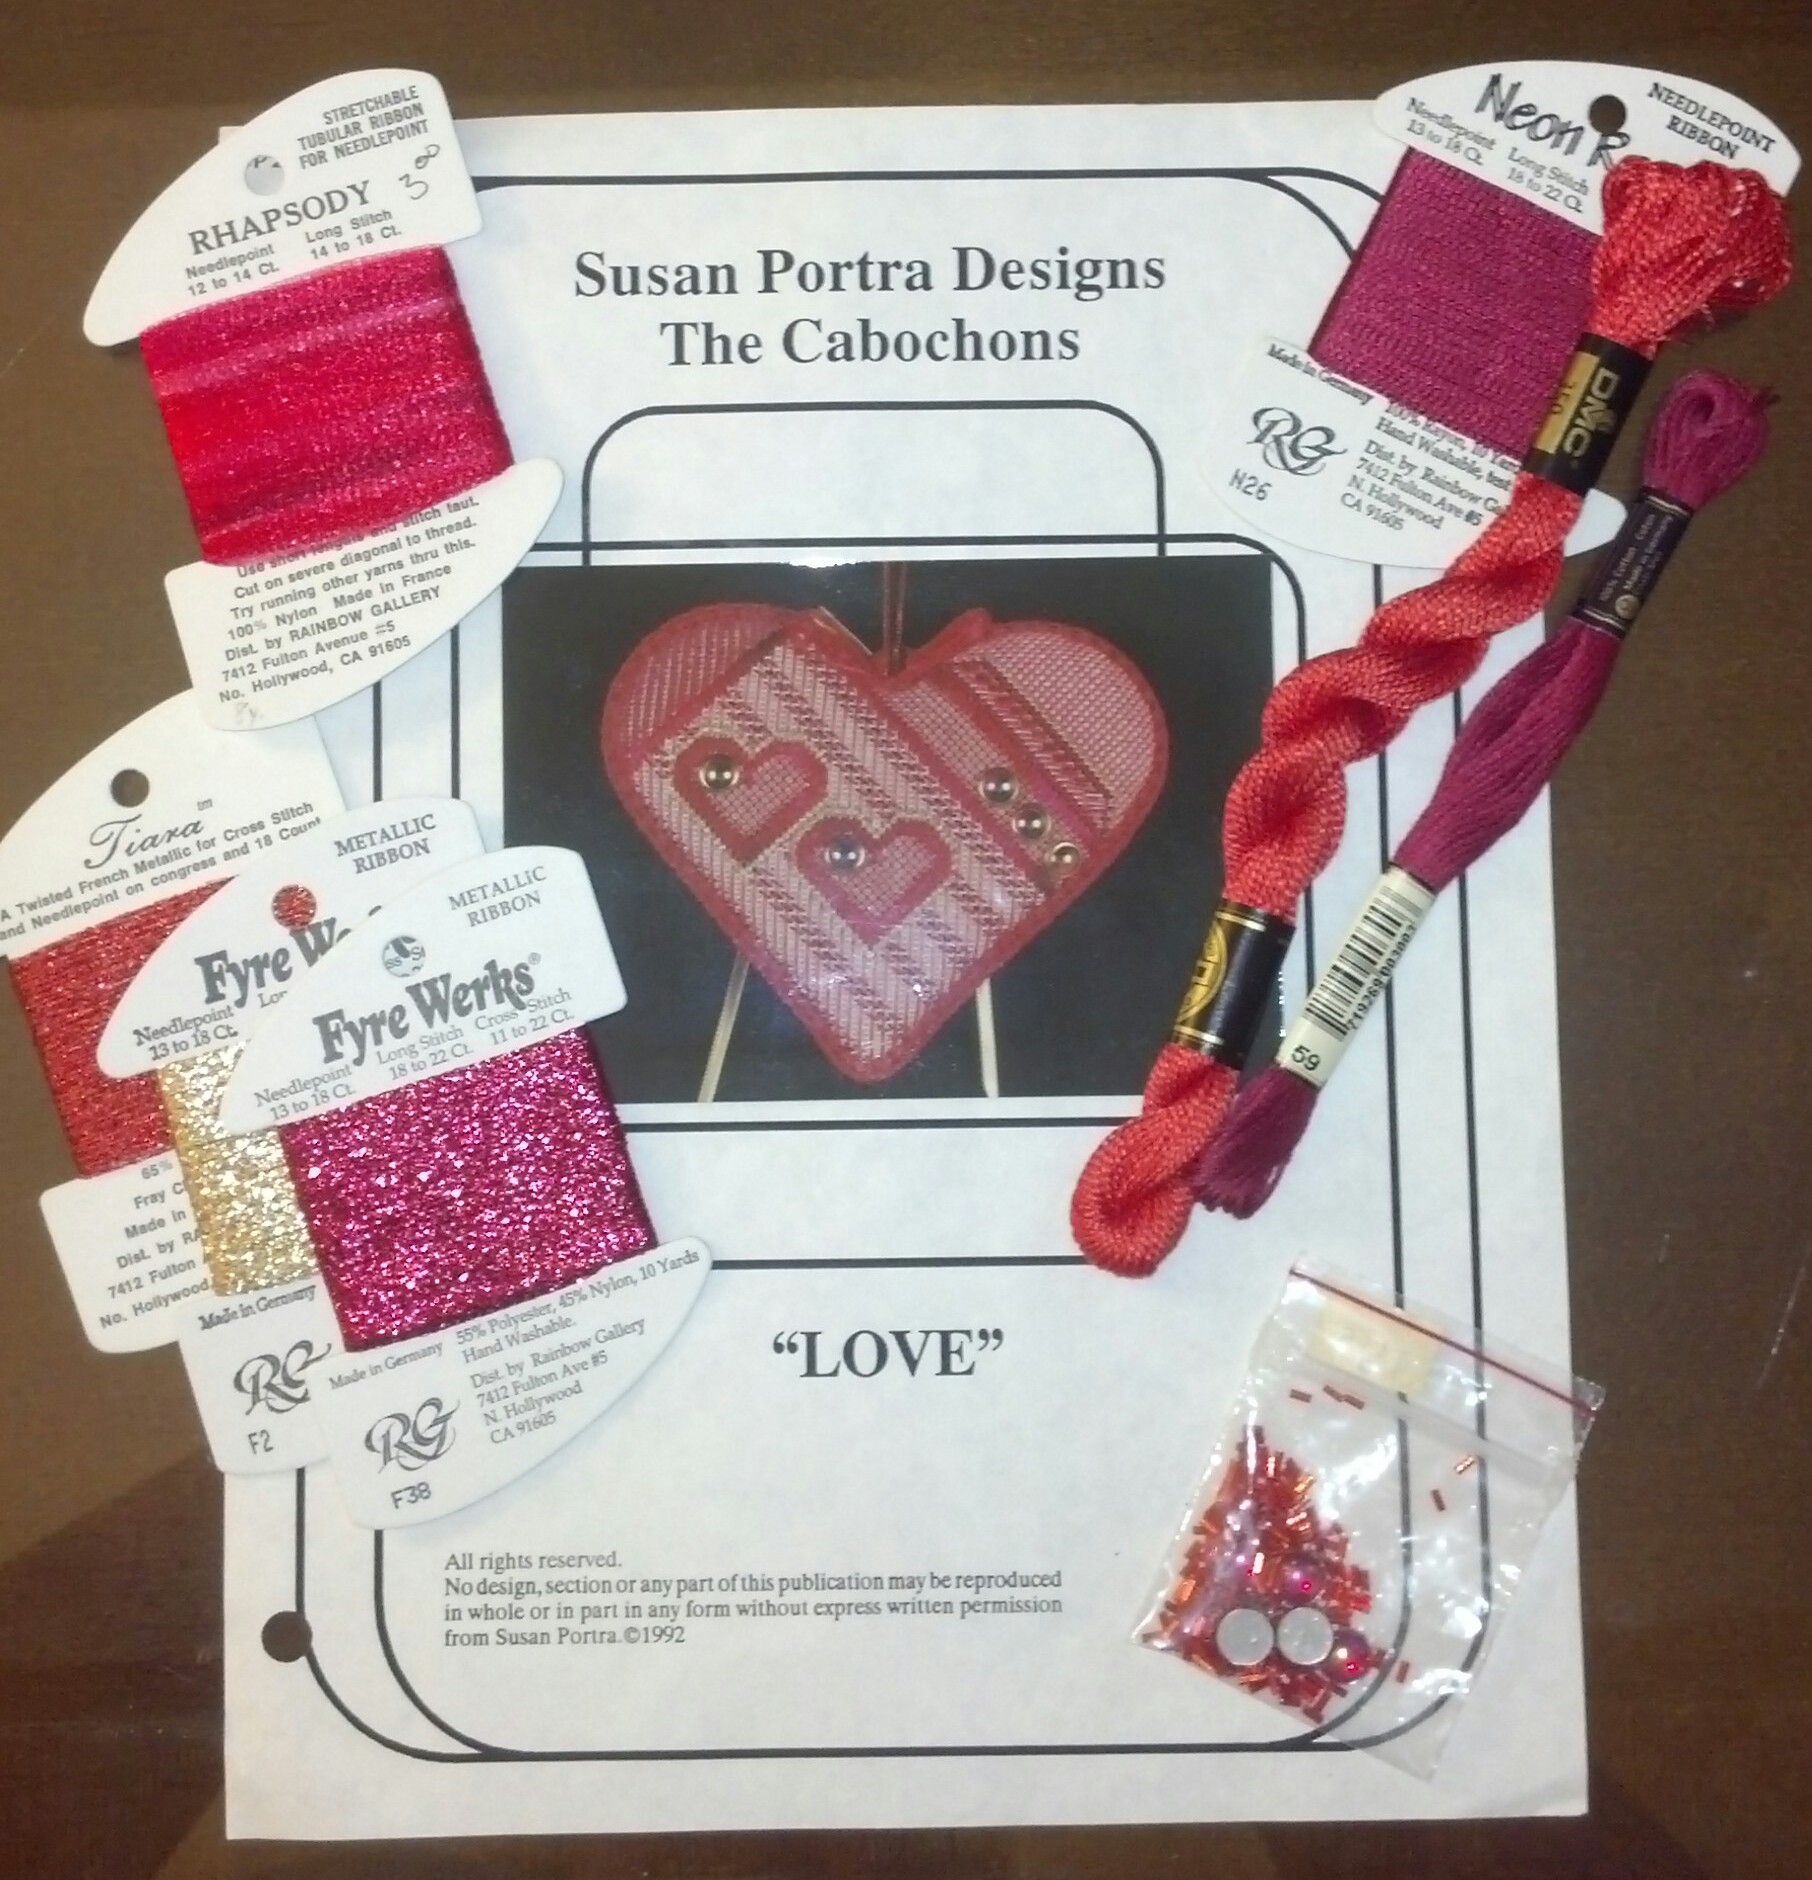
A Susan Portrait kit for a Cabachon Love heart ornament including threads and beads.
Red and Purple Antique Ornament stitched by Karen B and finished by Kristine K atBaltimore Needleworks. I save my new ornament Christmas shopping now for seminar. Do you like the ice bucket hook?

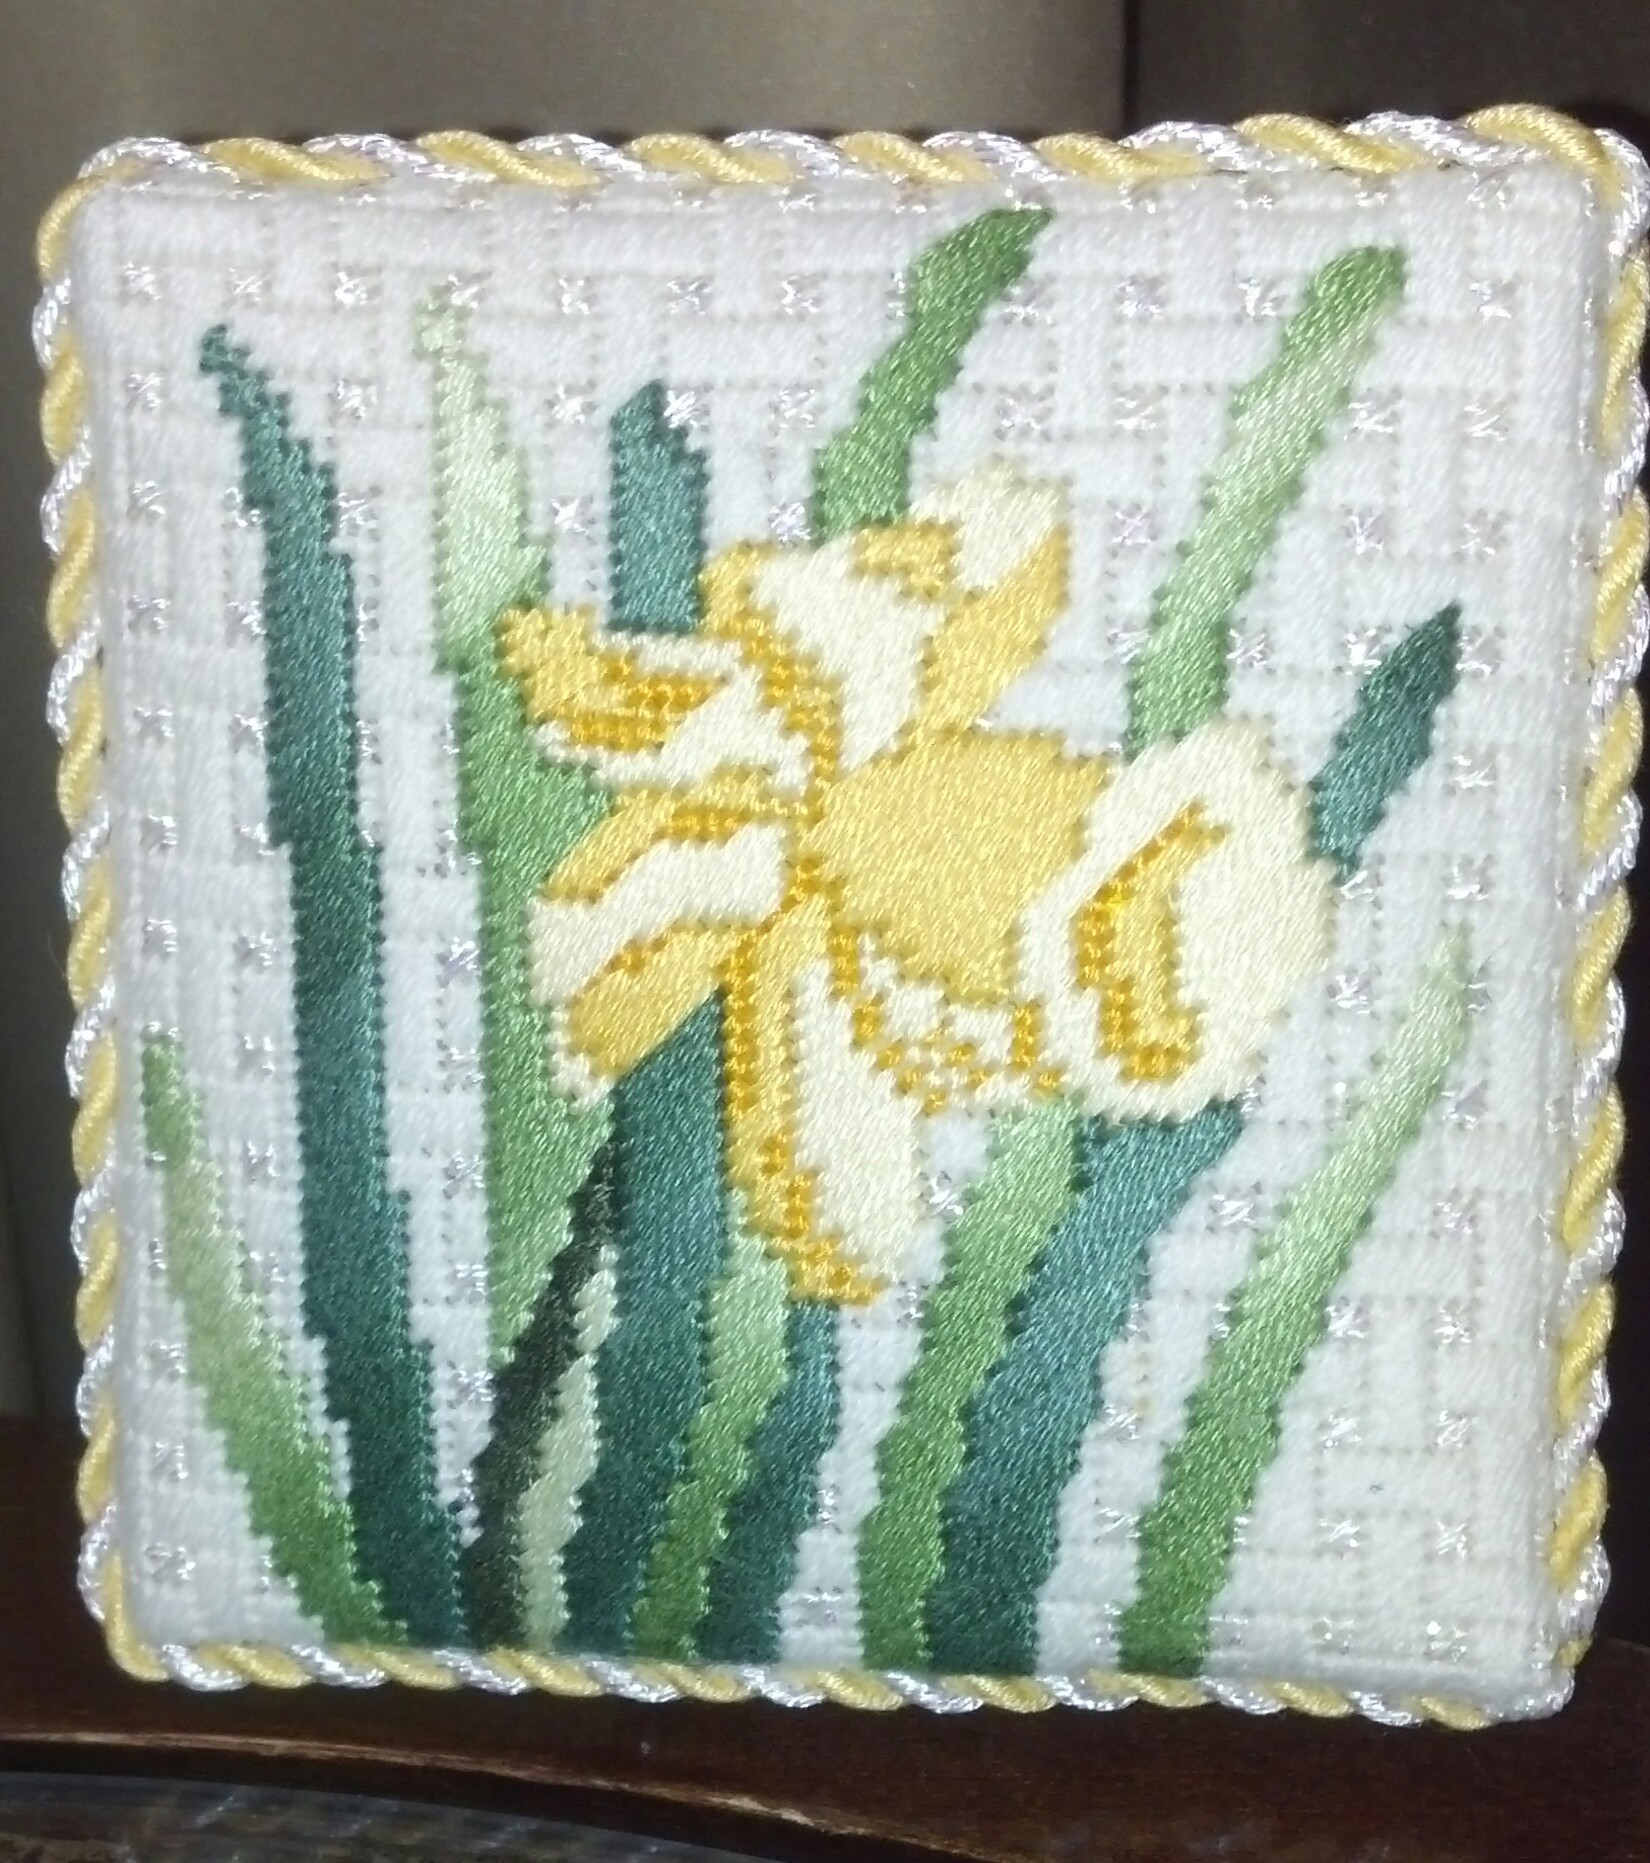
Lilly Stand Up stitched by Celia McC and finished by Karen R. This is built as a stand up piece (about 3″ sq) with a plastic base, very clever. And, it will join the other yellow stitched & non-stitched flowers in our bedroom.
And, saving the best for last is “Peonies” stitched by Jan Box and finished by Colleen B at Kathy’s Gallery. It is a lovely Or Nue piece way bigger (about 4-5″ diameter) than my first attempt. I just love the some shimmer (photo not doing it justice).

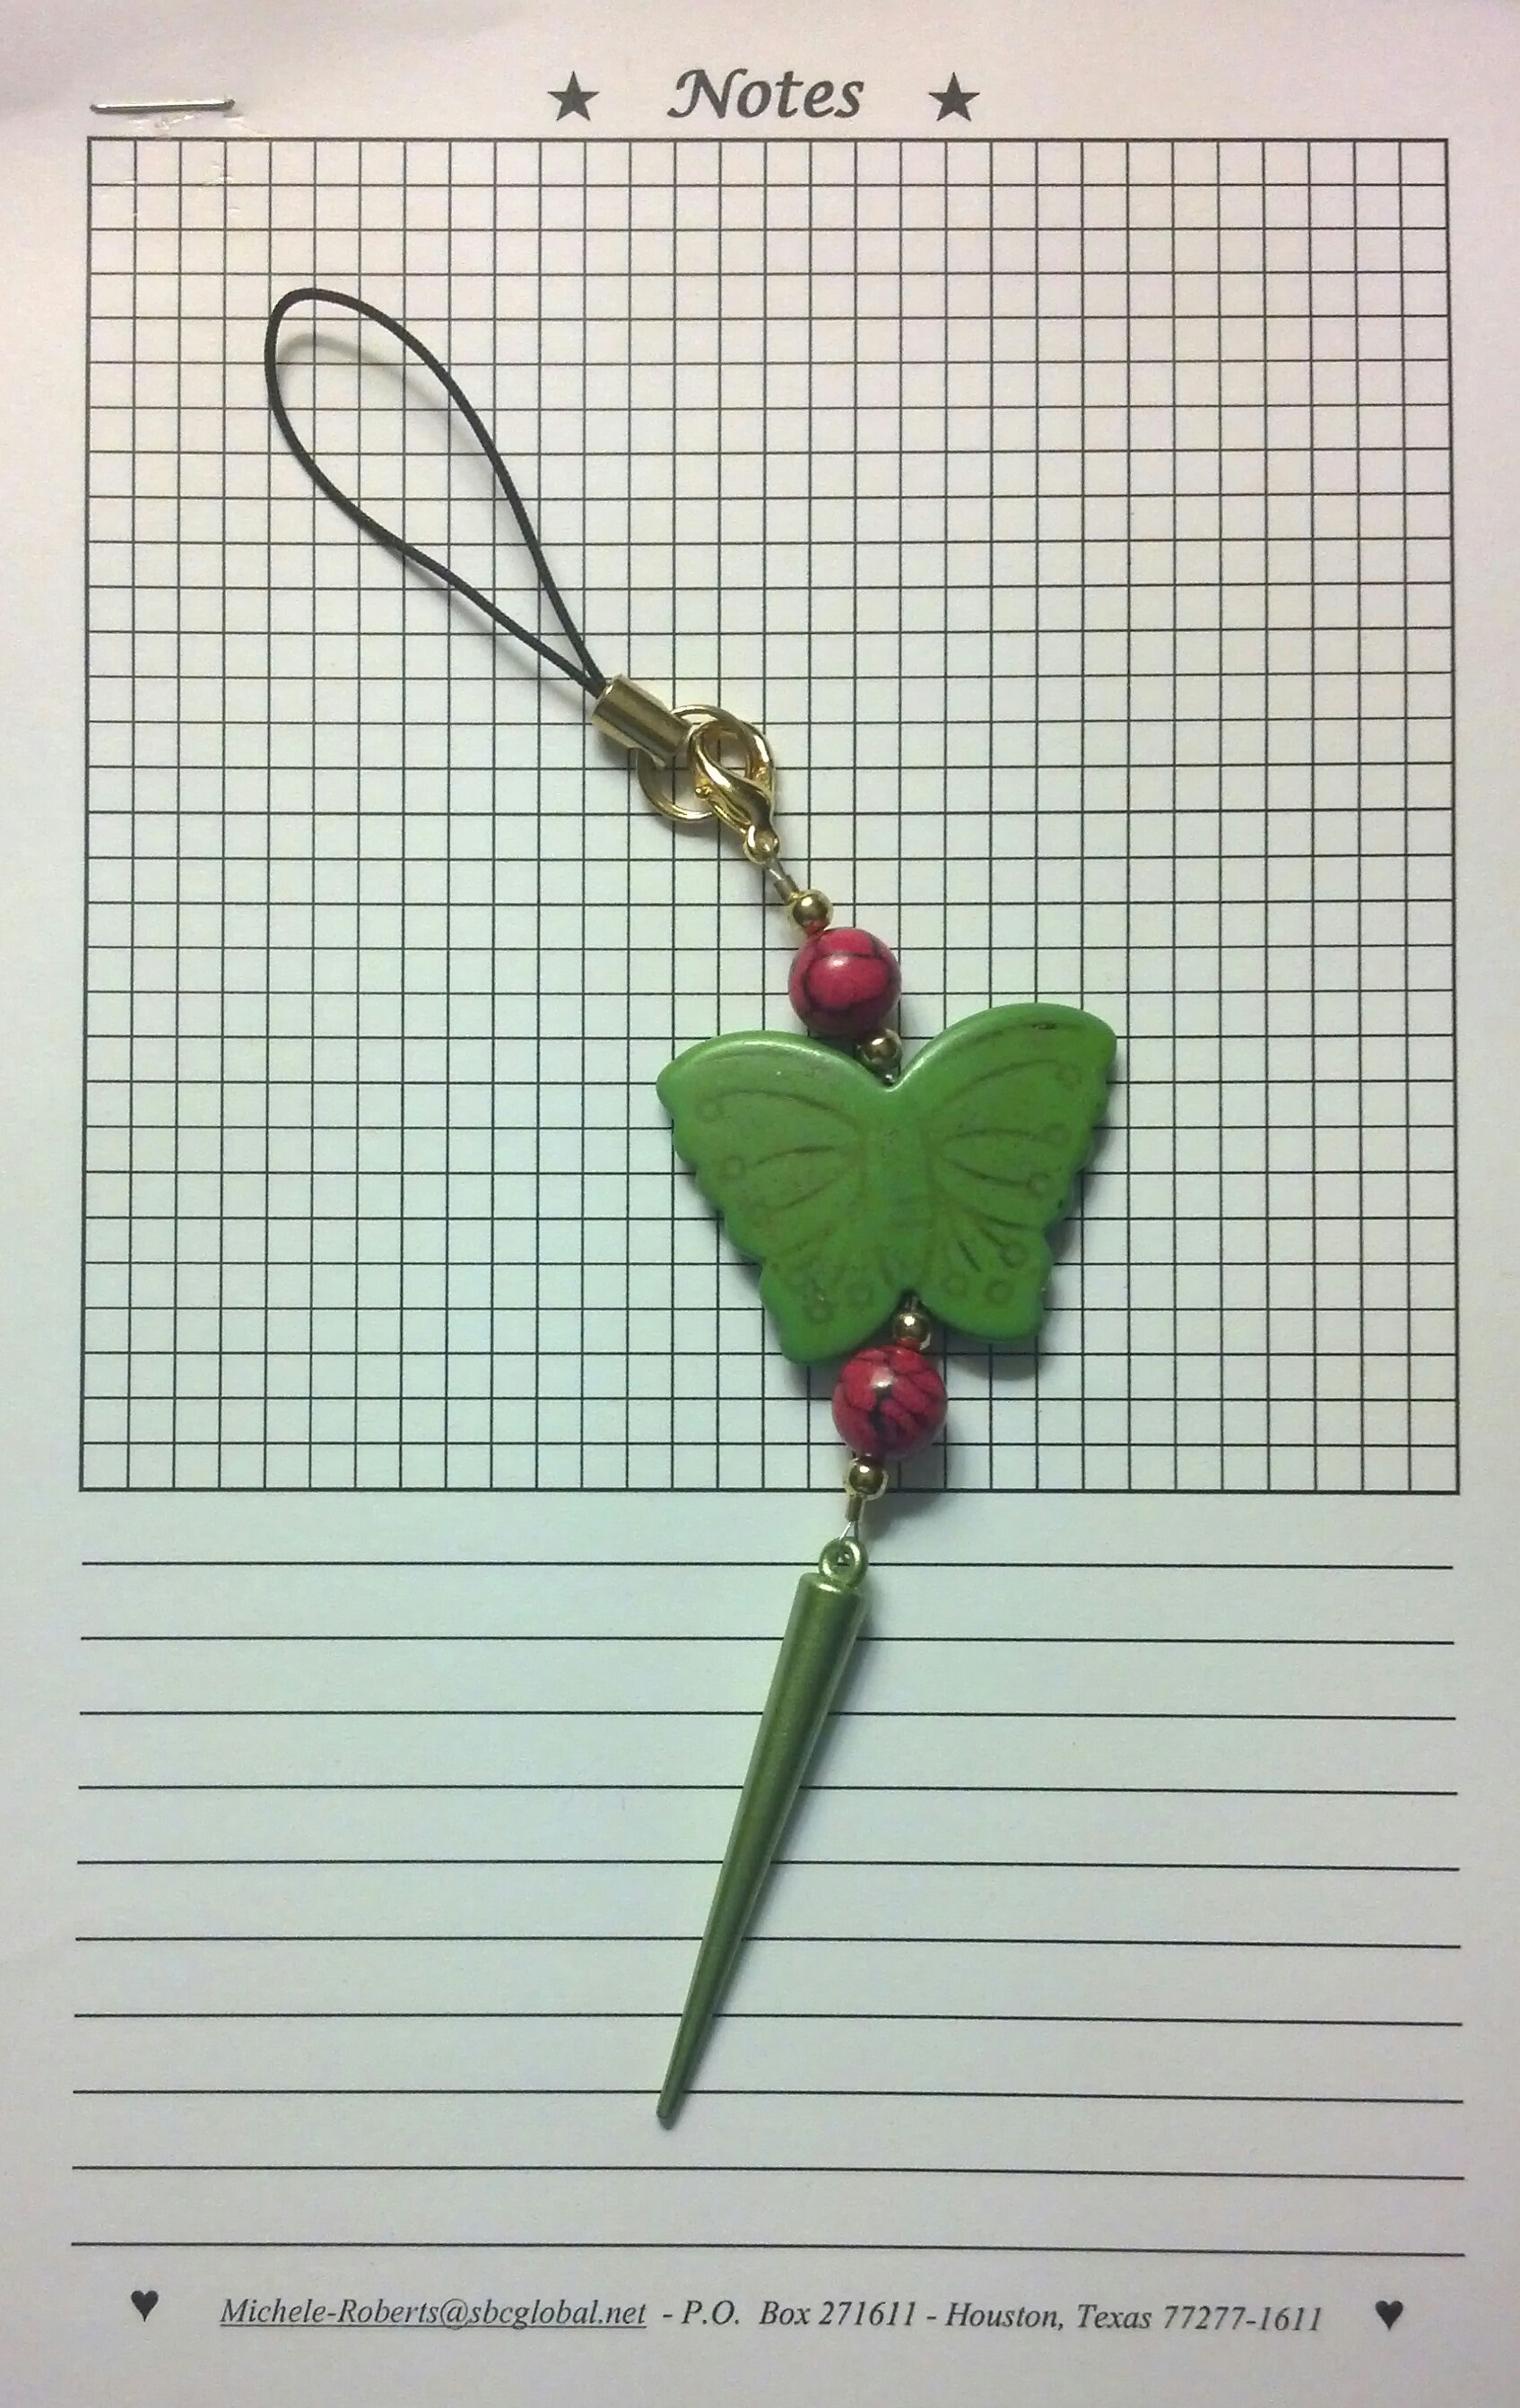
Filed under: "Faux-Berge" Orange Tree Egg by Michele Roberts, ANG Seminar 2014
It was wonderful to finally meet Michele. I stitched her Breastplate Exodus some time ago & have worked with her on ANG Correspondence Courses for 2 years now. She introduced me to the class & gave me this very cute laying tool. Very sweet of her!
When Michele wasn’t teaching the project, she was sharing tidbits all sorts of from her vast knowledge & travels. Very enjoyable but the day went so fast. And, I never stitched so much on one day! I did come back to my room at lunch in order to kick my shoes off, put my feet up, & stitch like I was at home! By doing that, I was able to catch up & get most of the sky done so I could put beads on in the afternoon. The beads went on easier after I got the hang of it, as with anything, but I didn’t quite get done. One young lady did finish & it looked great. It won’t take long to finish this now.

Filed under: ANG Seminar 2014
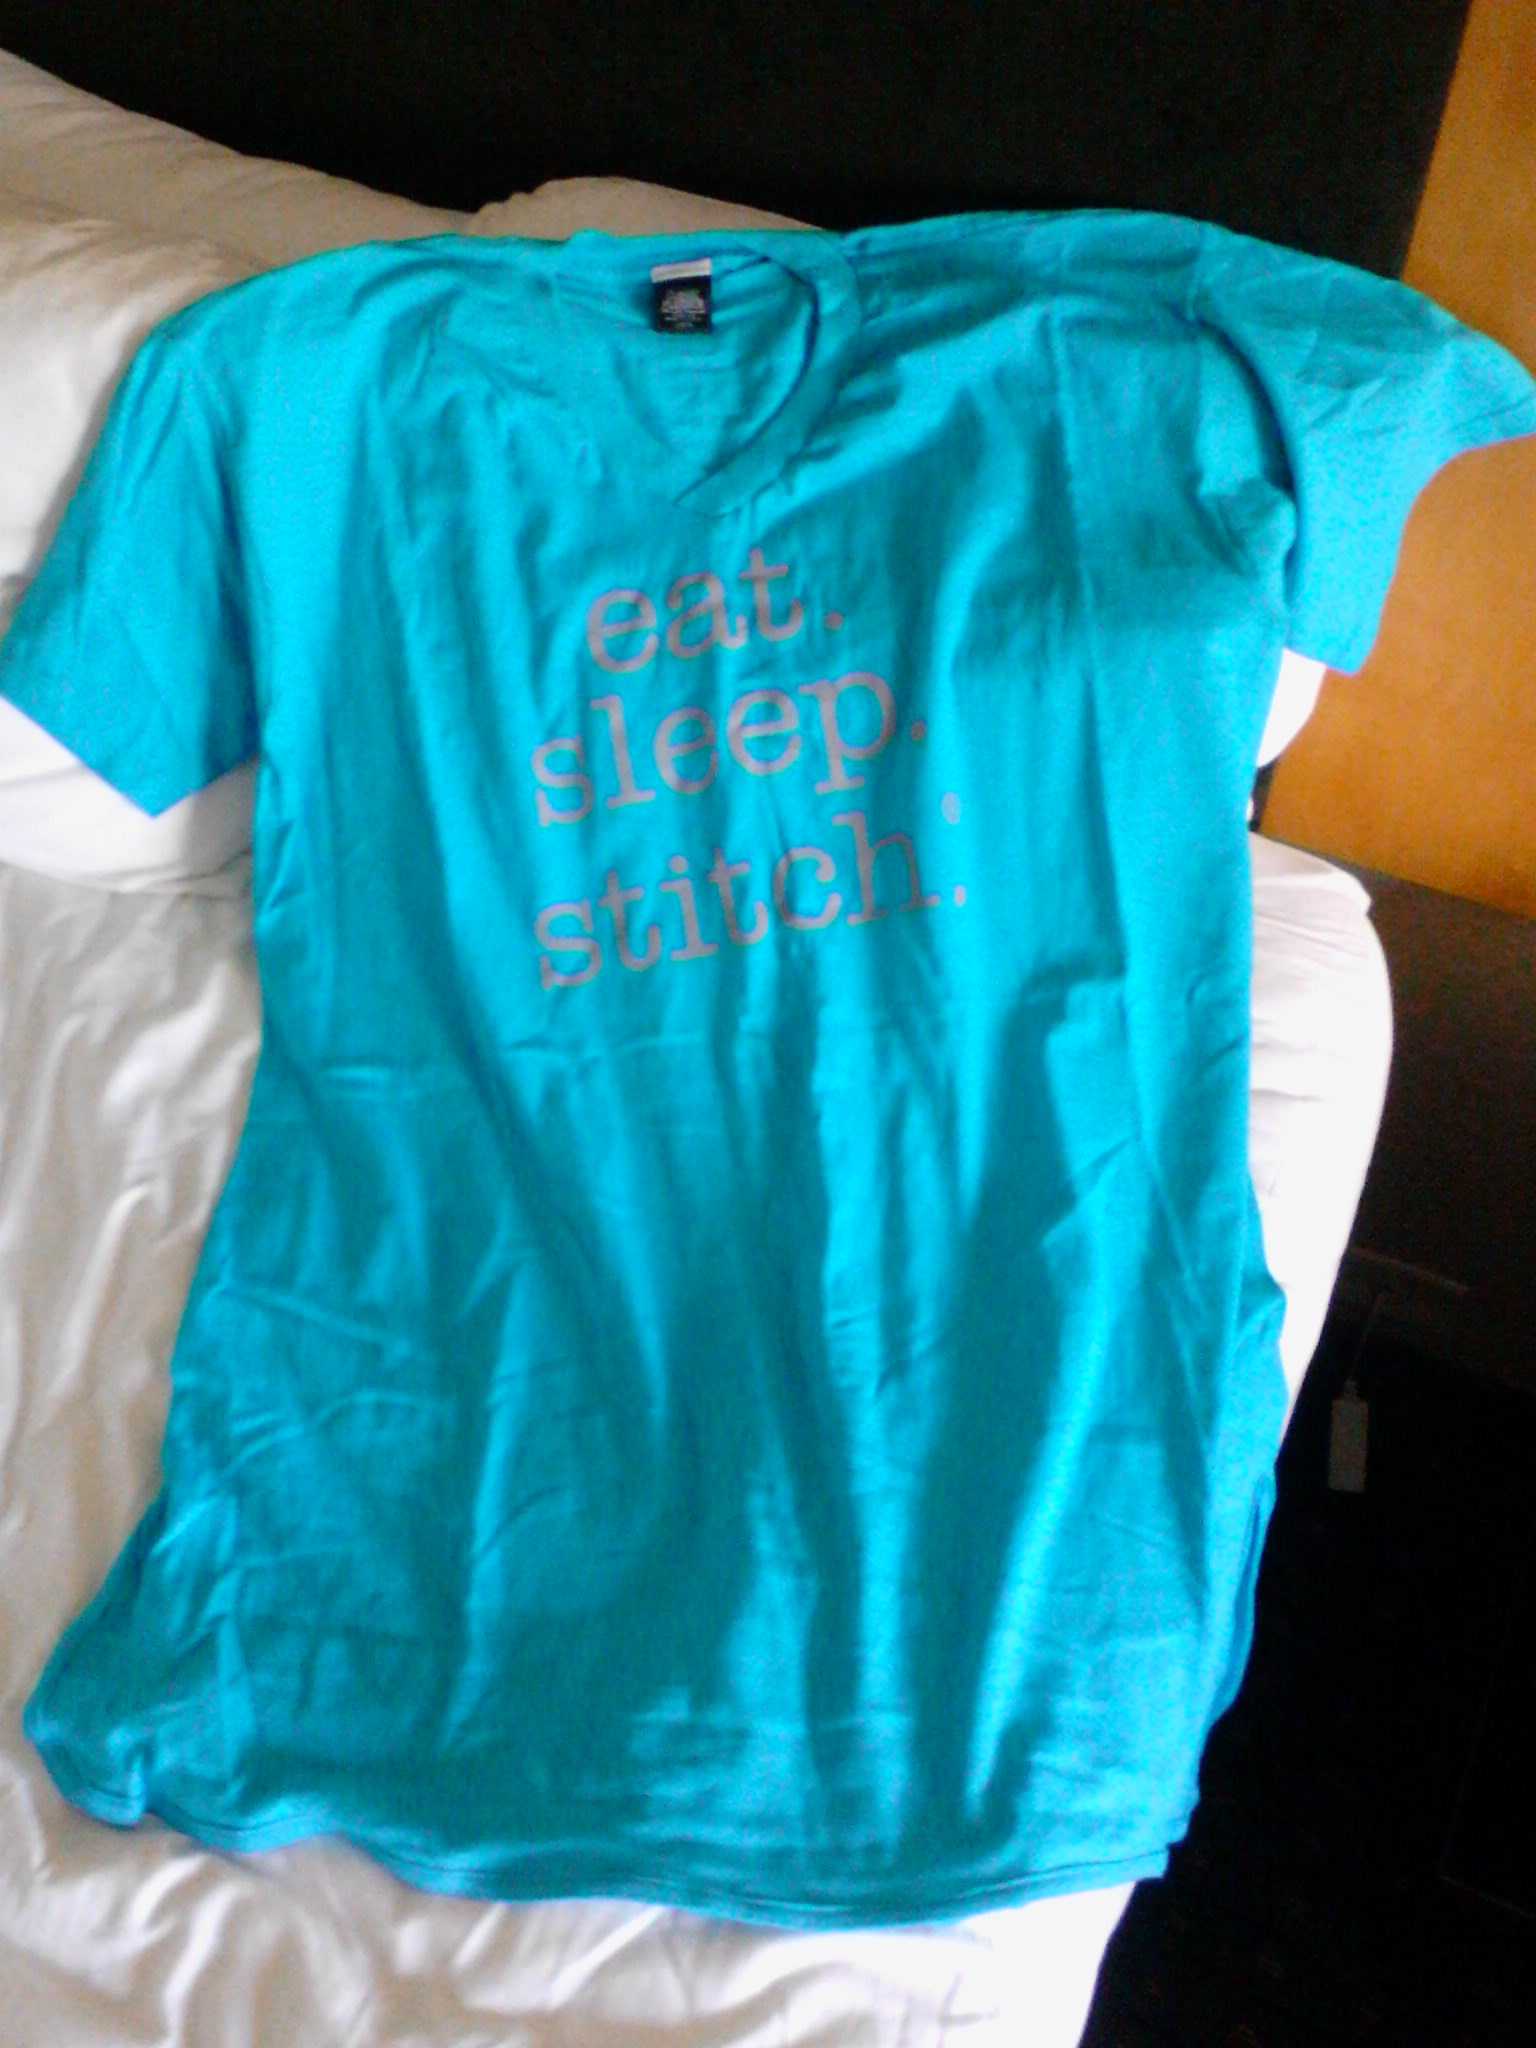
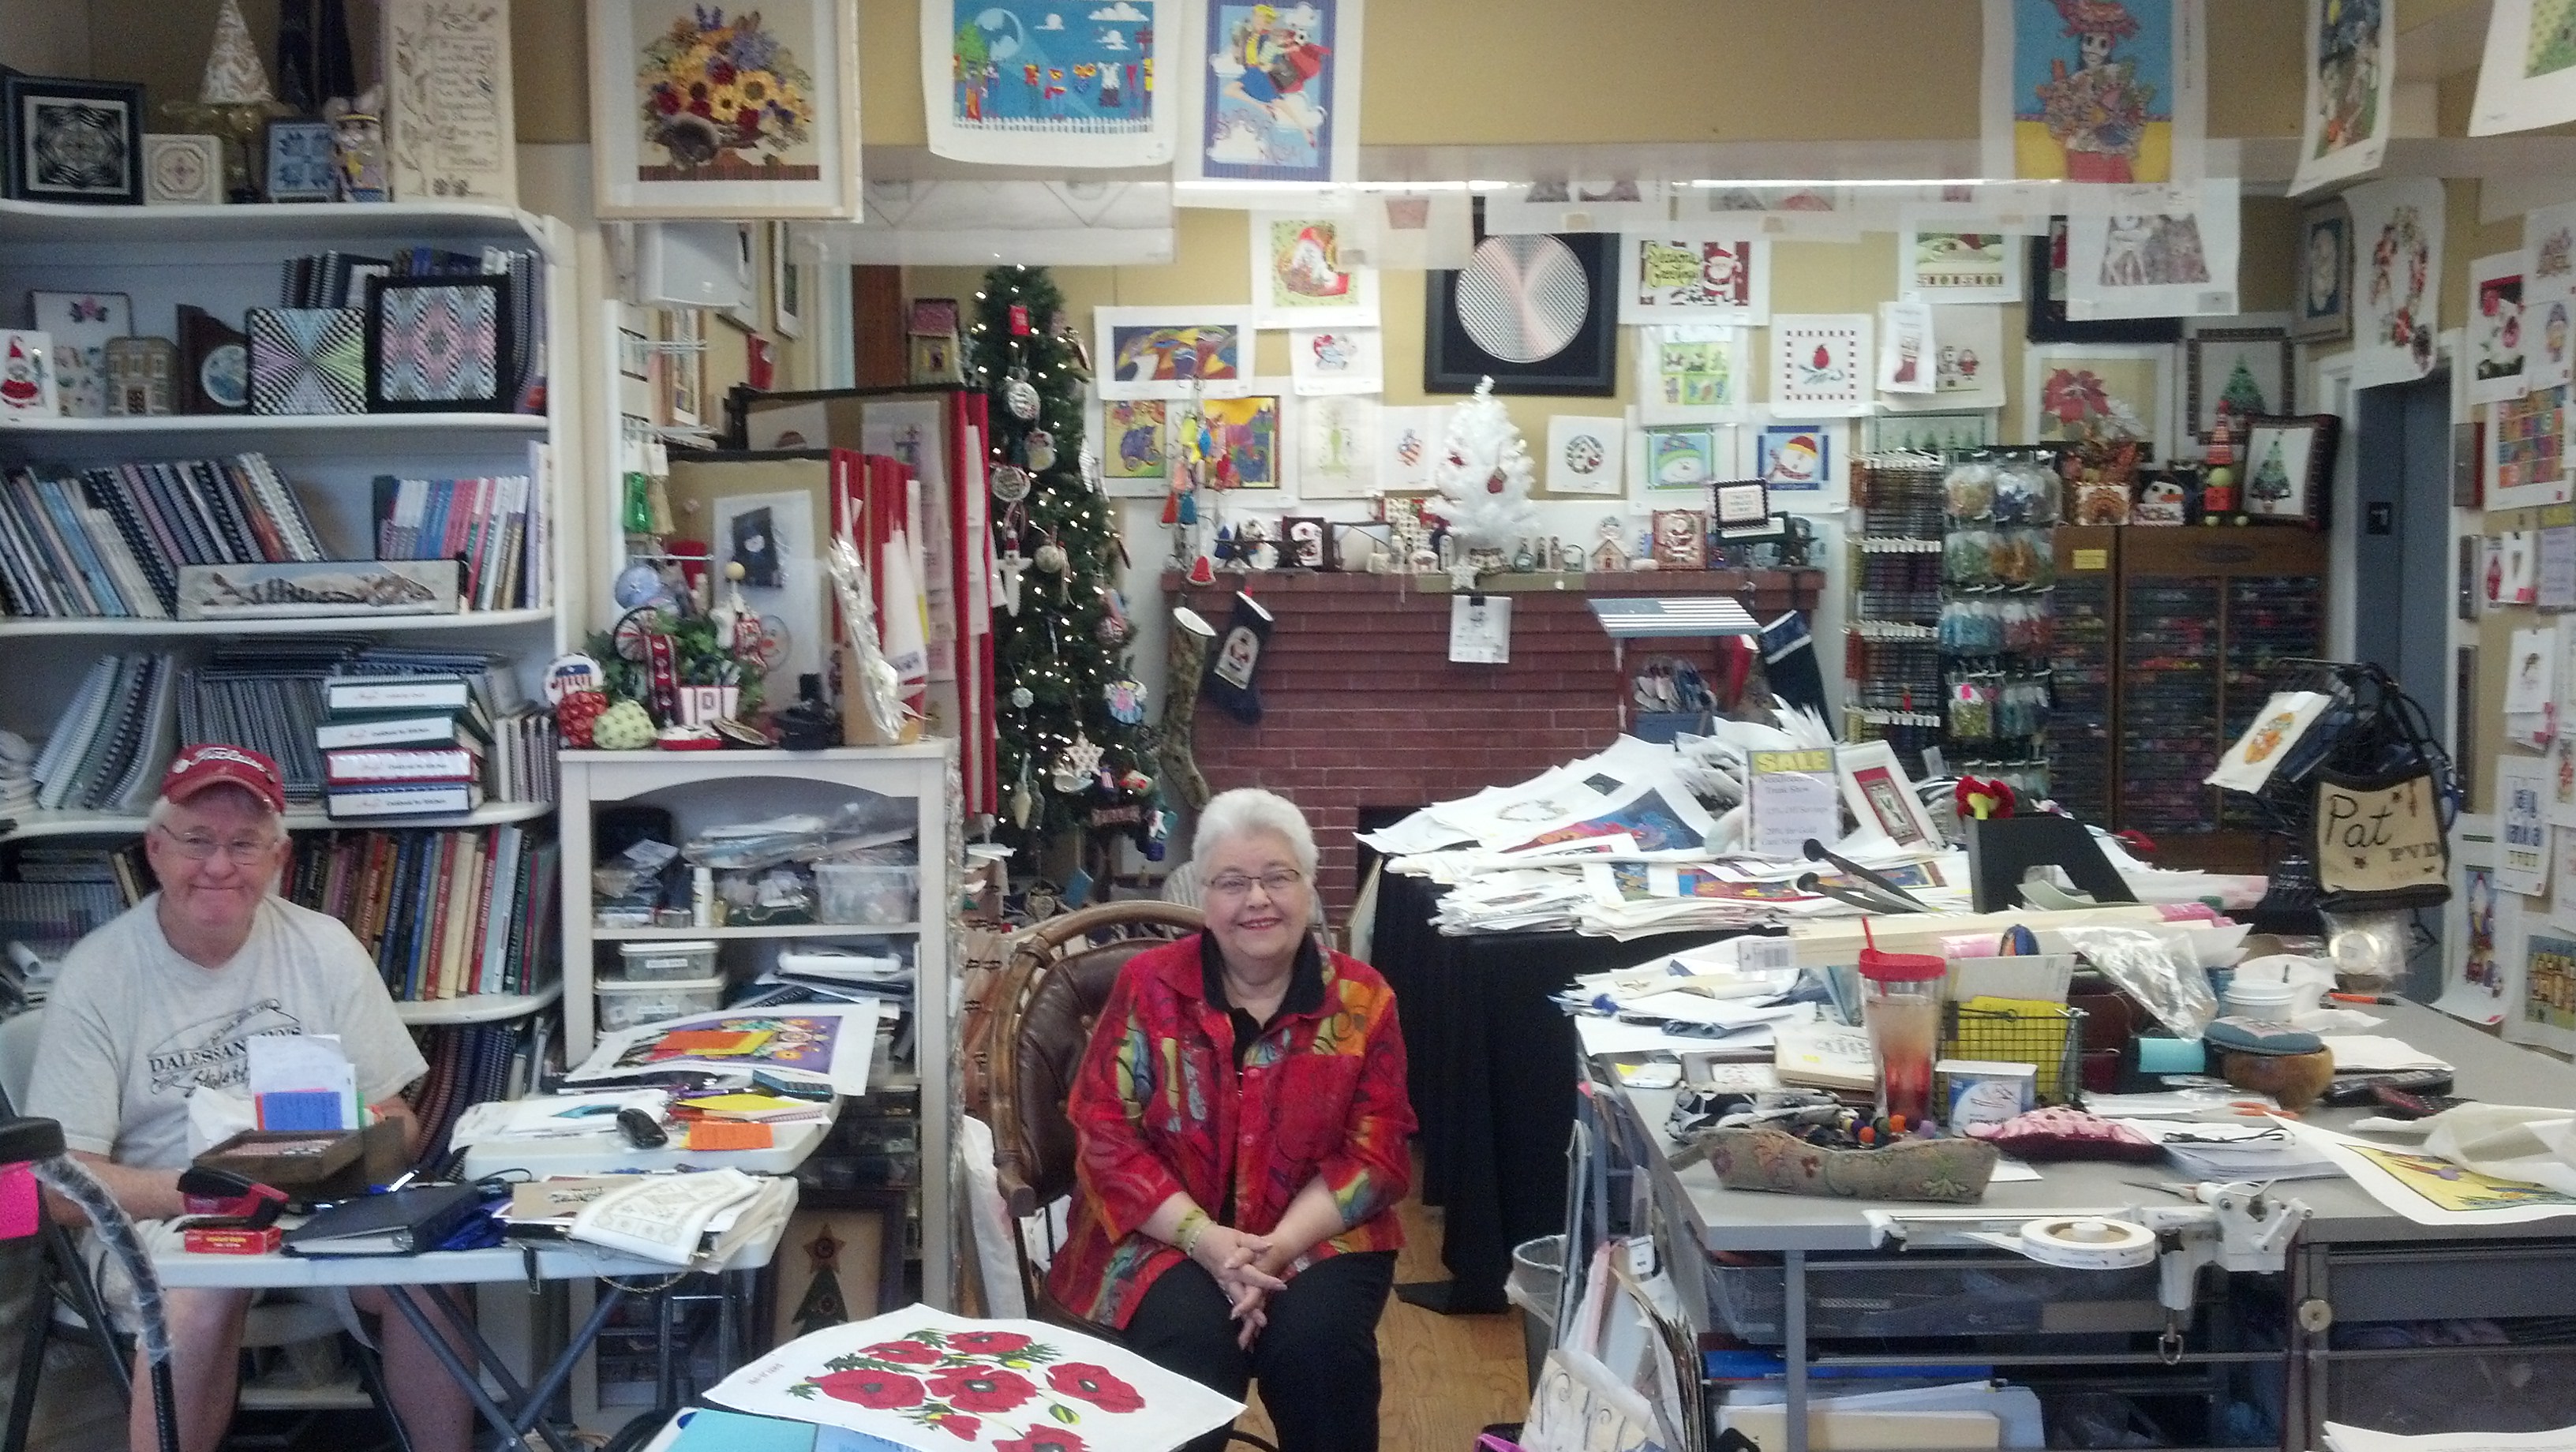
Another purchase at Designers Desk that says it all – eat, sleep, stitch! That is Bill and the store owner, Pat, sitting amongst the most needlepoint merchandise gathered in one three-story building! It was worth the drive!

Aren’t these just adorable? I found these on the 3rd floor on Designers Desk & a steal at $3.85. It makes giving ornaments as gifts much more affordable to use these for finishing. I love finding unique items!

I am kind of jumping back & forth chronologically. But, I was busy with setting up, meeting people including fellow Distance Learning colleagues, CyberPointers folks, teachers, pilot stitchers, & chatting with people from previous seminars.
Can you guess this will be for Bill? I got it at Designers Desk in Geneva, IL. I’ll probably have threads in my stash. We drove out from Chicago on Saturday & stopped at the third magic store for Bill. Later that evening, the Magic show at Magic Inc with Tony & Josie was incredible. We ended another great day in Chicago at Billy Goat Tavern.

Filed under: ANG Seminar 2014
I can’t take a photo inside the exhibit area so I can only describe what I saw. The white ribbon for third place in the original design non-professional category hanging from Crescent River was quite a thrill. I can’t wait to read the judge’s critique and will share that after I get home.
Seeing Traditions by Liz Morrow in person after following her progress as she stitched it on her blog is exciting. Love the beads.
Catherine Jordan has a different piece, The Gift, which are stitched ribbons wrapped around a glass block. Catherine always comes up with interesting ideas!
Bill & I both walked around twice, together & alone. We both had our People’s vote selected and it was for the same piece, Multicolored Floral by Brenda Hart, a painted canvas design without stitch guide. The autumn leaves shimmer with gold work played on top. That won a Judge’s Choice Award.
Arlene C stitched Rhododendrons on 40 count gauze beautiful with shadowing of the blues to match her first place ribbon & purples to match the Small Masterpiece Award.
There were about 125 newtimers at the Welcome Banquet & 3 got Arad’s:
Violet A – Hilton Award for Mulberry & Lime designed by Jeanne Polzin.
Vicky B. – Nina Goerres Christmas Theme Award for Frontier Santa
Barbara V – Sampler Award for In the Footsteps of the Pharoahs. Barbara should get an award for sending in 8 pieces!
I could go on about all the pieces but have to meet my husband at Billy Goat Tavern! It is only about 2 blocks away!!
Congrats to everyone – all entries are so pretty. Non-seminar people wandering said what I always say… How can the judges decide?

North Shore Needleworks had some pre-kitted Chicago ornaments & I got one of the last (Fri afternoon)! It is by Kirk & Bradley. I got soie d’alger & Needlepoint Inc Silk which I have not worked with much so that’ll be fun.

I attached the braid and am pleased at my results. It was a learning experience. The only way to improve is by practice. I have said this before when I finished other items & will say it again – it certainly makes me appreciate paying for finishing when done by professionals. So, when something is more complicated, I will continue to use the skilled professionals & be happy to pay for quality work!
When we arrived, I added the seminar pin. Working off my husband’s tablet because my “smart” phone has decided to be dumb as it nears the 2-year upgrade. I don’t know how much I’ll be able to blog. Already met people from past years & new folks! When you see me say Hi!

I bpught the magnets, Stitch an ANG design & Chicago, but seminar gifts also included the other items (mints, eye glass wipe, & door tag). Yes, I went to the Boutique and got some shopping done with the nice ladies at North Shore Needleworks.

Thee Wendell’s cruises took us along the river & into the lake. Great view & first day in Chicago!

Filed under: Uncategorized
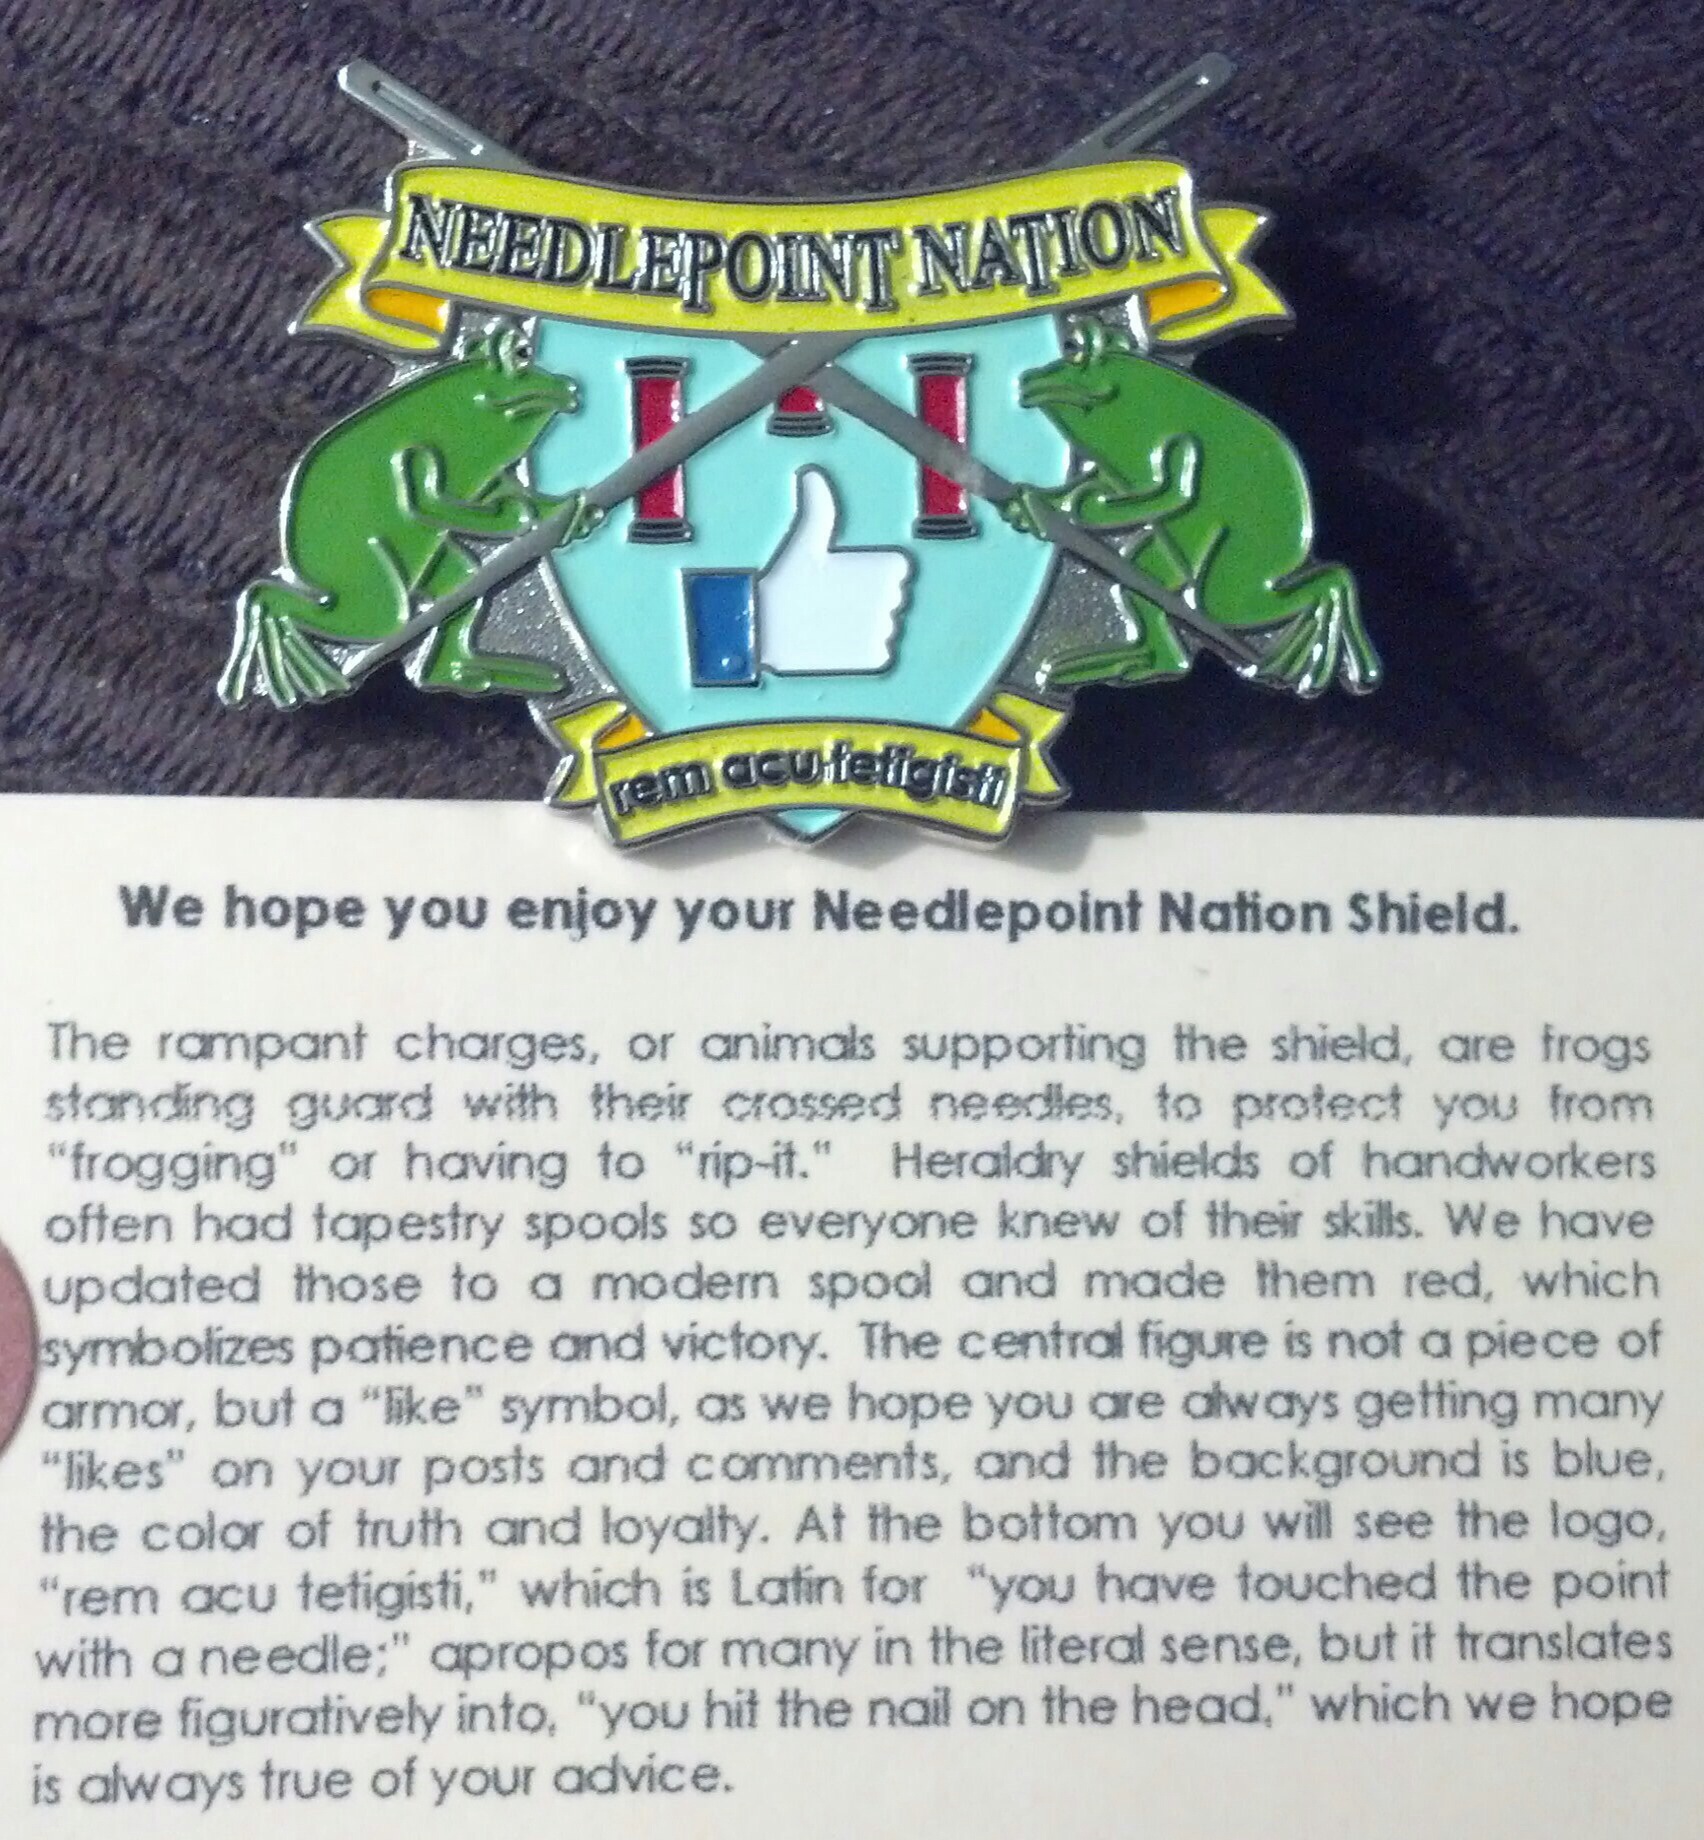
Thanks Jill from NeedleLittleMore .com for the handwritten note that came with my Needlepoint Nation Shield magnet designed by ROGUE designs which is very strong & cute.
Needlepoint Nation is a Facebook page where people post wonderful things all needlepoint related!