Filed under: Susan Portra, The Cabochons, Love
Since Love was the only fully kitted design from the Cabochons series by Susan Portra, I started with this one. Goals 21-28 from my 2024 Year in Review and Look Forward post was to kit some of these and start stitching them. Then, I acquired more of the series and it became Goals 21-31. I am making progress kitting them. More on that another time.
For Love, I lightly drew the heart outline from the template that’s provided using a red Micron pen (archival).
I’ve taken this along on several road trips and gotten a little more done each time. I don’t need a stand for it since it’s on 10″ x 10″ stretcher bars and no laying threads, so it makes a great travel piece.
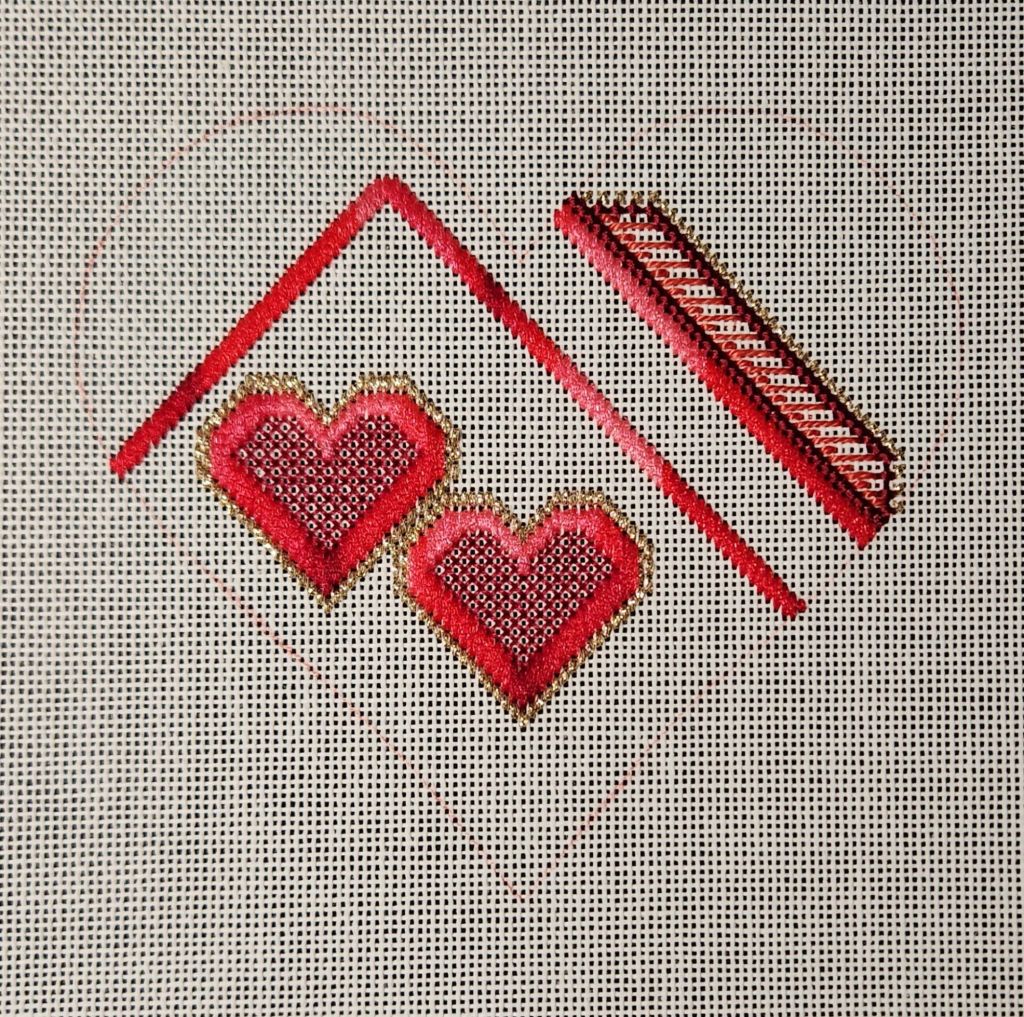
There are four background stitches left. I Love it (pun intended) and that the Philadelphia Phillies won their season opener!
Filed under: Books in My Library, Needlepoint Books, Quick Stitch Variations and More Quick Stitch Reference by Custom House of Needle Arts
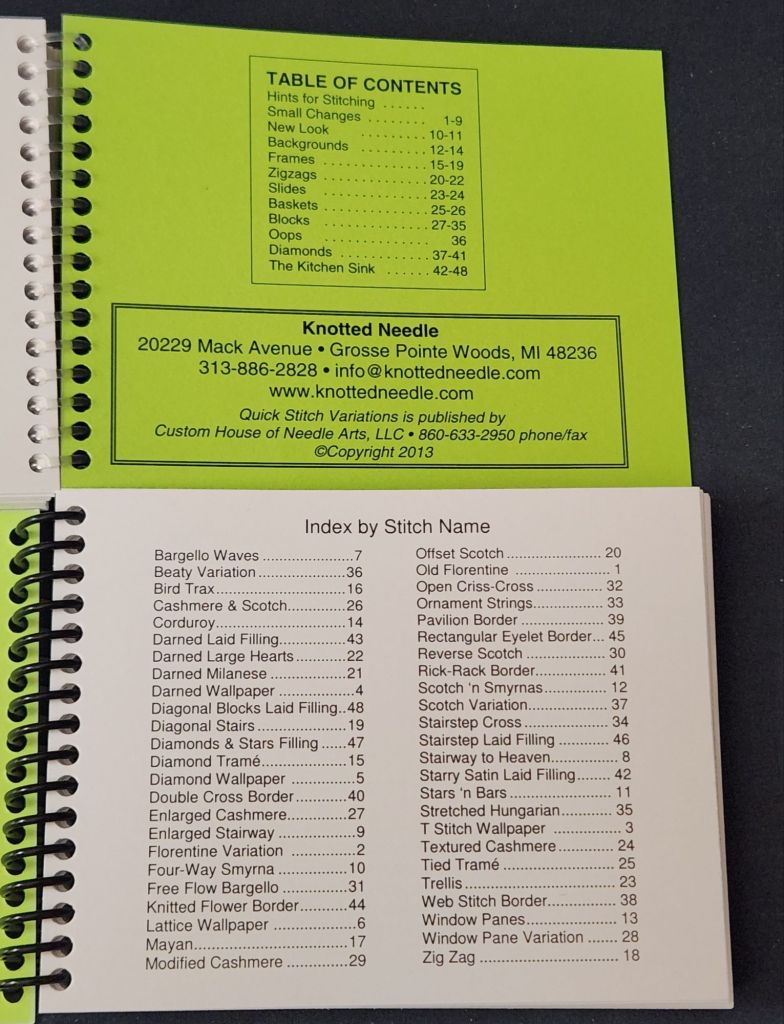
Quick Stitch Variations and More Quick Stitch Reference by Custom House of Needle Arts allows the ordering store to put their logo on the cover. Nice feature. It might make a nice Anniversary gift for chapters to give to their members (@ was $20 retail price).
The top one has a Table of Contents and the bottom one has a Stitch Index. Each stitch has text about where to use it and thread options. They are 5.5″ wide and 4″ tall.

Filed under: Books in My Library, Needlepoint Books, Transformative Stitching: Needlework on the Diagonal by Dawn Donnelly
Dawn Donnelly was selling Transformative Stitching: Needlework on the Diagonal at Merchandise Night.
It’s got a ring binder, so pages open and a flexible but hard plastic cover to withstand wear and tear. It’s my favorite size, 5.5″ wide and 8.5″ tall.

The Table of Contents also serves as an Index. I didn’t photgraph the entire TOC since it’s 3 pages long.
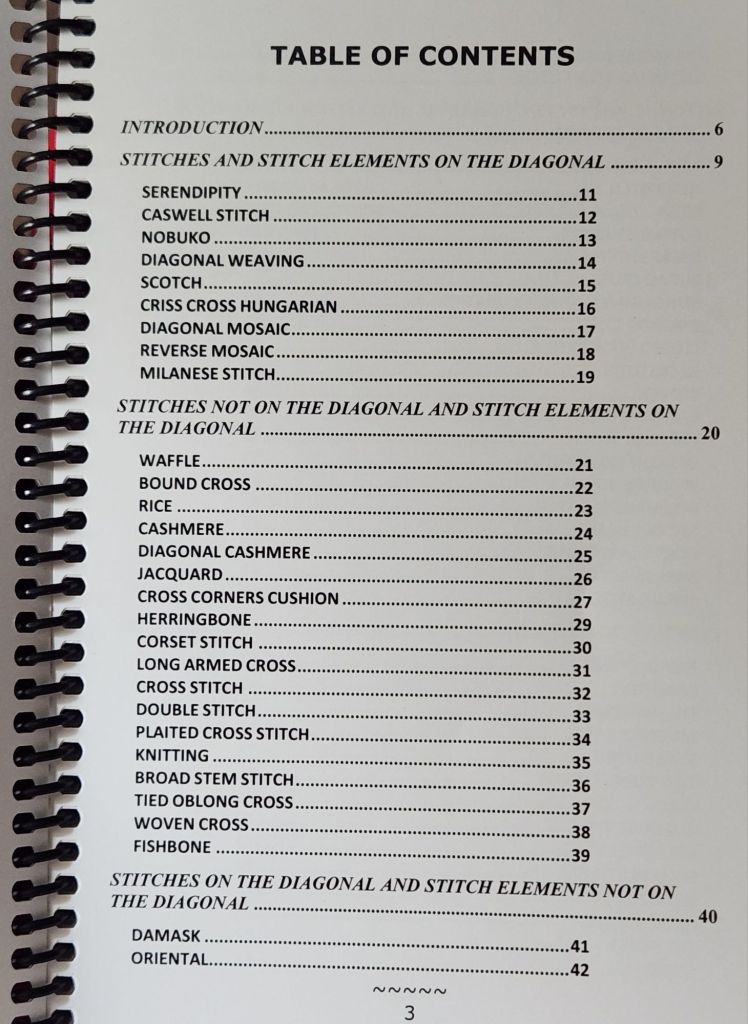
You can order it at https://www.threadupdd.com/merchandise-for-sale. What Dawn doesn’t say on her website is that she’ll share a link to a pdf so you can use it anywhere. I found several great stitches to use on my Project Runway piece.
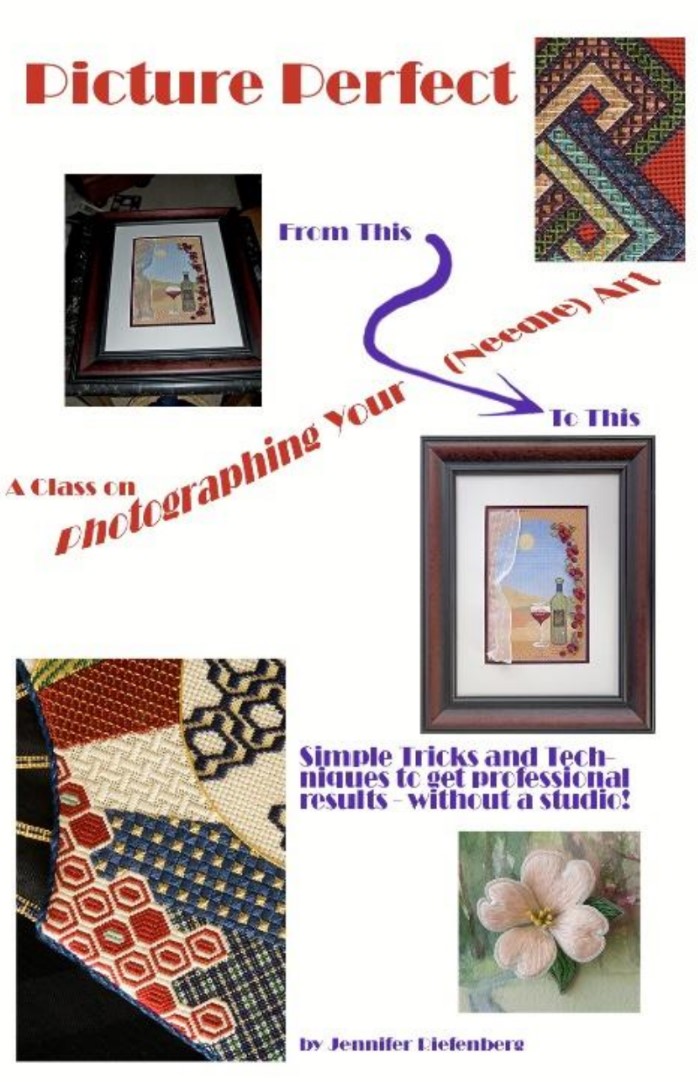
Textile Artist has a Stitch Club you can subscribe to but their newsletter is free of charge. A recent edition had an interesting article on basic photography for fiber artwork. You can access it at: https://www.textileartist.org/how-to-photograph-textile-art
In 2022, I took a photography class from Jennifer Riefenberg at the ANG Seminar and heard it again recently in a Zoom class How to Improve Photos of your Needle Art through the EGA Fiber Forum. It was my suggestion they invite her because you have to be juried into the Fiber Forum to be a full member by submitting photos of your original work. I am a Friend of Fiber Forum because have I not wanted to go through the process (maybe at some point). I picked up new tips I had not heard the first time. So, contact Jennifer if you are interested in a Zoom talk/workshop for your group. And, watch https://needleart.org/assembly/ for the photographs she took of this year’s National Academy of Needlearts Exemplary winners. There were some stunning pieces.
Filed under: 2025, Flowering Maple with Celeste Chalasani, National Academy of Needlearts (NAN)
Day 2 of Flowering Maple with Celeste Chalasani at National Needlearts Academy (NAN).
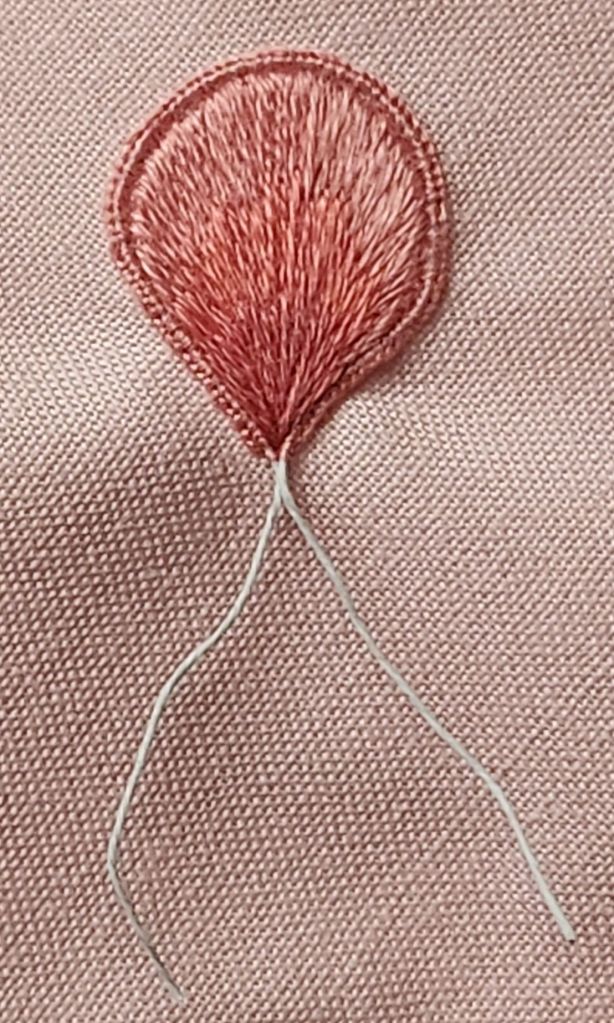
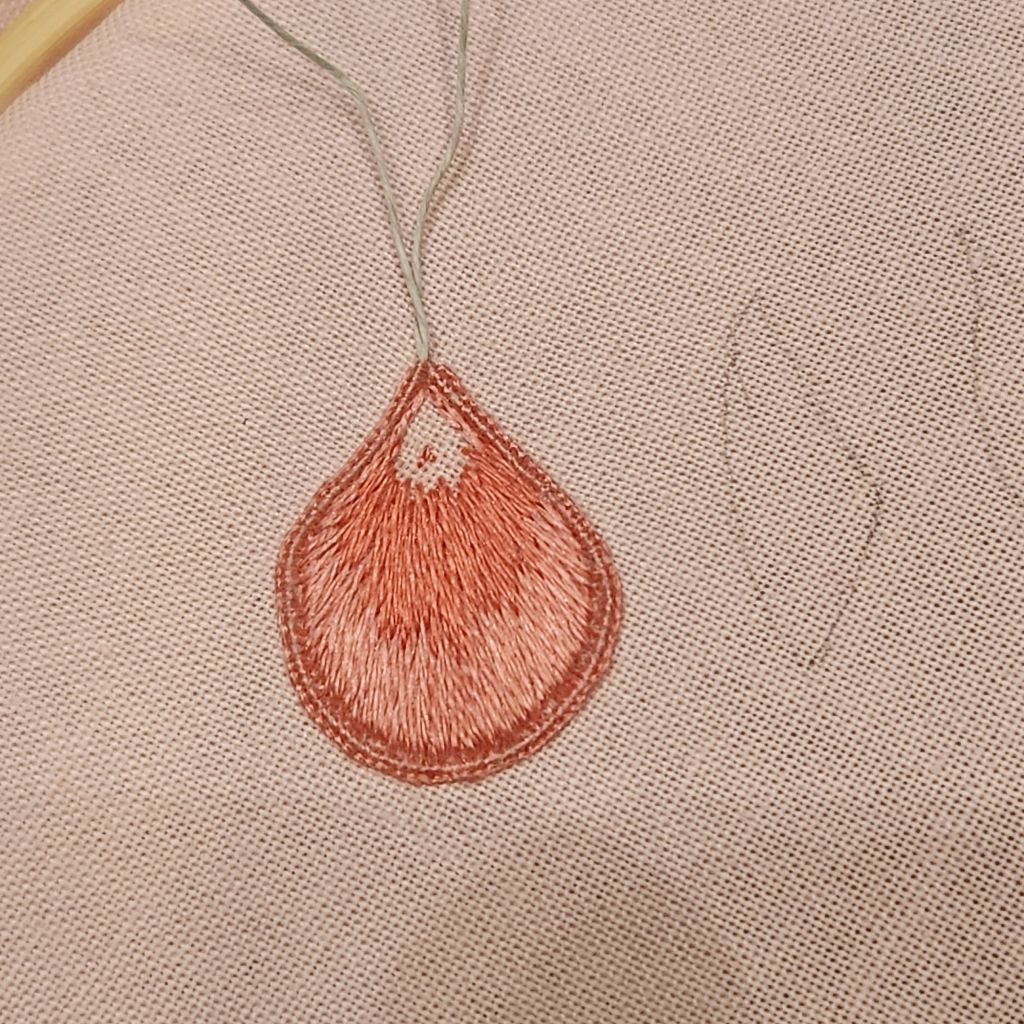
I added the dark area to the petal. It passed muster with Celeste. So, it stays. I’ll cut it out after I stitch the other two on that piece of fabric.
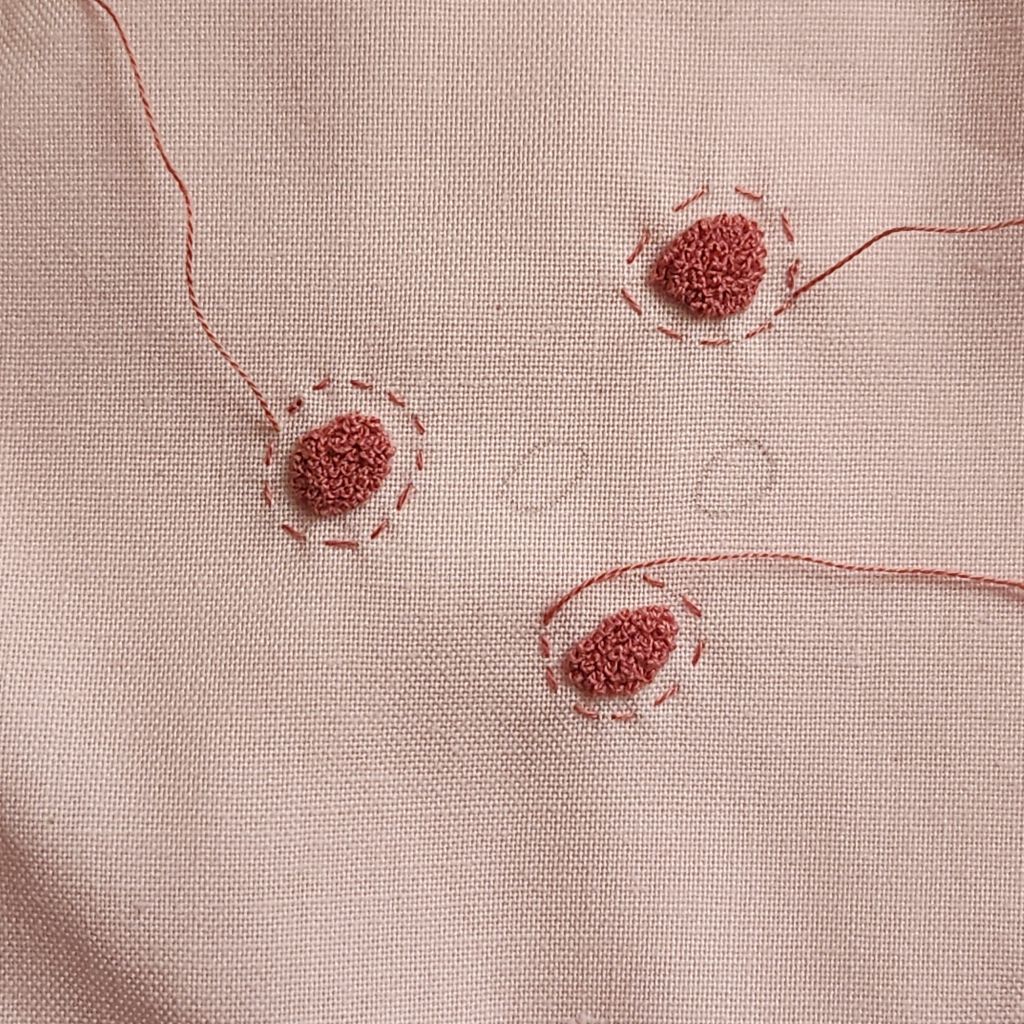
I finished 3 Calyx but won’t attach them until later. I had the tracing too close at first.
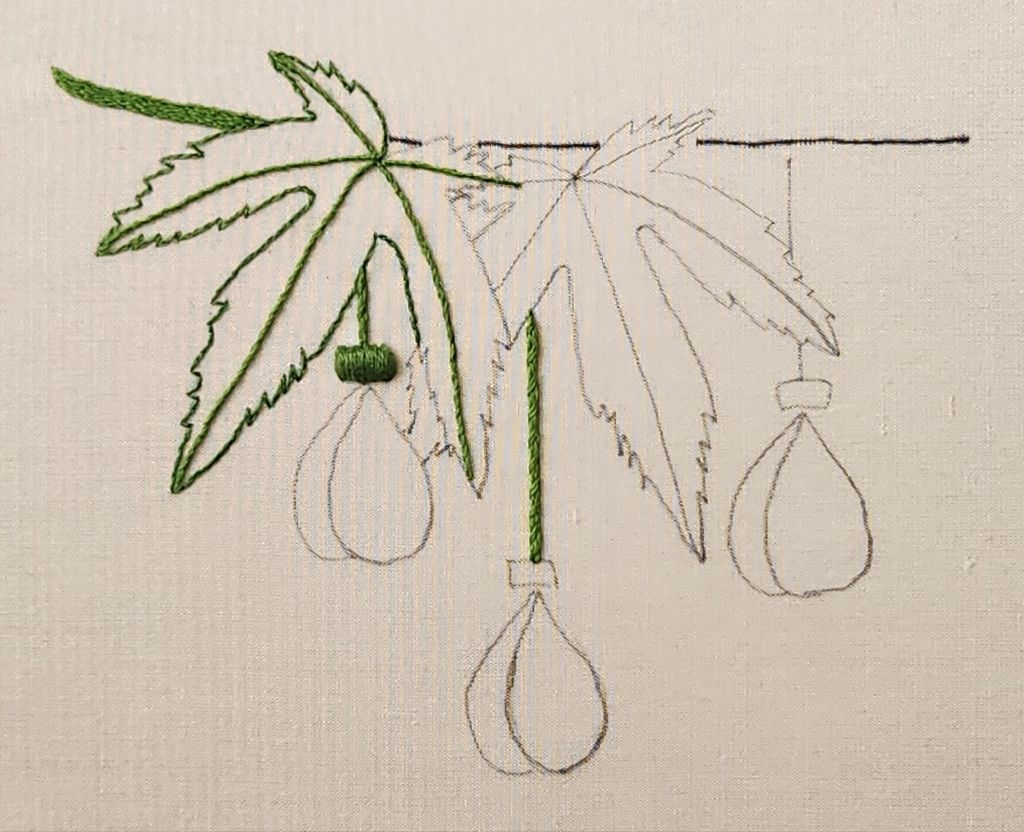
I created one padded flower base and outlined more of the left leaf. I wasn’t up to long short shading after lunch. It can wait until I get home.
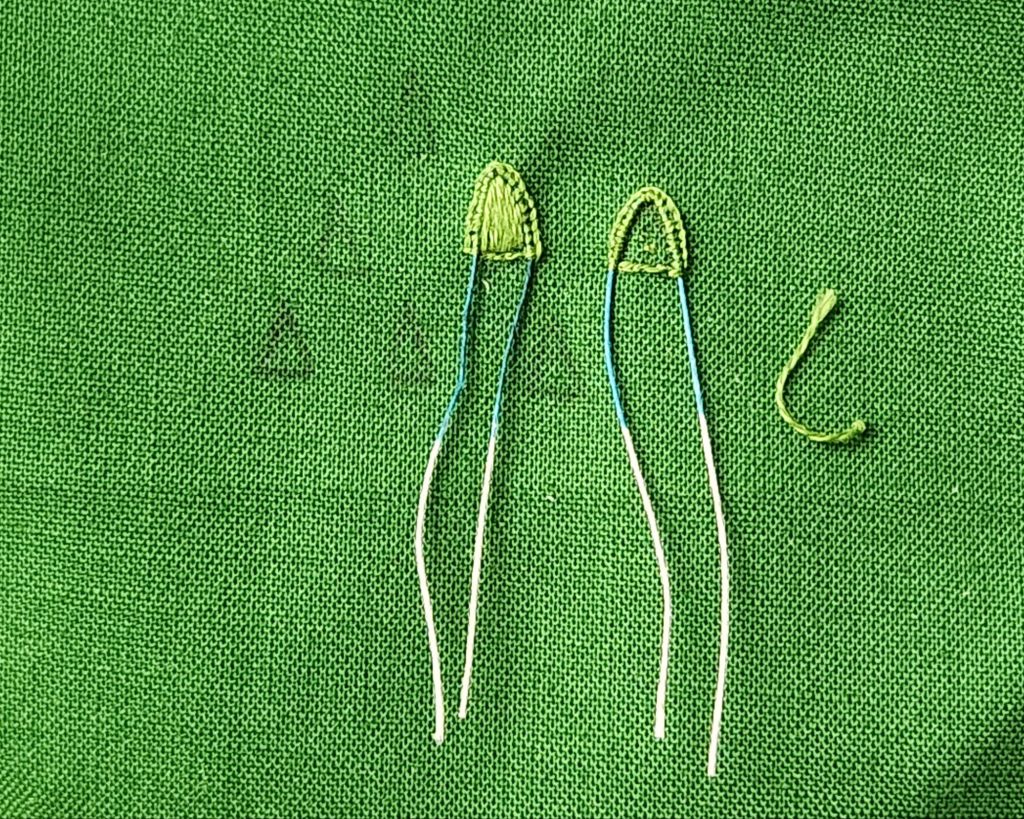
Embroidery is teaching me about flower anatomy. The sepals are tough. They are so small. The one on the right is too wide. I have plenty of green fabric to keep trying.
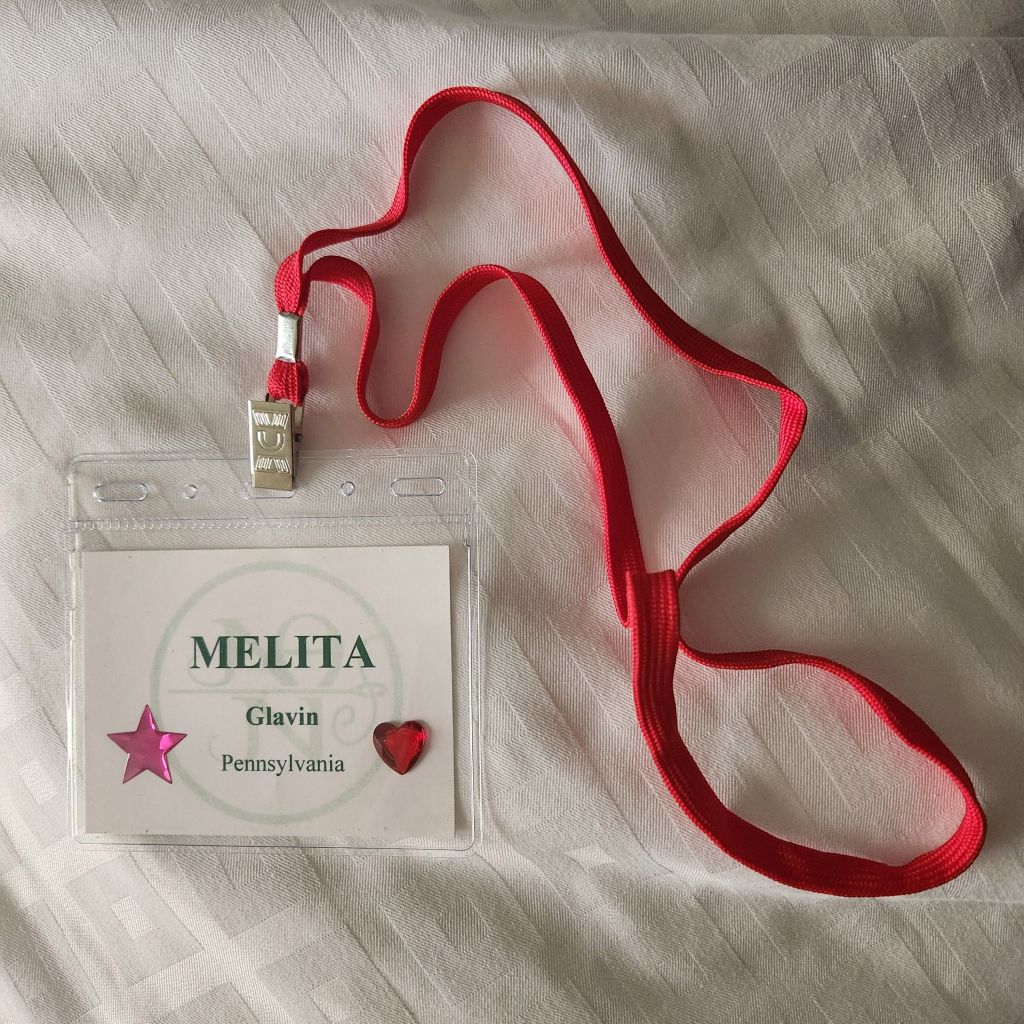
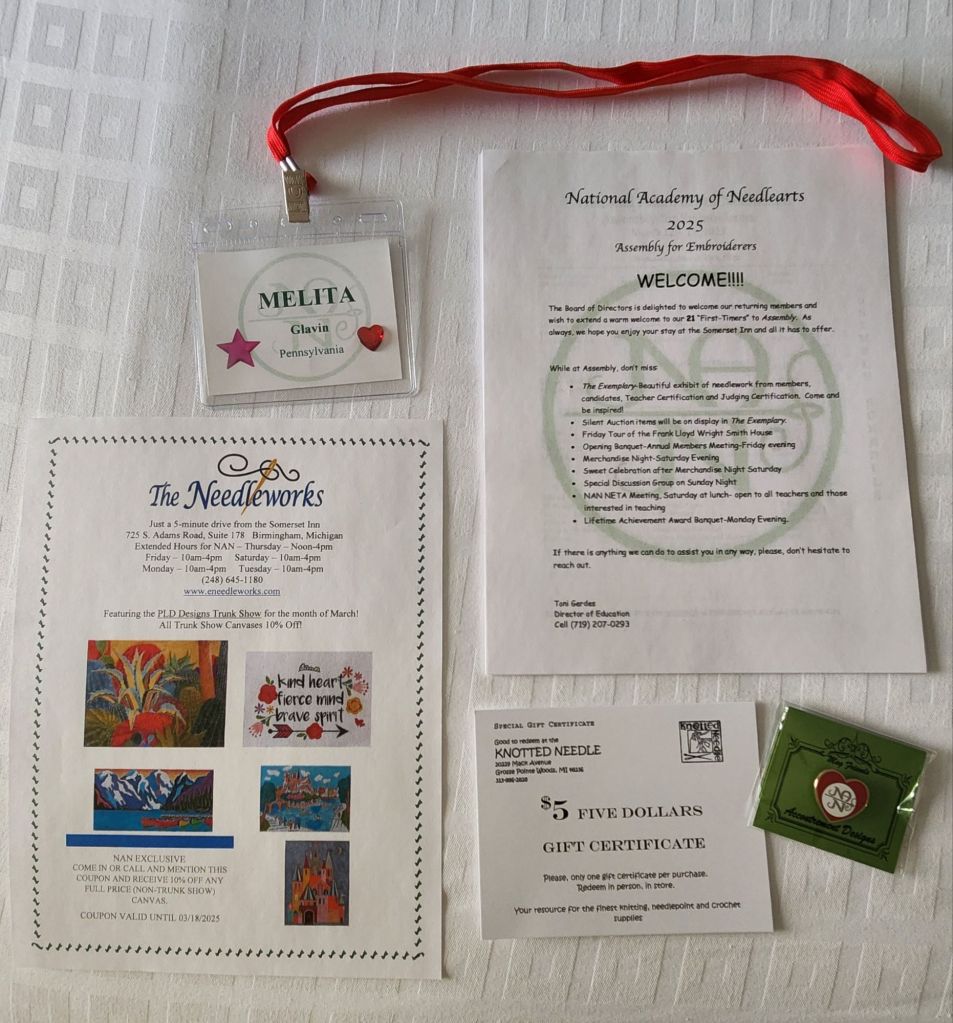
My badge indicates first-time member of NAN (heart sticker) and first-time at this event (star). It was a good event, but now it’s time to pack up!
Filed under: 2025, Flowering Maple with Celeste Chalasani, National Academy of Needlearts (NAN)
Flowering Maple with Celeste Chalasani is the second of two classes I’m taking at my first National Needlearts Academy (NAN) event.
Our pre-work included transferring the design onto 12″ square cream silk shantung. It was placed onto Evertites with a cotton backing. I never use that many tacks but still have a little puckering. Since it’s outside the running stitch area, it shouldn’t be a problem. The Micron pen didn’t bleed and looked thinner in my test area. But, the top line bled a little on each end and is thicker than was intended. But, it’ll be fine. I’ll want a nice sturdy branch for my flowering Maple.
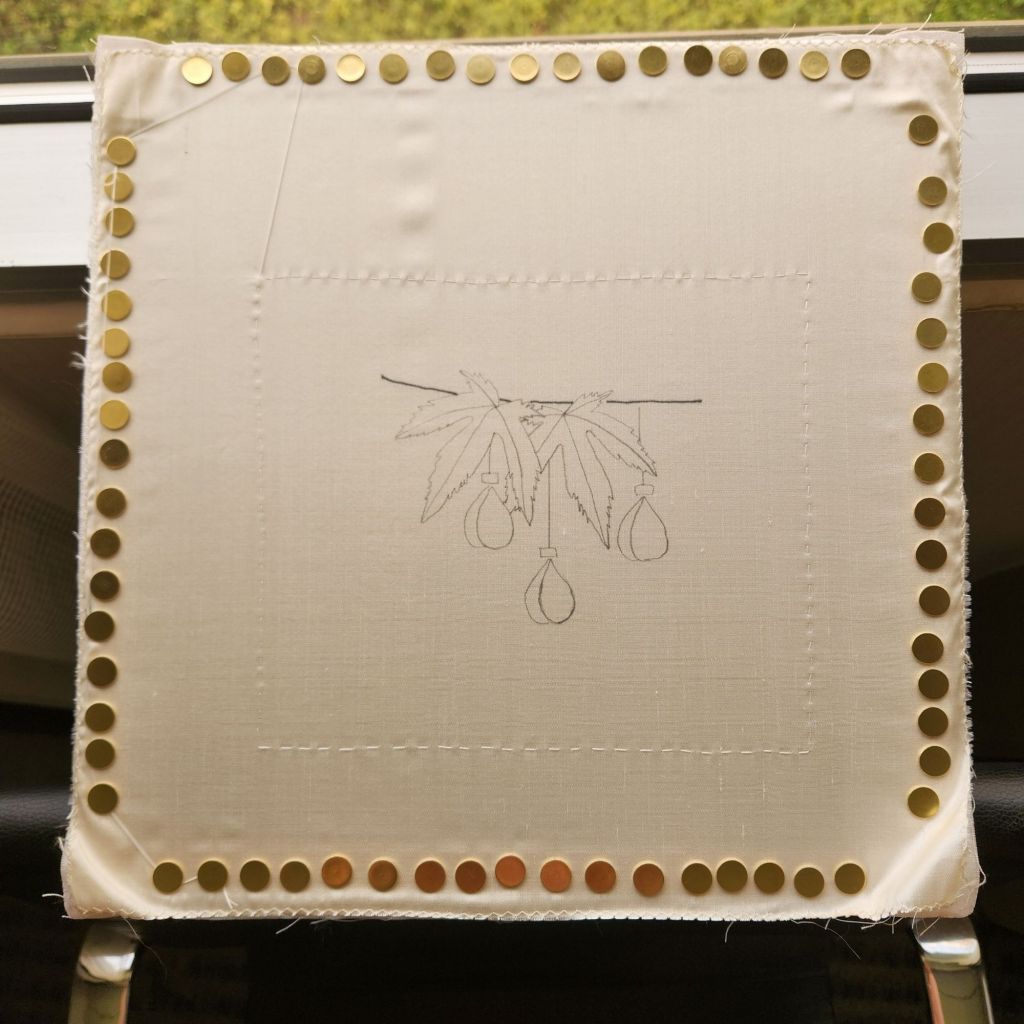
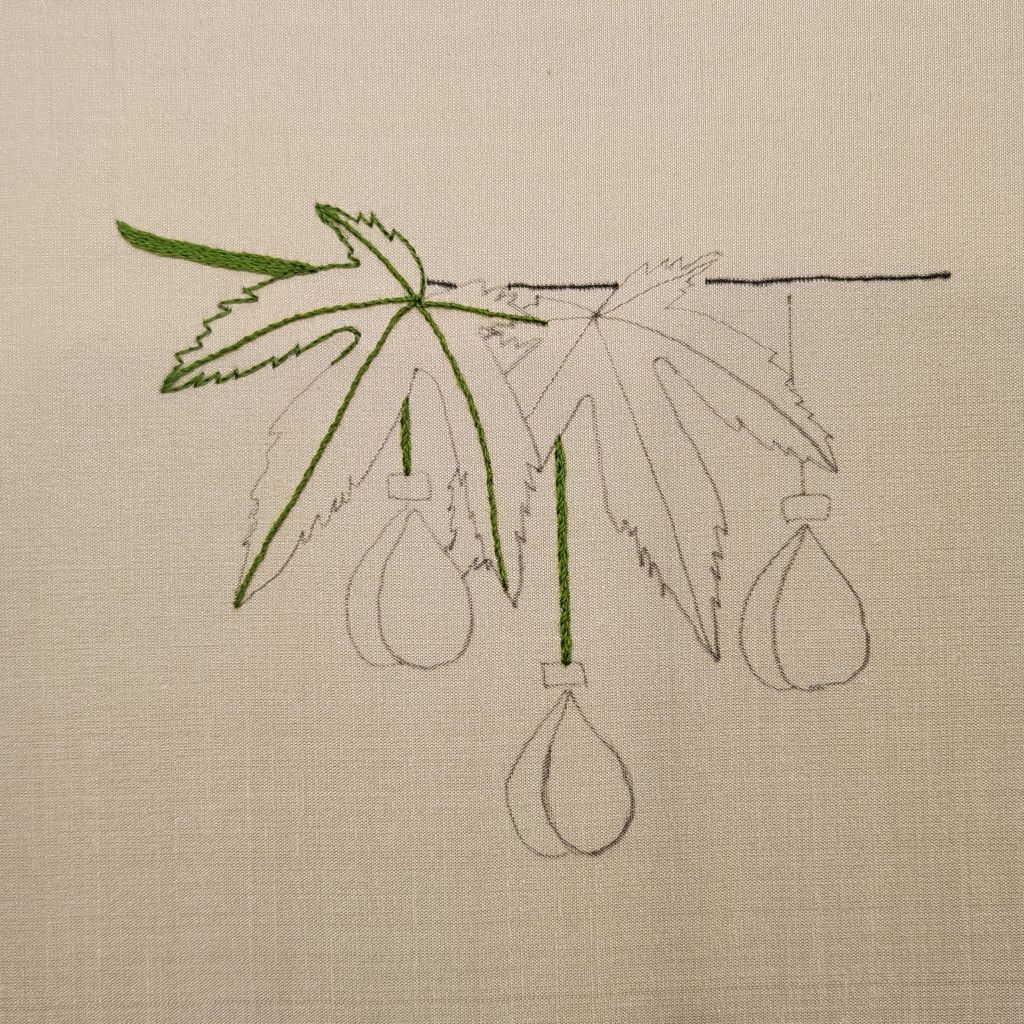
The top branch is 5 threads wide. So, my line is (or will be) well covered. I only got the left side done on Day 1. I got the veins in on the left leaf and partially outlined the left leaf. I have enough done to continue on Day 2 filling in the leaf. I think that’s part of tomorrow’s assignments.
I will finish the long and short for the center petal before cutting it out. Although I have enough pink cloth to have this one be my practice petal. The example piece has a wider light area, less medium, and the least amount dark. Mine is more like 1/3 of each color. We’ll see tomorrow when it is done and decide then. My buttonhole edge it good, and my threads are angling in nicely. So, I may keep this one.
Debbie Stiehlar’s beaded top won People’s Choice Award. Her husband made the beautiful wooden bowl and lid that the beading sat on. She was very pleased with the award, especially since her family said things like, “That’s nice.” Not even a wow! I guess they are too used to everything she shows them.
I had a nice chat with Sandy at my table during dinner. She was in charge of the ANG Stitch of the Month when I submitted my Crescent Journey. And, I was thrilled to hear that her chapter did Overdyed Spools. I hope she sends a photo of one or more because a male chapter member cut actual wooden spools in half, and they used them in the final piece. So cool!!
Bill came downstairs just in time for Debbie’s talk, and she was fantastic again. She asked 15 questions to see if you need an intervention. One question was, Do you have enough stretcher bars to build a shack?
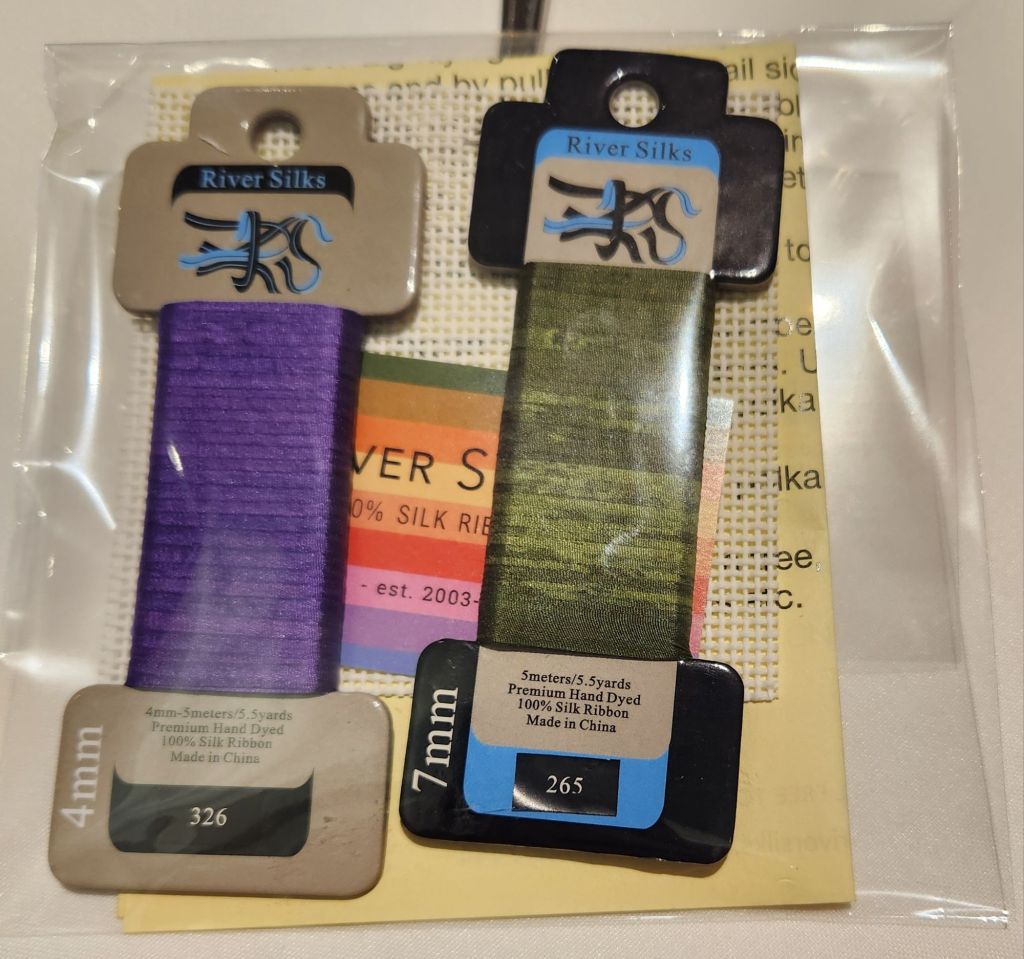
One lady at my table, Mary Jo, gave Bill her Tiramasu. We got a favor from River Silks. I must have 5 packs of these now! I’ll have to do something with them. They are lovely ribbons.
We wrapped up the evening by heading to the bar where we were invited to join the celebration of Patricia Tector’s Lifetime Achievement Award. She has a lovely family. Bill and her son had a nice chat while her daughters and I chatted. It was a great time. Patricia was one of the judges for the Woodlawn this year and asked me to show her daughters a photo of my piece. I will be sharing more about that piece another time. I have to wait until I present it to the intended recipient.
Got to get to bed, so I’ll be ready for the final day of classes.
Filed under: Uncategorized
The Opening Banquet was enjoyable, especially because I was seated next to Debbie Stiehlar. She’s a hoot! Someone asked about Bill, and I mentioned that he really only enjoyed one banquet, and that was when someone gave a hilarious talk at ANG Seminar. Then, I realized it was probably Debbie, and she’s actually going to repeat a version of it at this closing banquet. Debbie suggested that I text Bill and have him come in for it after dinner. I encouraged Debbie to consider publishing the talk since she’s retiring. And said she might just do that. I hope so. Had I known she’d be retiring, I probably would have taken her class!
I also met one of the judges who has written several of my critiques. Come to find out, she reads my blog and was glad to see that I appreciated her thoughts. I do enjoy getting critiques even though I may not agree with everything. I never mention the judges’ names and won’t start now!
It was great to spend time with Chris Louden and meet her friend Kathy at the Opening Banquet too. I can’t remember the names of the other 2 ladies at our table and even though tables are round, I find it hard to connect across the table.
The two Best in Show (Japanese piece and a stumpwork piece) was announced along with the Challenge winner, a lovely Temari ball. I’m sure they’ll be posted soon since Jennifer Reifenberg was busy photographing the pieces.
Diane Herrmann is retiring her Walking on the Water’s Edge as a teaching piece. It will remain available for purchase to benefit the National Academy of Needlearts. Nice!!
The business meeting was short enough. The one speaker had a reason for not using a microphone, but since I couldn’t hear her, I don’t know what it was! I was enjoying my carrot cake and trying not to laugh out loud at Debbie’s side comments.
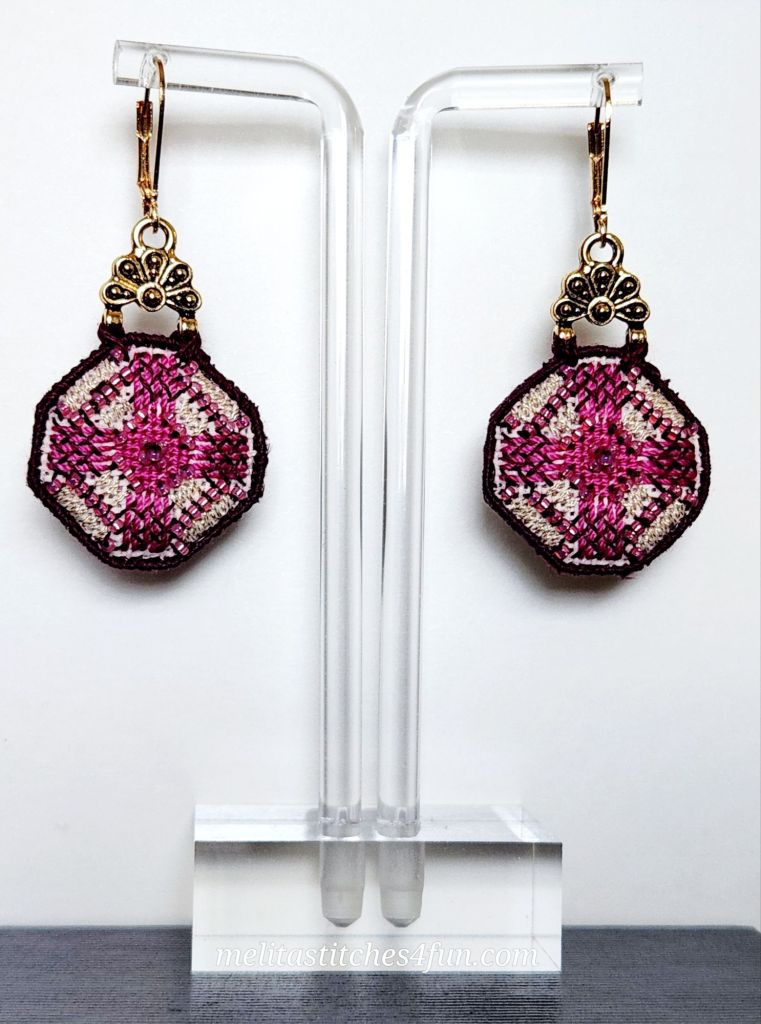
My earrings didn’t win anything, and after seeing the other pieces exhibited, I totally agree. I really didn’t expect to. I just wanted to contribute something to the Ruby challenge portion of the exhibit. I’d like to see if anybody is interested in a class to stitch these. Goal #13 accomplished.
Wow!! Speaking of Debbie Stiehlar, her beaded basket lid was amazing. Each piece was prettier than the last. She had several stunning pieces. There was an owl that looked ready to take flight. There are so many amazing pieces. It’s was overloading my ability to take it all in which is why the classes for next year didn’t register.
I had a nice chat with another judge, Patricia Trector, who writes regularly in Needle Pointers and is being recognized for her lifetime achievements this year. Congratulations!
We had an excursion to The Needleworks and met Lisa, another young owner. I got threads to start on my background.

I drove a couple of classmates back to the hotel, got a short nap, and headed to Merchandise Night. It’s a small event for an hour. I got Dawn Donnelly’s book (more about that another time).
Filed under: 2025, Knotted Needle, National Academy of Needlearts (NAN), Needlepoint Shops, The Wool and the Floss
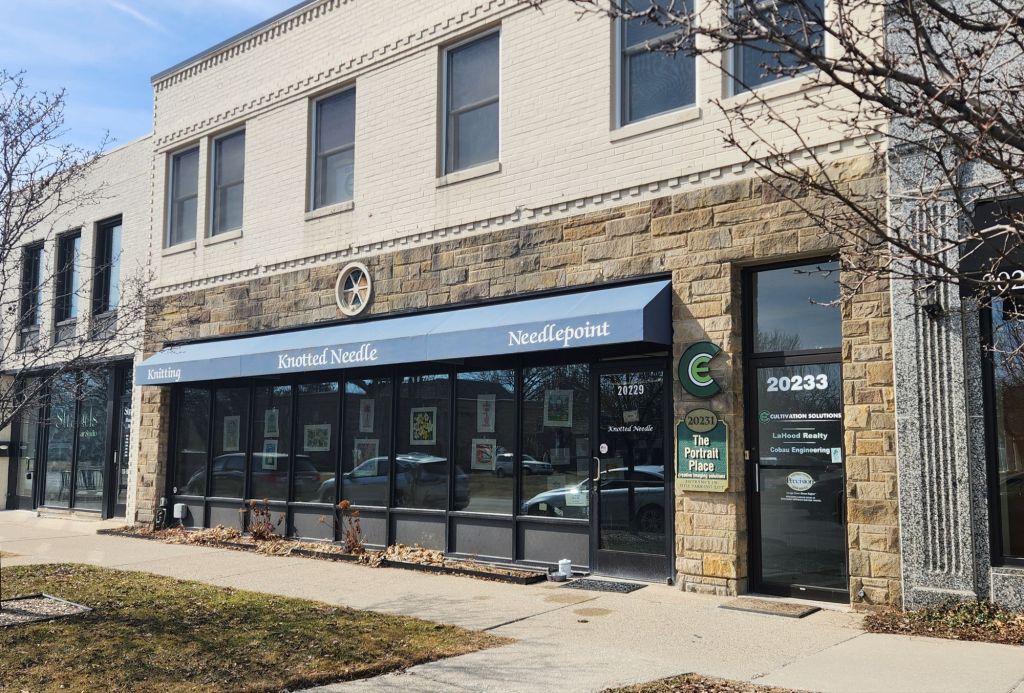
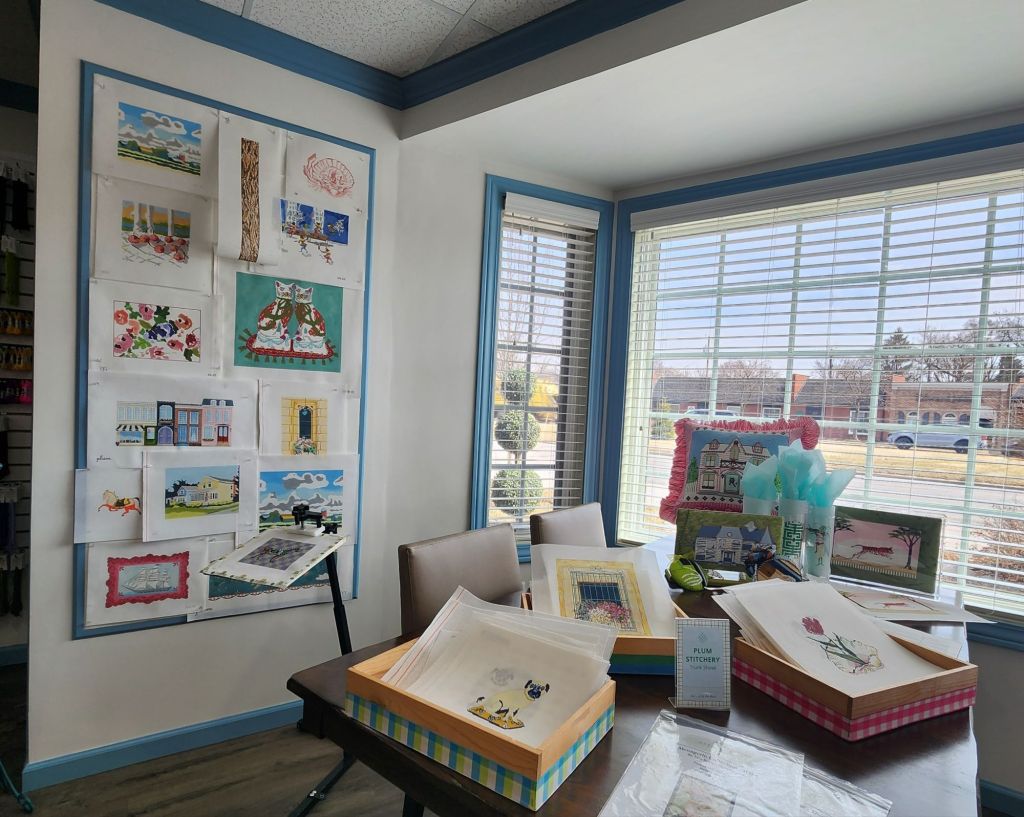
Yesterday, we really enjoyed the tour of the Motown Museum, and I really enjoyed the two needlepoint stores we visited afterward.
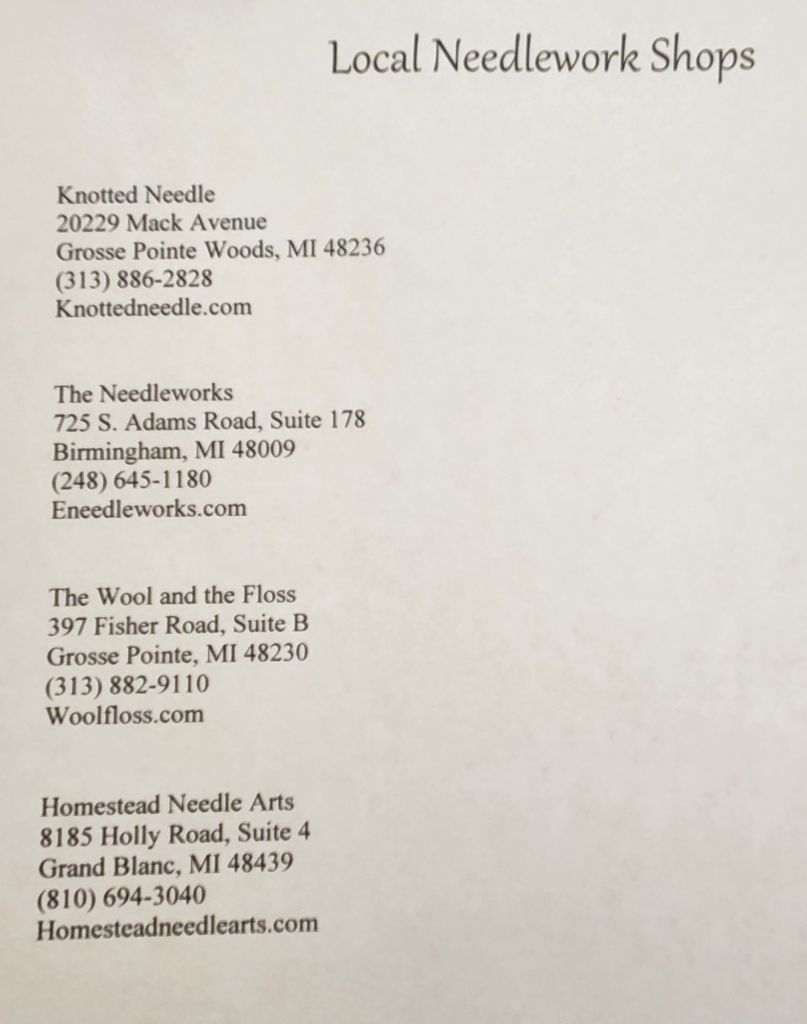
We stopped at the Knotted Needle first and then a half mile down the road to The Wool and the Floss. We’ll be going to The Needleworks (5 min from the Somerset Inn) as part of Dawn Donnelly’s class to buy our threads. And, Homestead Needle Arts is too far northwest.
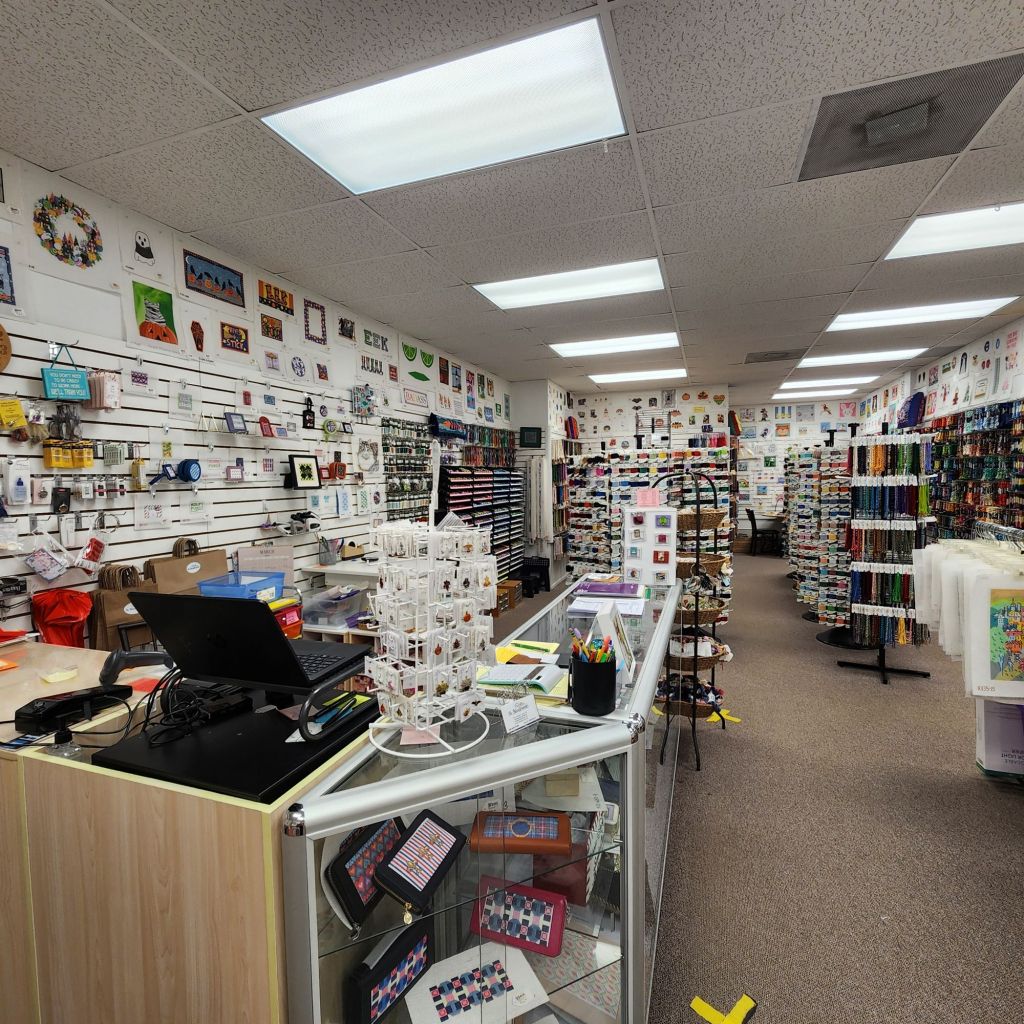
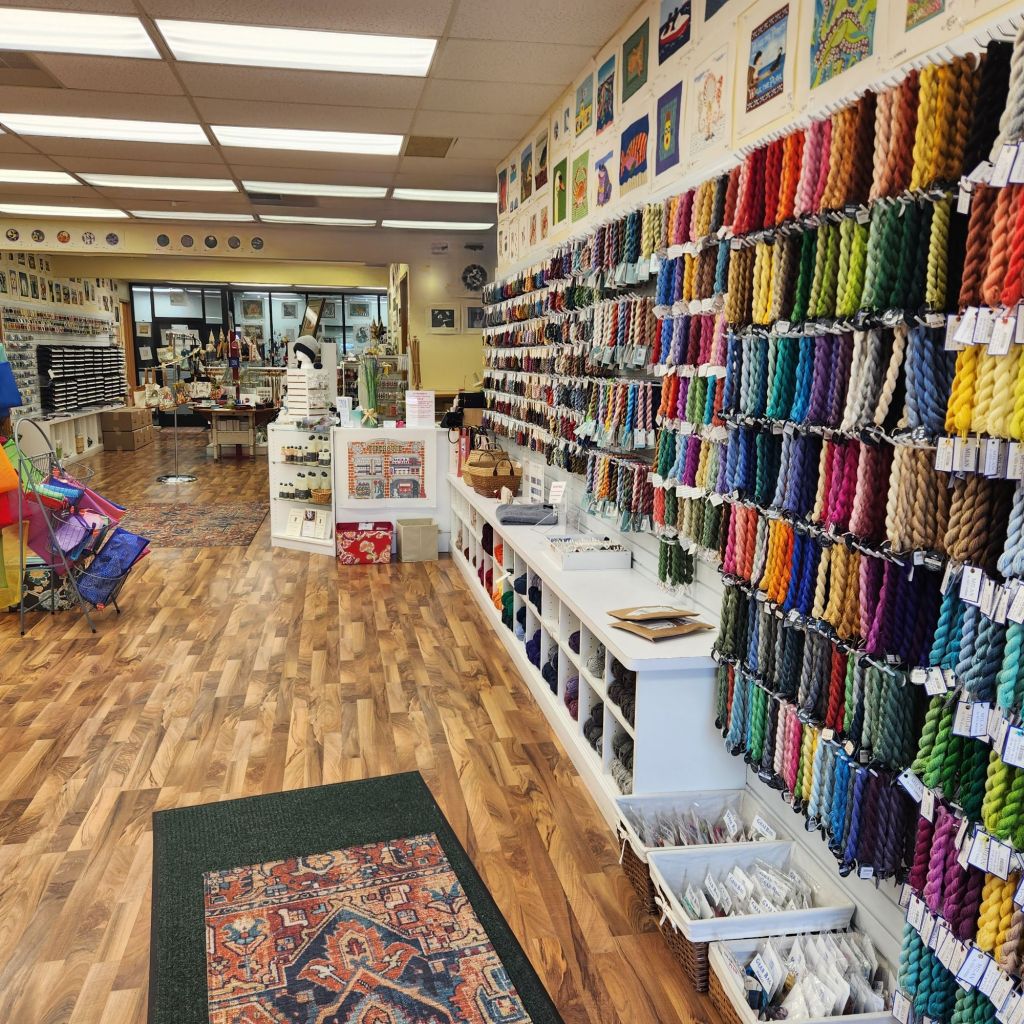
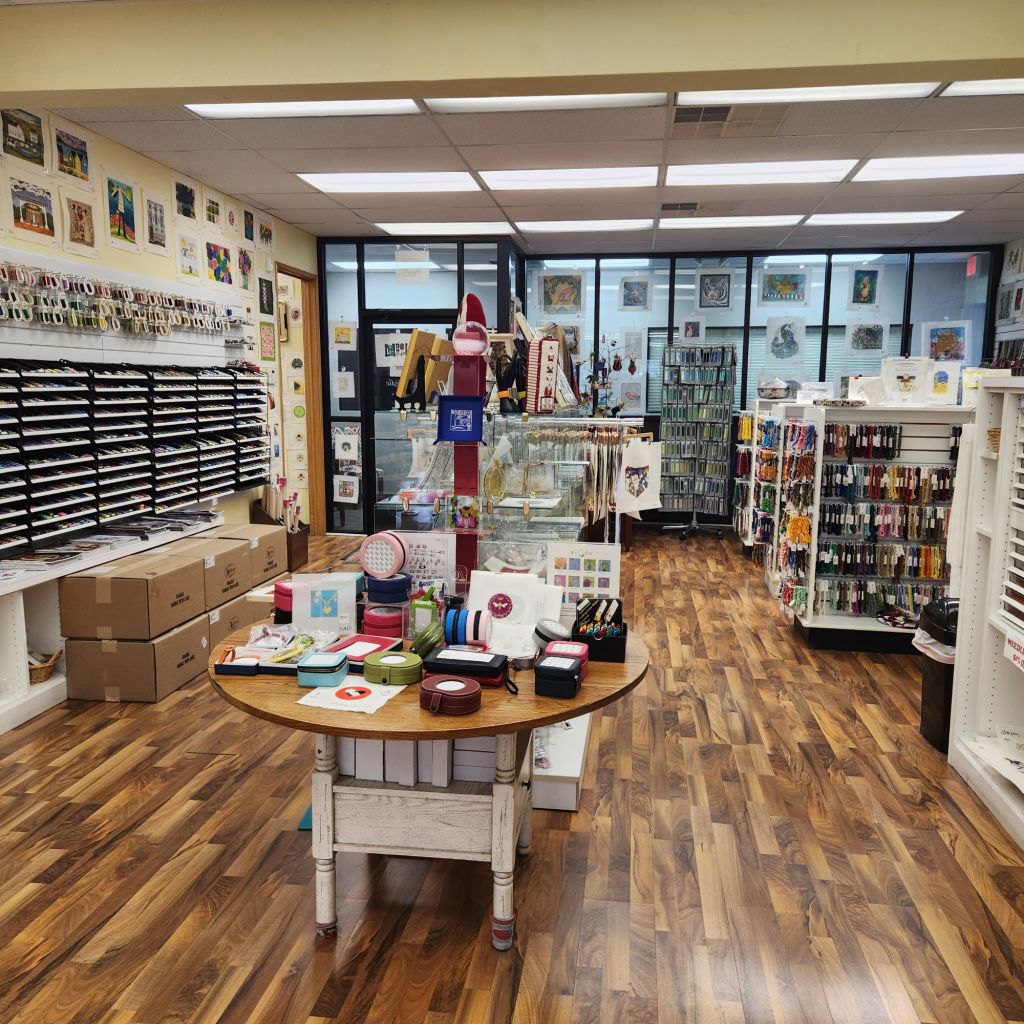
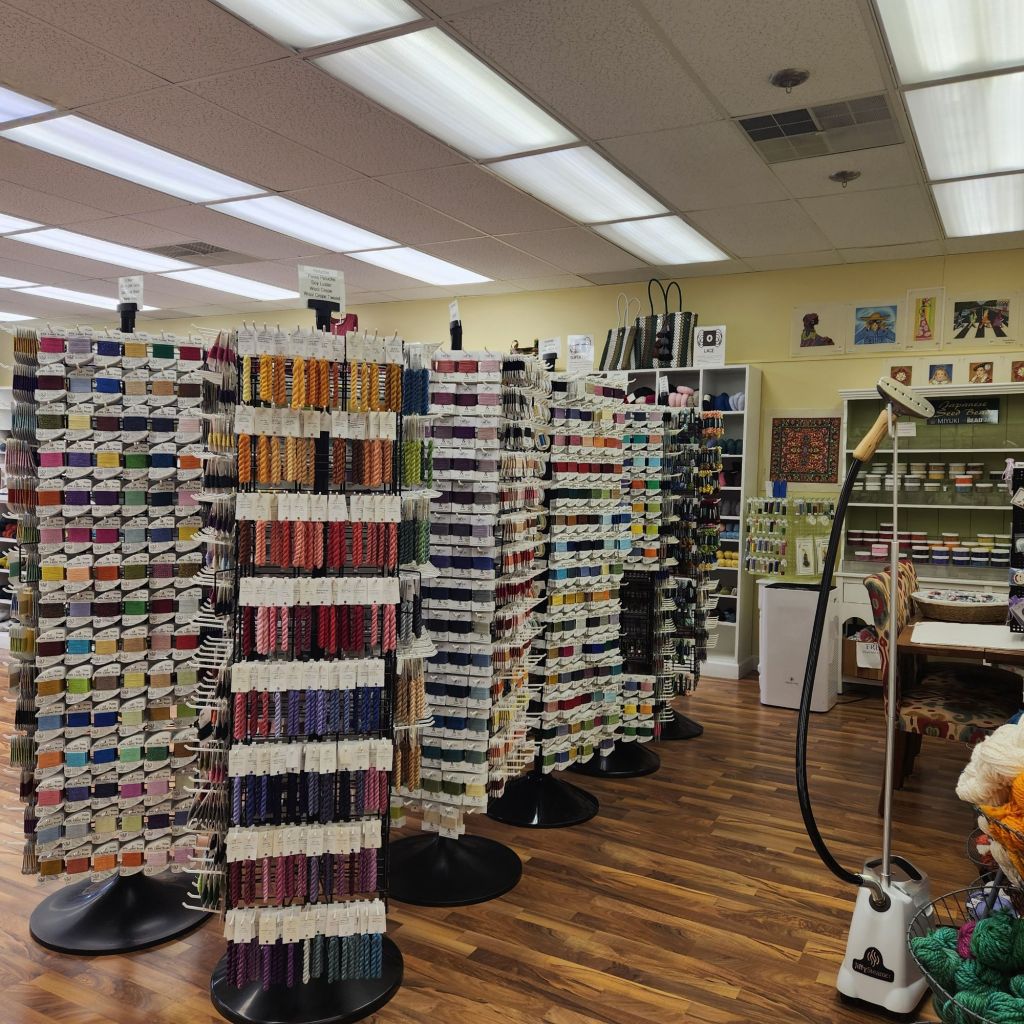
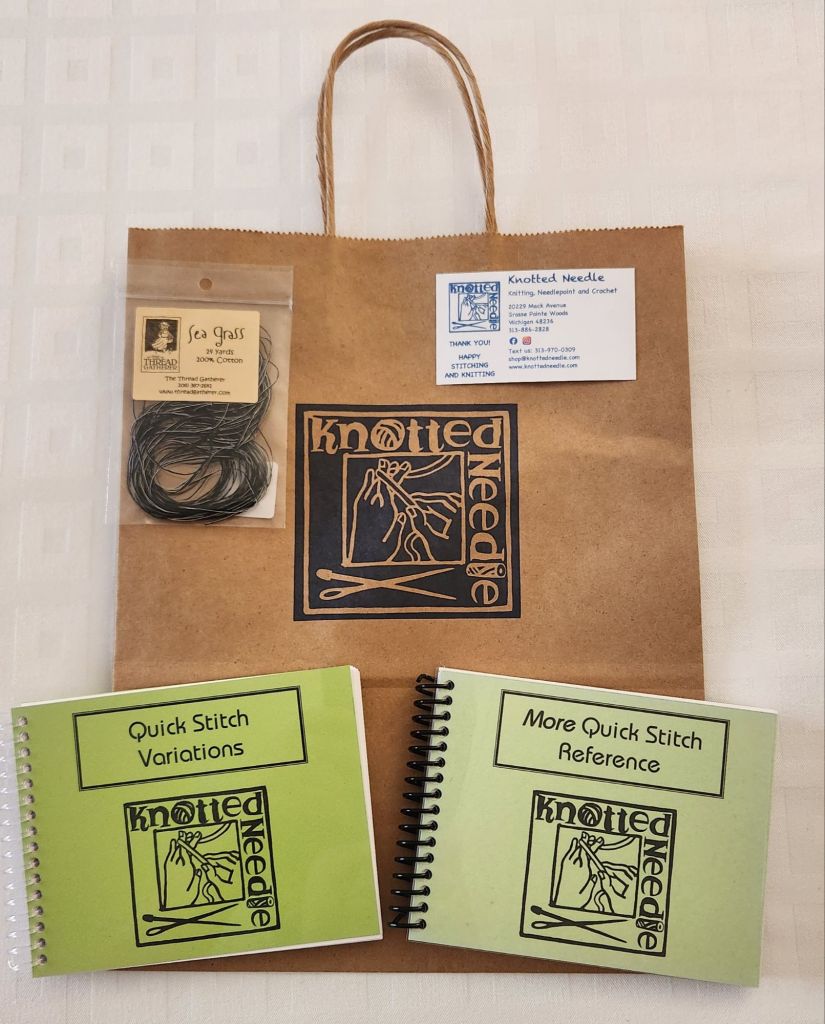
Becky, the owner of Knotted Needle showed me around her store. The rooms are huge and filled with all sorts of goodies! She’s getting ready to display the new Radiance Metallics, adding to her 135 lines of threads. These photos don’t show the yarns for knitting, tables up front for casual stitchers to sit around, or the back room with more goodies and 2 more tables for classes! There is a finisher, the Finishing Fairy, Amanda Metes teaching there this weekend, and Julia Snyder in July.
I couldn’t resist the 2 books (more details another time), and I will definitely use The Thread Gatherer, Sea Grass, Tuxedo for my class piece. The thread stock listed online is accurate to the quantity available when you order it. A nice feature.
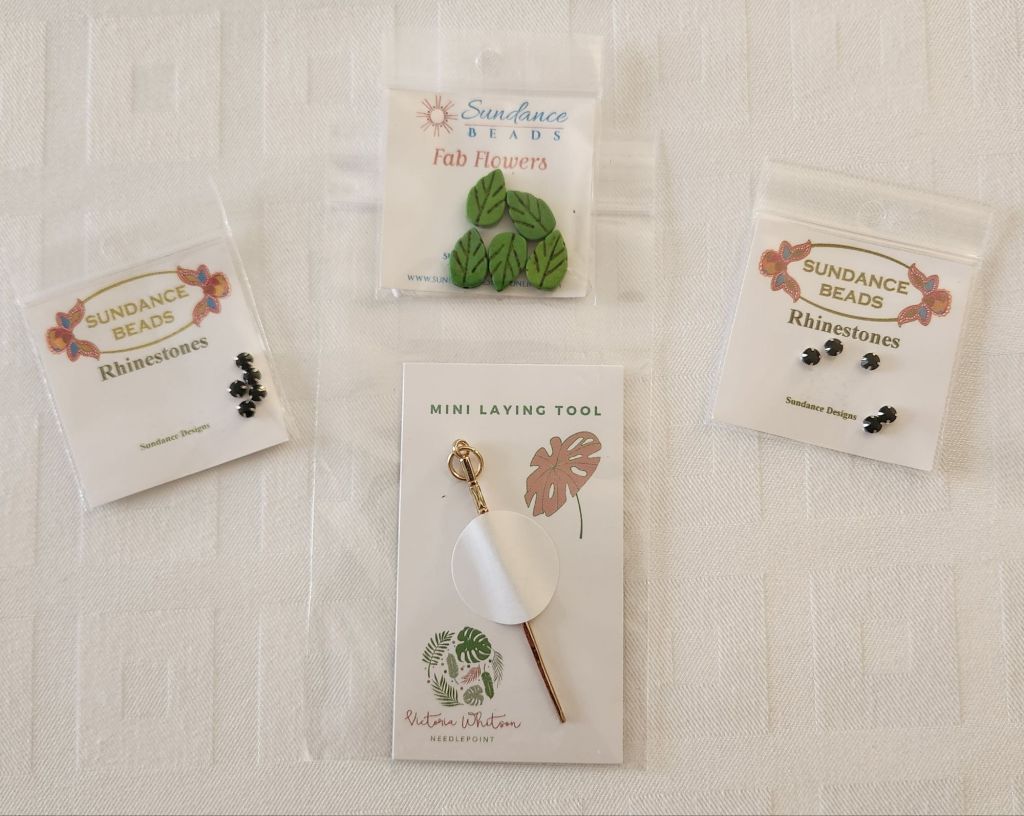
The women at The Wool and the Floss were all busy getting busy for their grand opening Saturday. They moved recently to this cute store. I hope to fit those embellishments onto my design too. And, I had to have a tiny laying tool!
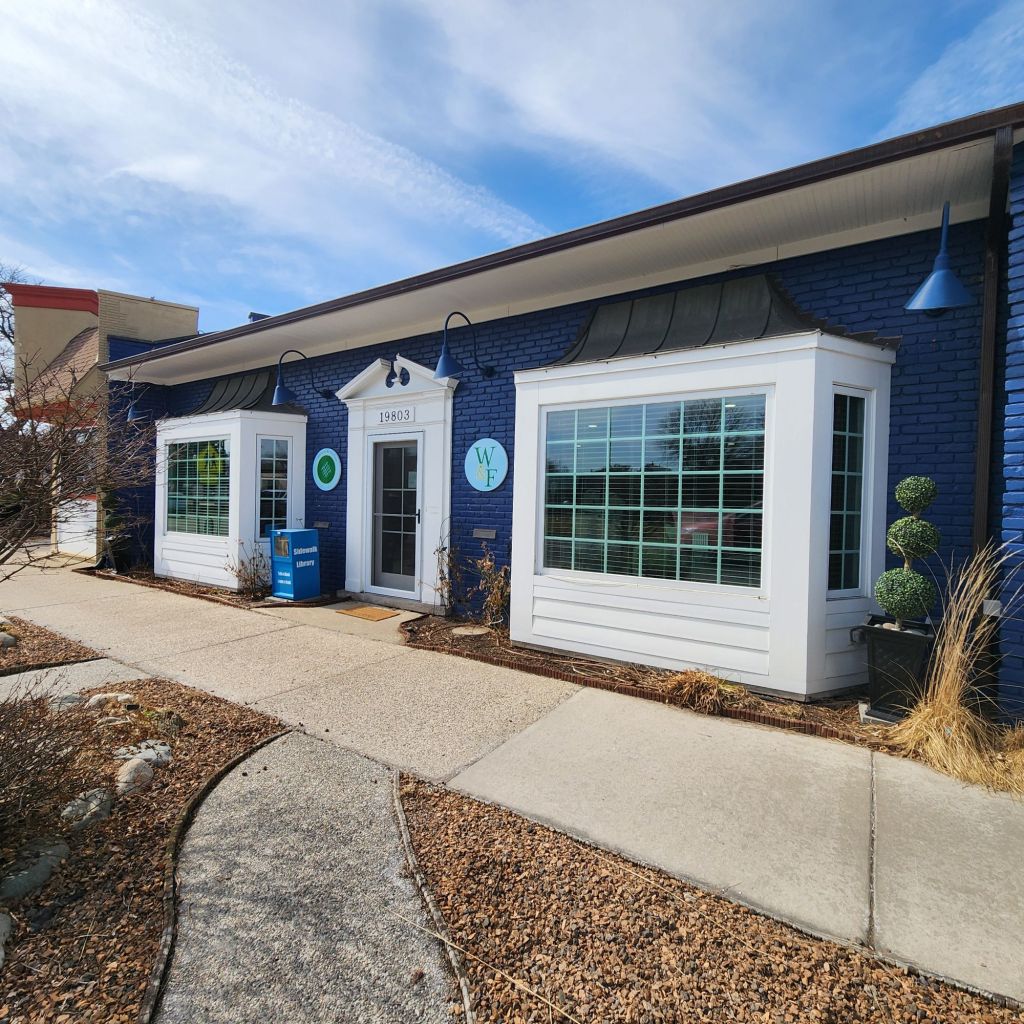
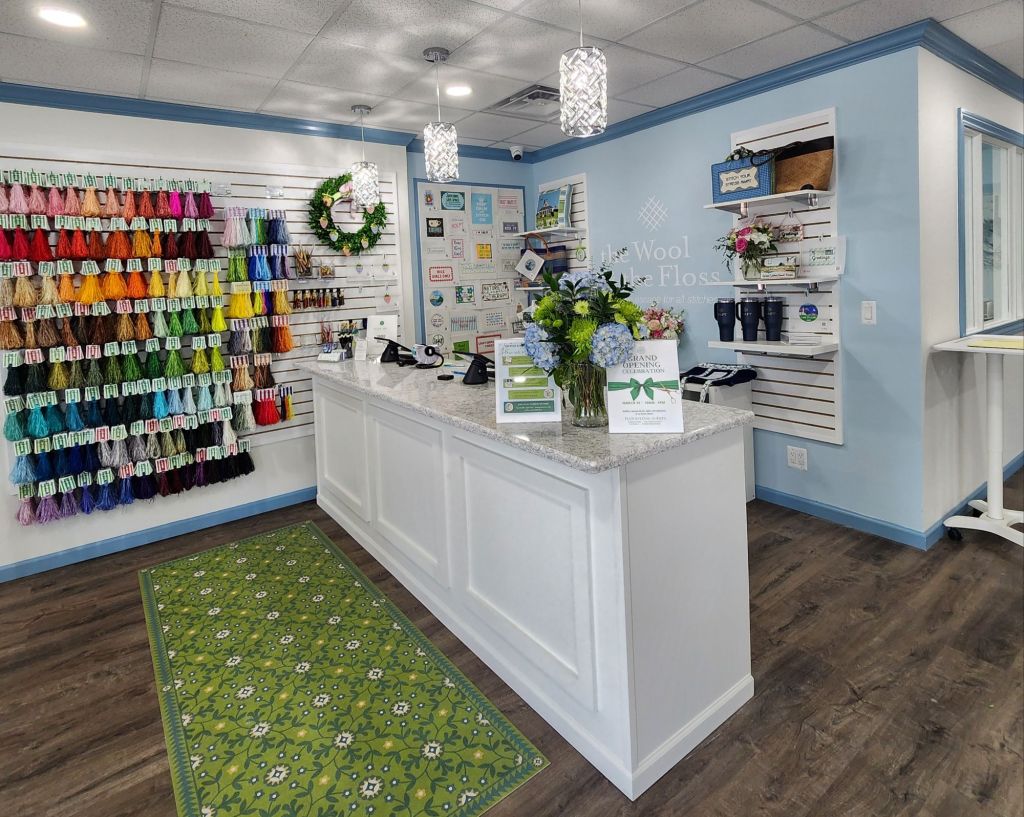
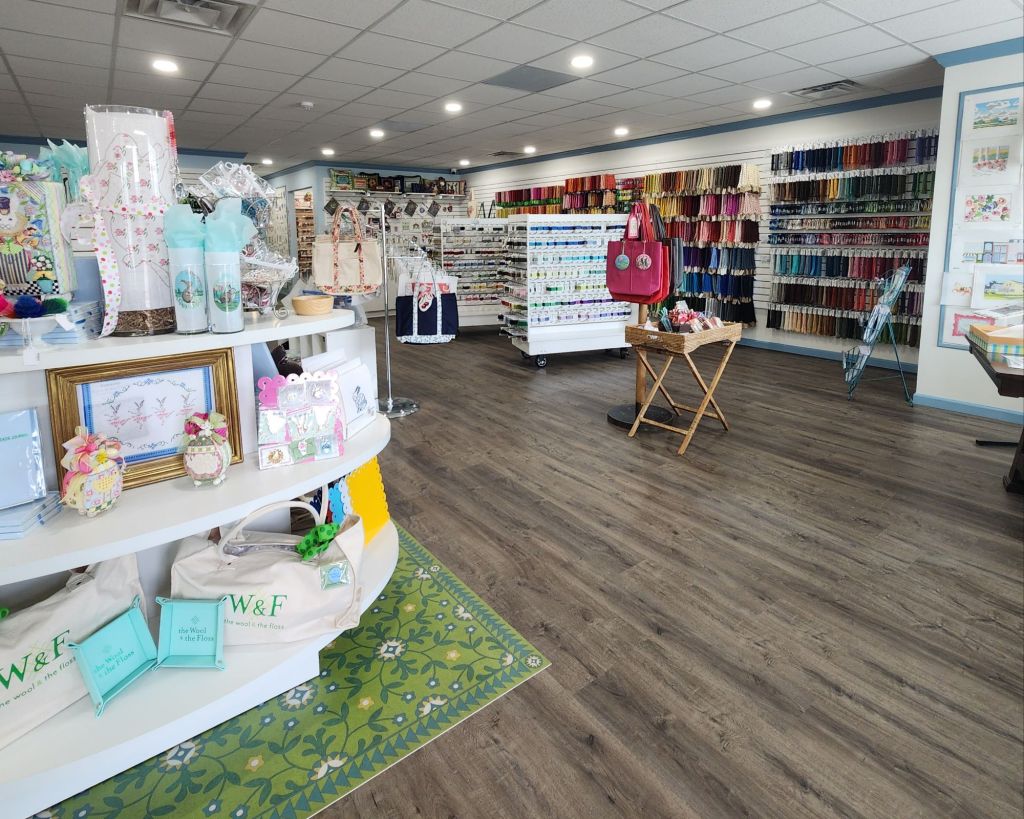
The area is lucky to have both stores!
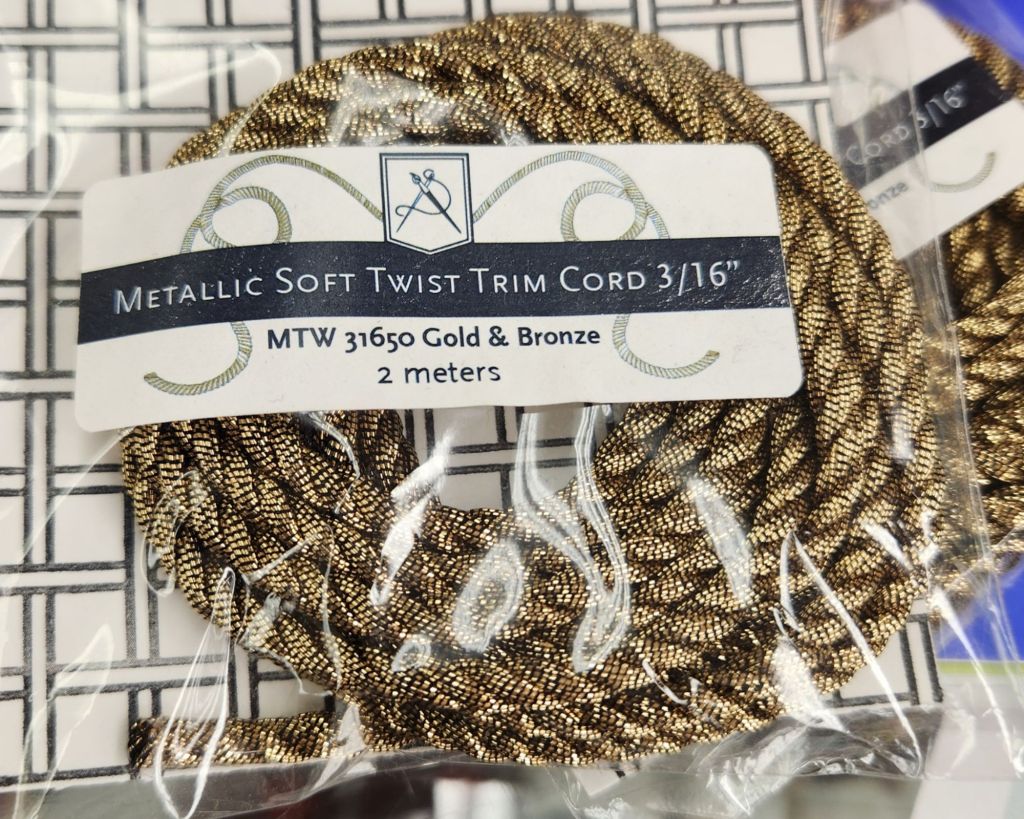
This thread will make great cording for finishing. I have it in red for my heart. Fireside Stitchery carries the thread as well.
We enjoyed a few hours in The Rock and Roll of Fame before arriving a day and a half early to get acclimated to the area (Troy, MI) where the annual National Academy of Needlearts Assembly for Embroiderers occurs.
We checked in, and I got my registration package. I bought the special 40th Ruby Anniversary needleminder/magnet (love Accoutrements Designs, Mag Friends). I am new to NAN and one of 21 “First-Timers.” There are around 100 attendees.
My husband and I went to PF Changs (love their chicken lettuce wraps) and then strolled around the “rich” side of the Somerset Collection Mall! Wow. One store was serving drinks to their shoppers.
I happened to see a window display and knew it’s the one for my class with Dawn Donnelly, Project Runway! I probably should not blog about this design since Dawn is encouraging us to submit it to the exhibit next year. But, it is more “whimsy” than what you would normally see me do. But, that’s what I like about class, it’s about trying new things.
The Needlework and Textile Guild of Media meet in the Media Bourough Hall in Media, PA on the 2nd Tuesday at 7 pm.
Back in November, Karen showed us how to add beaded fringe. Tuesday night, she showed us a different way than before. I also played with the spacing on the diagonal row.
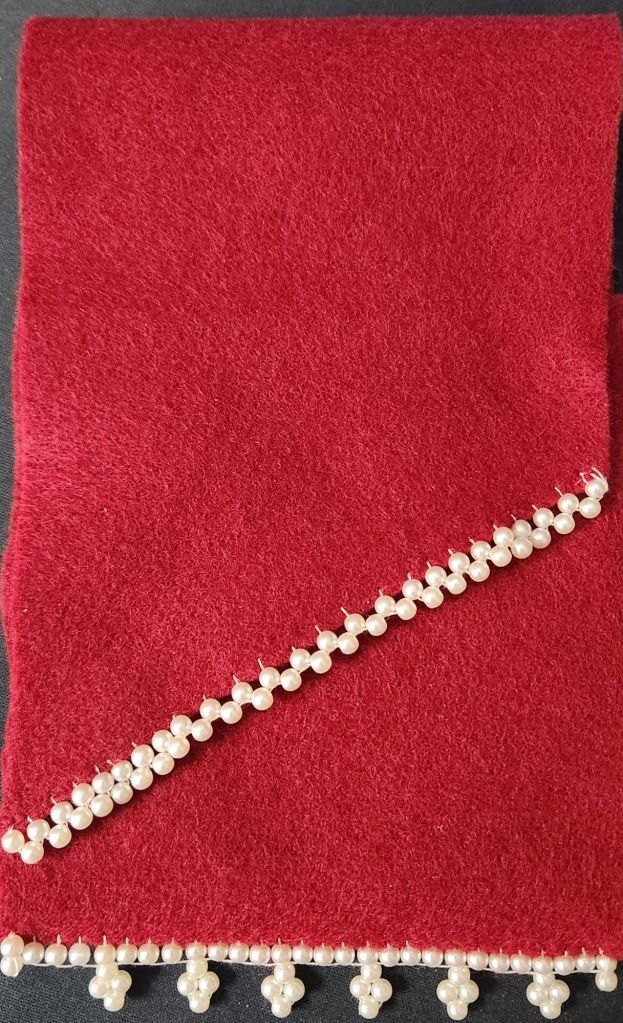
Sally and I were surprised that the thread lays on the outer portion of the 3 side by side beads. But that’s what the pattern calls for.
