Filed under: An Introduction to Embroidery by Anna Griffiths, Books in My Library, Embroidery Books
An Introduction to Embroidery by Anna Griffiths.
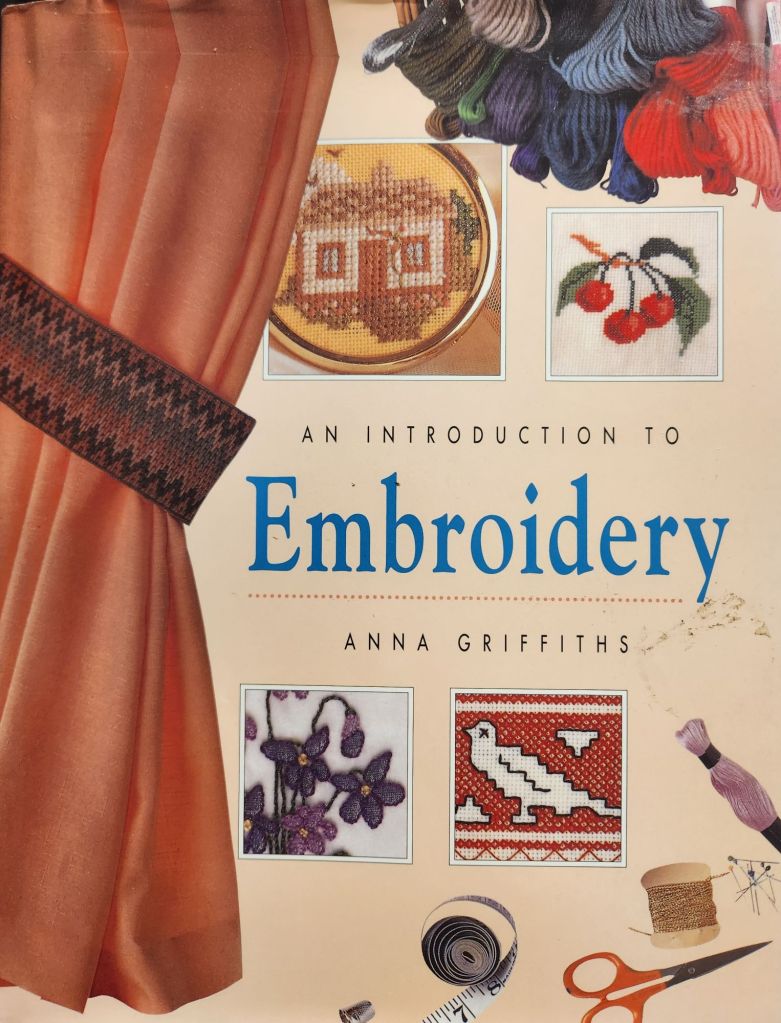

Anna covers canvaswork (a form of embroidery which covers the canvas), free embroidery (lack of restriction), and counted thread embroidery (executed on evenweave fabric).
All photos are in color. Some stitches are provided.
The free embroidery is more relatable than in Design in Embroidery by Kathleen Whyte. Other forms of needlework are covered, including crewel, shadow work (reminds me of the use of negative space to create images), cross stitch (I wonder why cross stitch charts place the colors in the holes on graph paper), blackwork and Assisi (also may use negative space).
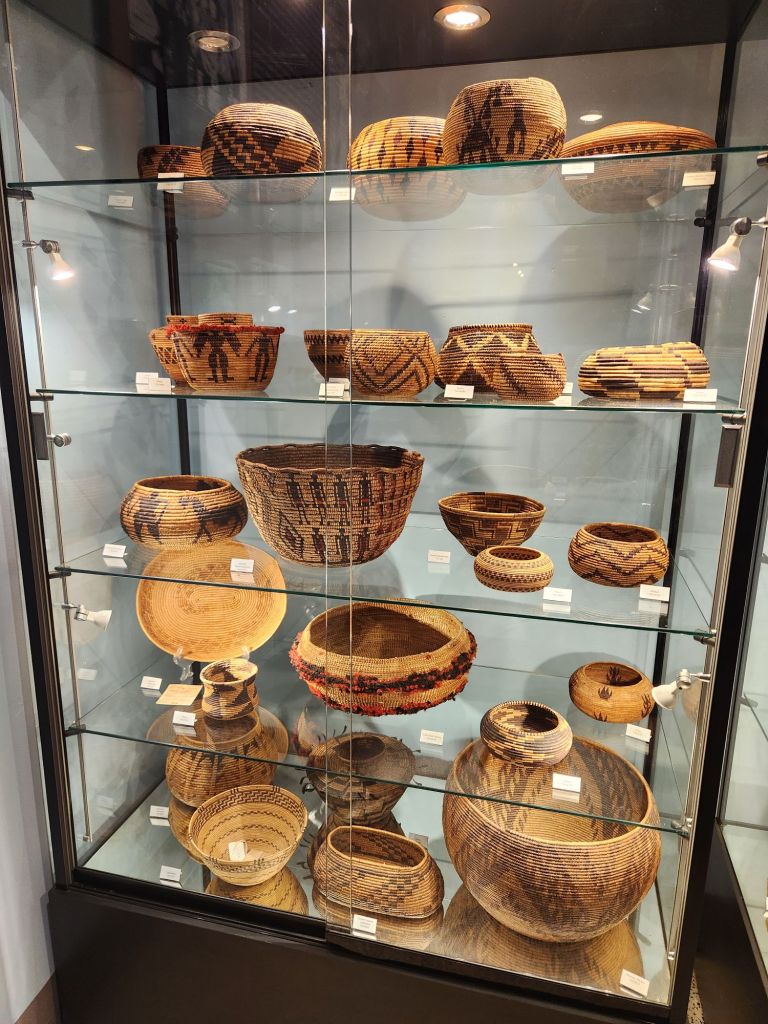
Showing how an old vase inspired a design is one of my favorite examples. I’ve taken tons of photos of vases and baskets with the idea of doing an adaptation in needlepoint.

Filed under: Books in My Library, Embroidery Books, Embroidery Stitches by Readers Digest
Complete Guide to Embroidery Stitches by Readers Digest


The book is small at 6.5″ x 8.5″ and is a hardcover. It has normal binding, but pages stay open quite well. There are 2 stitches per page (embroidery and canvas stitches are provided).
The stitched sample photos are all in color, the diagrams are in color, and the stitching order is provided. But, each stitch has verbal descriptions that somehow seem tedious. Although, if the stitch was new to me or difficult, the text would probably be useful.
The price was right (marked down from $23)!
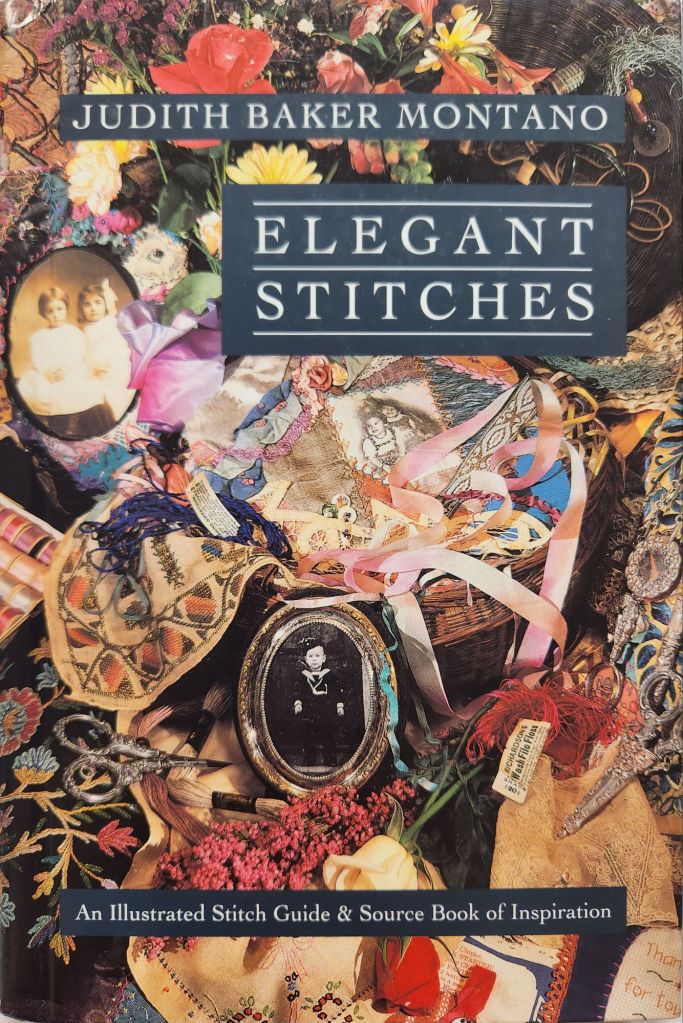
Filed under: Books in My Library, Elegant Stitches by Judith Baker Montano, Embroidery Books
If I could keep only one embroidery book, it would be Elegant Stitches by Judith Baker Montano for many reasons.
The stitch diagrams are easy to follow. It’s a small book at 6″ x 8.5″ with hard covers on front and back but has rings, so pages flip and stay open.
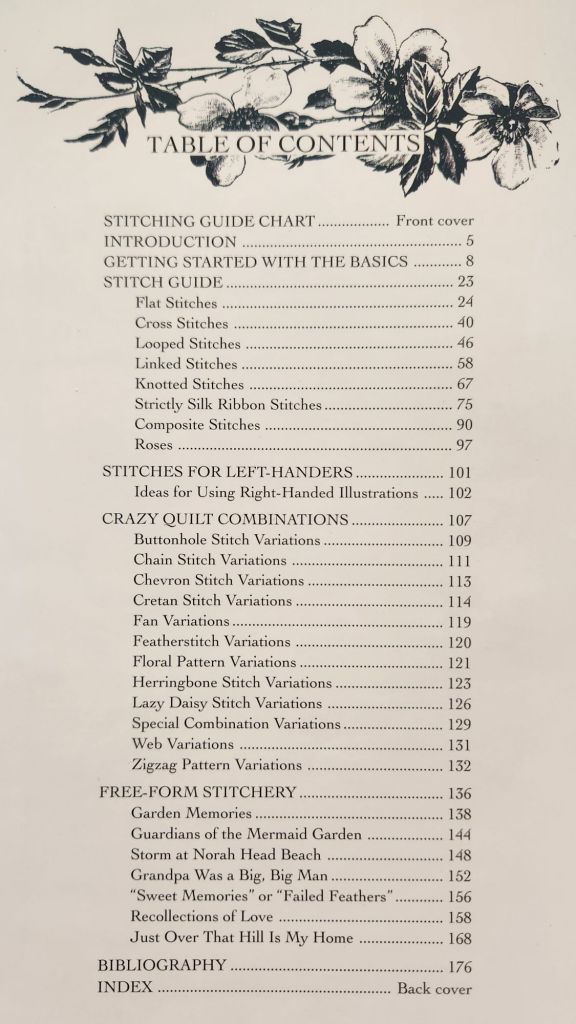
There is the creativity she displays by combining stitches in the Crazy Quilt Combinations and in her realistic Free-Form Stitchery section.
And, she discusses how a photo turned into a colored picture and then into a stitched interpretation.
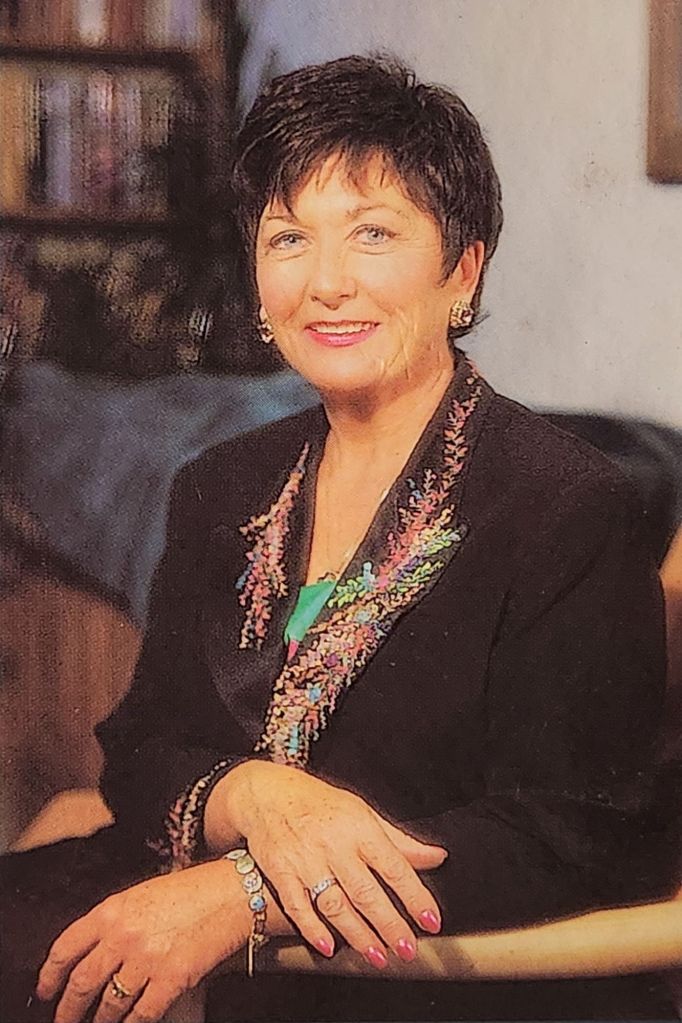
Judith looks elegant in a stunning black jacket that she probably embroidered herself.
Filed under: Books in My Library, Embroidery Books, Embroidery by Kathleen Whyte
Design in Embroidery by Kathleen Whyte


There are some color photos but mostly black and white ones.
This is not a stitch dictionary, although several stitches are discussed. Exercises are suggested to experiment with threads, stitches, colors, and textures.
This is more embroidery related, but canvaswork and drawn work are discussed.
Kathleen focuses on elements of a design with the most examples of free-form abstract pieces. The design on the cover is the most appealing one to me.
Ellen of Serendipity gave a lesson on Chottie’s Plaid yesterday. I left our ANG Main Line Stitchers chapter Stitch-in an hour early to listen to the talk. Ellen focused on a simple pattern to teach the ones that never heard of it before.
I’ve done the reversible birthday plaid for Bill and I with areas up to 9 wide and 7 number combinations. So, it has to be a decent space to get at least 3 repeats.
Ellen got me thinking about a smaller, simpler plaid. Can you see what’s my small sett (the sequence and number of coloured threads which produces that tartan’s distinct look when woven in criss-crossing vertical and horizontal stripes)?
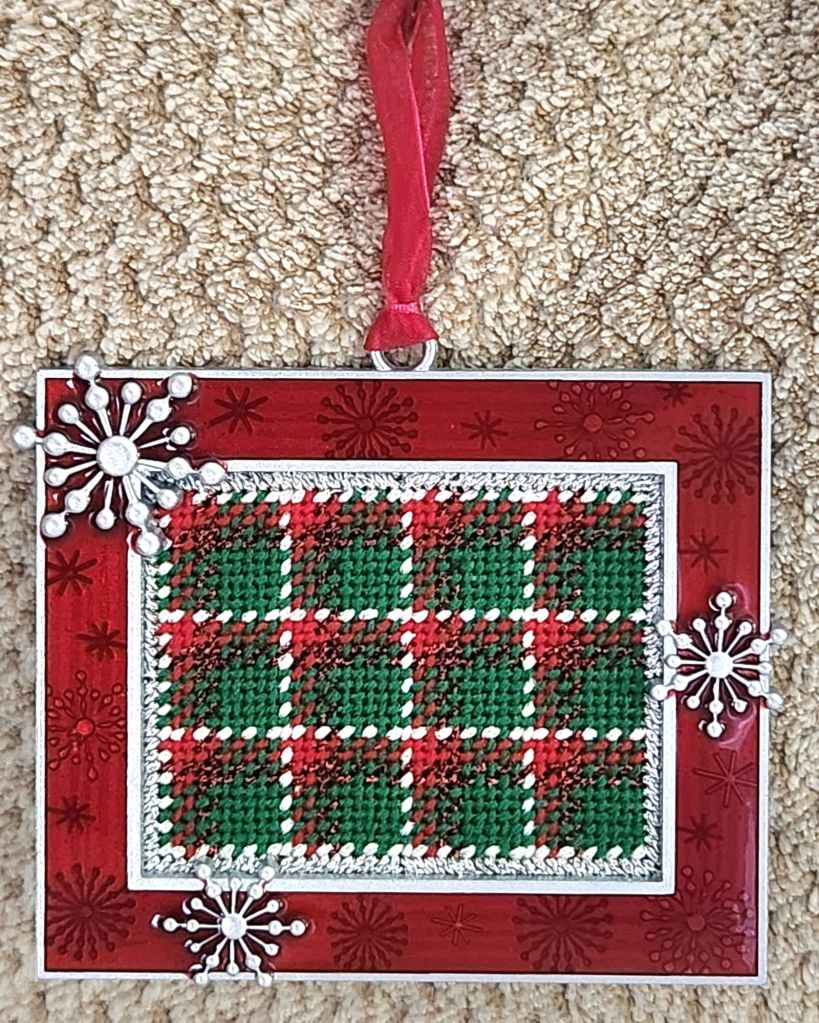
The colors may have given it away. Do you know now? It’s 12 25 in white (1 row of Silk Lame Braid for 18 count), red (2 rows each of Bella Lusso and Kreink Braid #8, and green (5 rows of Bella Lusso). I outlined in a silver Kreinik (#8 would have been better than #12 but 12 works) over 2 rows in a diagonal gobelin in order to place the canvas under the edge of the frame. I cut the canvas right up to the stitched edges.
It was easy to stitch up and the perfect piece as I watched Game 2 of the World Series last night. It looks like Christmas windows to me. Each year, Michael’s has the cutest little frames that can hold a small piece of canvas. I have 2 more (rounds) from last year’s batch to stitch up.
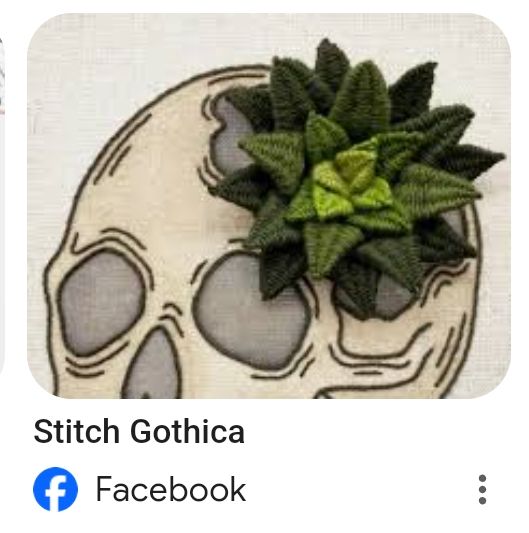
Something from Stitch Gothica (.com) must have popped up on my Facebook feed. It was probably Scarlett’s The Bug Collectors Case because I am working on a butterfly. What really grabbed me, though, was her succulent (minus the skull). I’m not into Gothic, but her work is excellent. She’s in London, England.
I signed on for the 10-day free trial and will stay with her for a while anyway. For $20/month, I am enjoying her enthusiasm and creativity.
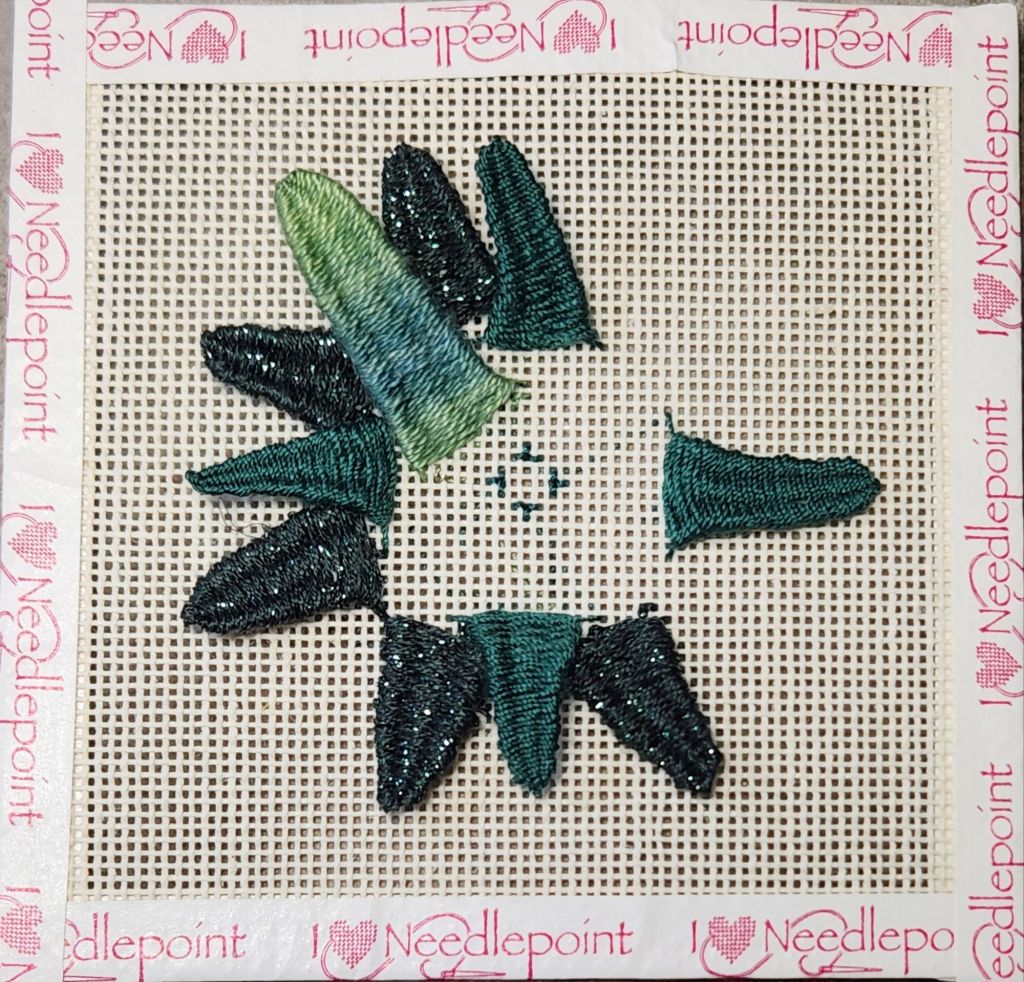
It is designed for embroidery fabrics using floss, but detached woven picot stitch should work on 18 count canvas. So, I am trying it out with different threads, including Wildflowers, Silk Lame Braid for 18 count, and Elegance in this attempt.
My first attempt isn’t terrible, but several are not straight or won’t stay curved nicely. I came up with a modification to her instructions and technique. So, I will restart over on another piece of canvas.
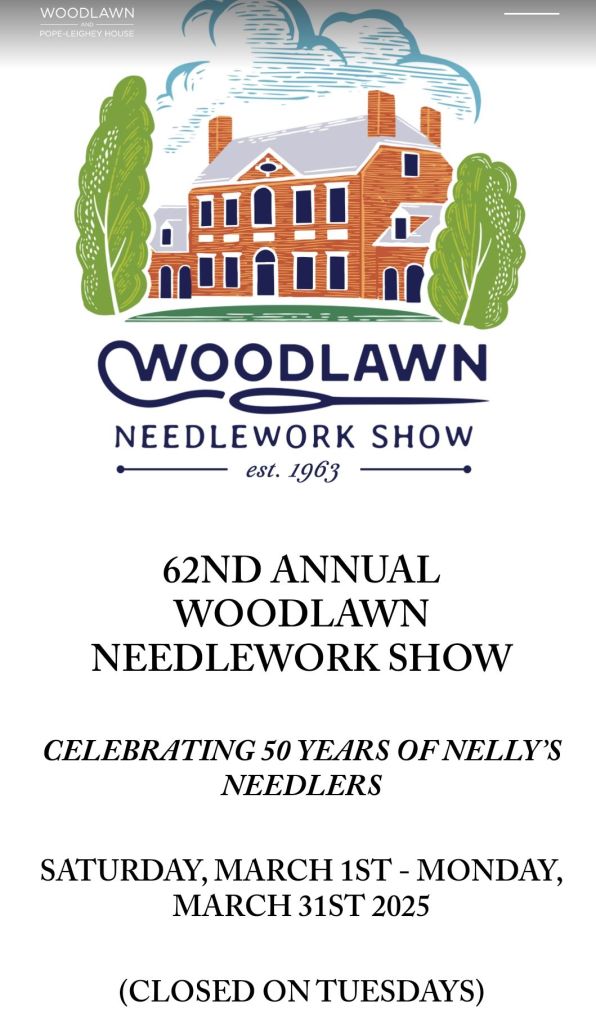
Woodlawn and Nelly’s Needlers are preparing for the 62nd Needlework Exhibit which is their 50th Anniversary exhibit. They’re trying to get participants from all 50 states! It’s a must see. I have my piece ready.
Read all about it at https://www.woodlawnpopeleighey.org/nwshow25
Filed under: Canvas Master Craftsman Program, Embroidery Guild of America, Fireside Stitchery, Needlepoint Shops, Step 6
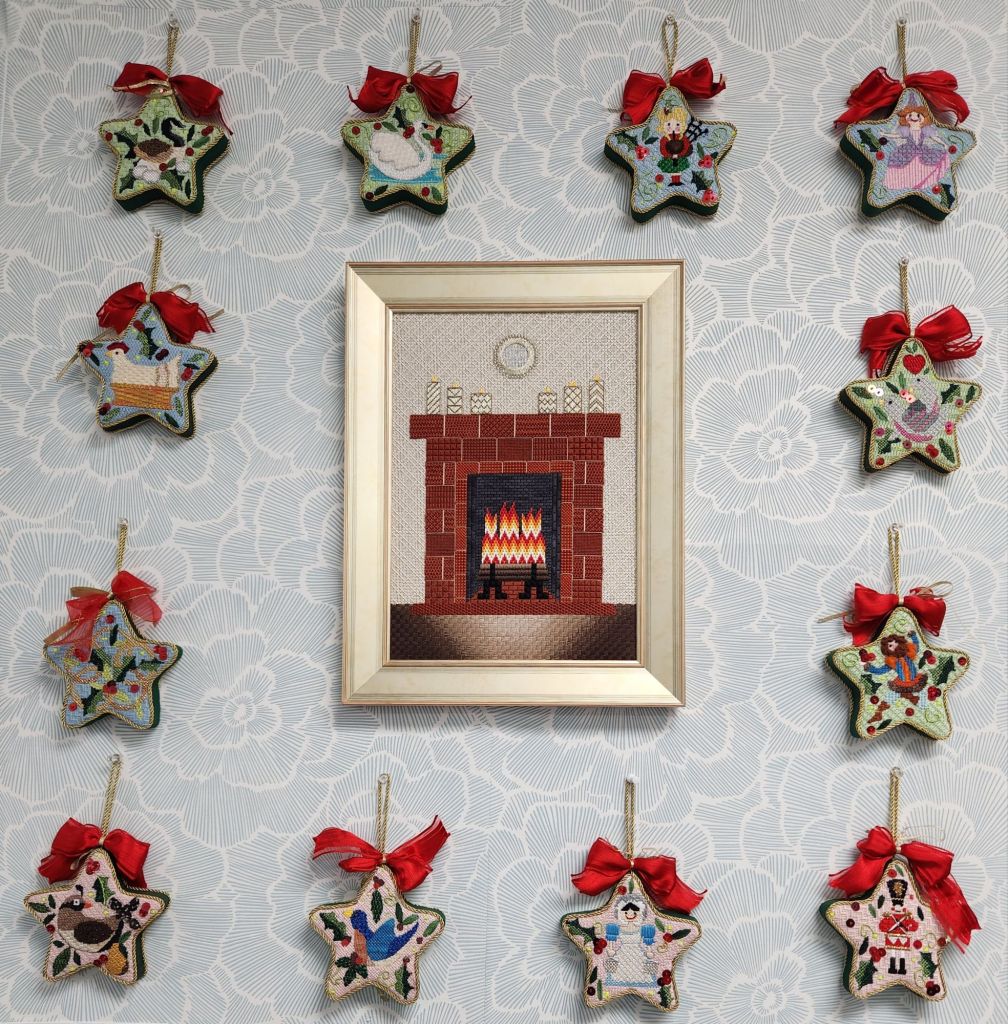
I love where they decided to place my Fireside Sampler inside Fireside Stitchery! It’s inside the front desk area displayed with a lovely set of ornaments. Lynn wants to get a fireplace, but in the meantime . . .
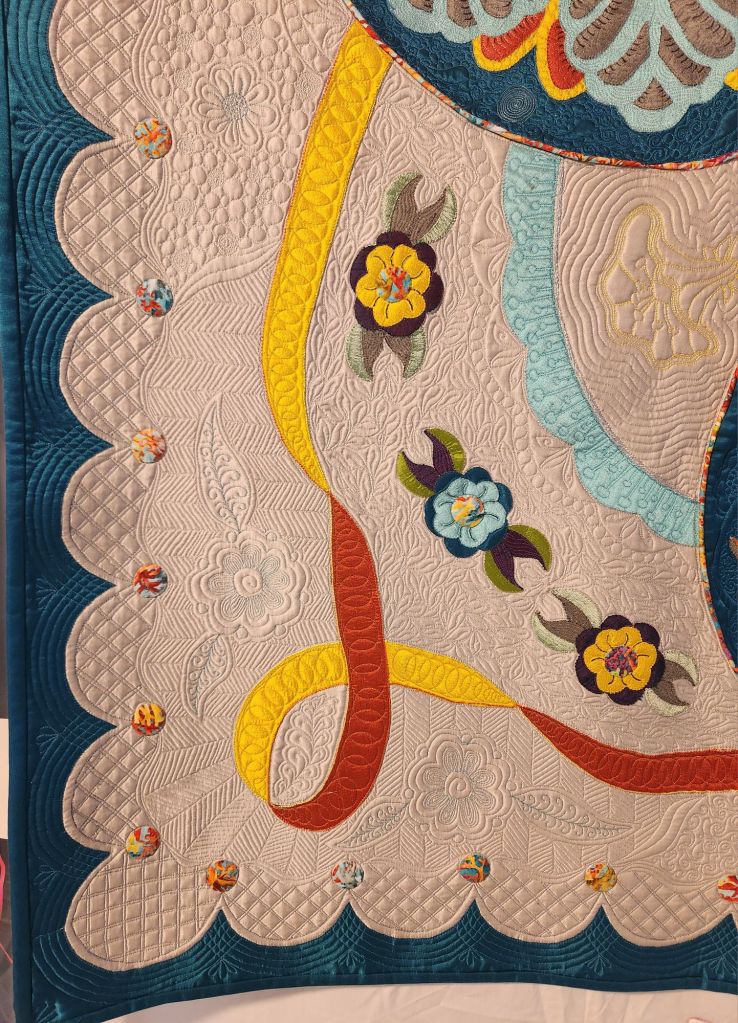
I got to see it hanging today after visiting the Valley Forge Quilt Show which was spectacular as always. I didn’t ask for permission to post any of the quilts, but I think i can post a part of Becky’s quilt to show off her talents, particularly noting the machine quilting she did herself. Stunning. Such a talented group of quilters. Very inspirational. And, they are excellent bakers as well. I got a few goodies!
Stephanie, of Spellbound Stitchery (.com), designed and taught a painting class at Fireside Stitchery today. She’s a lovely young woman, and I wish her all the best as she grows her line of canvases.

In just 2 hours, we painted our Philly Pretzel designed by Stephanie. It is small at 2.25″ square.
I didn’t count right to start off! I got the center marked without issue but then must have double counted the center when I marked off the 40 x 40 area.
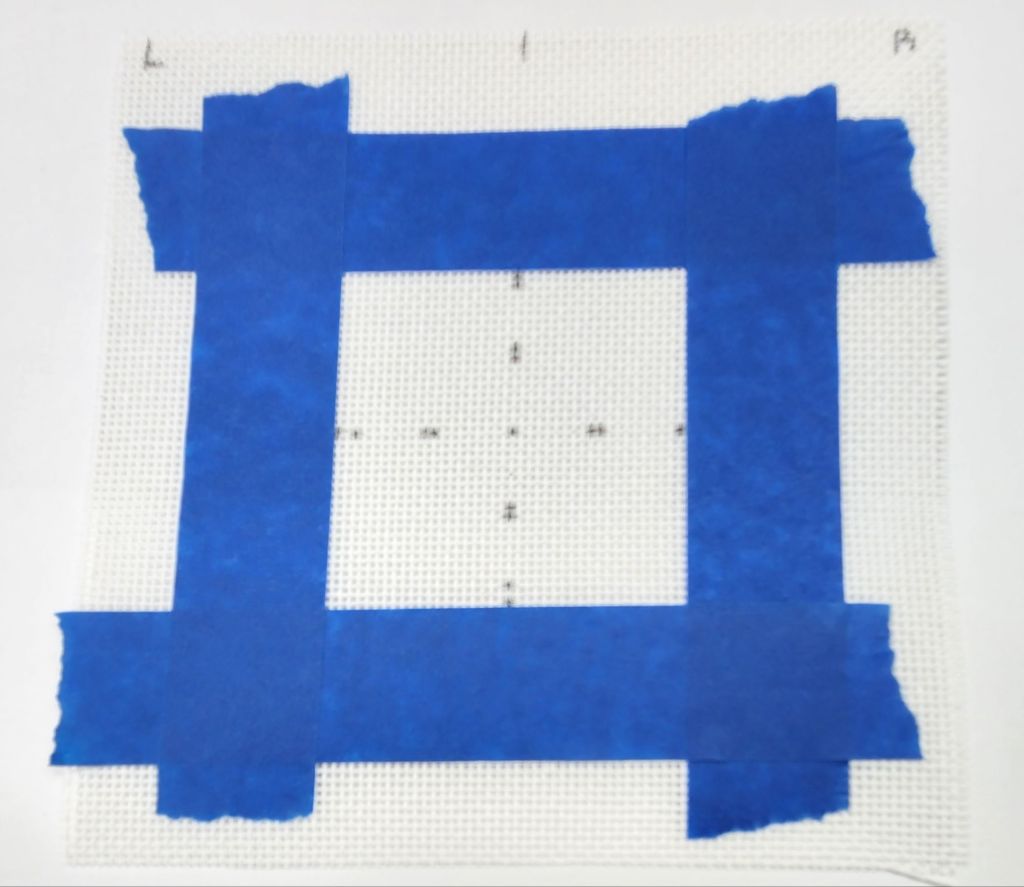
Stephanie said to go slow as we counted out the border, and I should have gone slower. Stephanie found my error & I covered the spots with white and repainted them in the proper brown. Cute little design.
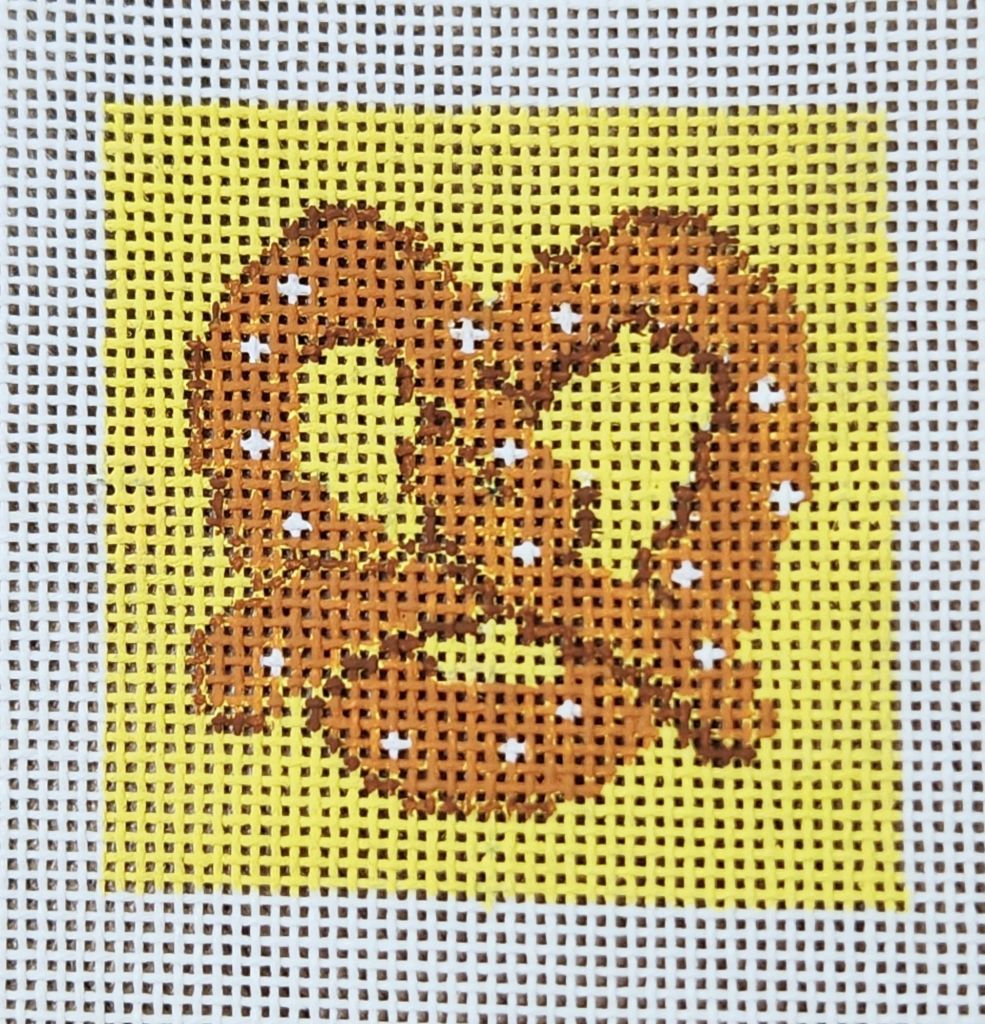
I’d like to paint a second one at home in a quiet setting. There were 2 tables of 8 at each table! I can see where my painting is less than professional, but it gets stitched over anyway. So, that makes me think I should just stitch it from the cross-stitch grid provided. But her tips on painting from a grid make sense, and class was fun. Two of my ANG Main Line Stitchers chapter members were in the afternoon class, at least one member in the morning class, and one past member came over to say hello.
For the 2024 ANG Seminar exhibit in the Original Design category, I sent in my Fireside Sampler created for Step 6 of the EGA Master Craftsman in Canvas. But the ANG judges moved it to from the Original Design category to the Adaptation category because my artist statement included a photo and description of how I revised my 20-year old design. The second one is considered an adaptation of the first one. Had the original design not been mentioned, it would have remained in the Original Design category.
It is my second year being in the professional category. It did not get a ribbon from the ANG Seminar judges (it had gotten a 3rd place ribbon from Woodlawn judges). It scored well enough.
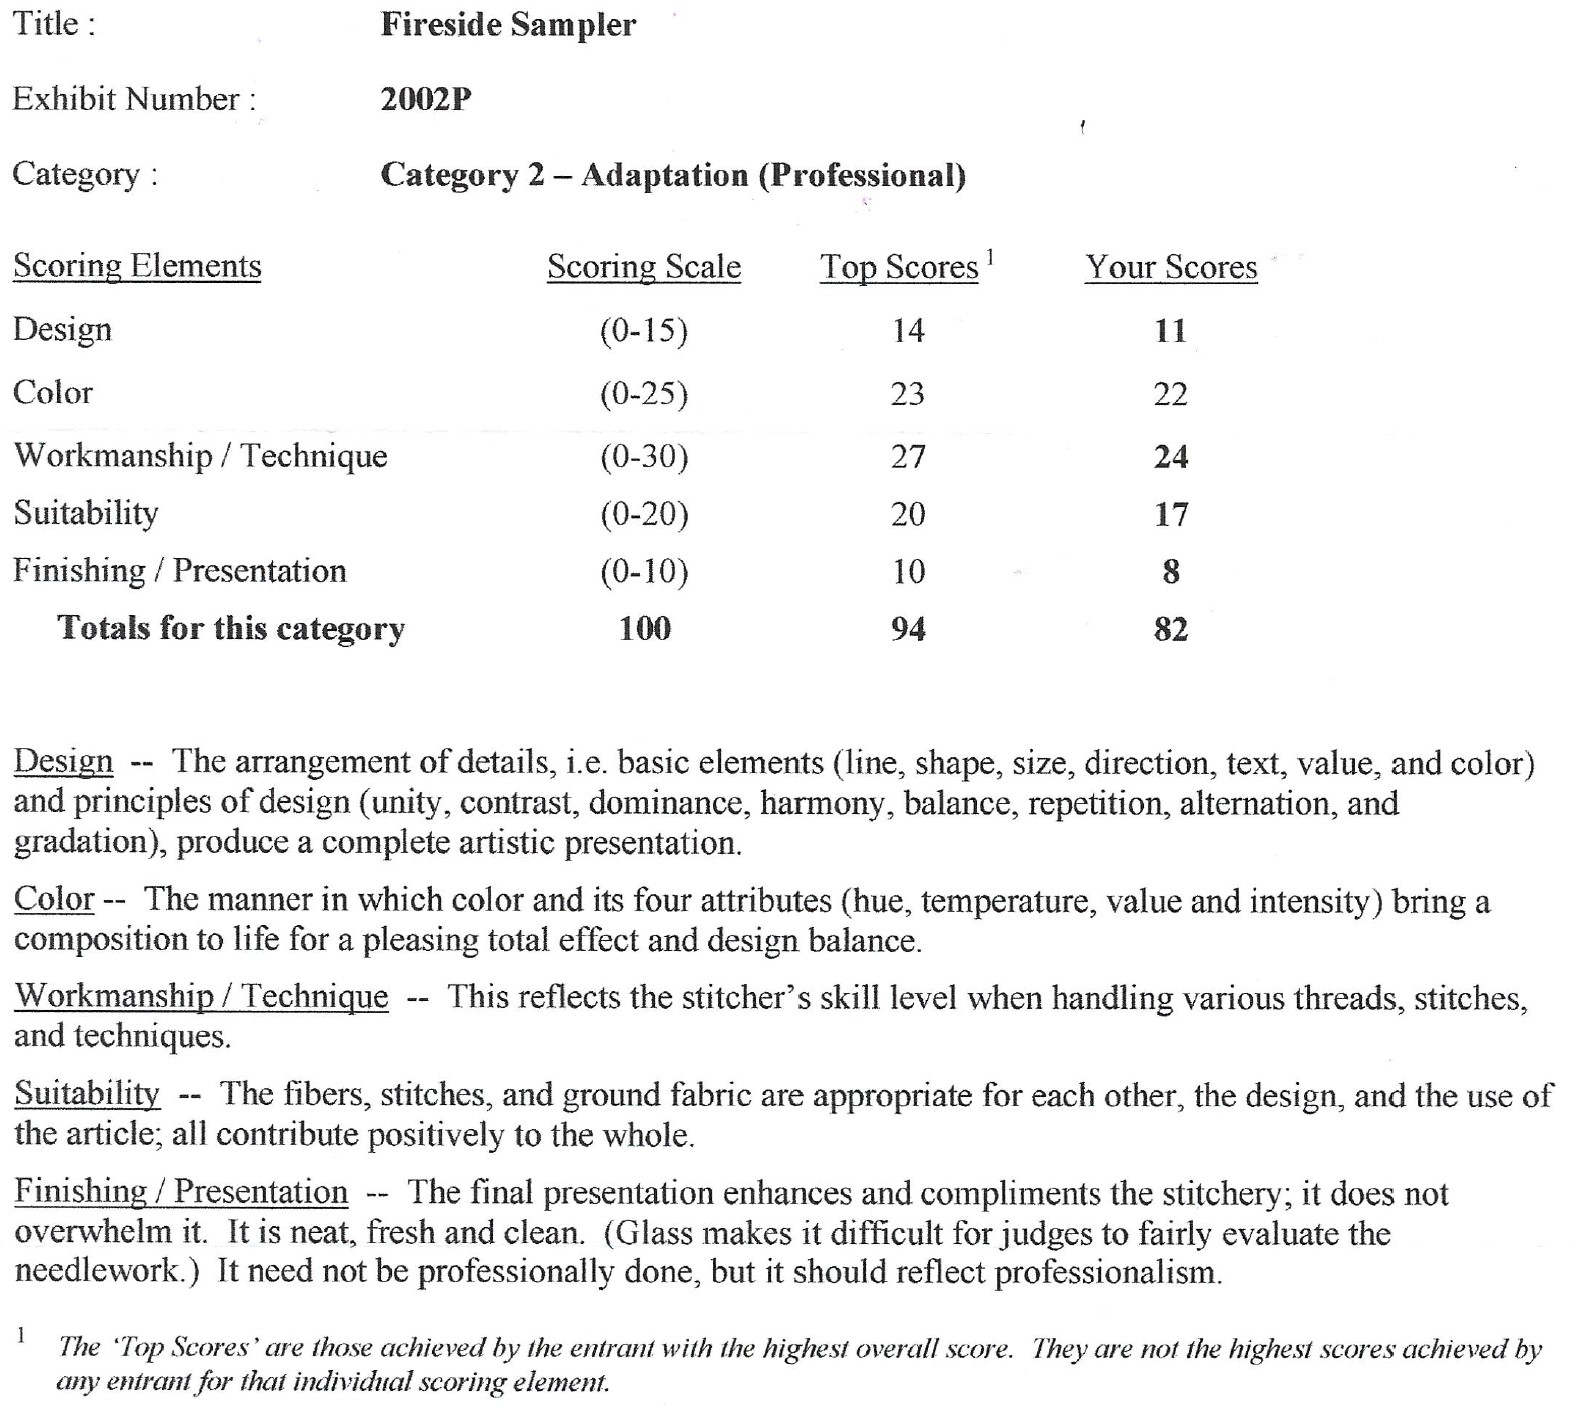
The score that is particularly confusing is for Workmanship/Technique because I lost 6 points while the critique has no negative comments regarding this area. It states: “The brick work in the fireplace surround shows immaculate thread control. This indicates a full understanding of the stitches chosen, thread pull while working each area, and control of stitch tension. The inner fireplace bricks and andirons are also finely worked, and the satin stitches creating the logs are even in both tension and thread twist maintenance. The long stitches used for mortar between individual bricks are well controlled. There are no loose or sagging stitches in this area.” So, why did I lose 6 points? It makes no sense.
There was no comment on why Finishing/Presentation lost 2 points. I’m just curious.
I can agree that the size ratio of the mirror is small compared to the size of the candles. I’ll also agree that the flames are very intense and a slight change in temperature of the flames would have added a more realistic appearance to the design. However, I can’t see that because the bottom flame row is very symmetrical, it detracts from the effort taken to add interest in the top row.
I was really pleased to see the judge felt it was a well-written artist’s statement and helped them understand just how much thought went into improving upon the original work and the efforts taken to create depth perspective on a flat surface.
And, I was happy to read, “I commend your thread blending efforts on the rug . . the result is worth the time and effort. Well done.” Again, a positive for Workmanship/Technique.
Once again, here is my Fireside Sampler.
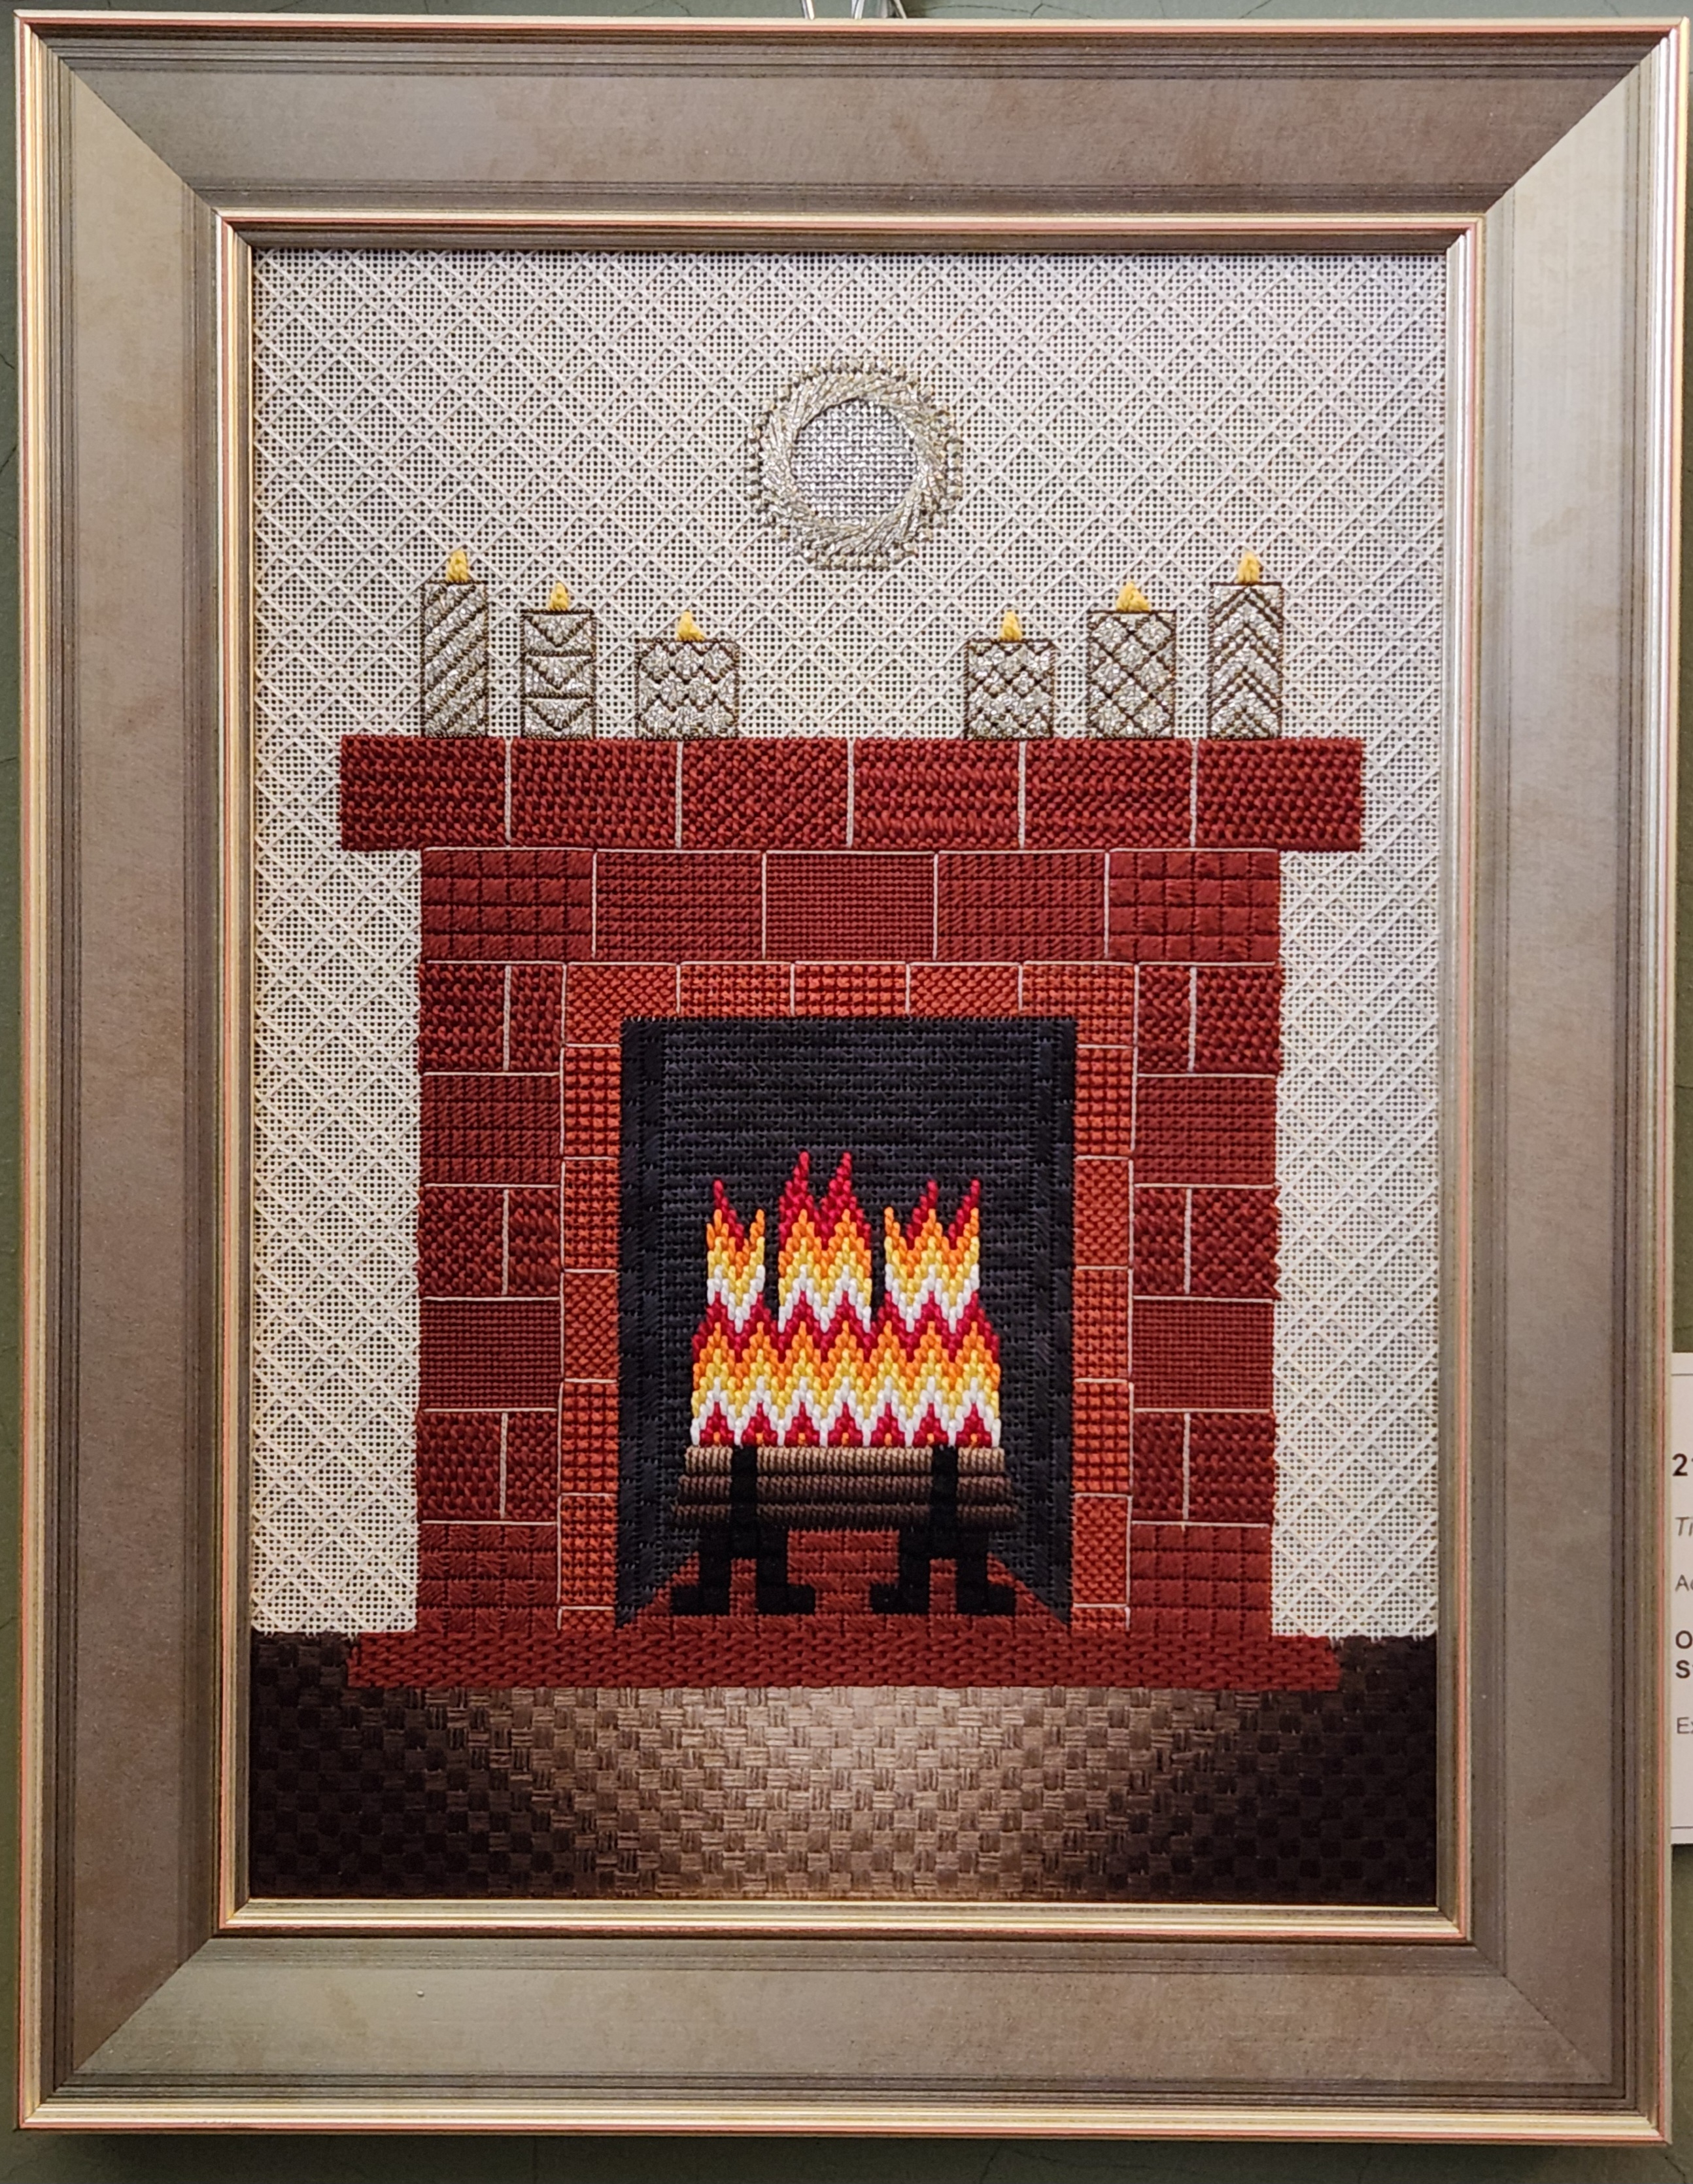
Lynn from Fireside Stitchery has asked to display this in her store. She wanted a fireplace in her store! I just hope nobody wants instructions. It would take a lot of effort. I left it at the store after I discussed this at our Main Line Stitchers chapter meeting.

Filed under: A Spring Sampler, Brandywine Chapter, Embroidery Guild of America, General comments, Needles, Tools
I found this bag at Target (https://www.target.com/p/solid-soft-satchel-handbag-a-new-day-8482-tan/-/A-91898942). It’s 10″ (H) x 15″ x 8″ (D) – perfect for the fall color skinny version of A Spring Sampler. Good price, too ($35). It will hold my battery pack, the Chapter’s eMeet speaker, Chapter business cards, travel tool kit, portable light, and curling iron. I am avoiding glue for this bag.
I needed the needle for leather from my Home Craft Repair kit of needles because the bag is made of polyurethane. I pinned the canvas in place and stitched through the inner lining, but it isn’t puckering too much, and I retained full access to the 2 cell phone pockets on the front inner side. Here’s the top edge attached.
The process of stitching the top in place made me think a thimble and a curved sharp needle would make the sides and bottom easier to stitch through the bag and hopefully not catch the lining. And, at this point, my hand needed a rest, and a trip to Joann’s was needed to get the sharp curved needles because I only have tapestry curved needles.
The curved sharp needles didn’t work well. Leverage was the problem. But, the package came with a small eye, very sharp straight needle. The real improvement came because of the Dritz thimble. What a difference that made.
An aside: In order to find the thimble when I need it again, I am putting the thimble in my Stitch pen/tool cup on top of That Purple Thang by Lynn Graves which I have not used much (if ever). If I get rid of it, I’ll need it!
I was able to pull the lining away on the sides and bottom and push the needle through the front of the polyurethane, angle the needle back to the surface further along the canvas like a running stitch. I didn’t care how far. Some stitches are longer than others but the trim will cover it.
Once all 4 sides were attached, I cut the canvas down to 7 canvas threads wide and attached the trim. I found a 1/2″ wide dark brown flat trim at Joann’s. And, Mandarin Floss M833 was a perfect color match. I decided to catch the polyurethane and canvas periodically as I attached the trim down the center using 2 strands. I pulled out my mini pliers and that helped too.
When Bill and I were in the store looking at different trims, he placed this trim on the needlepoint and folded it around a corner. Before I started, I worked out how to do that on all 4 corners with a short length first. I had to cinch the ends together to stop them from fraying (no glue) and taper them to hide the ends easier.
I went back around a second time with one strand to sew down the outer edge. It probably took me 12 hours altogether since starting this on Thursday. There was some cursing but no bleeding. I didn’t jab my fingers once! I was very careful. That leather needle would have hurt.
The most exciting part is that it’s even at 1.75″ above the bottom edge. It looks good and no glue!