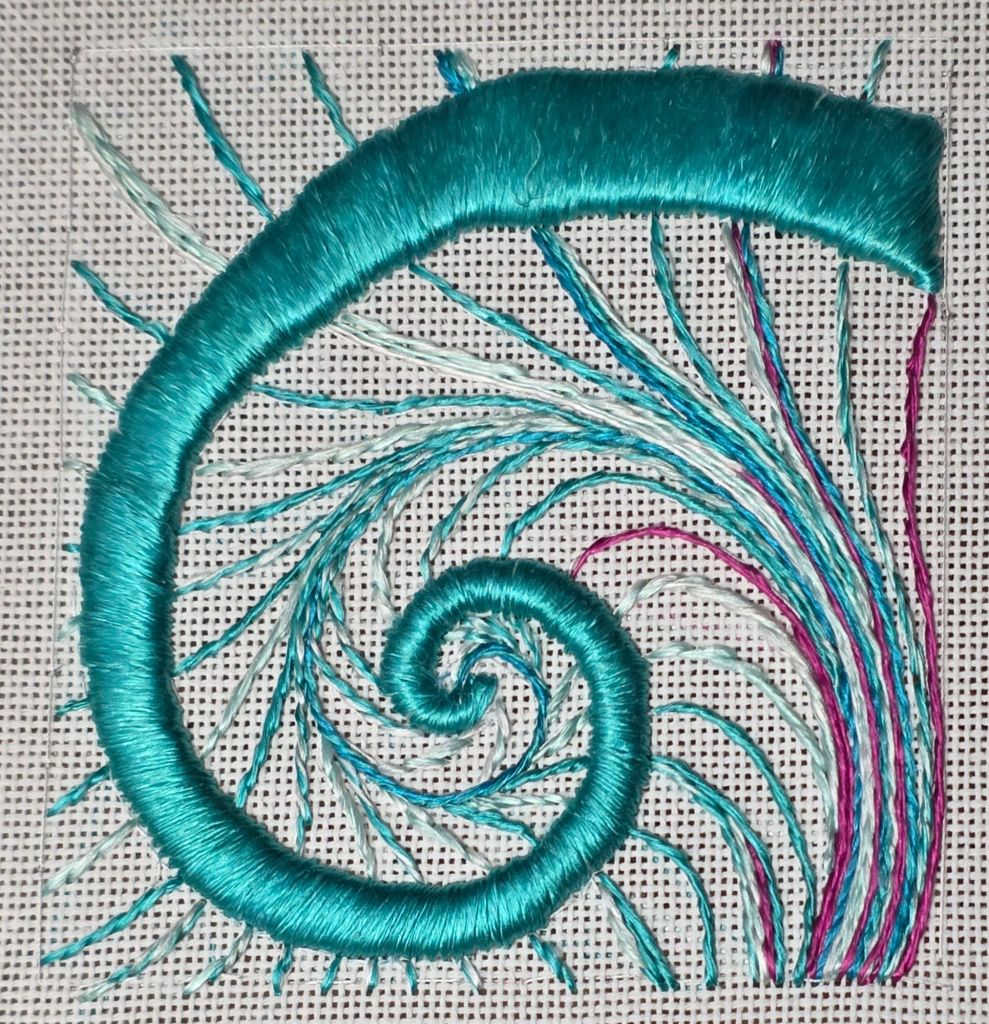
Well, the next part of Nautilus by Kay Stanis involves more separating of Trebizond or Silk Serica. I like using stranded Silk Serica less than Trebizond and I didn’t think that would be possible.
Generally, I try to find something positive to blog about. As a kid, I remember being told, “If you can’t say something nice, don’t say anything at all.” But, I have to warn you not to strand especially when it involves this much silk thread. I had to stitch all the spirals first and will fill in the chamber with 1 or 2 strands in the Outline Stitch battling snags. None have been worse than this one but all are annoying. I’m not using too long lengths either.
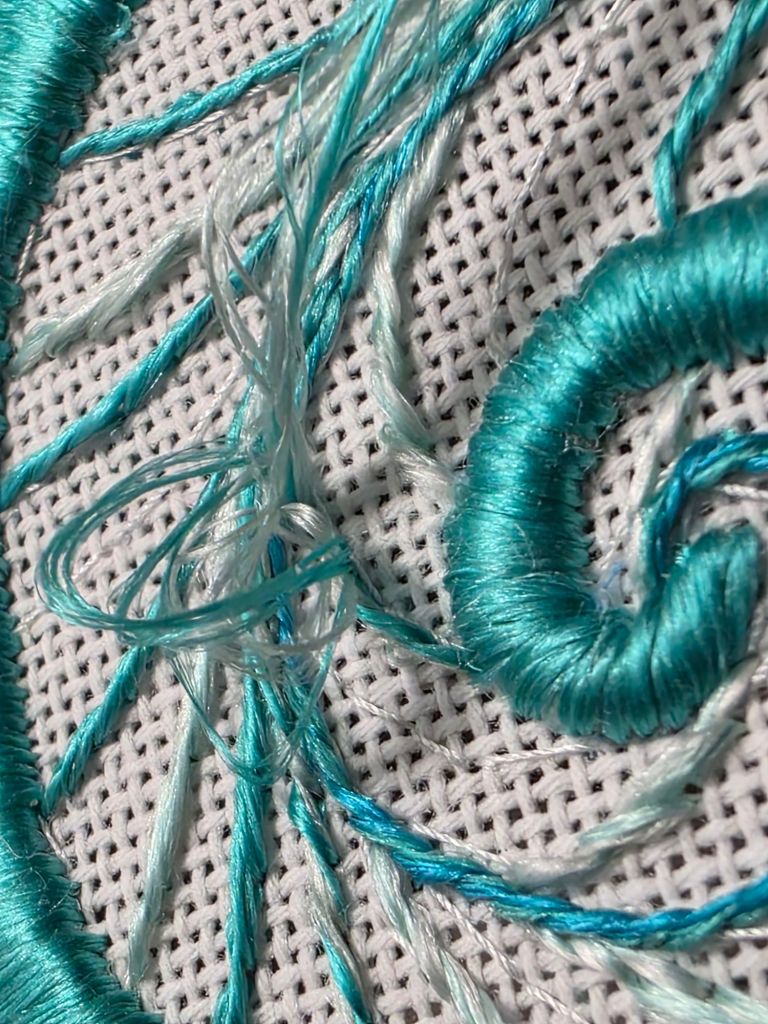
The only positive is that the final piece will be lovely if I can ever fill in the chamber. It feels like I’ll be doing this for days. Two strands cover more but snags more too. I really want to get this stitched in 2025. Fingers crossed!
I have to give it a break to give me time to forget how much I dislike stitching with this thread.
Ruth at Bedecked and Beadazzled just provided the fastest ever order. It started yesterday with an email reply to my query (from 1:25 pm) about whether 18″ Evertites were indeed in stock. Within half an hour, I got a reply they were. Then, since shipping was pricey (UPS shipping rates), I decided to make the most of that and order a few sizes especially since Evertites are getting harder to find (no local store carries them anymore). A second query (at 2:30 pm) to ask what other sizes were available was returned in less than 5 minutes indicating pretty much all sizes are in stock! So, in went my order.
Her receipt email followed immediately and said among other things, “We are filling orders as fast as possible.” but when I thanked her for her prompt replies, I also let her know there was no rush especially since this is Thanksgiving week. So, . . .
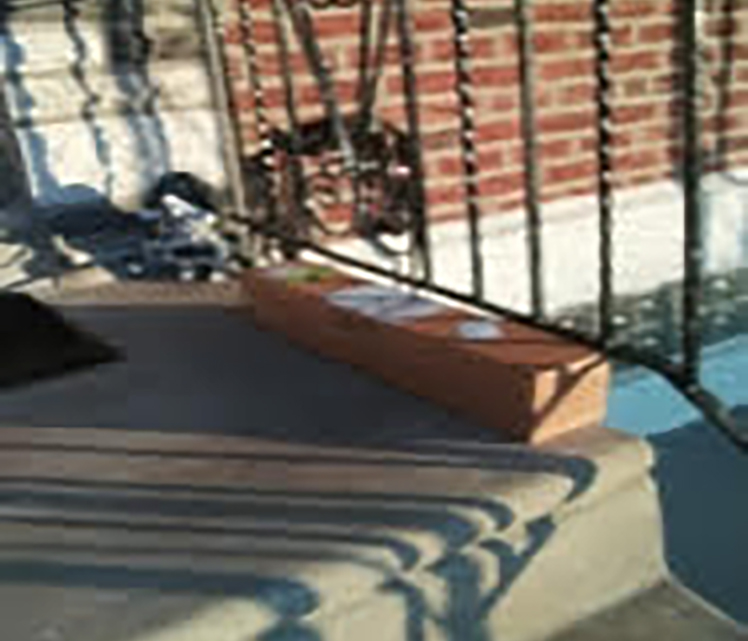
When, what to my wondering eyes should appear (the following day at 4 pm),
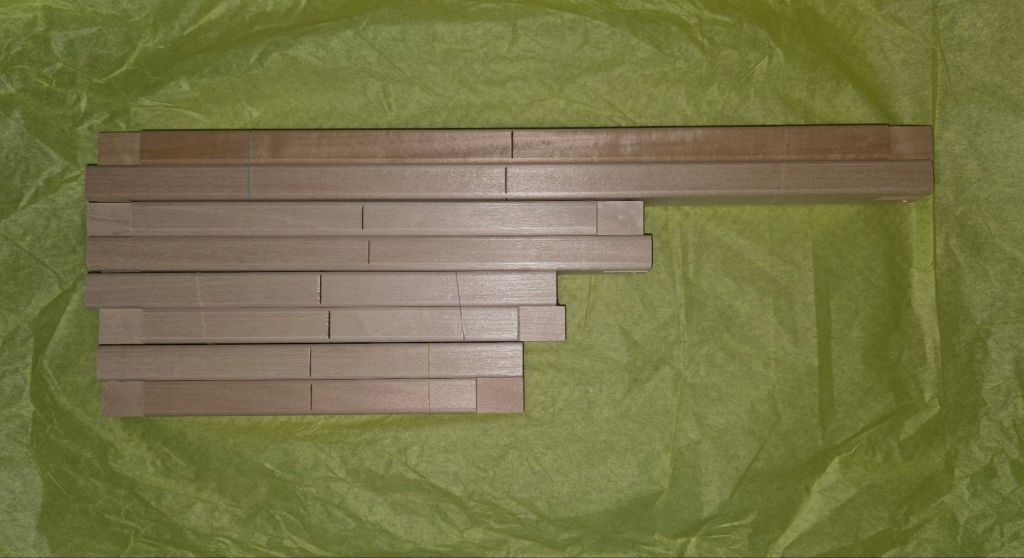
But a 24″ box, and eight lovely bars (safely wrapped in tissue paper), . . .
Even though her email ended with “P.S. Sometimes miracles happen and things ship immediately. ;-)”, I think that it is amazing service from her and UPS. I know Bedecked and Beadazzled is only a little over 2 hours away (from Philadelphia) in Maryland but that’s deserves a shout out.
Happy Holidays to all and especially Ruth and her helpers!!
Peace from the Cabochon series by Susan Portra is coming along nicely. I counted the tent stitch blue border in advance of our Saturday Stitch-in because it requires concentration.
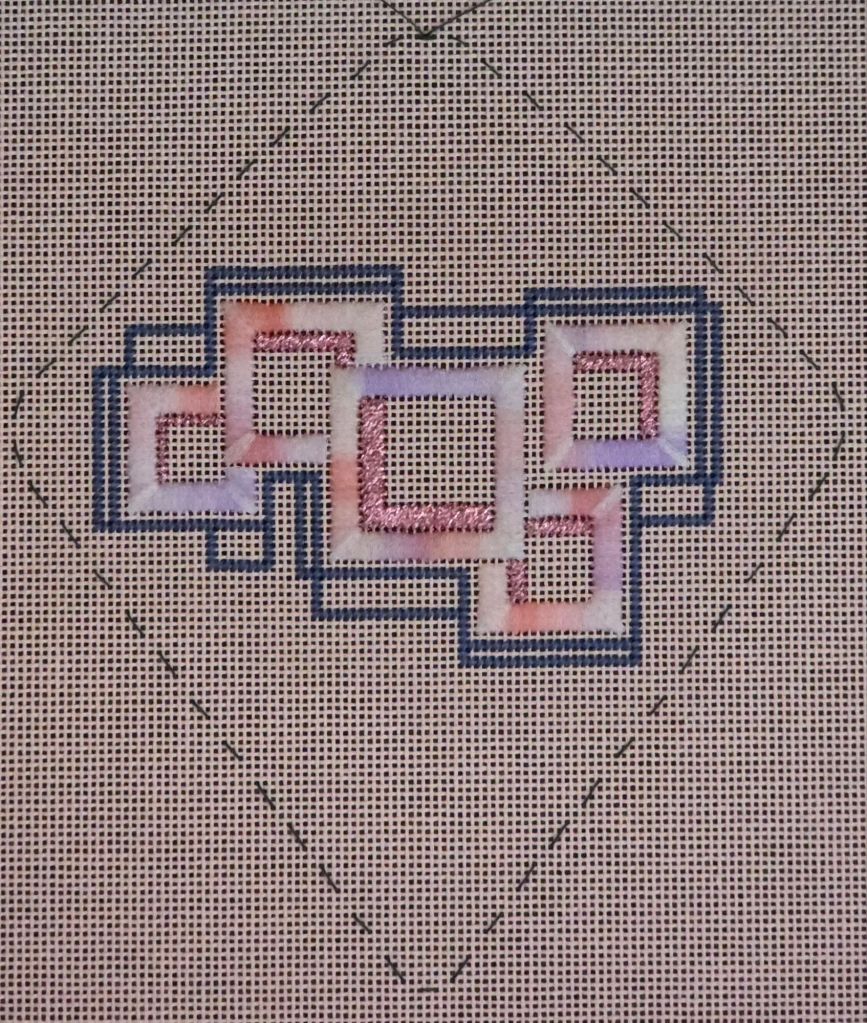
I added the pink Fyre Werks outline during the Stitch-in yesterday.
As in a previous cabochon, I substituted French Knots with cross stitches of various lengths (over 4, 3, 2, and/or 1) depending on the number of available intersections. I got the idea from Painted Canvas Embellishment: An Idea Book by Carole Lake and Michael Boren (Bands and Borders Over One).

Not wanting to start anything more difficult later that night, I added the bugle beads and all the long laid diagonal stitches. There were no instructions to stitch one row and then couch. So, I laid all the threads. Hopefully, I won’t regret that! I do have enough in case I need the remove it but I should be ok.
I am contemplating a T-stitch for the cabochon squares. The instructions leave them unstitched. Thoughts?
Filed under: ANG Main Line Stitchers Chapter, Laurel Burch Rainbow Butterfly by Danji
The background from my Sharon G Vases with Curly Bamboo used the T stitch and a very light blue floss because it appears very delicate almost invisible. She did not want to detract from the vases. I, too, did not want distract from the butterfly. So, that’s what I used to create the appearance of it flying in the sky. I used an overdyed thread with a slight color change. Don’t ask me what thread I used – I didn’t make a note about it and don’t see anything in my stash that matches! I’m slipping.
I made an outline on Velum (stiff tracing paper) of where I wanted the outer edge and used it to trace the shapes for the upholstery batting (obtained from Fireside Stitchery as recommended by Sue Parsons for finishing on the front side – it is fluffy on one side and thicker than the Pellon sew-in stabilizer) that I used for the fabric backing. A piece of magazine board was placed in between the front and back for some stiffness but it remains light and the single loop I placed on the back is sufficient.

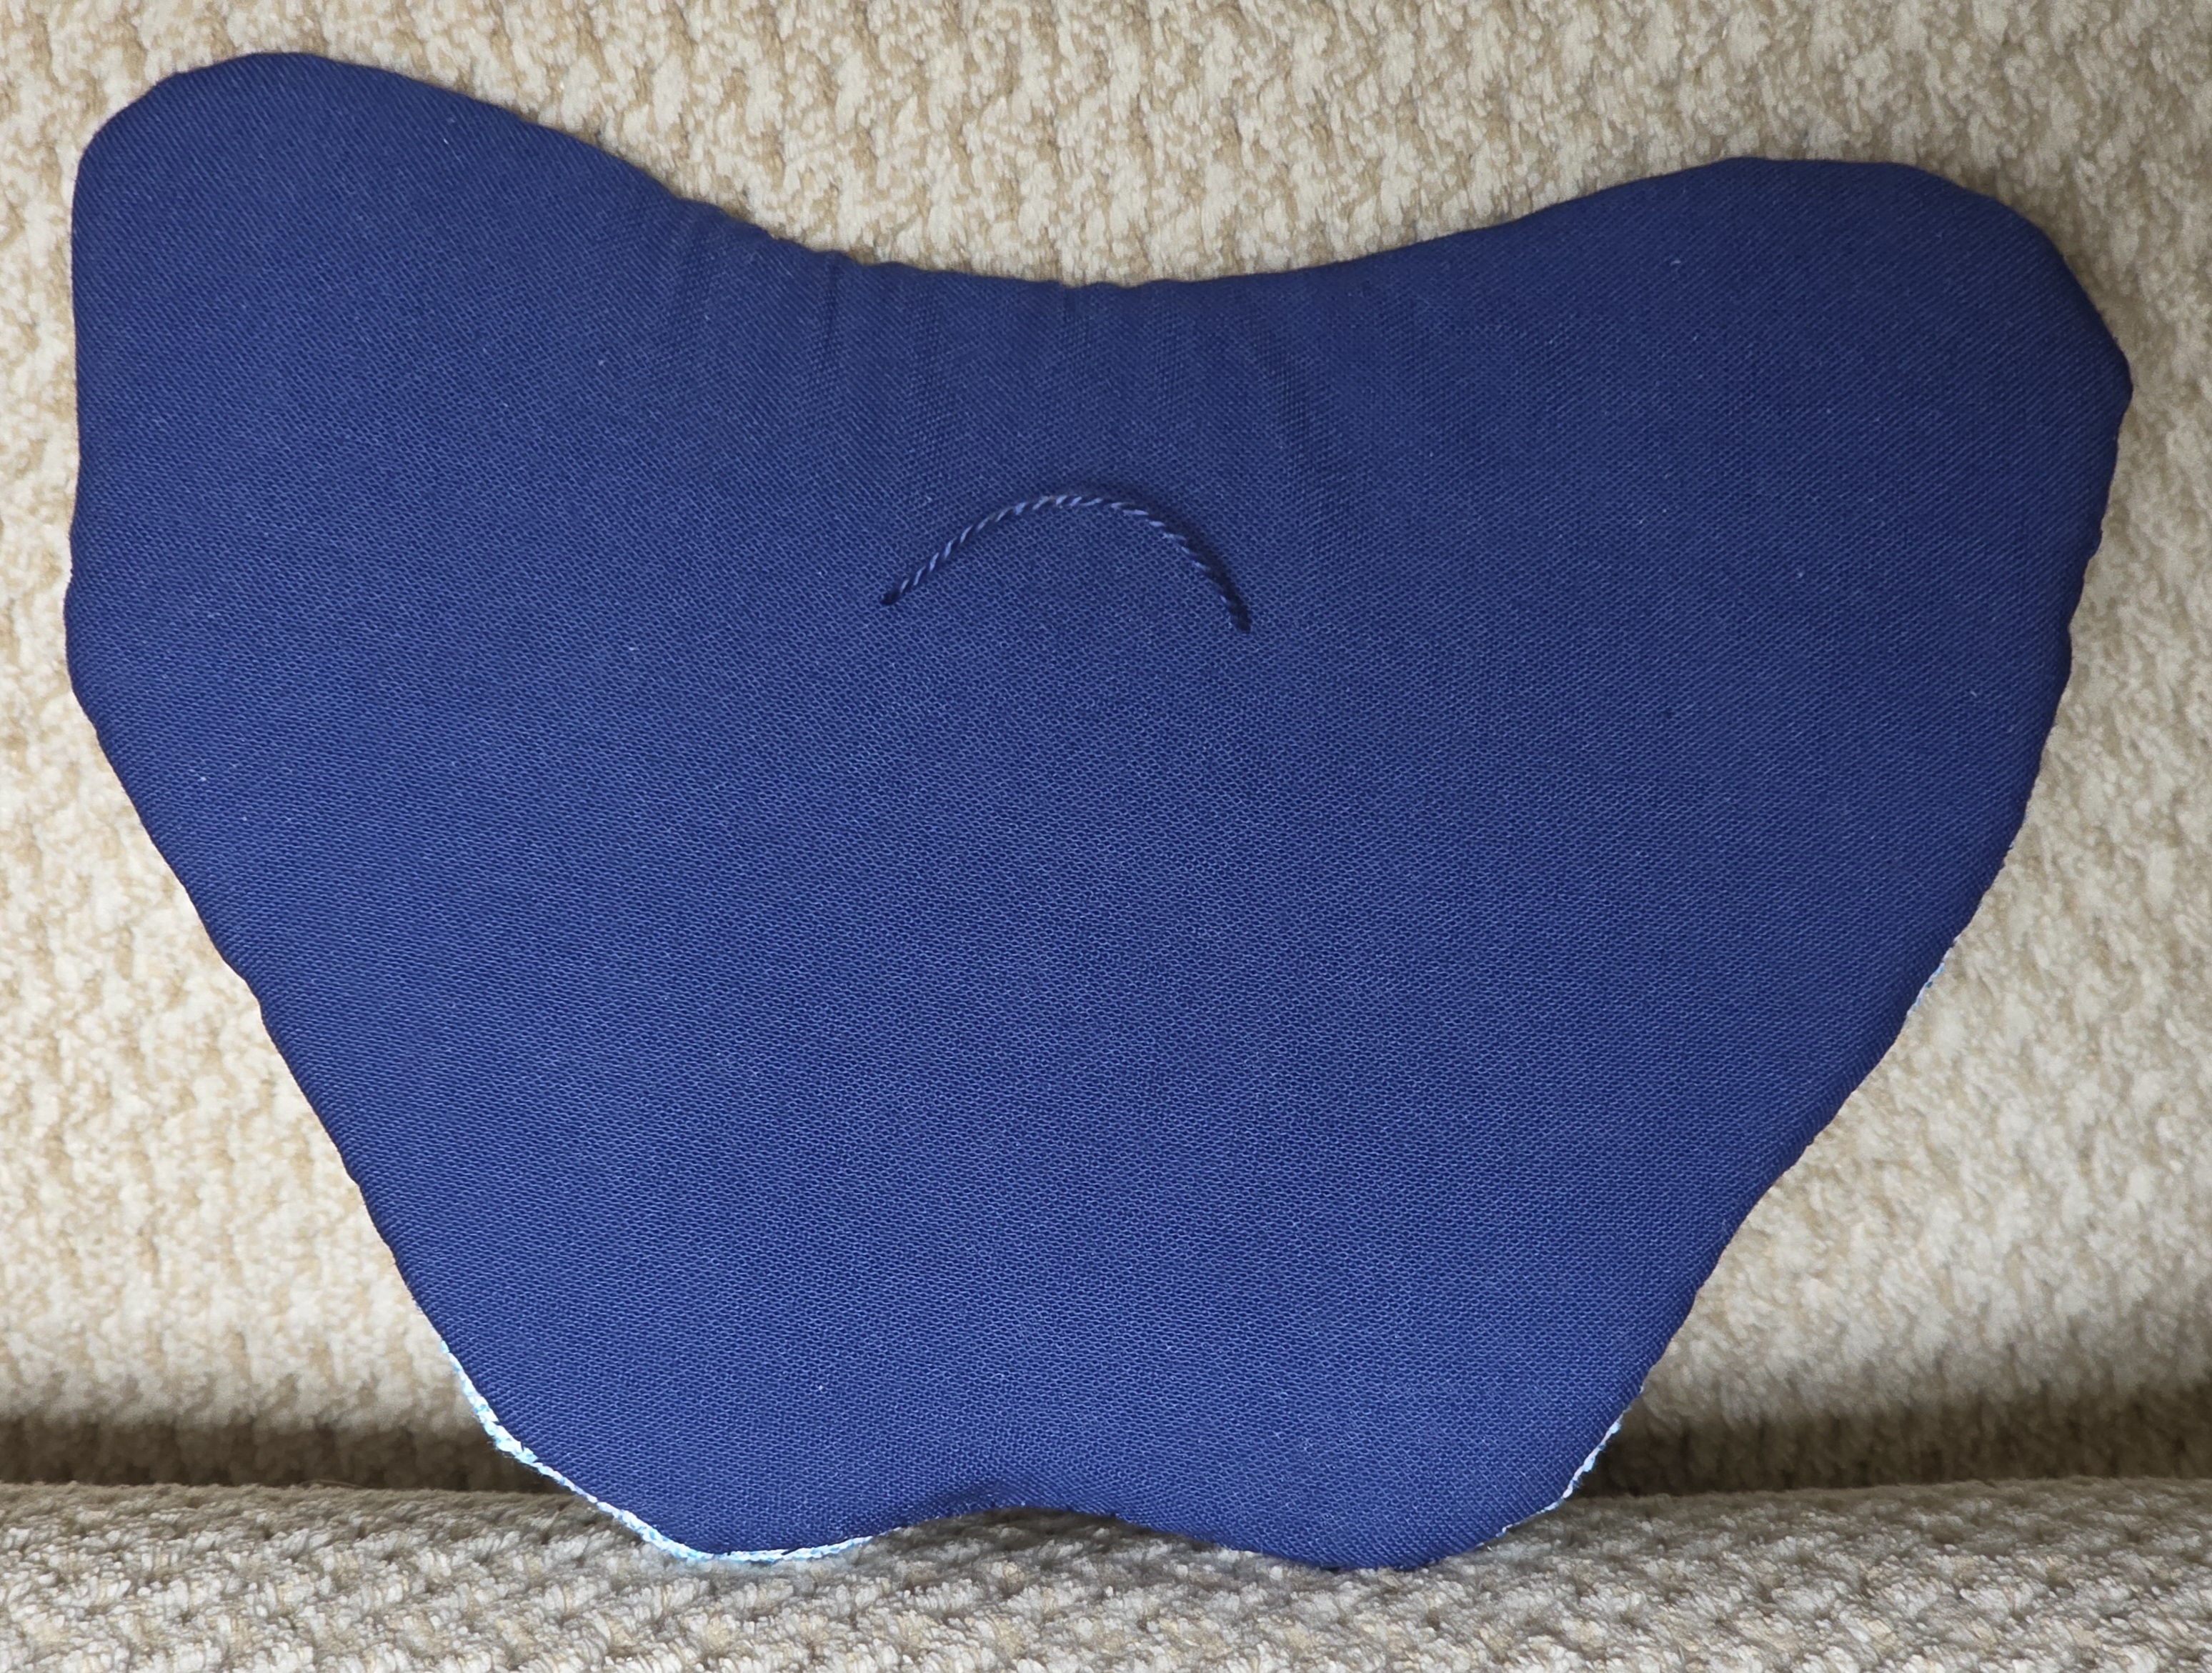
Goal # 2 for 2025 is done!
I felt the urge to go for a Walk in the Woods. This is a Deborah Mitek design from ANG Seminar in New Orleans this summer.
The leaves on wooded stems included a variety of ribbon stitches with a few different overdyed green ribbons. The seed pods were tricky and are probably slightly different from Deborah’s but they are fine!
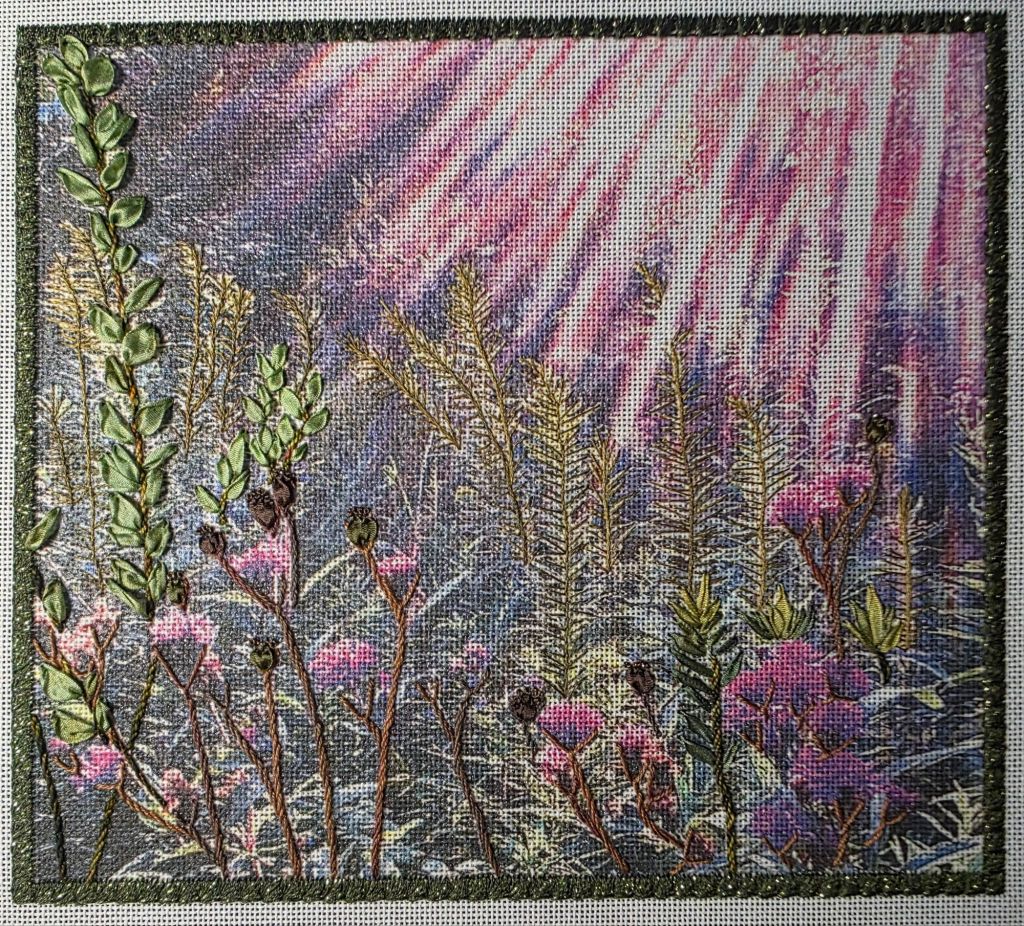
The ironweed flowers are next and I am excited about that!
I found this stitch tossed in a bag of canvas scraps. Very pretty motif. I have no idea of the source. I’m not sure how I stitched it. Does anyone recognize it?
Filed under: ANG Needle Pointer's Article, ANG Needle Pointer's Timeless Treasures From the Archives
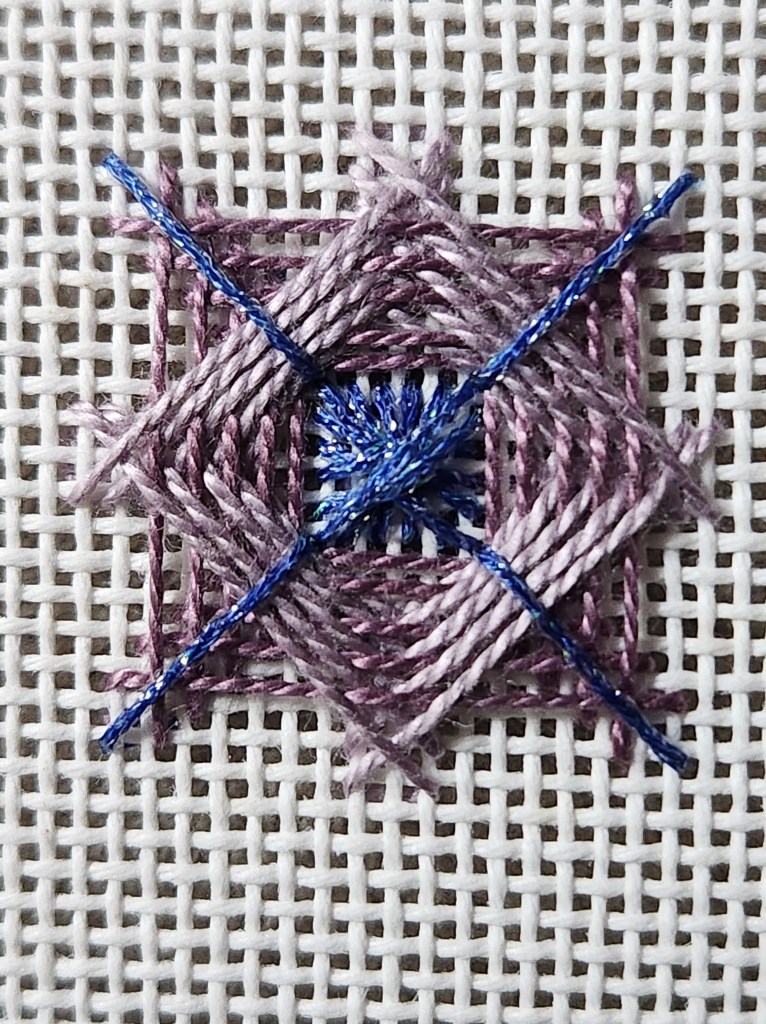
Pat Mazu offered Needle Pointers (NP) a stocking design done with her take on Trianglepoint after rereading Sherlee Lantz’s book of the same name. It’s in the November/December issue along with an article by Patty W, the editor of NP reviewing the book and a pattern I stitched from the book.
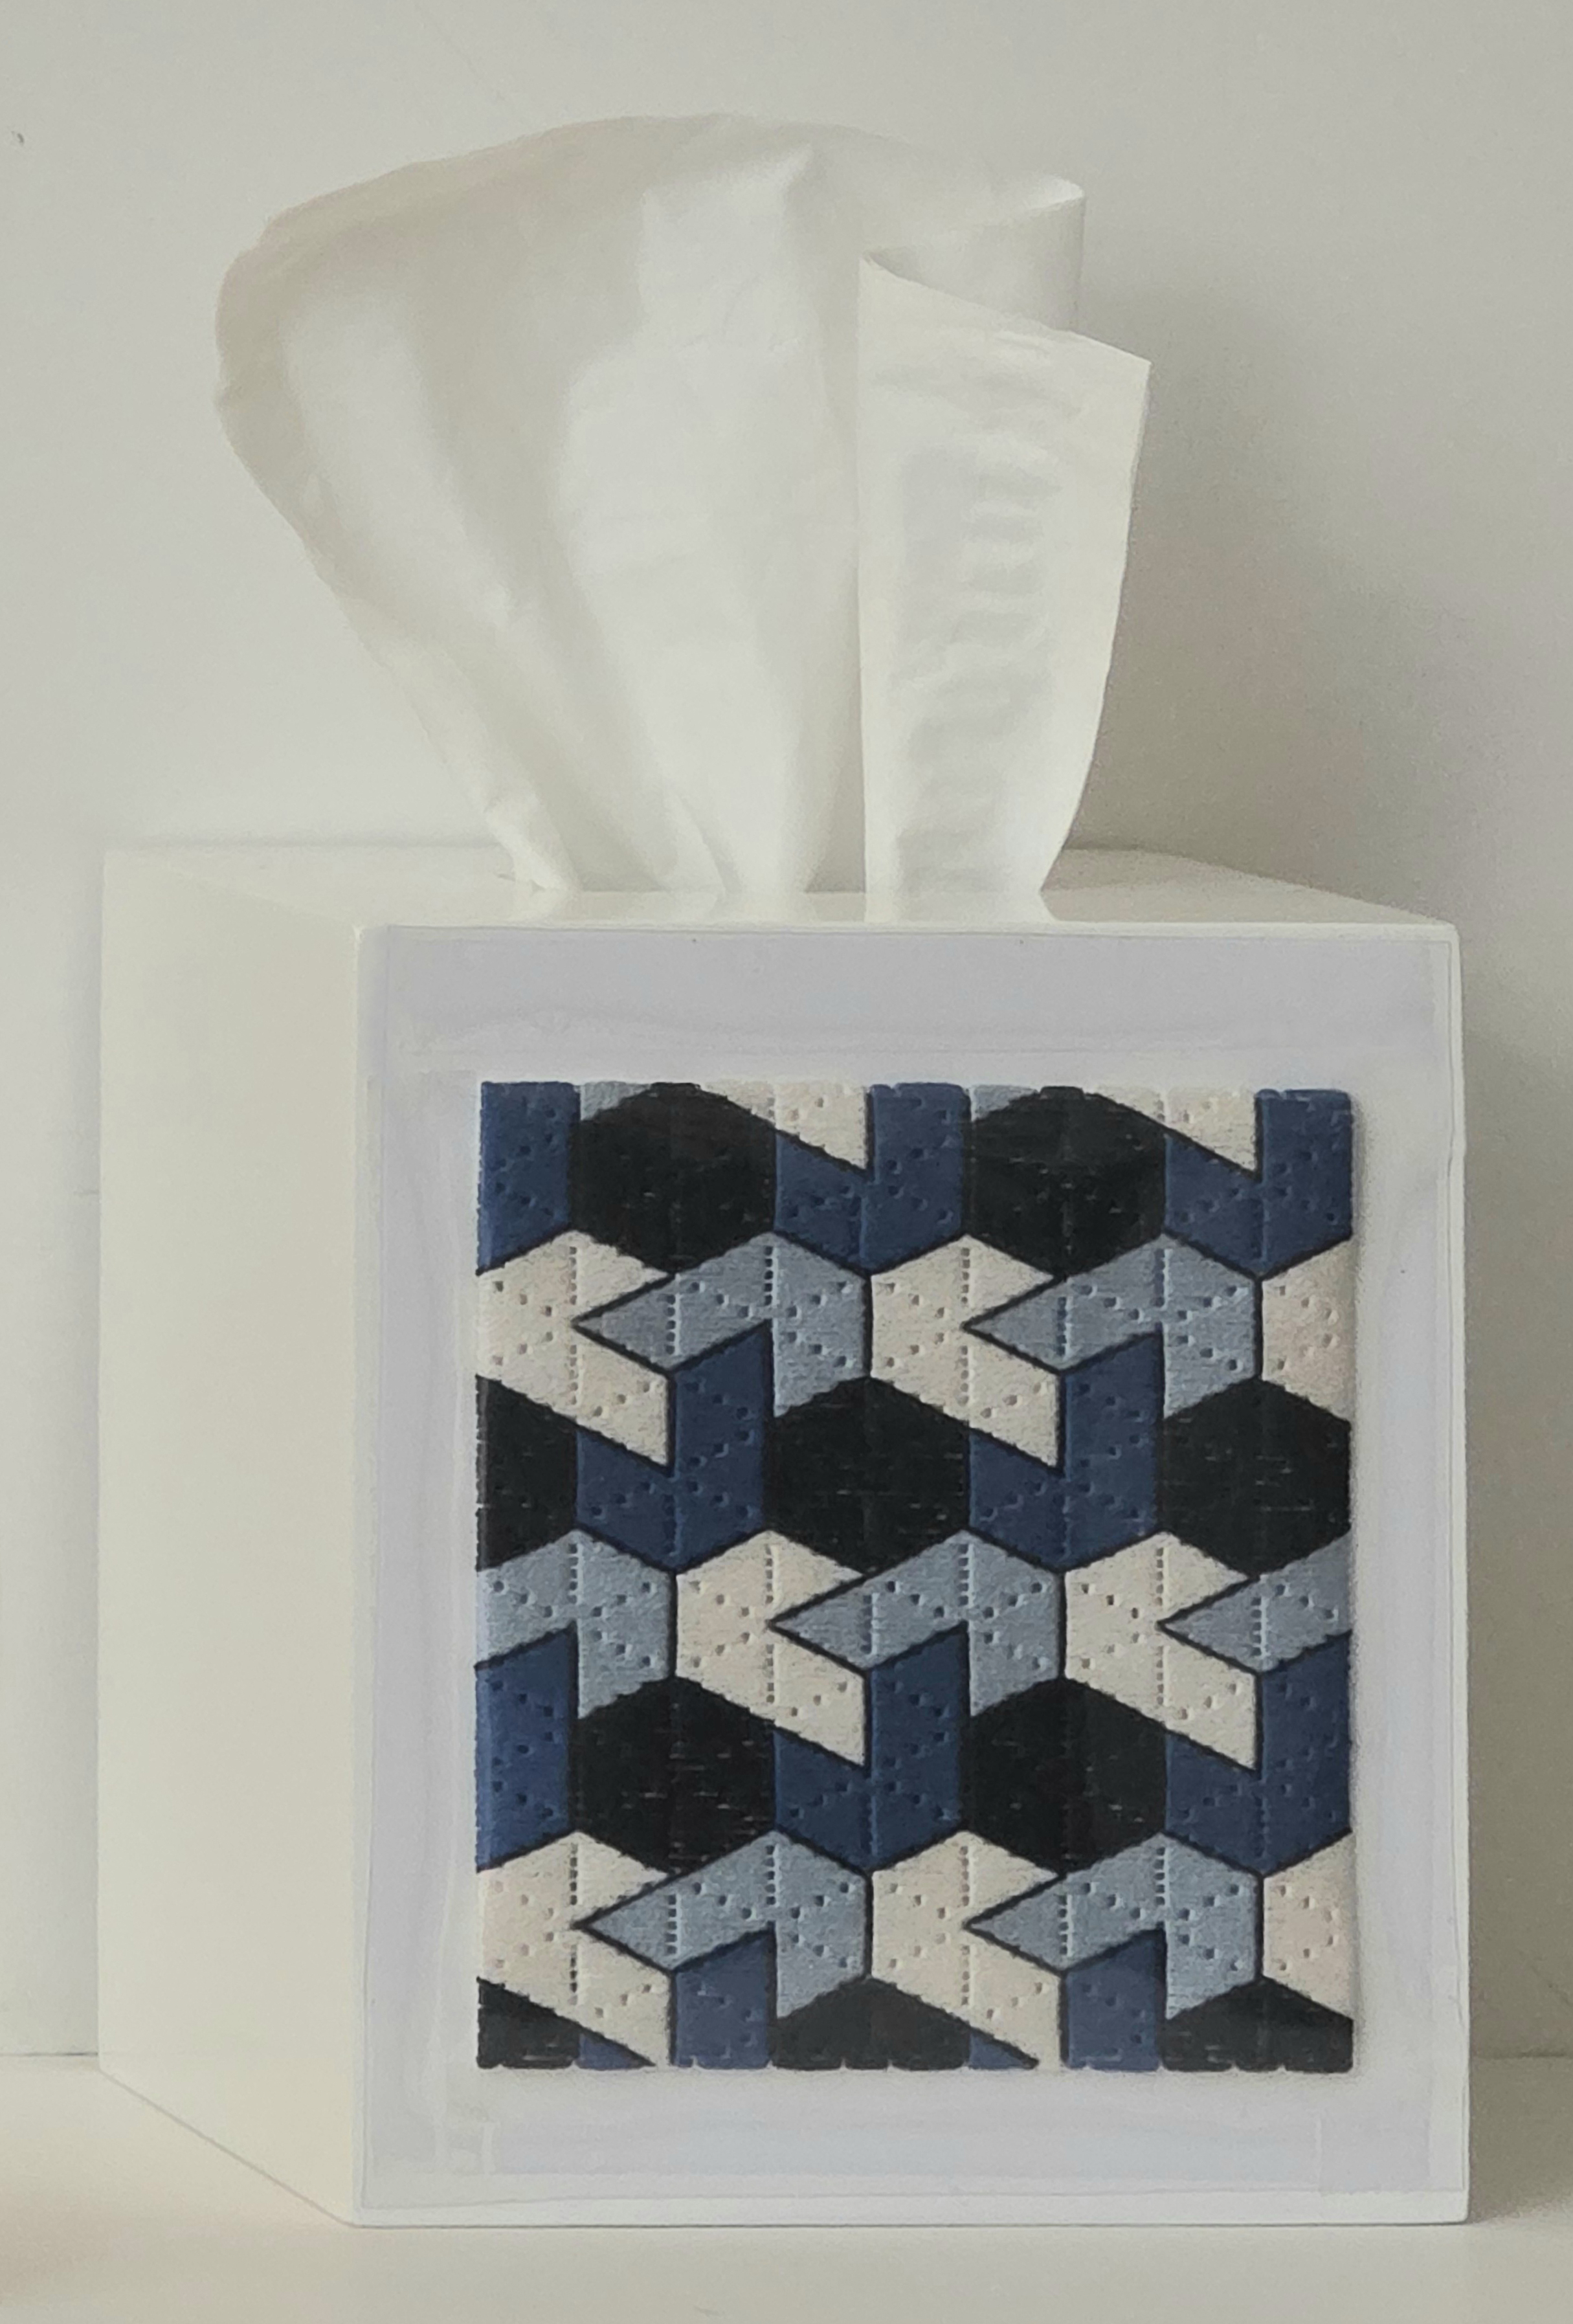
I selected Persian Carpets Knots because of the 3D effect it creates and it was described as a “mysteriously interesting pattern”. It was a bit challenging especially the compensation. This grid helped keep me on track.

Here is is stitched.

And, placed onto a tissue box for the bathroom (with a vinyl cover held in place by double stitch tape).
Luckily, there was one article/project in a past issue featuring Trianglepoint by Nancy Perry that allowed me to include that. So, it makes for a lovely, coordinated splash on Trianglepoint in this issue of Needle Pointers!
You are missing out on some great information if you’re not a member of ANG, the American Needlepoint Guild (needlepoint.org). It’s easy to join. There are many free designs exclusively available to members.
The Needlework and Fiber Guild of Media met last night and we all really enjoyed making these icicles. Although not a fiber project, Kristen picked a lovely project to lead. We each got three kits if we wanted. The materials came from Solid Oak Inc and the instructions for these crystal/gold icicles are clear and easy to follow. There are 4 patterns you can follow. Six bead types were provided. Each one took about 10 minutes to create as advertised on their website which has lots of cute projects. I didn’t explore long enough to find something else I had to try!
Each ornament was individually kitted by Kristen with assistance from her husband to cut wires. I look forward to having them join my other icicle themed ornaments.

I decided to work on Walk in the Woods by Deborah Mitek for a bit. It was the first of the three ANG Seminar classes I took in New Orleans.
It’s on Congress Cloth and has a photo transfer that we’re embellishing. Not everything gets covered. Her husband took the photo of ironwood a few years ago.
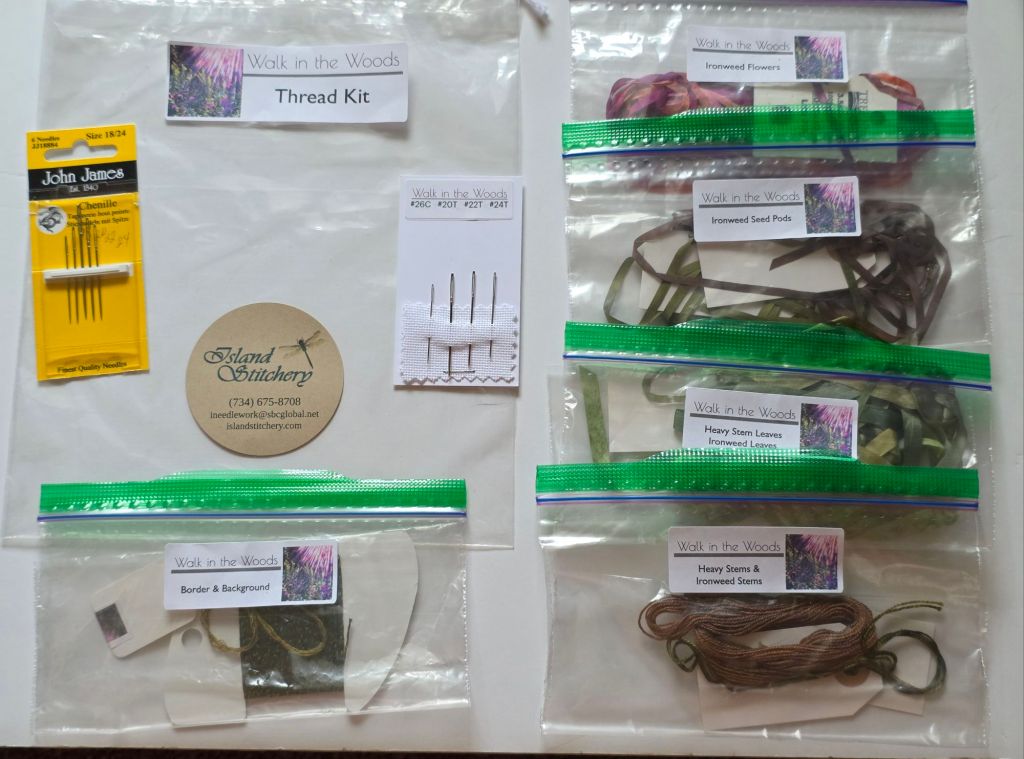
Her kits are so organized and clearly marked. We got plenty of needles. Partial skeins help keep kit costs down. That takes some time but makes following her instructions even easier!
Deborah has excellent instructions and I started at the beginning by finishing the border and the background fern-like grasses and wooded stems.

Now that I’ve added the stems of the ironweed and seed pods, I can tackle the ribbonwork!
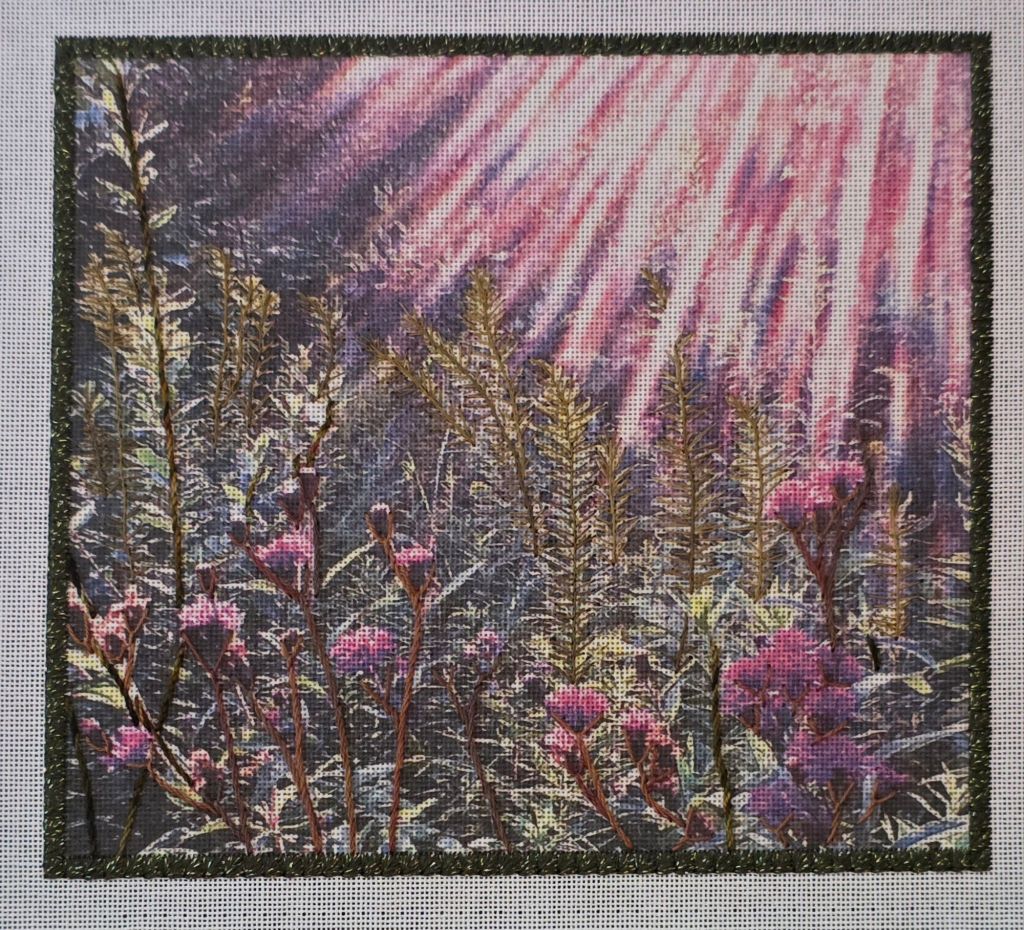
There is so much going on that you can barely see where it is stitched in the photos. It’s visible up close and under my light. The ribbons will pop.
Filed under: Daisy Delight Box with Mary Alice Sinton, Embroidery Guild of America, Fauquier County Chapter
Since the Daisy Delight Box by Mary Alice Sinton was working up so quickly and was such fun to watch develop, I kept on going.
Here’s the background done.
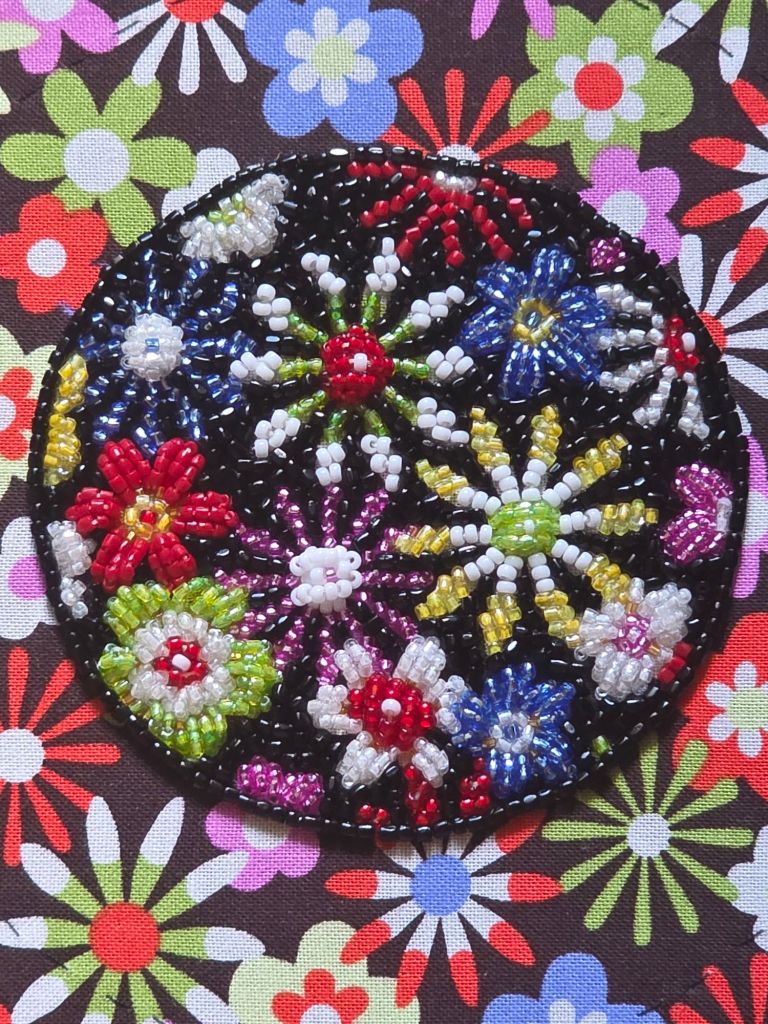
And, finishing was easy enough as the lid is padded and pops out of the box top. I did an inner (not pictured) and outer running stitch (seen in the upper right and lower left corners) to gather the fabric underneath. A little lacing to really secure it. Then, it popped right into the lid with the beaded circle falling in exactly the correct place around the lid. No glue needed.
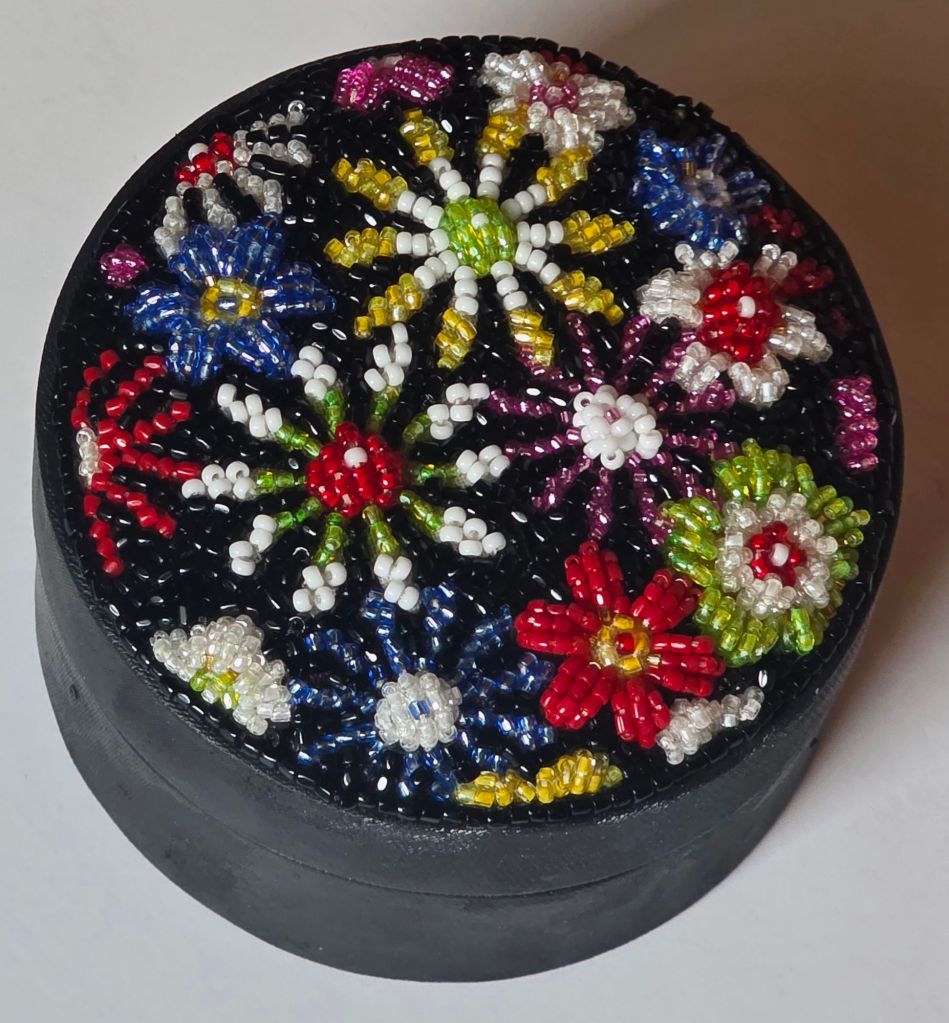

Love it!!
