Filed under: ANG Seminar 2025, Nights in White Satin by Jennifer Riefenberg
I think we dove into the Jessica first, then overlapping Rhodes, and then moved to a few other areas. Working on tougher areas earlier was smart because after staying out until 9:30 pm ish, packing, getting up early, eating a Thanksgiving Day poboy sandwich, and the heat in the room (it went hot and cold in this room), I was fading by the afternoon.
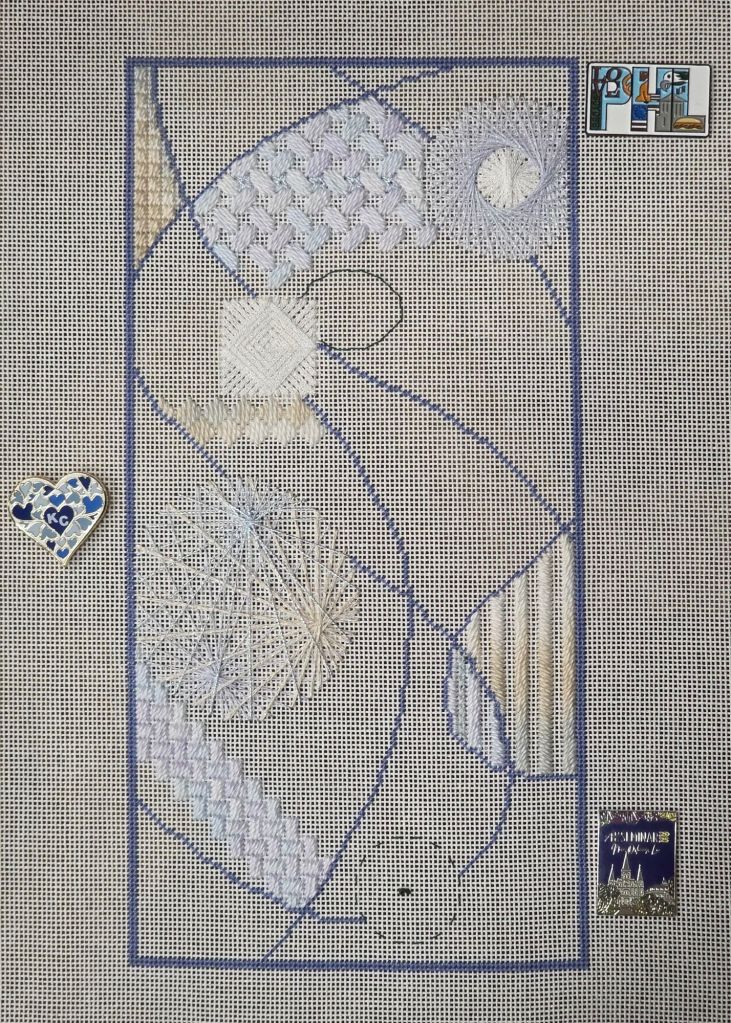
This will be easy and fun to finish. Jennifer’s pace was quite calm compared to many classes. This looks like a lot more stitched than my usual for 2 days.
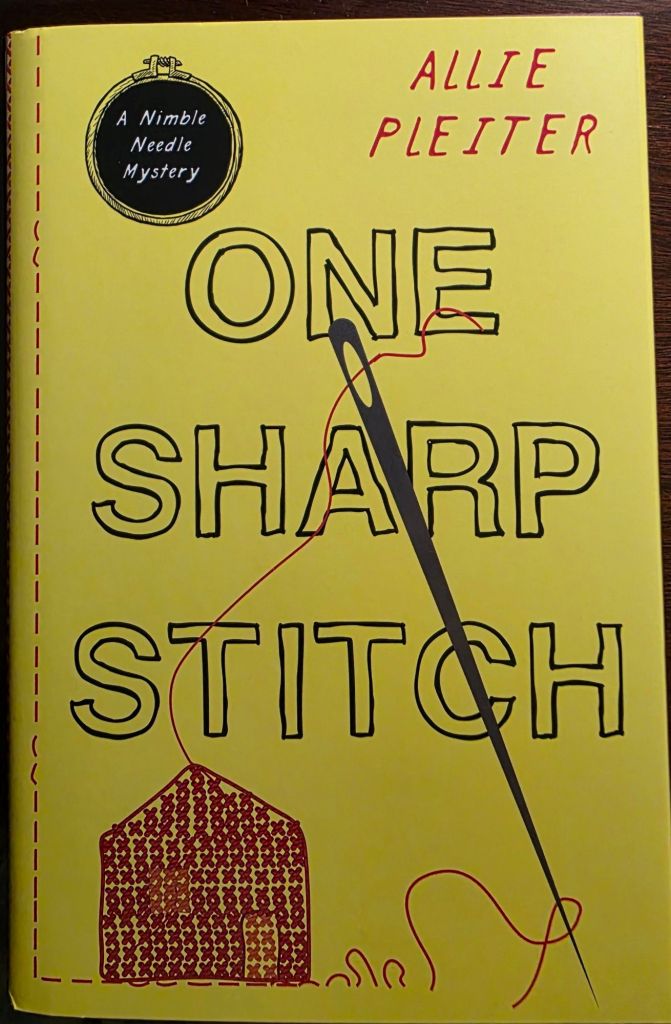
The speaker, Allie Pleiter, was quite entertaining as she discussed 5 primary types of Needlepoint friends. I got a signed copy of her first cozy needle mystery book. A second is coming out in 2026. Apparently, the NYAGs are quite popular characters. They are Not Your Average Grannies. Looking forward to reading it. If you haven’t read Monica Ferris or Lea Wait, you should.
Very enjoyable time in NOLA!
Filed under: ANG Seminar 2025, Nights in White Satin by Jennifer Riefenberg
With pre-work ready for Nights in White Satin by Jennifer Riefenberg, we dove right in.
David M isn’t in this class with me but Lori C, Linda M and Rosie L are!! About 6 other people I had met before are in it and I’ve met some new people. That’s part of the fun of Seminar. I just hope folks understand that names will not stick in my brain.
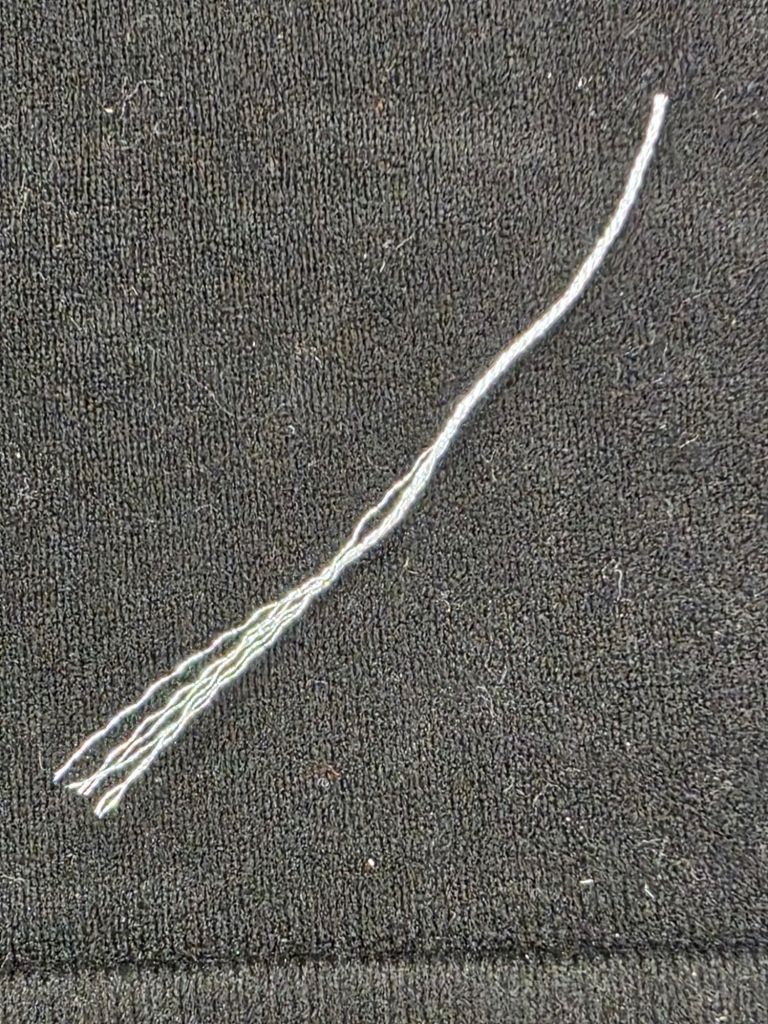
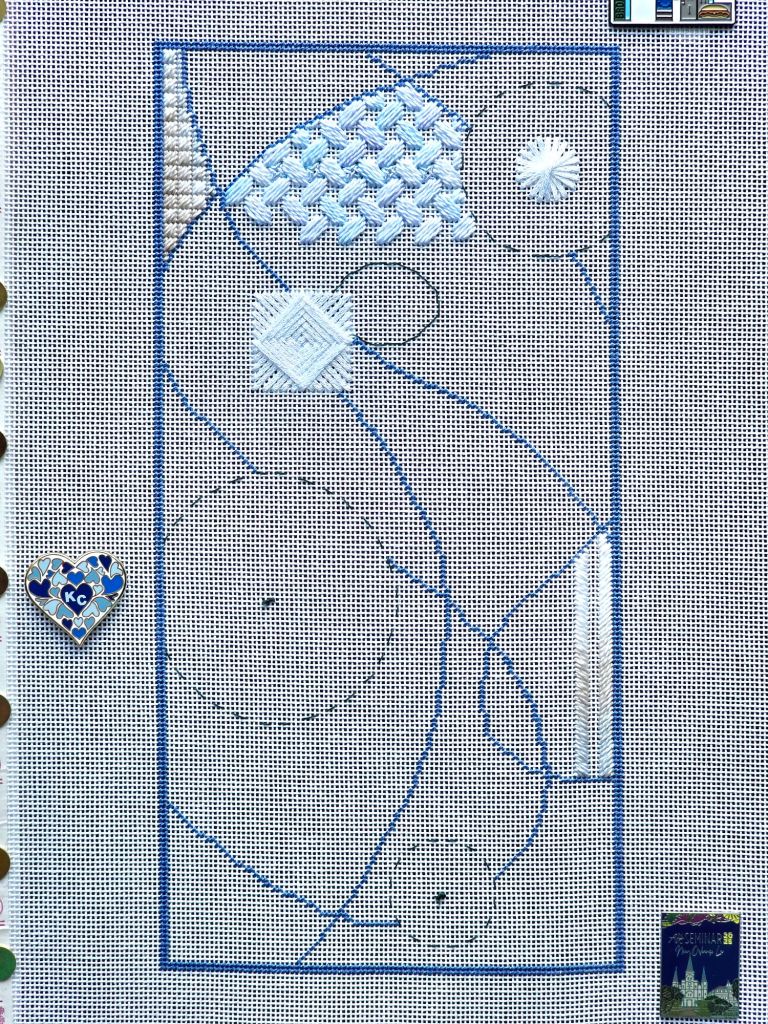
Kreinik is having issues. So, some of us, including me, were switched to a whiter Sparkle Rays. We all got a spool of the new Radiance Metallics by Meredith Willett. It’s not braided like Kreinik. You can strand it as can be seen at the end of a used thread. I want to finish the Criss-Cross Hungarian variation before adding more of the Radiance filler stars.
Jennifer kicked it off easy with Scotch stitches and ended easy with gobelin stitches. In between, we got through a waffle and Rhodes. I’m liking it so far.
No stitching tonight thanks to the margaritas at the Spotted Cat Music Club!
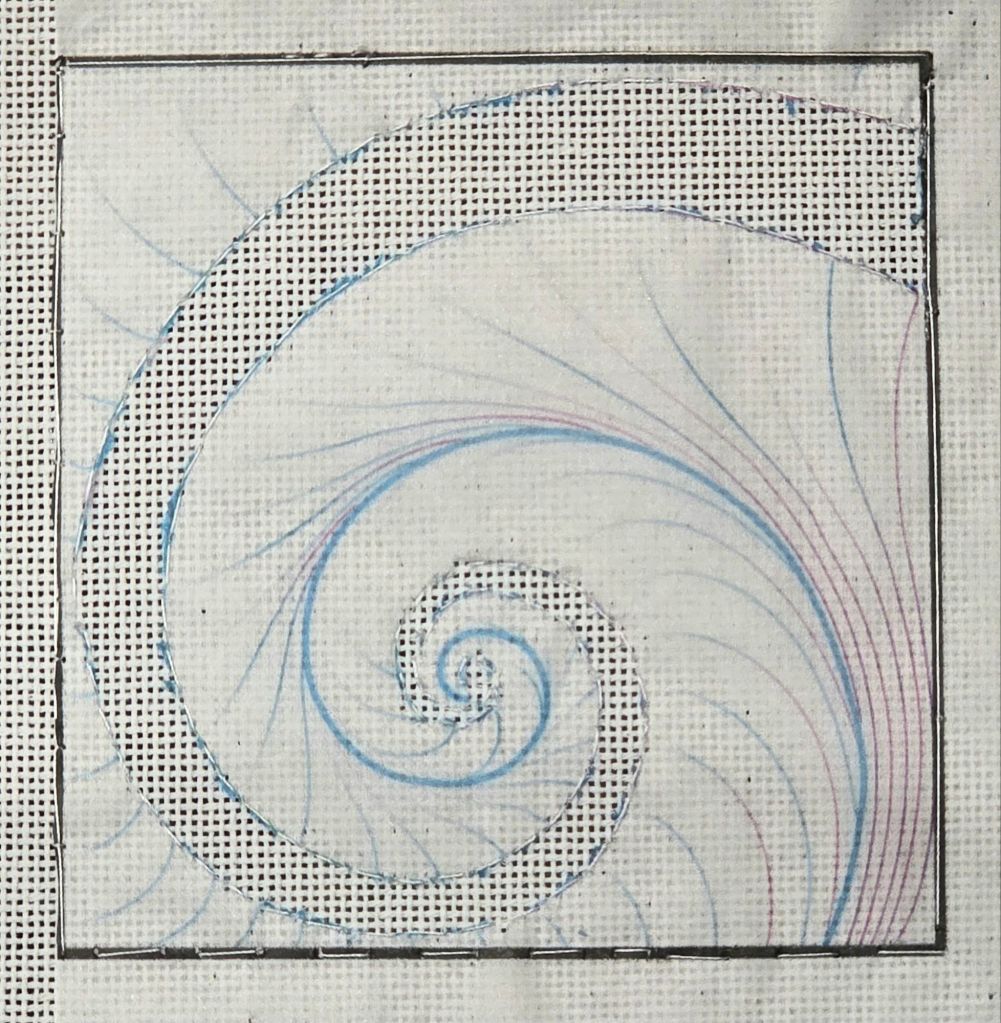
My second class at the 2025 ANG Seminar in New Orleans, LA was with Kay Stanis for Nautilus that has involves blending thread embroidery and beadwork.
Being just a 1-day class had me a little worried about how much we could accomplish but Kay did an excellent job of it.
I laced one side – she loves teaching lacing and it’s good to know how. But, I prefer Evertites.
We basted the square and large spiral portion of the design but still have lots more basting to do. Then, we carefully scored and ripped out the large spiral.
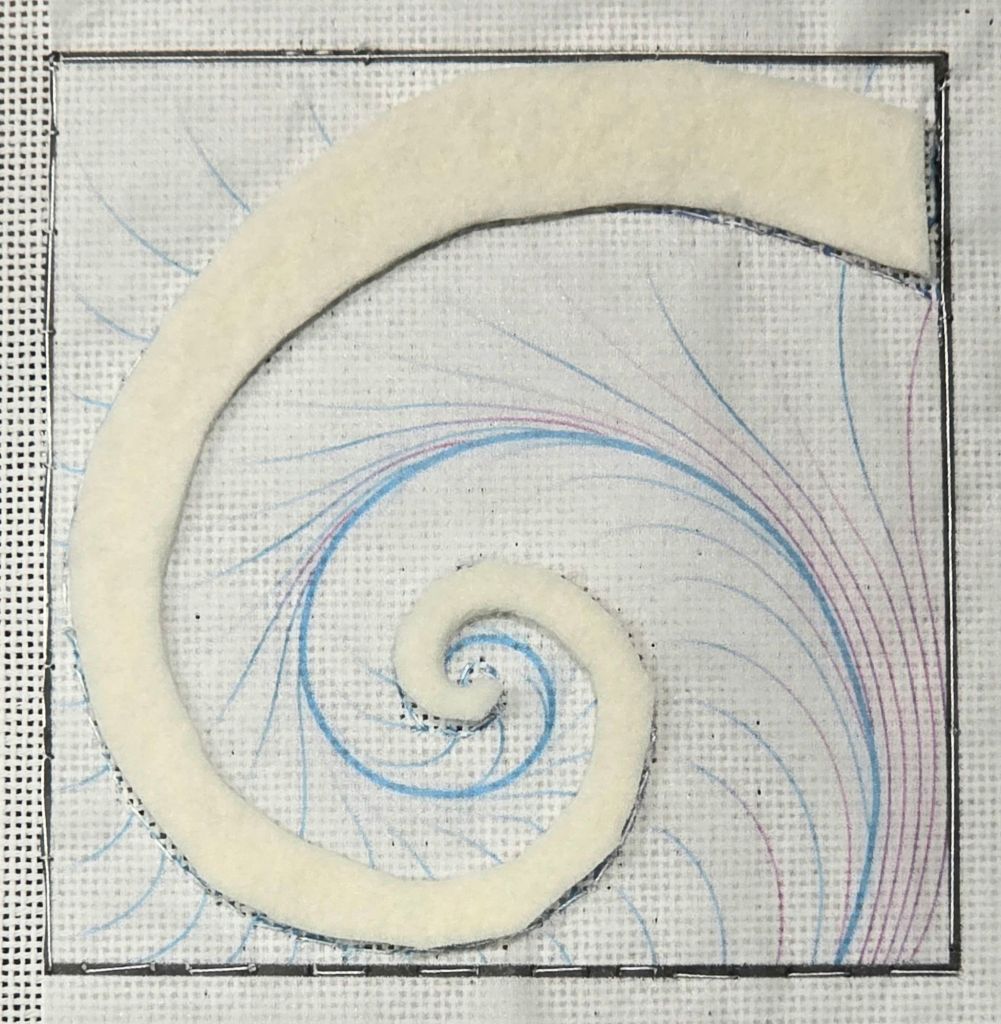
After cutting the felt padding, we attached it.
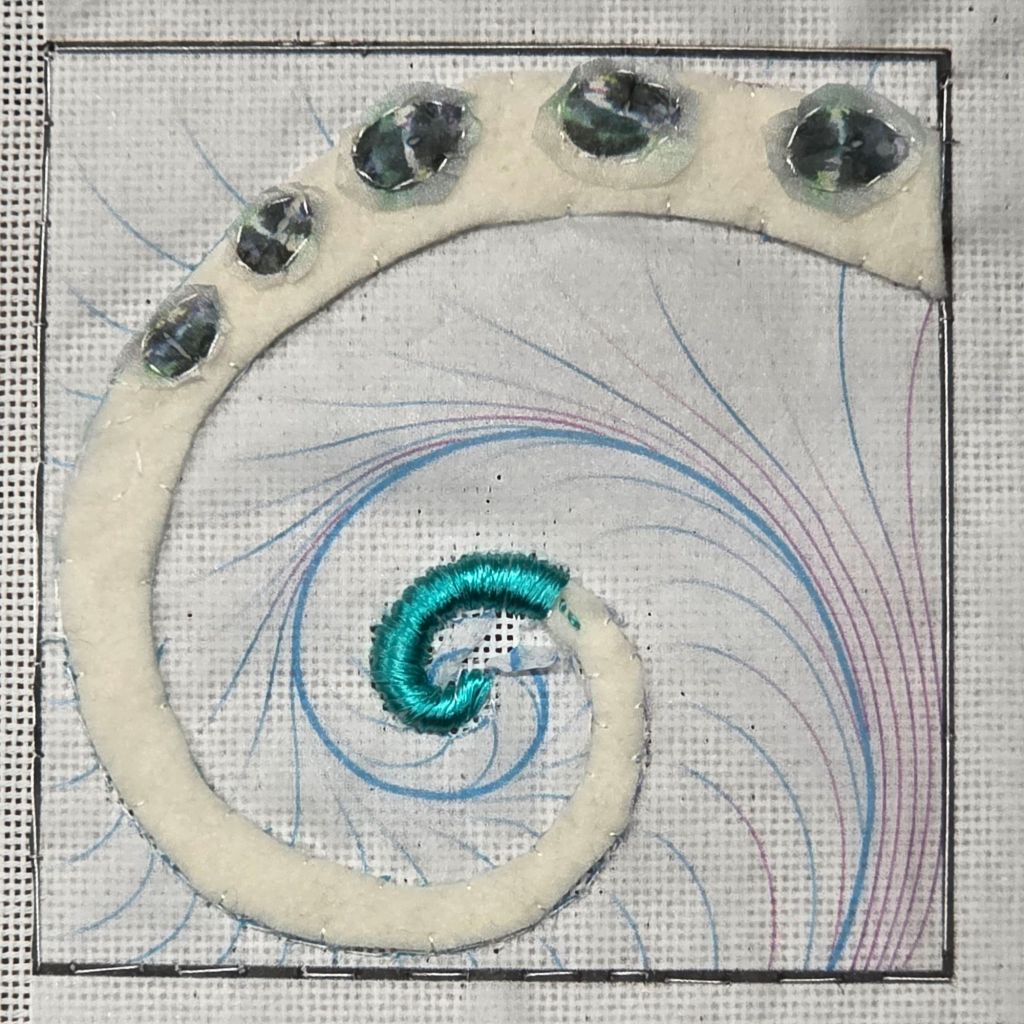
We basted tissue paper to outline the pears. And, after learning how to get 3 strands from Trebizond and Silk Serica, we started with the basic satin stitch. These are flat silks and are different from Splendor, Needlepoint Inc Silk, and others. These catch on EVERYTHING but are nice and shiny.
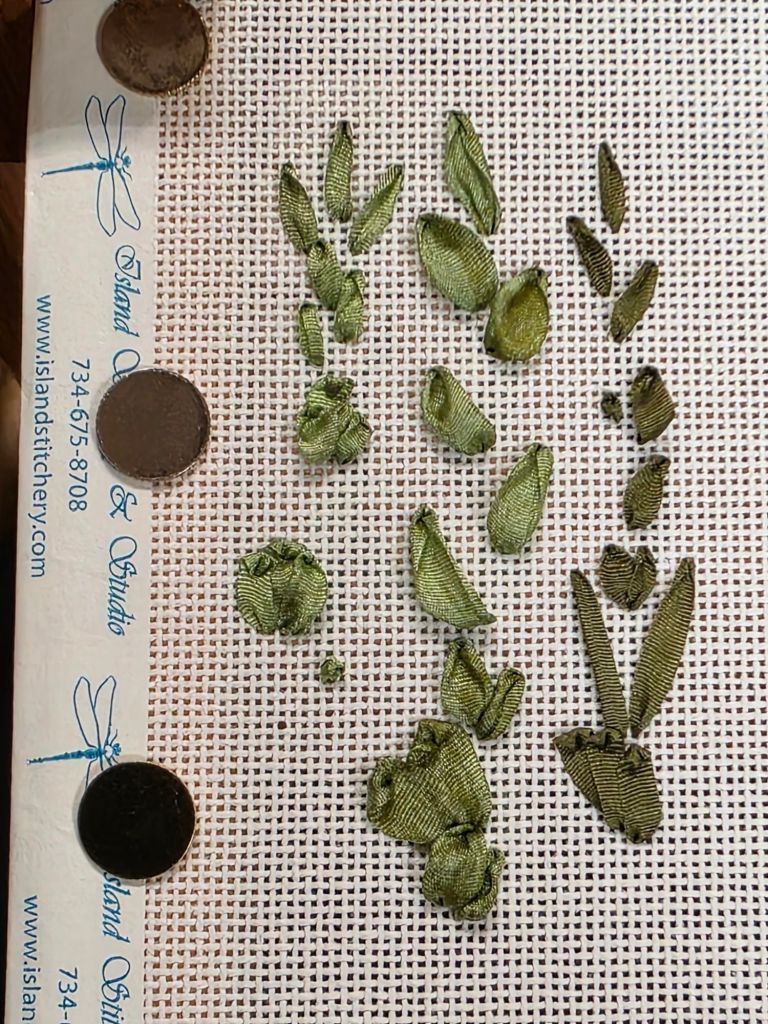
The morning of Day 2 of Walk in the Woods with Deborah Mitek was spent practicing ribbon leaves. I will practice more – probably with the River Silk ribbons and save the ones in the kit for the piece.
In the afternoon, I worked on the border. There was a party going on last night into the wee hours that kept me up and we are on the 27th floor! It’s New Orleans so nothing you can do. So, I was fading and the border was easiest. It really it first to be stitched anyway.
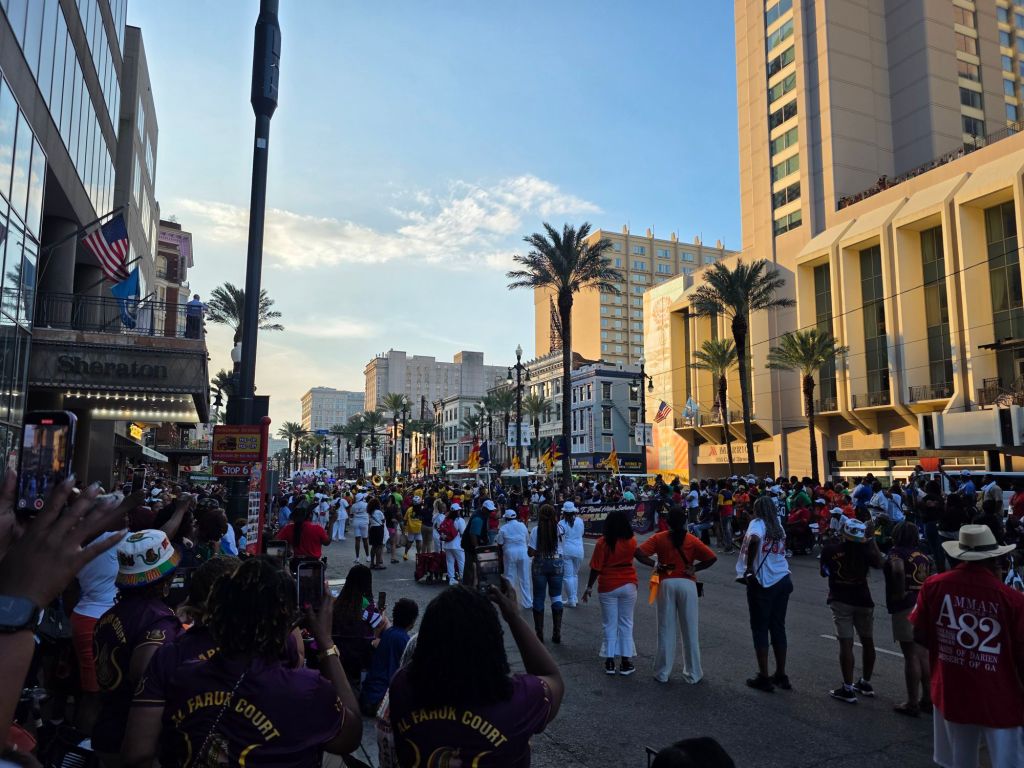
Eight of us from ANG Main Line Stitchers and Bill and Jean had a lovely group dinner right across the street at The Creole House. We had to dodge a parade to get back for EXPO!
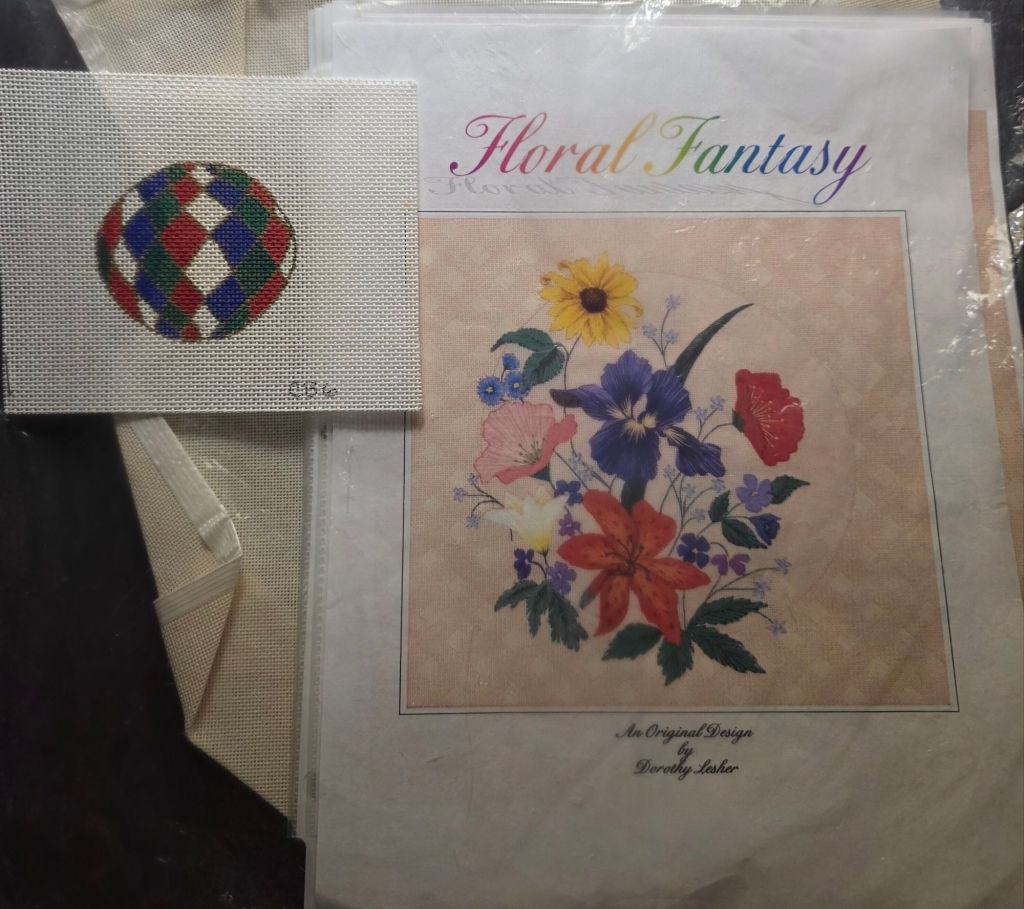
The local ANG Streetcar chapter had a table with a partially stitched Dorothy Lesher piece. I may have to rip out what’s there because no threads are included. I’ve wanted to try one of Dorothy’s designs and this suits me. The little ornament rounded off the purchase nicely.
It looked like a good turn out for Expo!
There is music again outside our 27th floor. Not as bad at 8 pm as last night. Did I mention that I am not a huge fan of New Orleans? HOT and noisy.
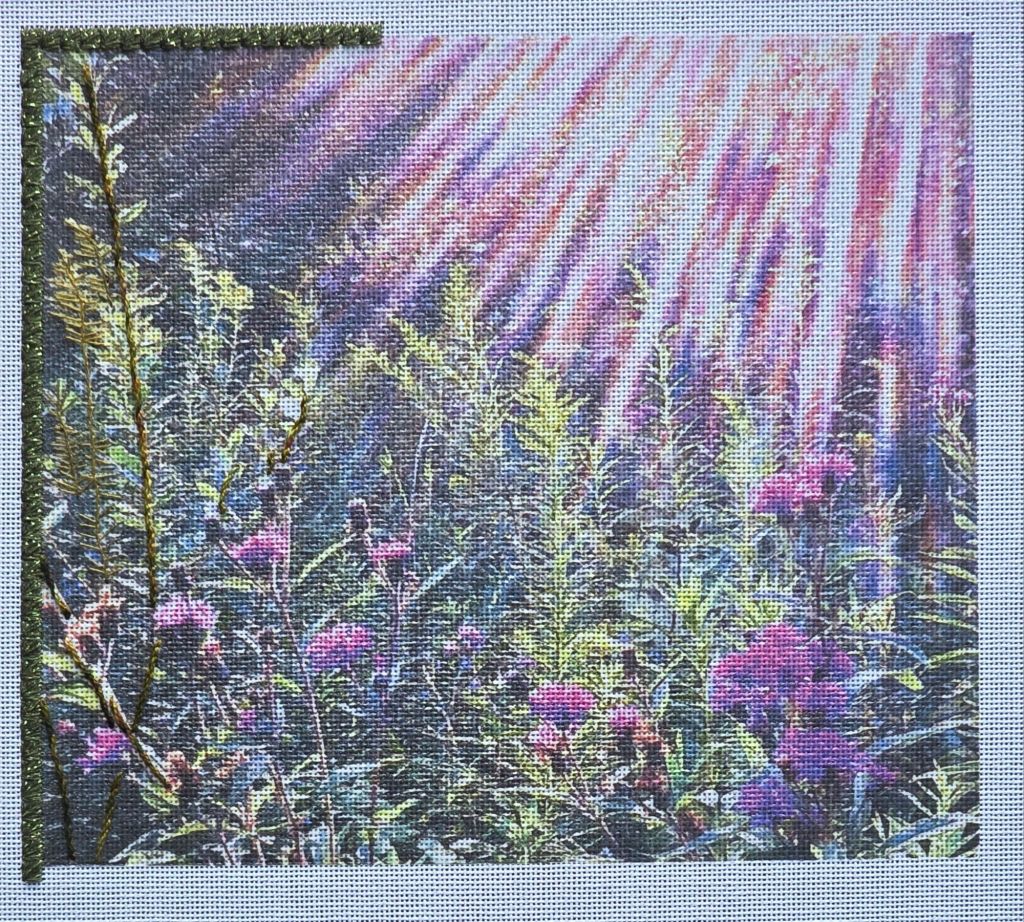
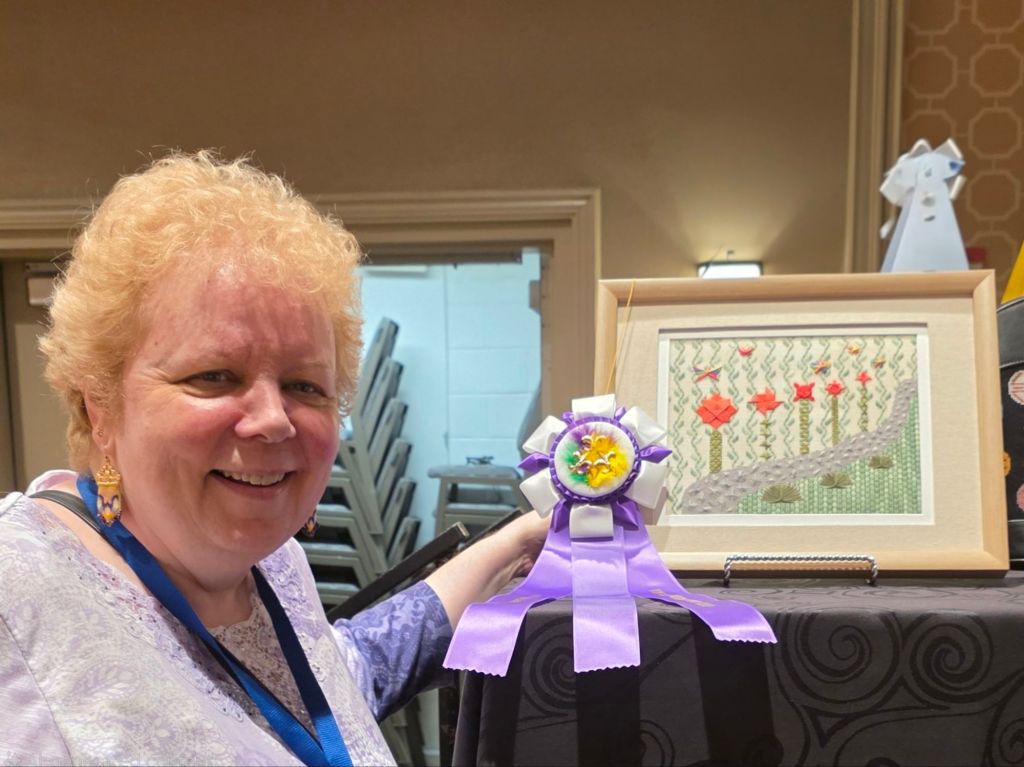
For the 2025 ANG Seminar exhibit, I submitted Flowers Along a Rhode, an original design, Professional. It won a Second Place Ribbon! I was happy to see that.
The first award of the evening at the Welcome Banquet was the Creative Inspiration Award and I won it too. What a surprise and an honor! The special ribbons were designed and most of them stitched by Deb D. They are all lovely!
The design is slightly smaller than the 10″ x 8″ mat opening and is framed (16″ x 13″).

Here is my Artist Statement, a requirement for this category.
Debbie Rowley challenged us to be experimental during her “Explore and Design” class. In her 153-page booklet, she not only provides hundreds of stitch diagrams but explains how to understand the stitch so you can alter it when needed. Debbie had no input on my design.
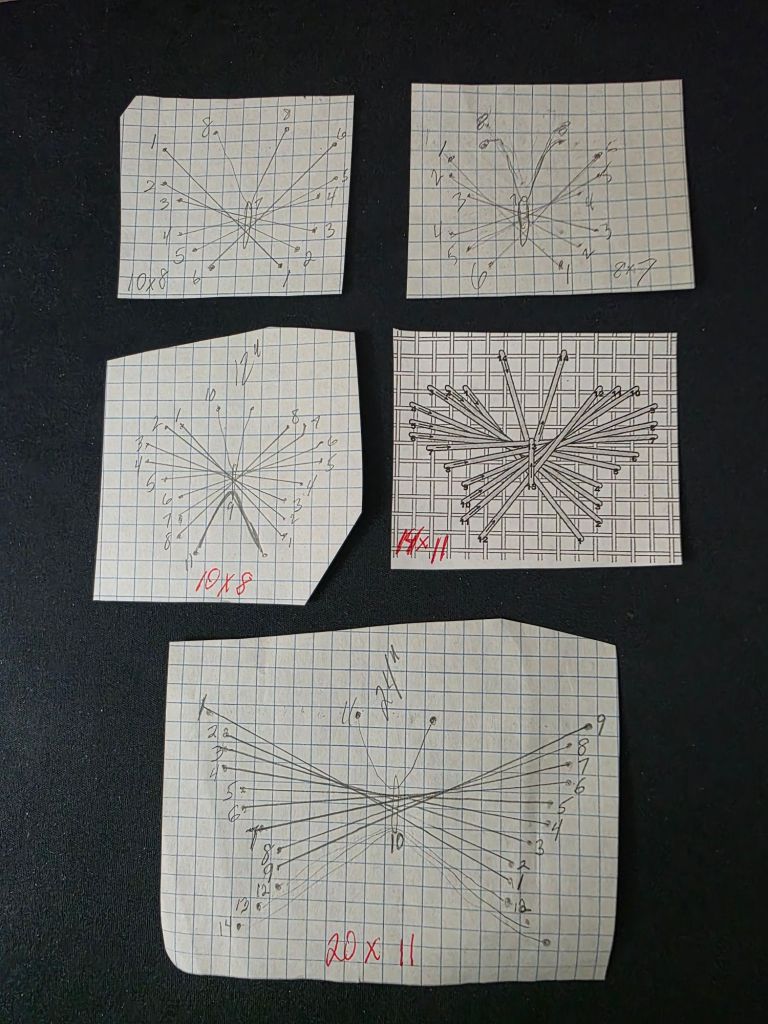
The first section in Debbie’s booklet had 20 Rhodes stitch diagrams. That is when I envisioned a cobblestone walkway for my design. I ended up with more than 20 Rhodes stitches by searching through other books for more shapes and even making up a few of my own shapes. To line the far side of the cobblestone walkway, I saw stylized flowers made from the Waffle Star, Milanese Pinwheel, Walneto, layered Jessicas, and a combined Arrow Amadeus while the round Amadeus made bushes to line the nearside. The stems came from various sections of her booklet. And a flower garden would not be complete without butterflies buzzing around!
I did modify some motifs to my preferences such as placing the diagonal stitches on top of the straight stitches in the Waffle Star. And I shrunk two of the round Amadeus stitches and made small butterflies to add to the perspective. I added additional stitches to fill in the bushes carefully sliding the threads under the center line of the round Amadeus to maintain the characteristic appearance of the base.
Both the grass and the background combined an overdyed green thread and a matching middle value solid green to tone down the shifting color while conveying a breeze.
I enjoyed creating this contemporary garden stitched on 18-count canvas with a variety of threads.
End of artist statement. Additional information for further reference. Based on one of Debbie’s butterfly diagrams, I created the other four.
The grass and backyard stitches come from ANG Lone Star’s booklet, Grab -n- Go Stitches. The patterns have no names. These came from the section “Stitches That Read Straight”.
I have requested a critique and will post that and my scores once I get them after they are shipped home.
Debbie Rowley was so happy for me! And, another of her students won the Founders Award for the 4 colorways of a design of Debbie’s. That was quite an undertaking and they look great. Well deserved honor.
By the way, this completes Goal #4 for 2025.
Additional information is also available on the Judge’s Score and critique at https://melitastitches4fun.com/2025/09/02/flowers-along-a-rhode-the-judges-score-and-critique/
Filed under: ANG Seminar 2025, Flowers Along a Rhode, Melita's Designs, Walk in the Woods with Deborah Mitek
My first class for the ANG 2025 Seminar in New Orleans, LA is Walk in the Woods with Deborah Mitek.
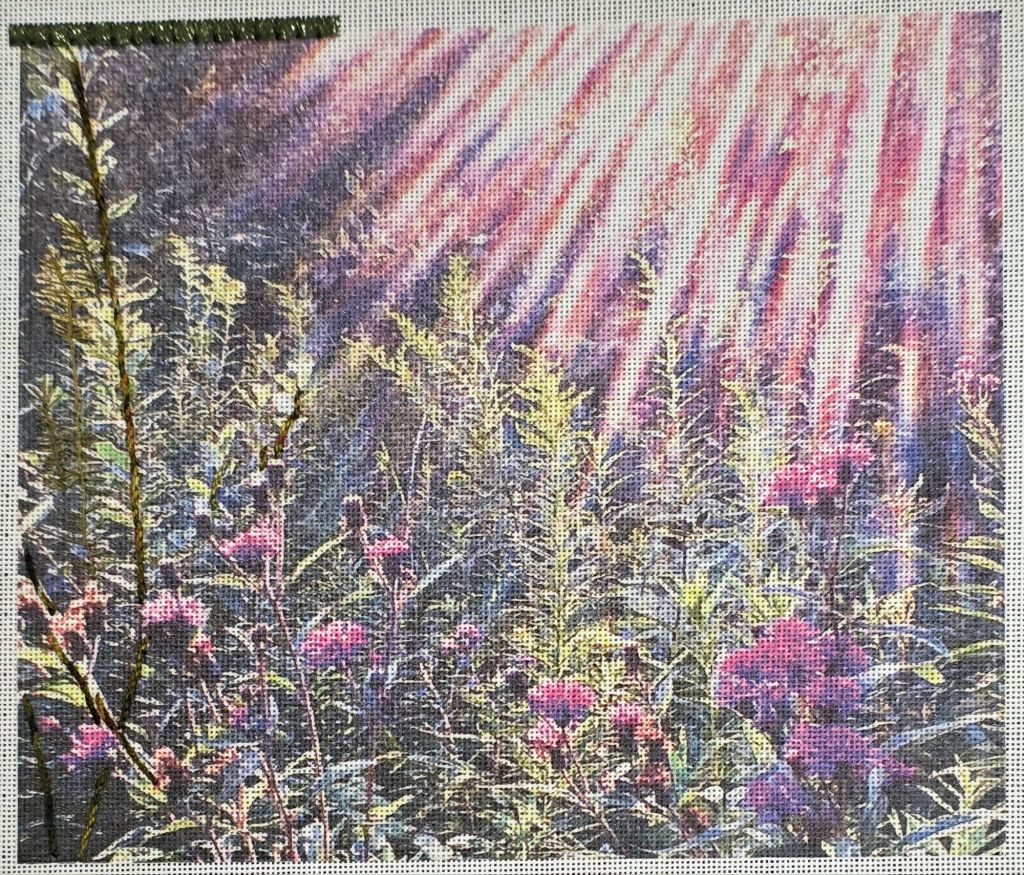
A lovely photo transfer was already on Congress Cloth (Deborah explained her process). A gorgeous array of threads and ribbons greeted us. What a beautiful start to Seminar.
We started off with an easy square leaf stitch for the border.
Next, using a chenille needle proved tricky! I did this twice while stitching the ferns. It’s a good thing I don’t use the sharp needles often.

As usual, it doesn’t look like much is done but this is partly because the ferns blend into the background alot (left side). The stems are showing (also left side).
We watched ribbon demonstrations and will again tomorrow. Then, I suspect I will practice them in the extra wide border she gave us.
We were able to secure a table for our Main Line Stitchers at the Welcome Banquet. Good food and great company! The first award of the evening was the Creative Inspiration Award and I won it with Flowers Along A Rhode. What a surprise and an honor! I will publish my artist statement which explains the inspiration for this stylized garden.
The special ribbons were designed and most of them stitched by Deb D. Lovely!
Filed under: ANG Seminar 2025
While Bill went next door to the Sazerac House for a distillery tour, a wonderfully organized team of 2 ladies from ANG HQ checked us in for Seminar – no waiting. I had forgotten about ordering the tote bag and the water bottles. I love this style of bag and it’s HOT here – need plenty of water. I didn’t need to bring last year’s tote. Oh well!
Two packs of River Silk Ribbon this time! A fantastic magnet and a sundry of other items was provided. I think I will turn the yellow ANG plastic medallion into a magnet when I get home. I have cutable magnetic strips with one sticky side.
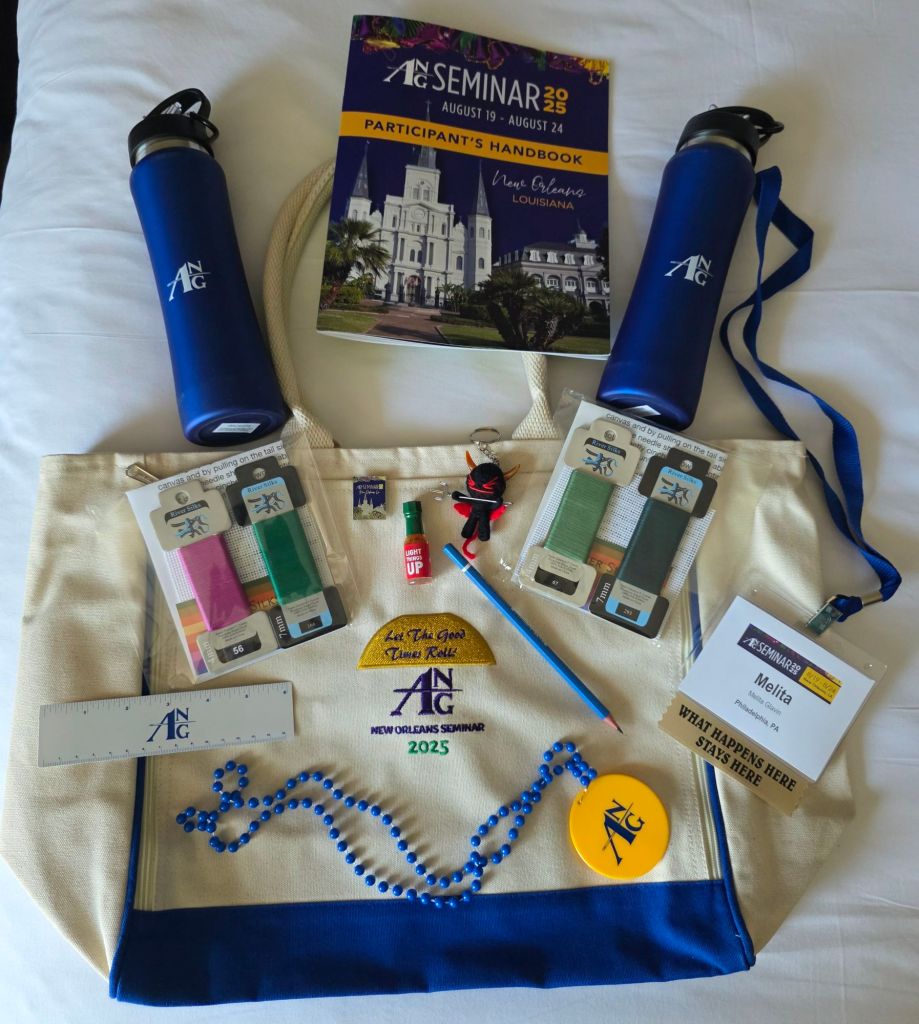
I noted my classrooms and browsed the list of 254 attendees (not everyone elects to be listed). I love trying to meet a few new people each year. This year I hope to find Mary G and Diane L! I can look up what classes they are in and at least pop in briefly.
The speaker at the Farewell Gala Banquet should be good. She’s Allie Pleiter, author of a variety of books. One Sharp Stitch was followed by Two Purloined Pillows – A Nimble Needle Mystery, both are a “cozy mystery” which I love and I have not read them yet. Perhaps they will be for sale at Expo! or at the banquet. Allie is a knitter and needlepointer, lives near Charlotte NC.
Bill ran into most of the Main Line Stitchers gang checking in. Glad everyone is arriving safely. I am ready for class tomorrow!
Filed under: Brandywine Chapter, Cross Stitch and Beyond by JoAnne Westerhaus, Embroidery Guild of America
The EGA Mid-Atlantic Region hosted JoAnne Westerhaus at Camp Wannastitch in January 2024 for a Take Home Project (THaP) class. THaP classes are open to the member who will be taking the project back to the chapter as a program. It’s supposed to be inexpensive and easy to teach. And, it allows someone an opportunity to try their hand at teaching.
Sue from my EGA Brandywine Guild attended the Camp Wannastitch class and taught it in March 2025 to Brandywine members. I was away, but Patrick picked up the instructions for me. I decided to use the leftover variegated Heather skeins from other designs from Beautiful Stitches/Ann-Marie Anderson-Mayes. I’ll probably still have a full skein leftover and the solid colors.
JoAnne suggests it can be a needle book, coaster, sampler, or bookmark. I will make it a little differently at 4″ x 4″ when folded rather than 3.5″ x 5″. I’ll add 2 rows to make it longer. To make it wider, I made sure it was divisible by 4. I’m using eggshell Congress Cloth.
I basted along the left side because there needs to be 4 empty rows between each stitched row to reach 4″ x 4″.
The top row is a slanted cross that I can not recall seeing before. The diagonal stitch goes in first and then the upright stitches. About twice as much thread gets used on the upright stitches, so the color shift is quicker.
This was not one of my goals for the year. So, it’ll take a back seat and is good for travel. I stitched one band just to have it ready.

The second band was stitched during a Zoom talk given about making technology work for you as you age such as using Uber, setting reminders to get up and move, grocery/meal delivery services, and alert service if you fall in your home.
The next two bands were both the same and stitched Saturday with ANG Central Jersey Chapter at their May meeting after I demonstrated finishing for a round coaster. For Band 3, I went left to right and right to left with the same thread so the colors do not align as they do in Band 4. I started both trips across Band 4 on the left and started with the color matched other end of the thread. Remember that these skeins are symmetrically dyed. You know how much I love symmetry!! So, both bands are the same stitch but both bands looks different.

I got through some of Band 5 during the business portion of my last EGA Brandywine Guild Quarterly Meeting and finished it later that night.

It’s now August and I joined ANG CJC yesterday for the day to stitch on Band 6. I needed to pick up the kit for Winter Lights by Jennifer Riefenberg who is having 2 Zoom sessions in September. CJC is making it difficult to not add more projects to my list! They have a dozen projects with interest sign up sheets. I’ve already stitched one and do like a couple of the others but I resisted (for now).

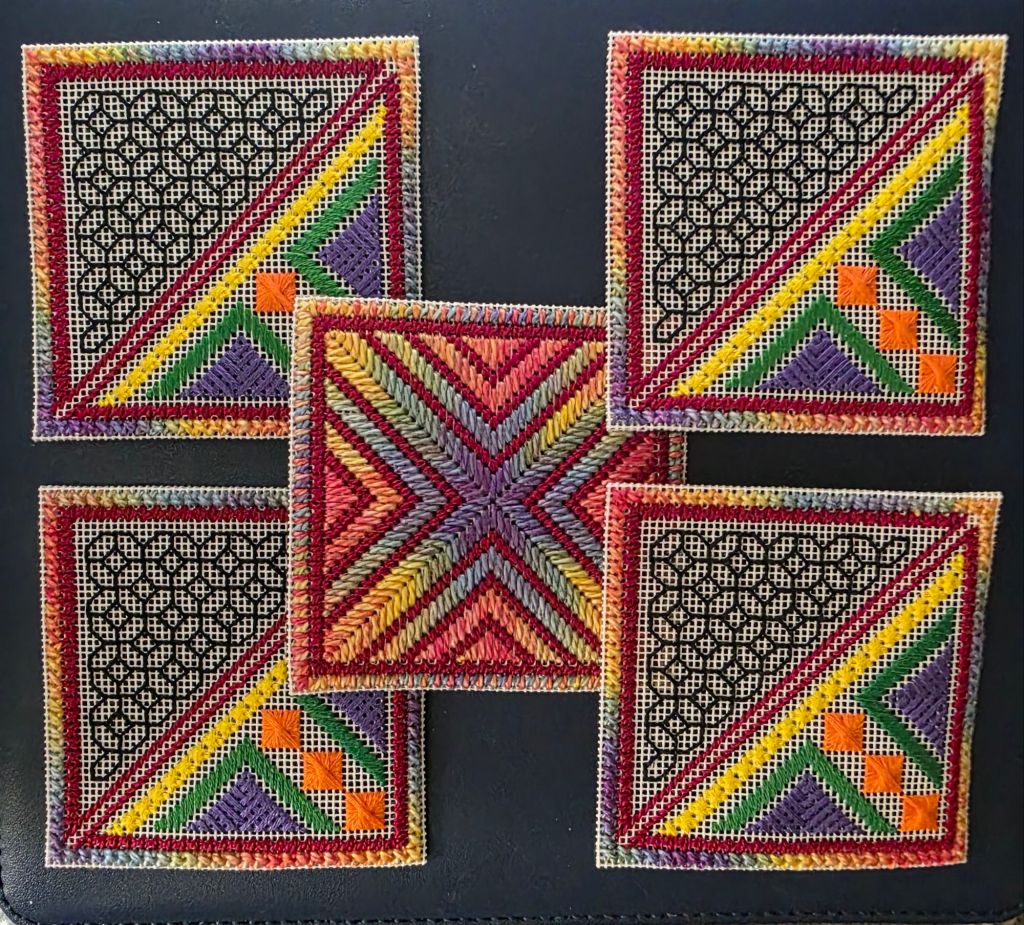
The linings are attached. I used white thread to attach the black ultrasuede on the Folding Ort Box which matches the canvas and is not seen from the front. However, it did show on the inside. So, I used a black marker to color the thread. Can you spot the one diagonal row not done yet?
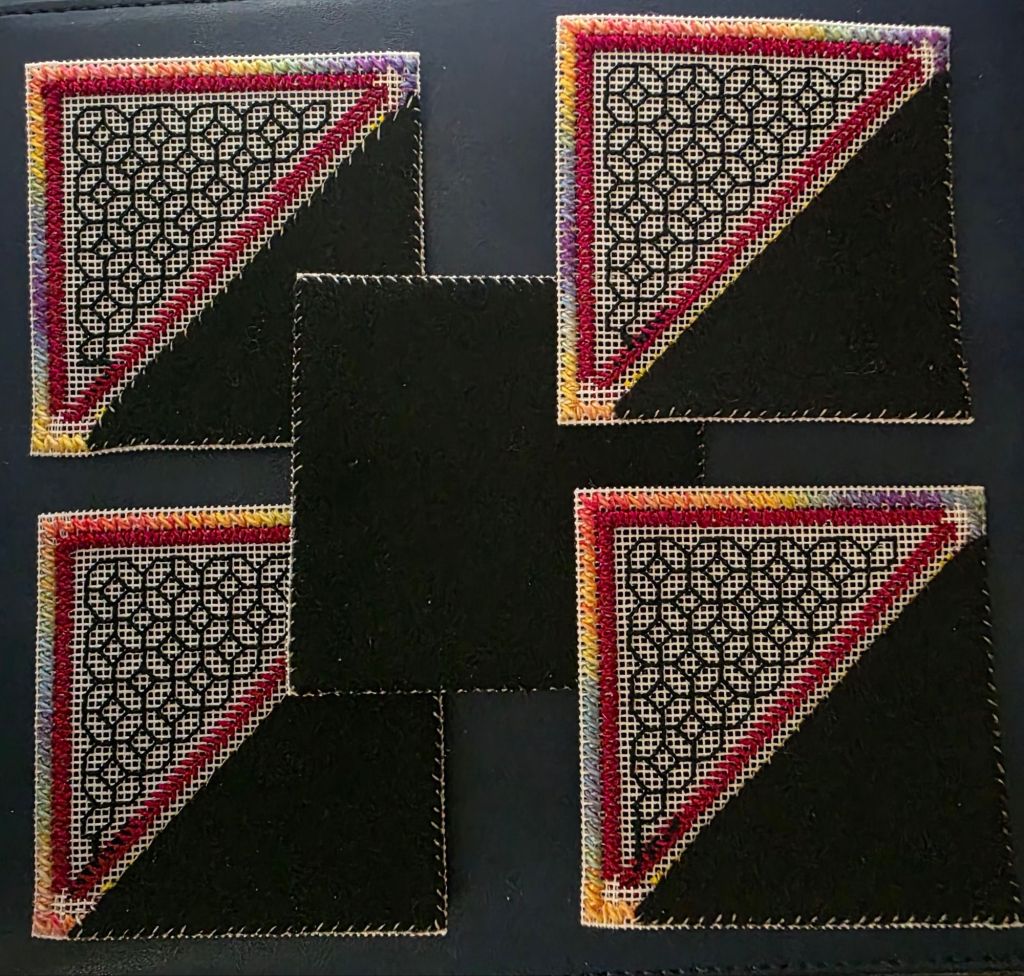
I love the colors with black and the overdyed thread.
For the Ort Box with Pockets, I have a green border, green ultrasuede, and green sewing thread. So, no marker needed.
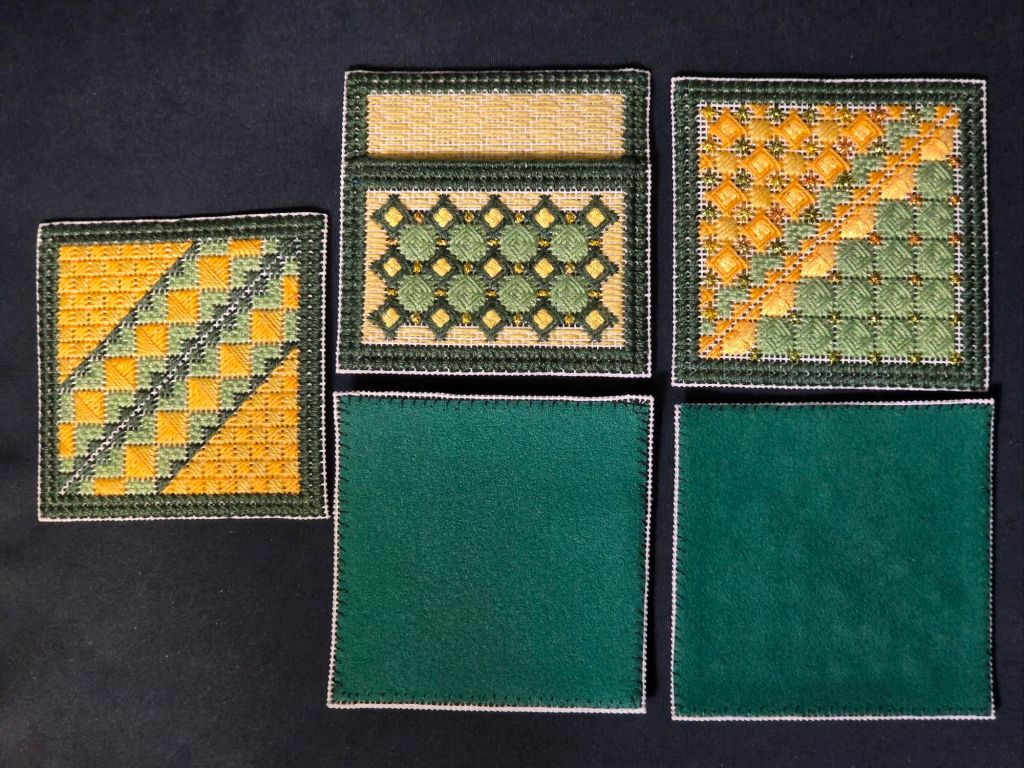
I’m ready for assembly.
This will make a good travel project (small and no bars). I plan switch between reading and stitching during the 3-hour flight to New Orleans. I have gathered my stuff to take with me. One of Debbie Stiehler’s riffs during her talk at the NAN dinner was on who brings needlepoint to stitch on to an event where you will be taking needlepoint classes. Guilty!

Filed under: American Tapestry July 4 2026, General comments
The American Tapestry is telling stories from the Revolution to commemorate the 250th anniversary on July 4, 2026. There are thirteen stories. Read all about them at https://www.americastapestry.com/about
Thanks to Amy and Becky who are leading the Delaware efforts. I joined them at The Chester County History Center in West Chester, PA today.
I worked on Delaware’s panel
https://www.americastapestry.com/tapestries/delaware
Yes, the panels are all that big! The ground is 32-count Belfast Linen backed with muslin.
Gretchen from Oklahoma stopped by after enjoying the samplers on display in the museum. She was in town visiting her sister and just happened to stop in the museum and was so excited to be able to contribute to the work. She and I worked on 4 x 4 cross stitches for the sky (they are small and tougher to count on linen). Gretch is in ANG too. Then, Marnie joined us. I enjoyed it.
To find where and when you can stitch on the Delaware panel in PA and/or Delaware, follow along at https://www.facebook.com/share/g/1JAADnKEG4/ I’ll join them again at some point.
I’m case you’re wondering, I heard about this through my EGA Brandywine chapter. The members of Brandywine are contributing as well. Karen S is stitching the sails for the British warship at home using silk threads with eventual plans for the sails to be applied to the panel. Tom is working on the main body of the ship using crewel yarn and Patrick is designing a British flag for the ship.
Pennsylvania has a panel too (https://share.google/qduFTN3S4sThOvcJj).
The PA panel is available to work on every Thursday from 5pm – 9pm and every Sunday 12pm – 5pm at The Glenshaw Public Library (1504 Butler Plank Road in Glenshaw, PA).
I hope these all get displayed nearby eventually. That will be impressive.