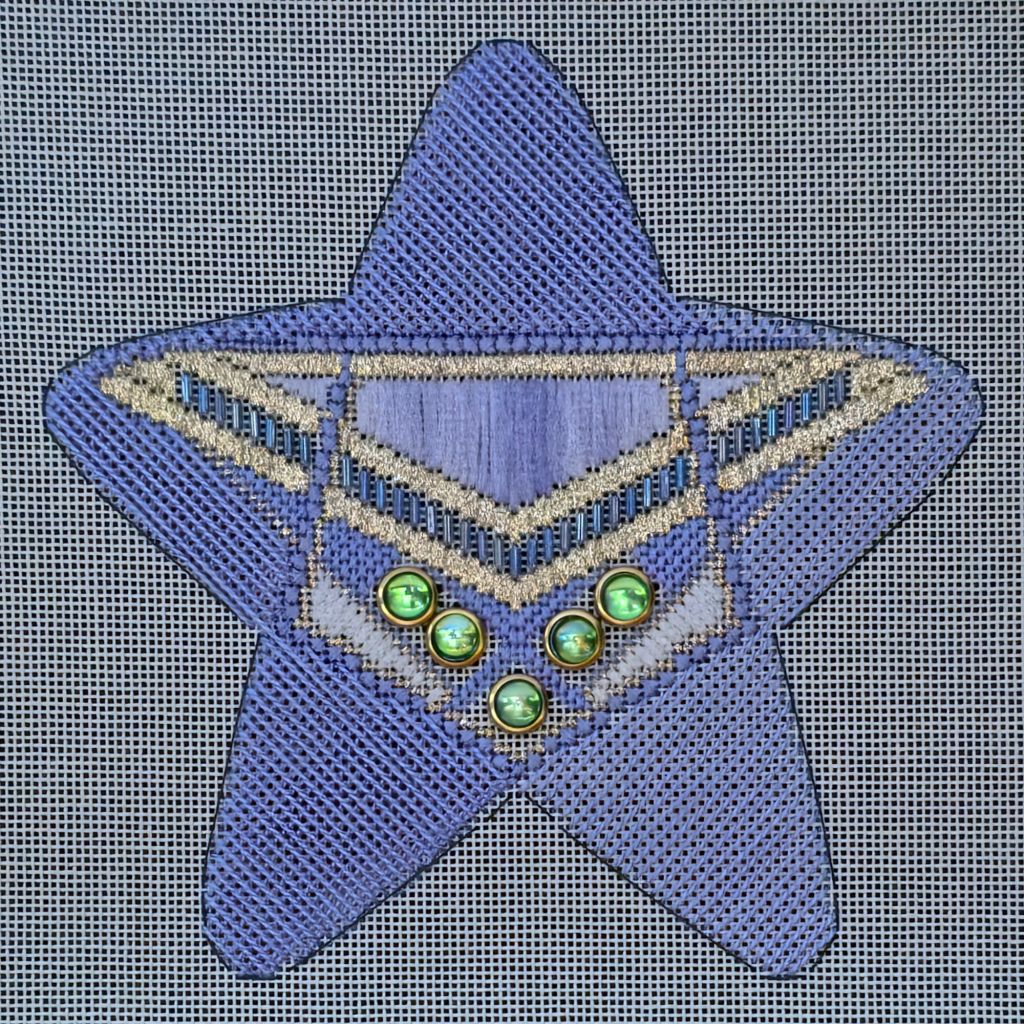
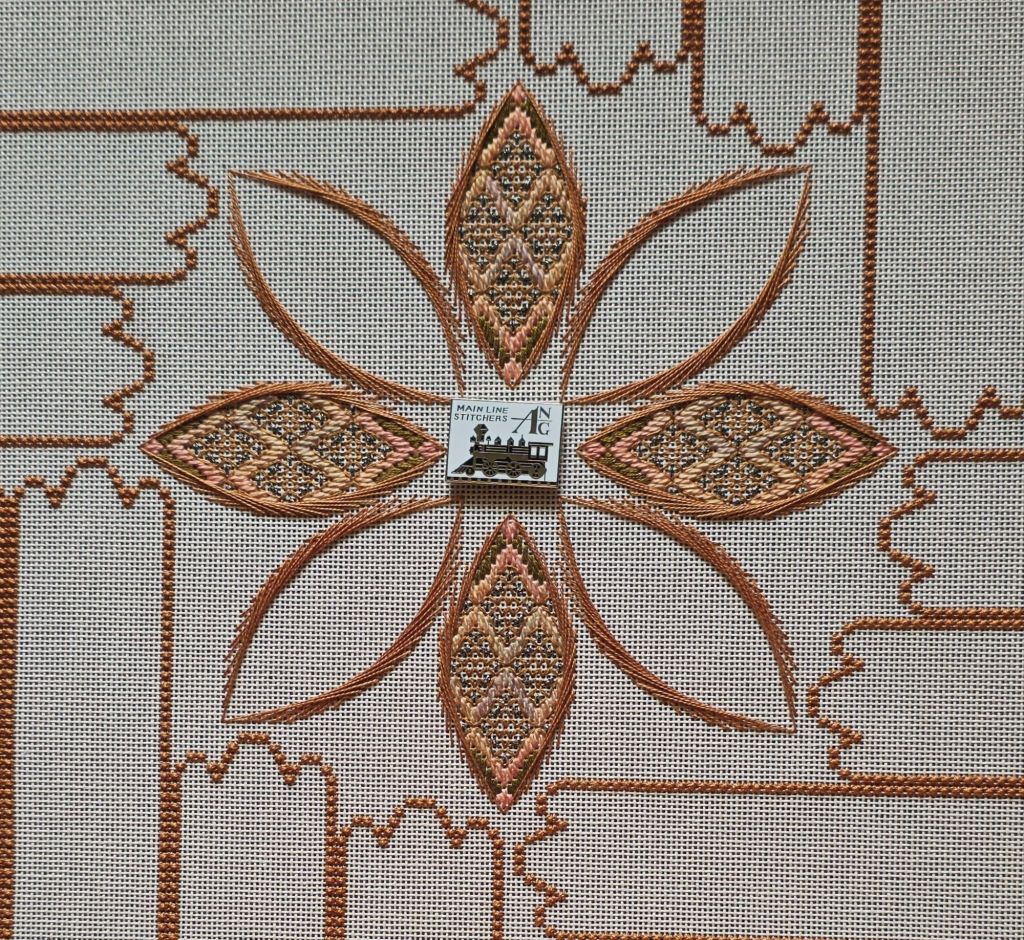
Next up is Faith from The Cabochons Series by Susan Portra. It’s on a lovely Lavender canvas. Most of the thread colors are in Rhapsody. The blue Fyre Werks is the outlier but all work together nicely.

I got the center column of Rhapsody in before Saturday and added the outlines during our Stitch-in. I would have gotten more done except for having to remove my first outline row on the right side. It didn’t become apparent until I reached the bottom and was off by one canvas thread! Oh well. I was back on track soon enough and finished later that night watching a classic 1940 sci-fi horror film Dr. Cyclops presented by Svengoolie on MeTV, our usual Saturday night.

Part of my fascination with this series is seeing so much fit into a relatively small area and how everything fits together in a cohesive design.
Knowing several of my pieces of beeswax had served me well for far too many years, I quickly ordered a package of Petites, the original morsels, when Mary Corbet announced their availability at Needle ‘n Thread.
As always, Mary provides a wealth of information about her hand-crafted beeswax at https://shop.needlenthread.com/product/beeswax-petites
I use beeswax when using cotton or silk strands to strengthen the threads when beading with them. Bugle beads especially have sharp edges and might cut the threads. Beading thread is already strengthened and doesn’t need beeswax applied.
My old beeswax didn’t have bloom – it was just dry and flaky. Aren’t these lovely and the packaging is perfect! Almost too pretty to use.

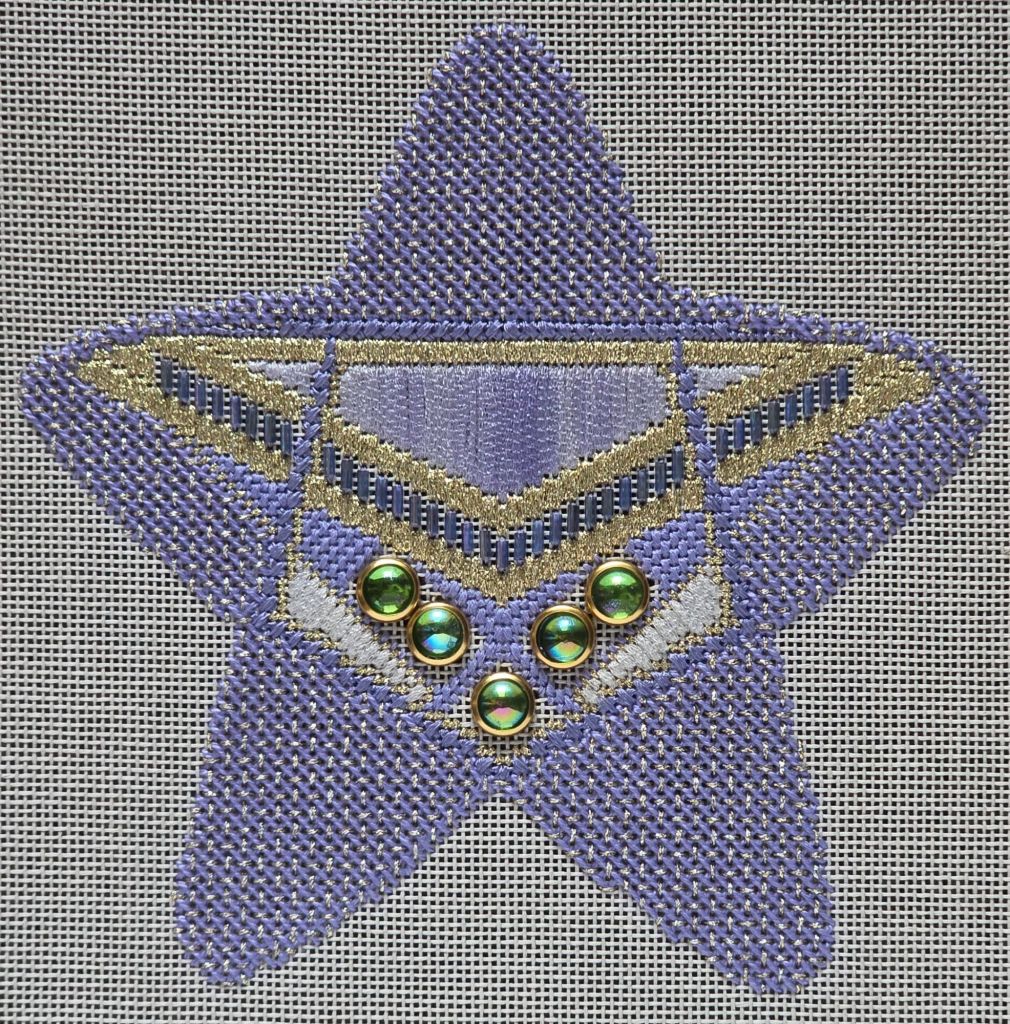
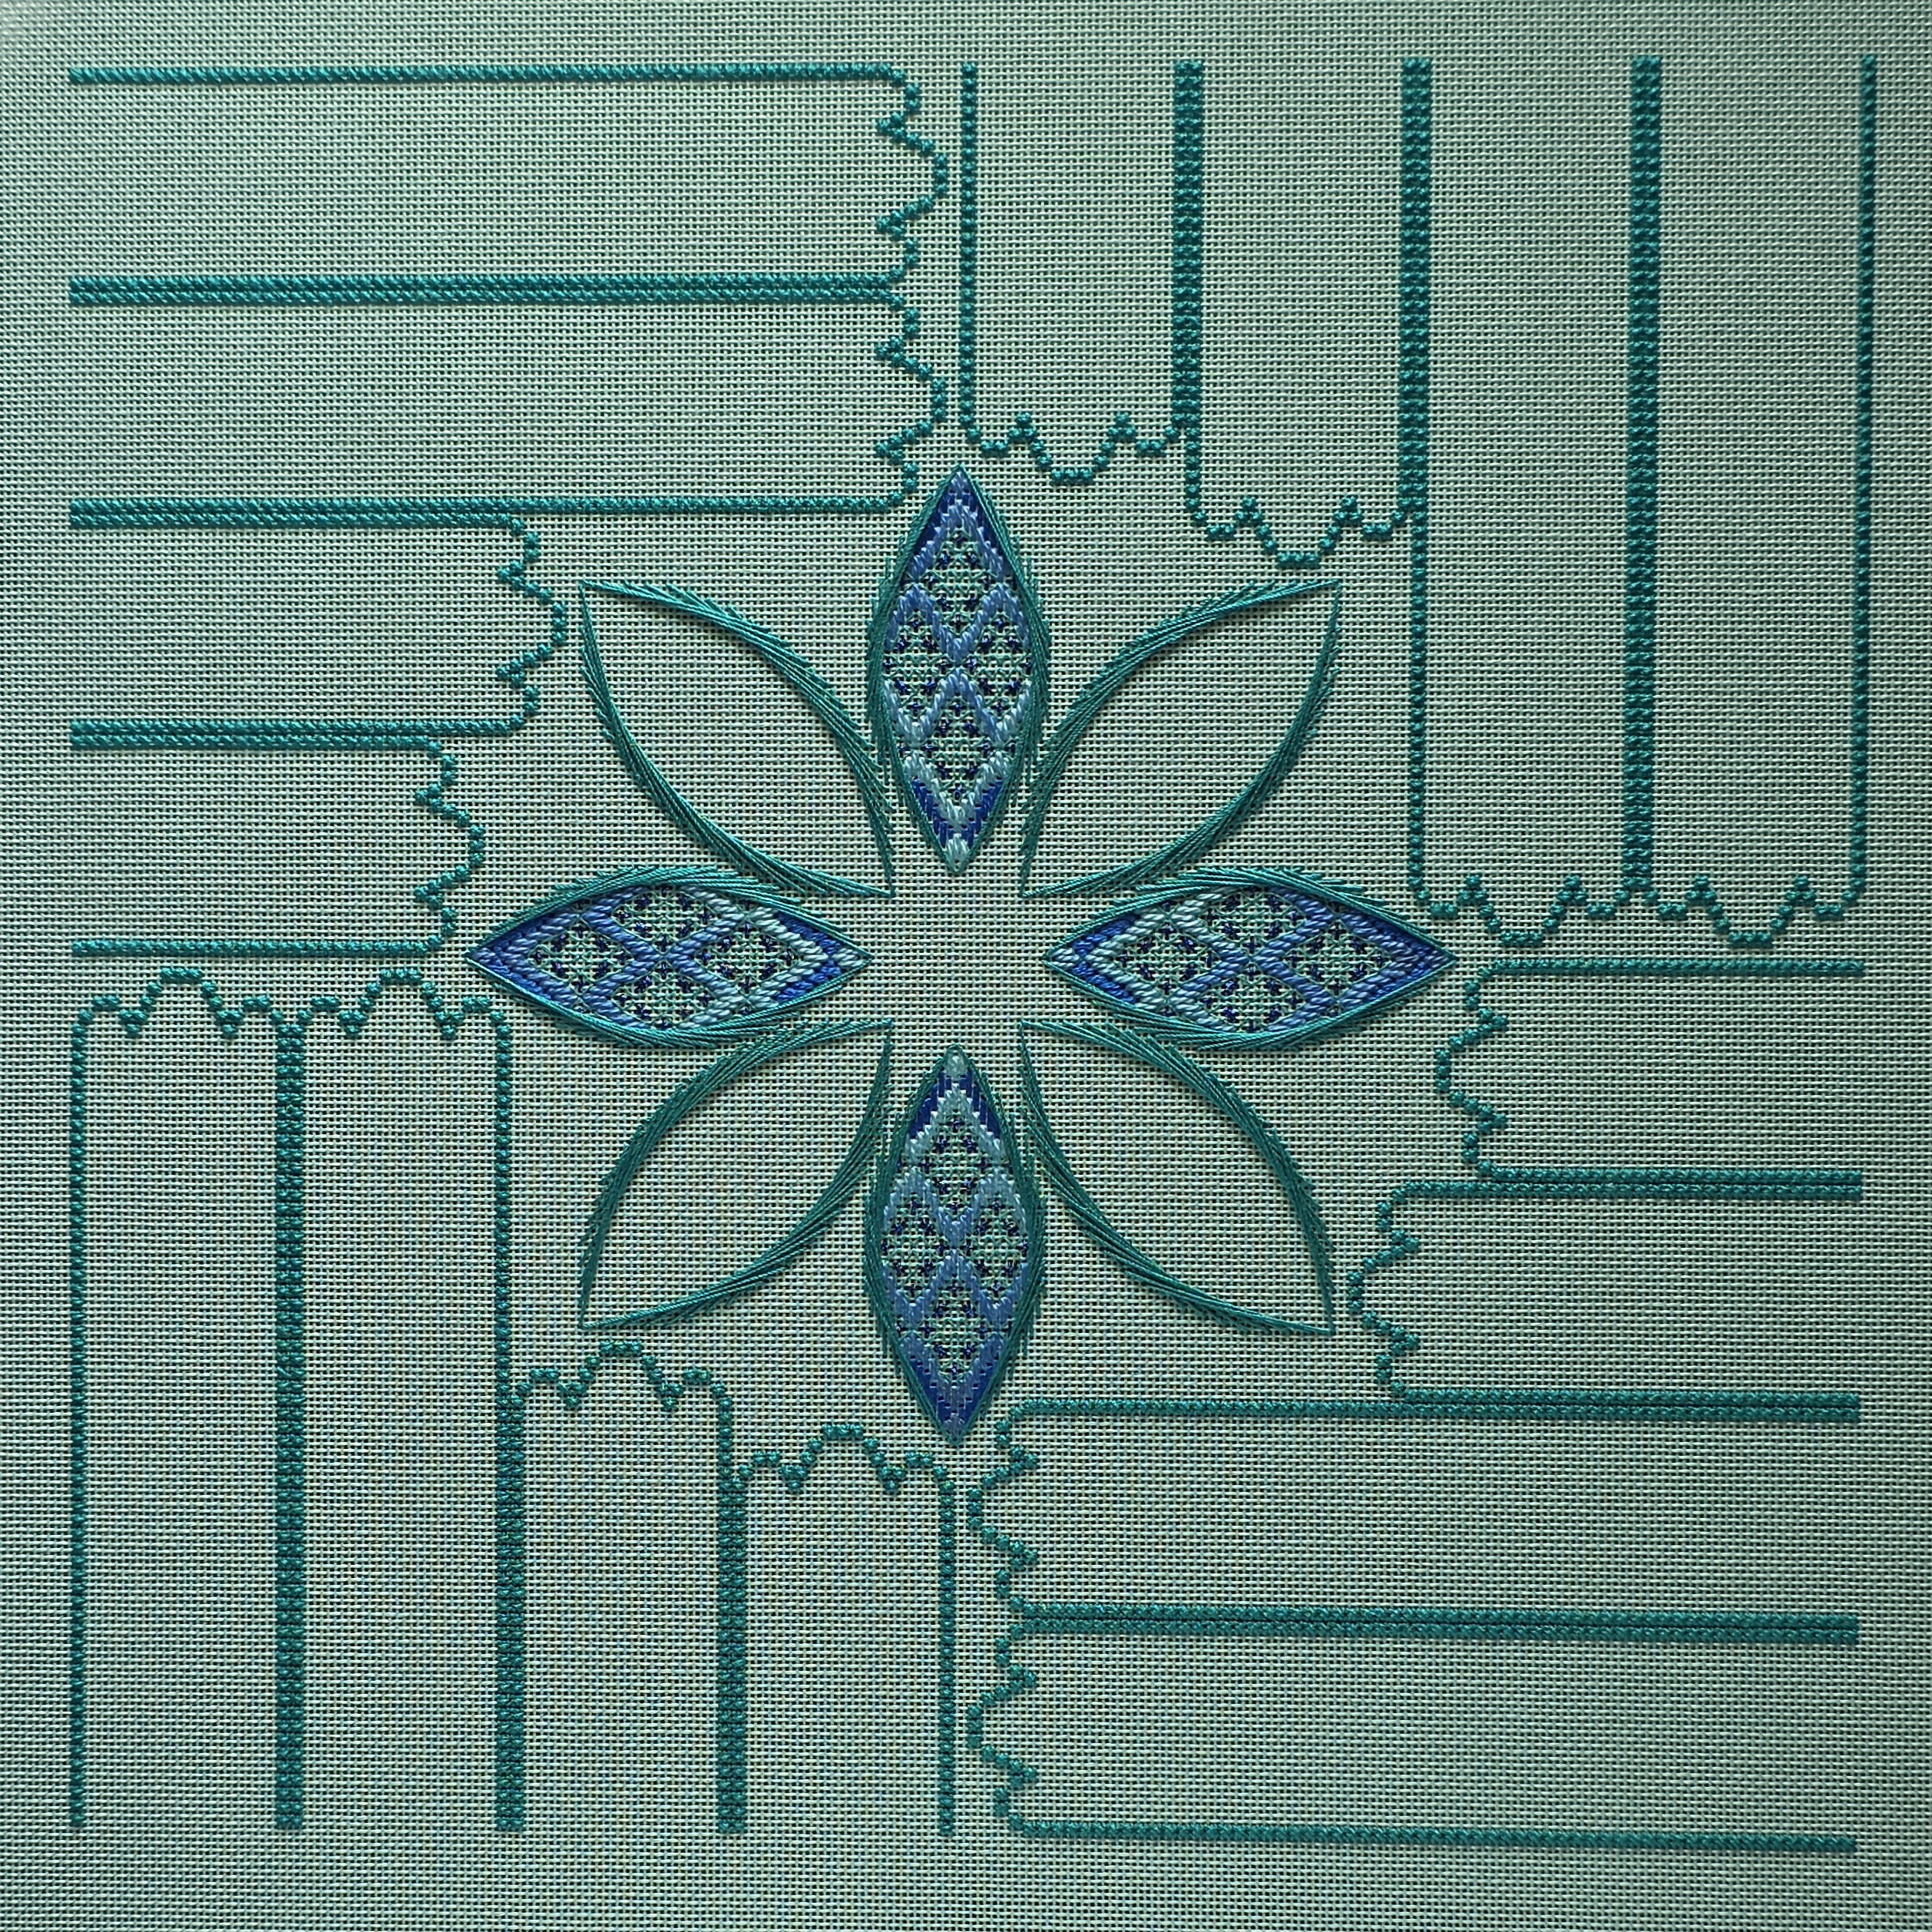
Step 1 of filling in the background of Hope from The Cabochons Series by Susan Portra was the long strands laid on the true diagonal first one way and then the other. I only went wrong a couple of times and saw it quickly enough.
I wanted the long stitches laid before our Saturday ANG Main Line Stitchers Chapter Stitch-in (in April) to be sure of the pattern. It took a couple of nights to get these in. The top ones were a little tricky even though they are on the true diagonal.
When I saw this photo, I thought it was the light that reflecting oddly. Can you see it? I didn’t see anything missing. So, I continued.
I got 2 tack down stitches in when I remembered how much I disliked Tiara. So, I went to my Kreinik gold drawer and found 102 looked so close to Tiara T101 that I decided to switch. I happened to have 2 full spools and one very full spool in #8 Braid. I won’t have to Hope that I’ll have enough. That made my day!
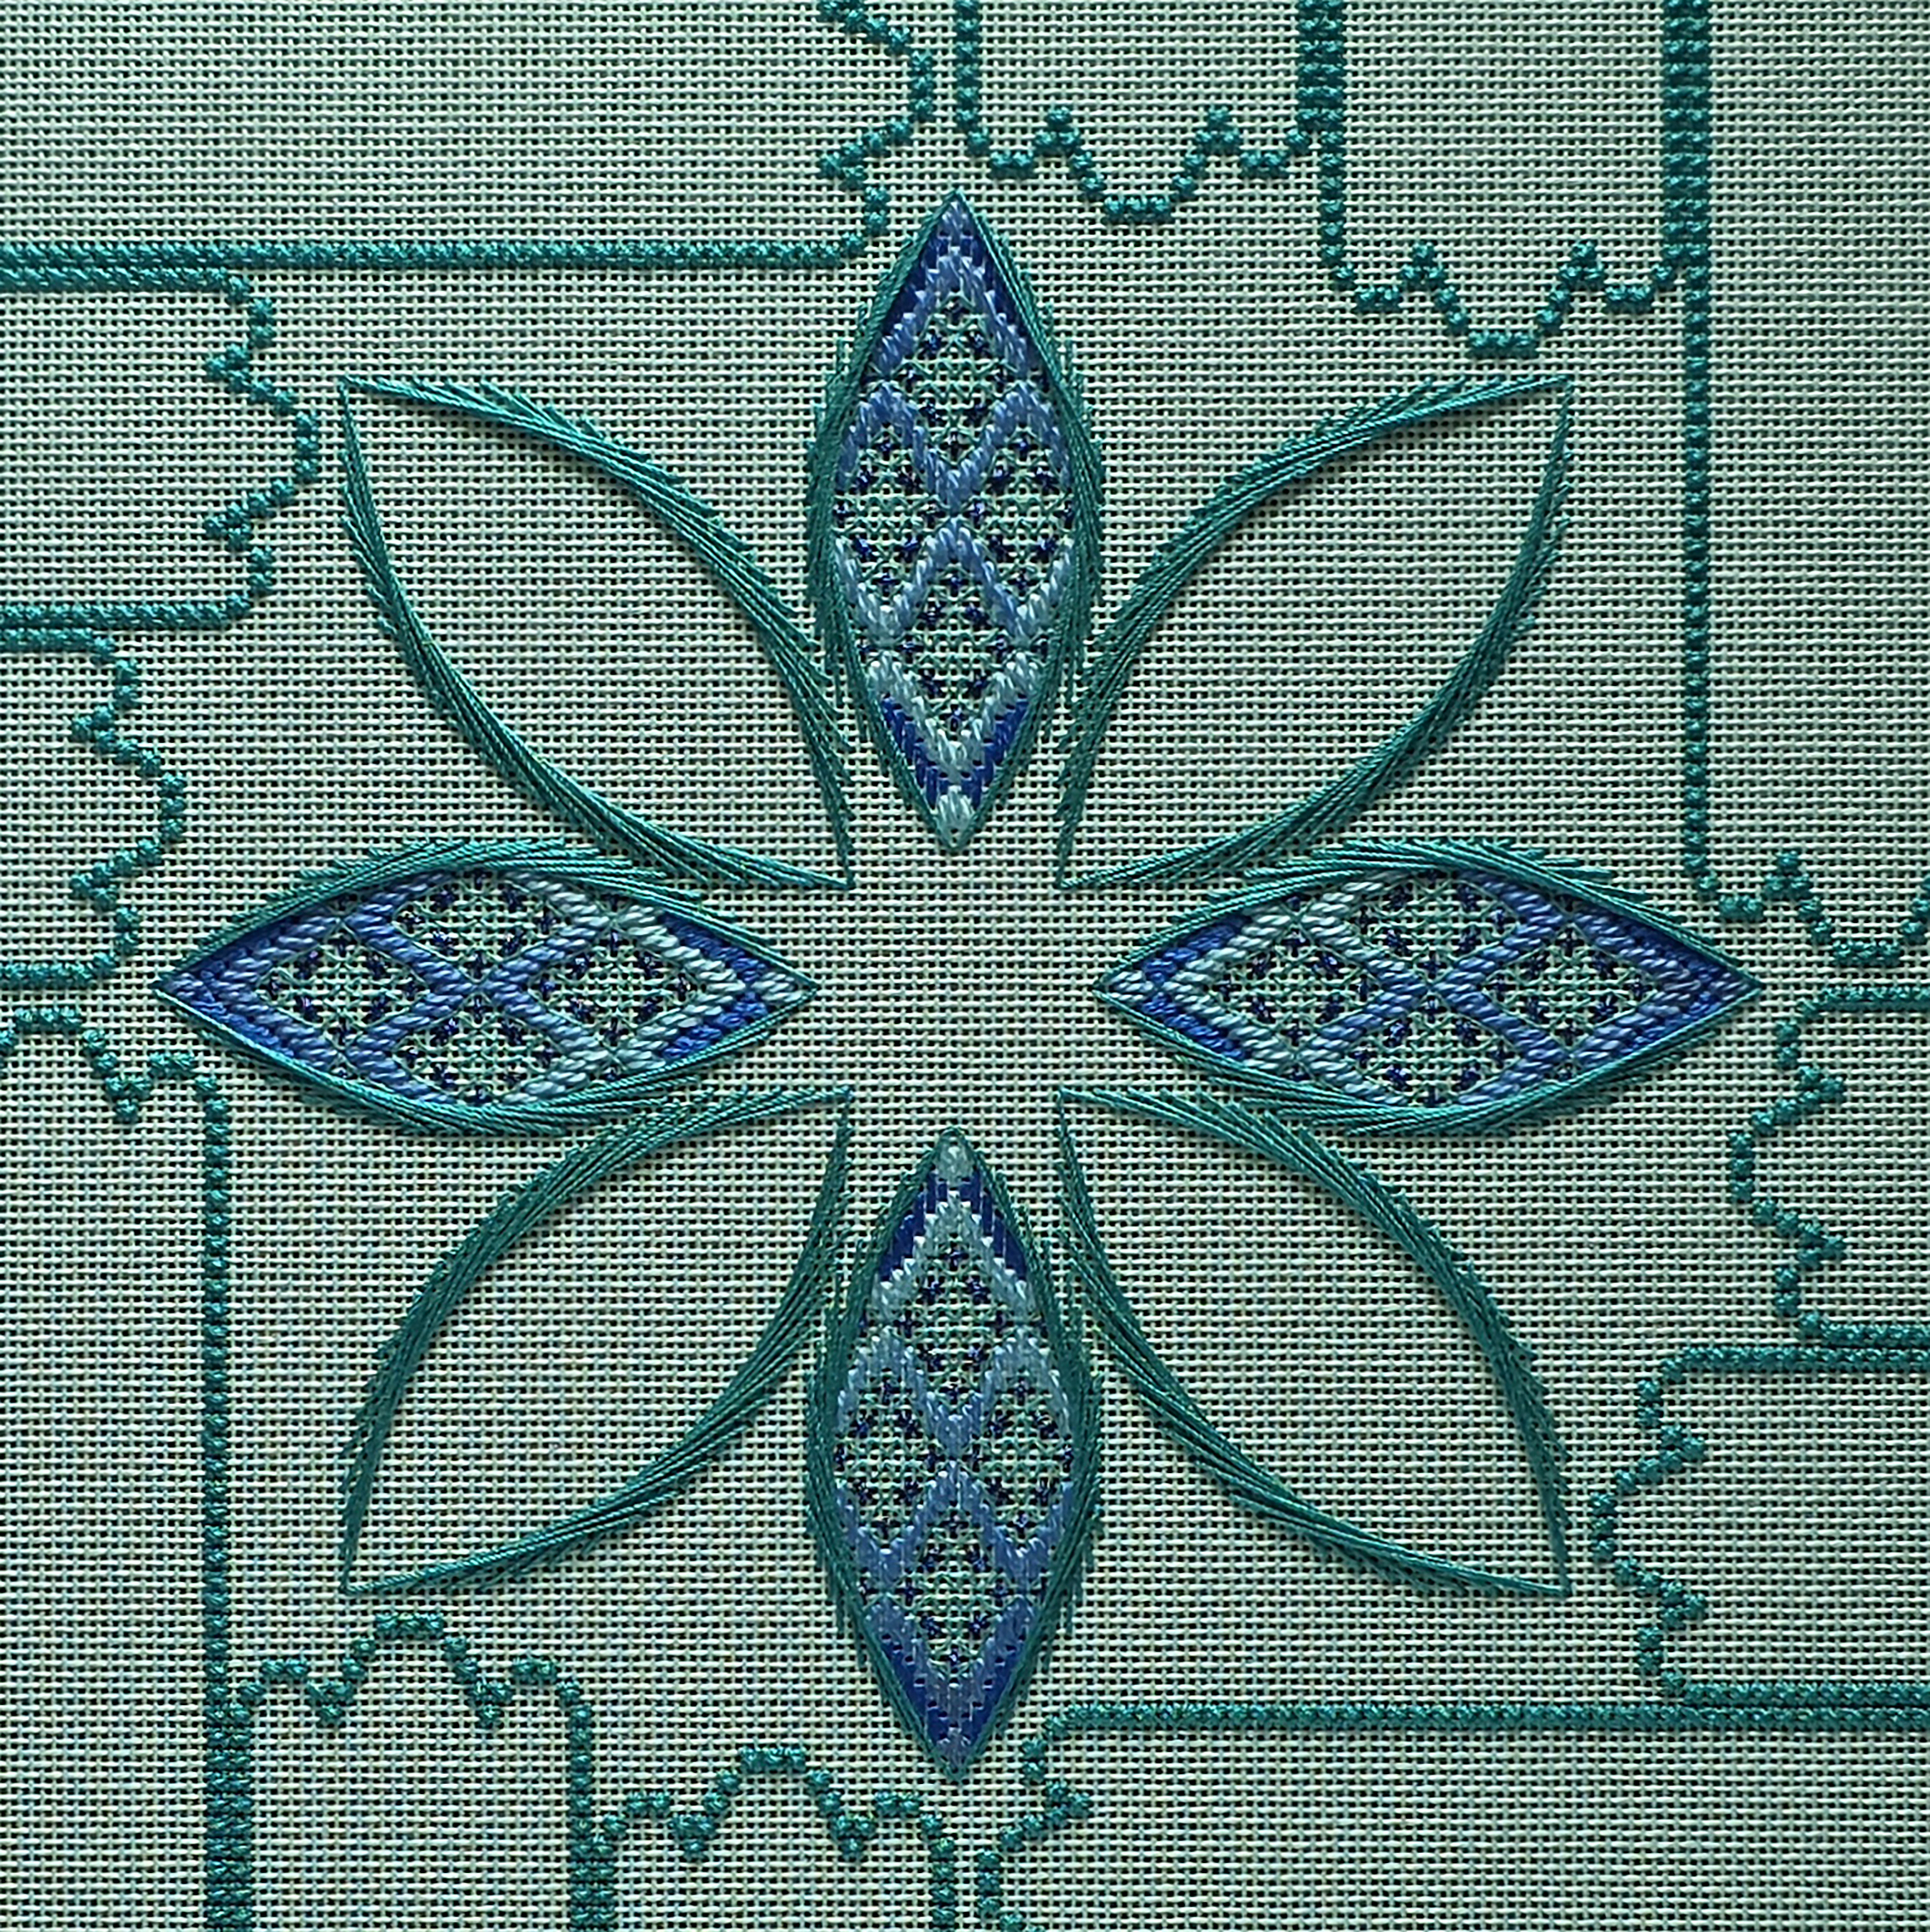
I got 3 rows of tacking stitches in when I saw it wasn’t the light that was an issue! I missed laying the threads in the opposite direction on the two right areas. That was easy enough to remedy.
Although I was ready to stitch, I didn’t get any done at that Stitch-in because I was working on our group Santa canvas. It’s looking good!
But, I did have time to work on it a few days later at a Stitch-in with my EGA Brandywine chapter and again during a couple of Zoom meetings over the last month. The tacking stitches took some time but it really turned out nicely. The color in the photo below is more accurate than what’s in the previous photo. Today was an overcast day when I got the photo.
I’ll use this ornament to demo finishing for my Needlework and Textile Guild of Media in June. I’ve got a couple of weeks to prepare.
Now, I’ll get the next Cabochon ornament on the bars for our May 22nd Saturday Stitch-in with ANG Main Line Stitchers. I’m excited to see what’s ahead.
Filed under: Brandywine Chapter, Depression-era Crayon Art, Embroidery Guild of America
Crayon Art or Crayon Tinting was popular in the 1930s and demonstrated the resilience of creativity throughout the Depression. Who better to lead this practical and resourceful use of crayons (remaining from his 30+ year-old son’s Crayon box) than Patrick B of our EGA Brandywine Chapter.
Patrick provided everyone with a 27″ square sack cloth (nicely edged with a cloth hook in one corner). We selected patterns from coloring books or brought our own (which is what I did). We traced the design onto the cloth with a Micron pen, colored them with crayons, and heat-set them with an iron. A paper towel placed on top of the crayon protected the iron.

Then, we embellished the designs. I’m only going to stitch the veins. It’s a little more work on a towel than I would normally do and it’s too large for our kitchen. So, it’ll have to go in the basement next to the sink in the laundry room. We have a long golf towel there now.
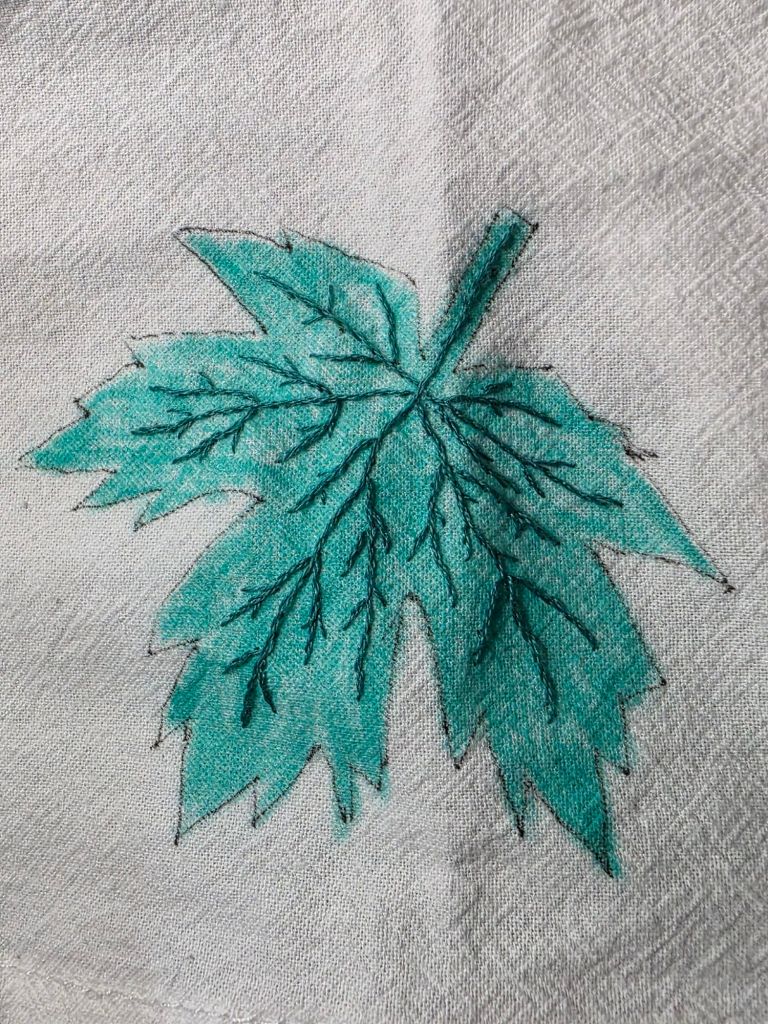
I accidentally placed and colored 5 leaves along one side. It hangs like a diamond and I should have placed them differently. It wasn’t until I had left our meeting and was showing friends that I saw what I had done with the placement. And, there is one traced and uncolored leaf in a corner by itself. I’ll have to trace and color 3 more leaves! Since I don’t have any crayons (this is why I hate getting rid of stuff) and want to use the same colors, Patrick is lending me his crayons!
Filed under: ANG Main Line Stitchers Chapter, Razzle Dazzle by Ann Strite-Kurz
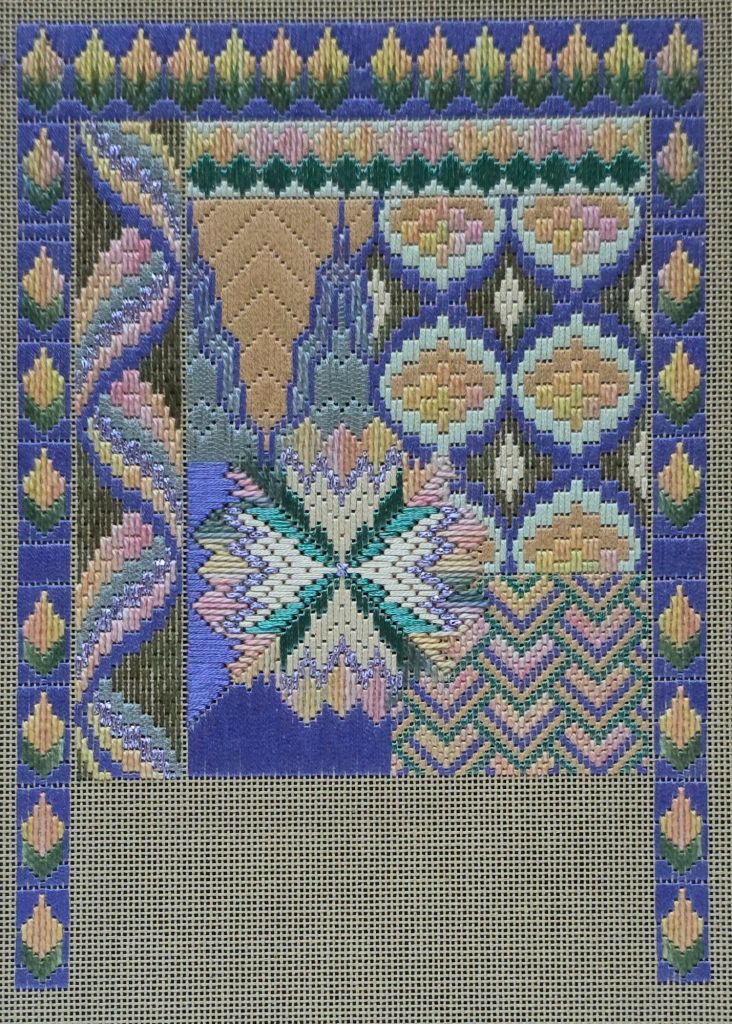
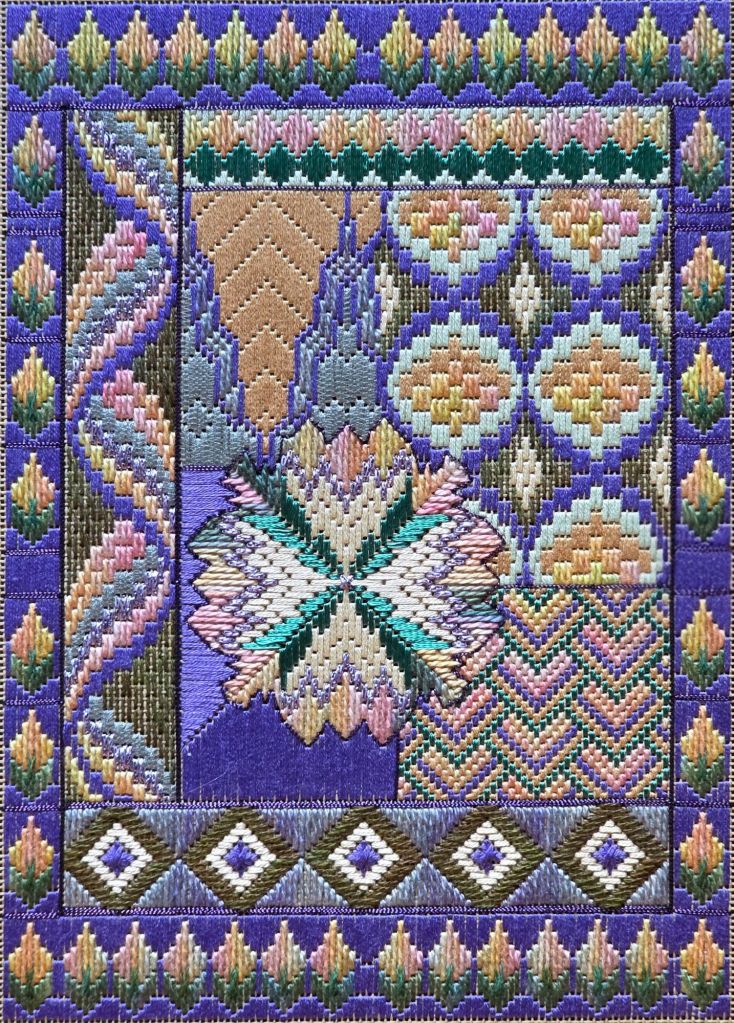
The four center areas in Razzle Dazzle by Ann Strite-Kurz, Ribbon Borders are done. Nothing too difficult because she charted the blackwork. Except for the side trips on the sides, it never felt intuitive. I guess that’s something!
Ready for the next area. Or am I? The colorway isn’t popping for me. What is a stitcher to do!?!
I had recently found 2 pairs of 21″ bars in the basement. Thinking I might switch to another colorway and that I could shop for it at the last EGA Stitch-in at Fireside, I calculated how many cards of Elegance (a silk pearl #8) I would need in place of 2 balls of DMC Pearl cotton #8 (since Fireside doesn’t carry it). It turned out to be 9 cards but I thought it might be brighter and I wanted as much pop as I could get (so, worth the extra cost). Fireside’s website had indicated they didn’t have any colored 18 count canvas left. So, I didn’t think I’d be shopping for a new colorway and didn’t bring the instructions. However, when I arrived, they did have the aquamarine canvas that I wanted. So, I found Watercolours 068 Mediterranean that looked great with the canvas. There was a fantastic color available in Elegance E880 Teal and I found 2 colors of Kreinik #8 Braid (033 and 044). I couldn’t remember what other threads I needed except for Petite Very Velvet. More about that next time.
It was much easier stitching this the second time around. It took 10 days to get this done and I worked on 2 other projects to break up working on all those Smyrnas! I still needed to look at the blackwork diagram frequently. I’m very happy with this one. And I will continue with both colorways for now.
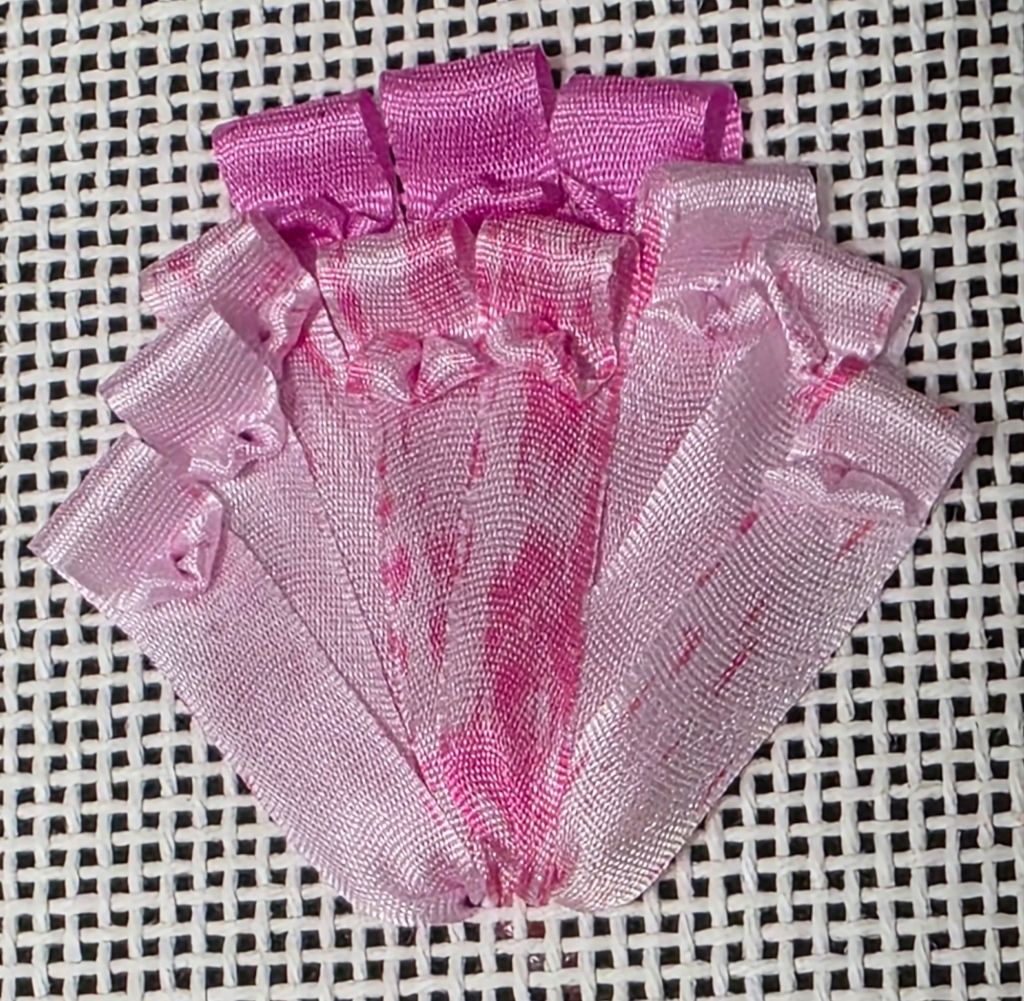
Our double knock out yellow roses are the first to bloom in our backyard this year. Spring, flowers, and no air conditioning needed. Wonderful. And it makes me happy to get some work done in my Spring Lollipop Garden by Tamara Abdee.
I’ve added the pink Tulip although I need to pay more attention to what part of a marbled ribbon I cut.
The purple Lilac was the most complicated one yet. The three blue Forget Me Knots are quite cute. The two bluefish purple Hyacinths are not supposed to be symmetrical in order for them to be more realistic. I think the right one really nailed it but the left one is fine.
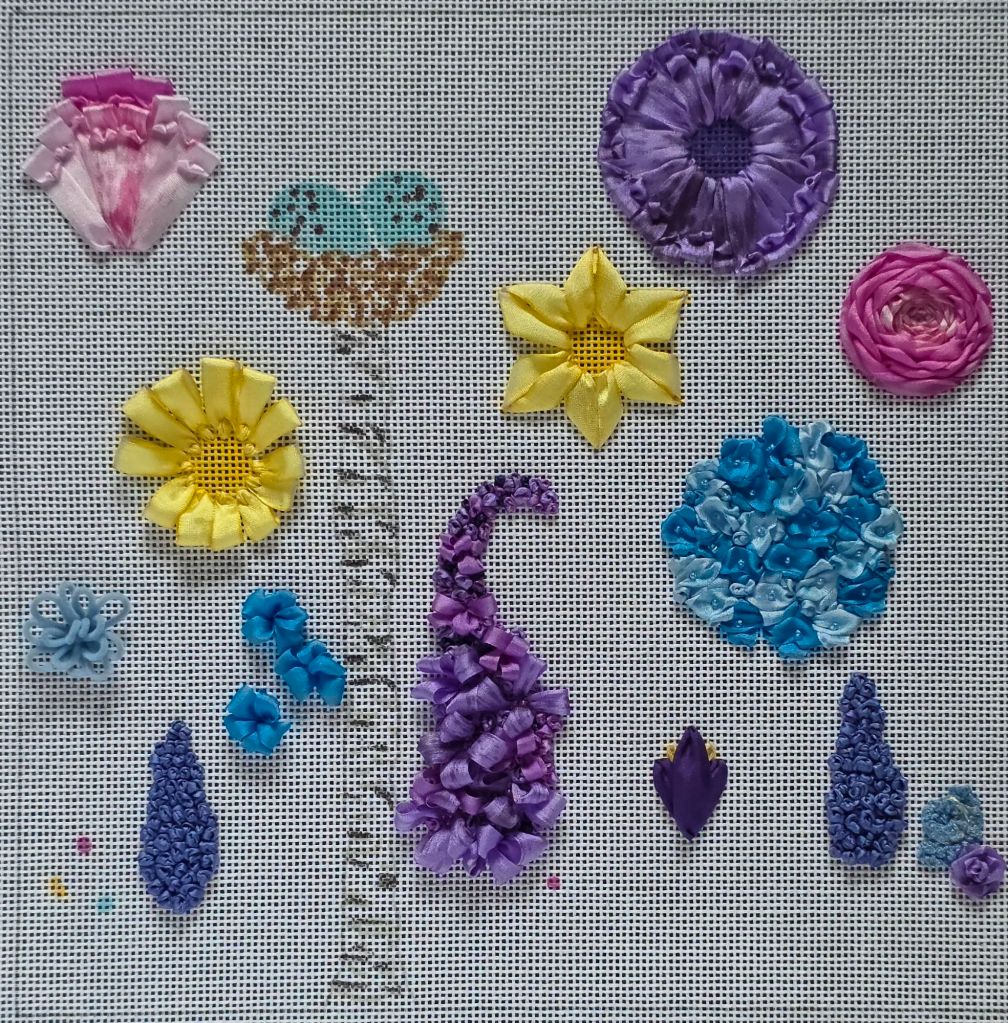
That’s it for the flowers. Next up is the Birch Tree and Nest.
Even with white board relecting the light, there are still shadows. Photographing needlework is tough!
Ta Da! Florentine Fancywork by Toni McKelley is finished. The bottom border was easy enough. I’d saved the sections of Watercolours to match all the other flowers and Rainbow Tweed for the small green stems (done in oblong crosses).
Rather than use the purple Splendor to outline the areas, I went to my favorite stash – Bijoux and found Amethyst MMT412. In order to get the full effect of any Bijoux, long stitches are needed but these were so long that they need to be couched. The construction of the thread creates ridges. I used either 2 or 4 strands laid and 1 to couch with.
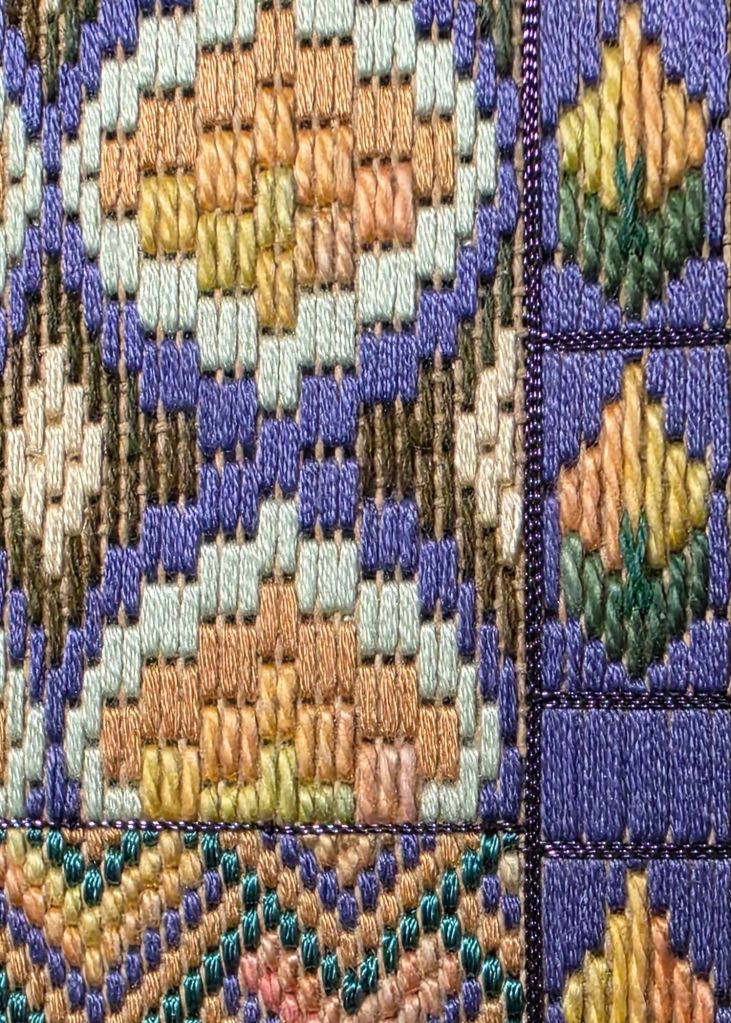
From a distance, you don’t see that but the outline is apparent.
Love it!
With this done, I can return to and rotate through Magical Colors by Jennifer Riefenberg, Spring Lollipop Garden by Tamara Abdee, and Razzle Dazzle by Ann Strite-Kurz.
I’ve decided that I don’t care for the feel of Rainbow Gallery’s Rainbow Tweed. It’s 44% Cotton, 39% Wool, and 17% Acrylic. But, this is the end of it for this piece.
Toni McKelley called this area in Florentine Fancywork a God’s Eye Variation based on motifs from the 70s. I vaguely recall them after I googled them but didn’t know that’s what they were called.

Nearing the finish now! Exciting.
Filed under: Brandywine Chapter, Embroidery Guild of America, Huck Embroidery Towel
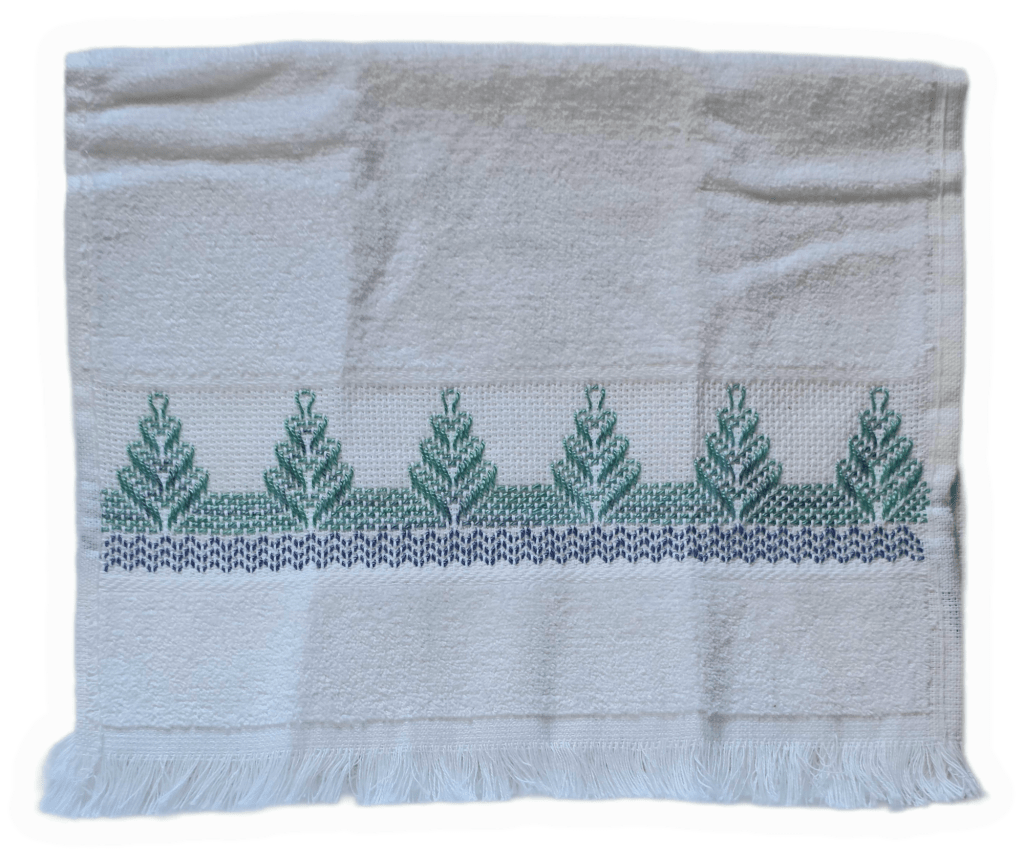
Before I can dive into the book Swedish Weaving Pattern by Kayerine Kennedy, I had to do the two free online patterns that I handed out to the EGA Brandywine Guild members. Some of us will be getting together on Thursday for a Stitch-In at Fireside Stitchery.
I did this pattern, Autumn Windbreak by Sue Meier, previosly using a red and blue Waterlilies but hadn’t left room for the bottom zigzag border. By counting better, the whole pattern just fits on the towel. To end the thread, I ran the needle and thread into the center of the edge where it’s folded for about an inch before bringing the needle out and cutting the thread. I like it better than running back through on the front. The pattern can be found on the Wayback Machine at https://web.archive.org/web/20090419090854if_/http://www.nordicneedle.com:80/newsletters/stash/10/autumn_windbreak_09_29.pdf
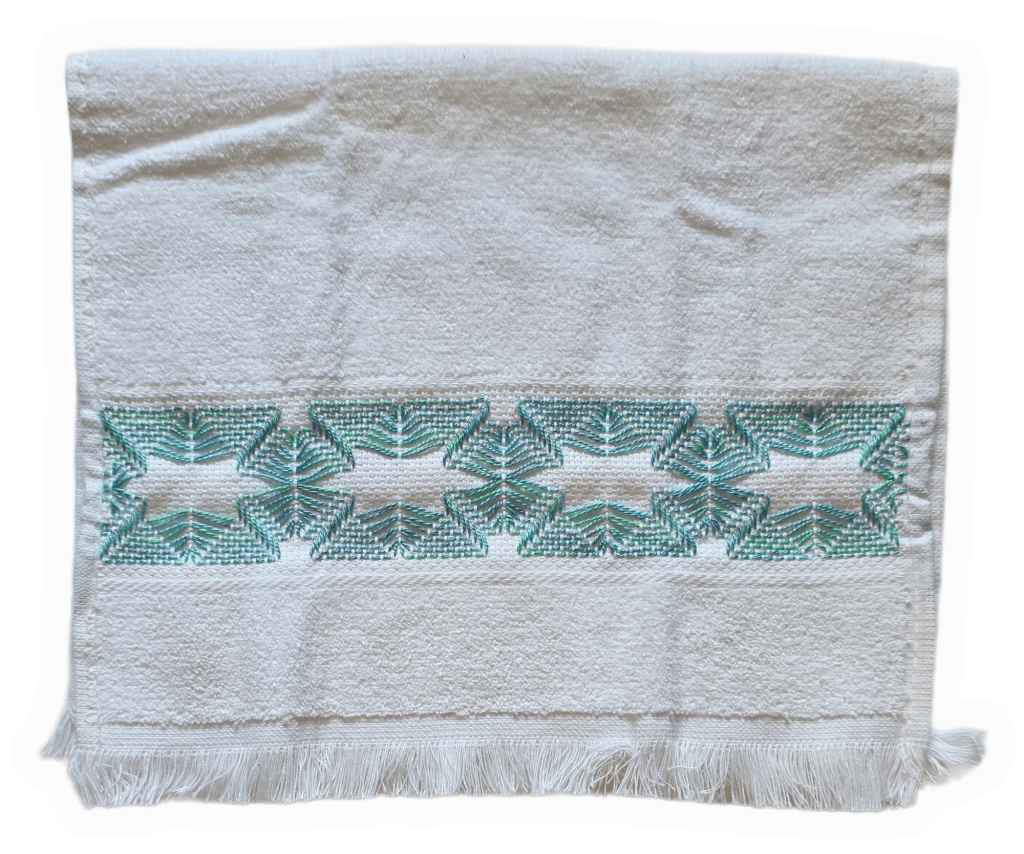
This second pattern, Broken Arrow, came from Swedish Weave Designs (.com). I hadn’t gotten it done prior to our April session but I can bring it to our May session when we do crayon transfer.
I used the variegated DMC Pearl #5 4030. This was tougher than I expected. For some reason, I had a heck of a hard time with the mirror image on the bottom even though I had the whole pattern printed. But, it’s a pretty pattern and is now our current decorative towel in our bathroom. Bill understands that it is not to be used!
I’ll swap out towels for some variety.
Tiny Little Hearts = Huge Headache when you don’t count correctly! I was off and couldn’t figure out why. So, I sent photos to Linda M and in no time she found where it was off.
Initially, I decided to add one extra stitch and quickly found out that didn’t help at all. So, I did what I should have done from the beginning and removed the wrong portion. Then, it moved along until I tried to compensate along the side. I had to wait until all the full motifs were done. Then, it took some effort but I got it!