Filed under: Beads, Brandywine Chapter, Embroidery Guild of America, General comments
Beaded Garden Wands were for sale at a store in Naples, NY earlier this month and knew I had 2 beads from a trip Bill and I had taken to Aruba! It seemed like a great idea to make my own and finally use those beads.
I found this 8″ screw at Home Depot. It was the only 8″ screw that was black – all others were silver. And, there no other black ones in the aisle! The silver ones were screws the complete length while this one is smooth on top.

So, while at the Blue Santa Beads making a Chatelaine with my EGA Brandywine Guild, I looked for beads. Most of the beads didn’t have a wide enough hole to work on the screw (including the 11 beads and the bicone in the next photo). But, I was undaunted and had an alternative in mind.

Today, after talking with the ANG Shenandoah Chapter about Festive Fireworks because they are stitching it as a chapter project, I had fun picking out the rest of the beads from my stash.

I used either beading cord or beading thread doubled. I wrapped around the screw using up almost the entire tube of Czech multi-colored beads! I also used the rest of the 6 mm round fluted purple beads that I used on Edward Scissorfish. There are drops of glue here and there. I bought 6 little bottles of Super NEW GLUE by Euro Tool. Have I mentioned how much I love that dropper bottle and the glue? It dries quickly and doesn’t clog.

However, it’s not like the ones in Naples. It’s not as bright. Bill’s right, we won’t be able to see it in the backyard. So, I placed it my little Lenox vase with 4 metal roses and we can see it in the living room. Perfect.

Today was and the next 3 days will be great for stitching thanks to the US Open.
Filed under: Brandywine Chapter, Chatelaines, Embroidery Guild of America, General comments, Scissors, Tools
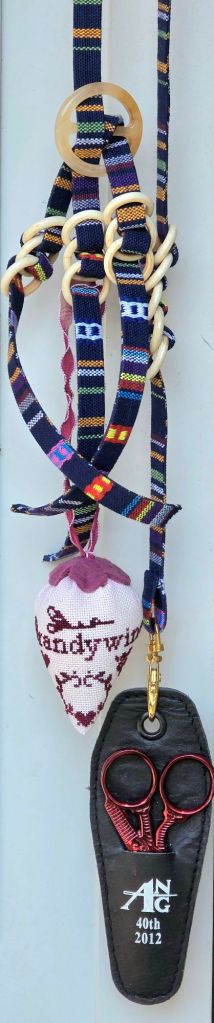
Patrick led us through making chatelaines today at Blue Santa Beads in Media. I needed a special tutorial from my neighbor, Susan, after she figured it out while Patrick helped others. There were 10 of us there. He did an excellent job of getting us through this project. Getting rings on is not easy. I had 2 different sets of instruction and they still don’t make sense!
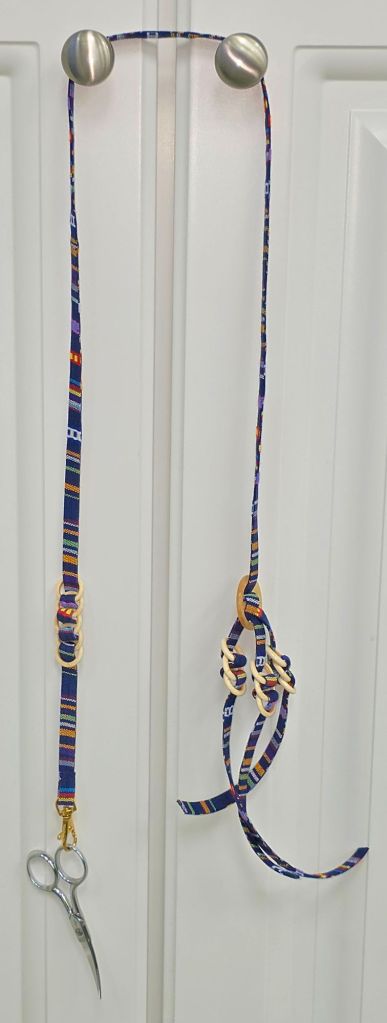
When I got home, I found scissors that have a protective leather sheath so that I won’t get stabbed when I wear it. It’s from ANG 2012 Seminar in Philadelphia celebrating the Guild’s 40th Ruby Anniversary. And, I placed the EGA Brandywine Guild strawberry on the other end. I can add 3 more tools. I haven’t decided what else to add.
I had cording and rings left over. It’s not long enough to hang around my neck. And, I don’t know what I’ll do with it yet. But, something will come along.

There was plenty of time to shop for beads for 2 other pieces that I’ll be posting about over the next few days.
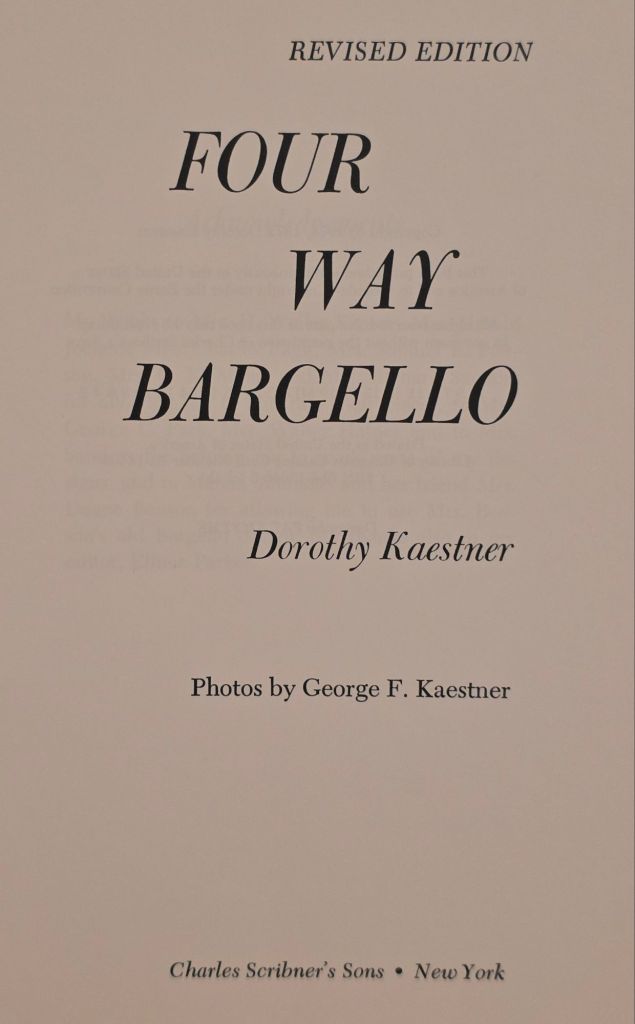
Four Way Bargello by Dorothy Kaestner, 1974 is on the EGA Bibliography for EGA Master Craftsman Canvas, Step 4. I don’t have a book cover for this one. It’s a hardcover red book.
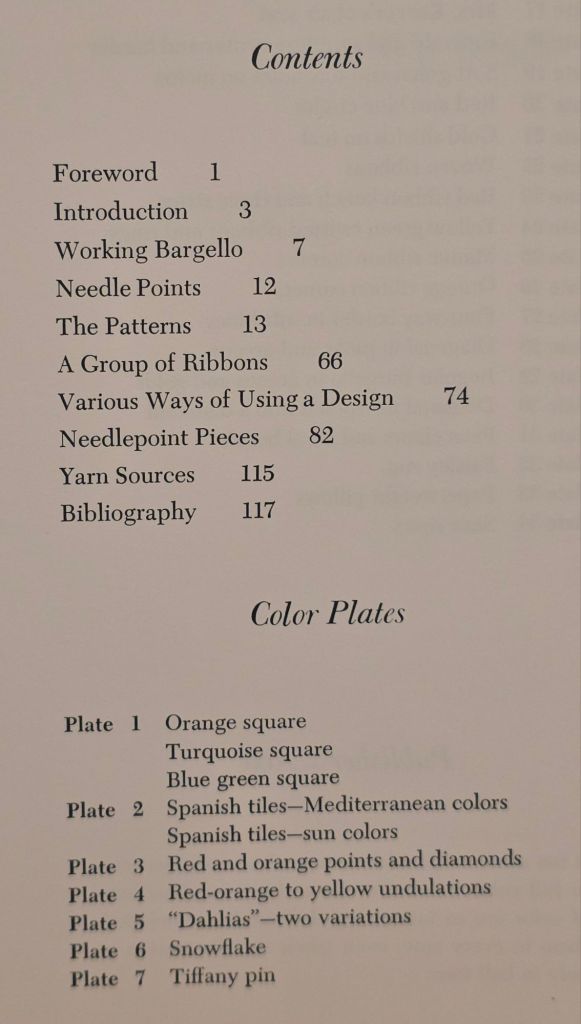
There are a total of 32 color plates, diagrams for 2 sizes of Alphabets and 1 set of numbers, and 2 flower motifs that would be stitched in basketweave for the center of medallions. Leaf stitch is incorporated into one design and one pattern forms a circle.
The ribbon patterns are great and I would love time to play with the ribbon and ring patterns. I used the corner ribbon pattern on pages 110-111 for the outer border in my Bargello Bowls (https://melitastitches4fun.com/2021/04/22/canvas-master-craftsman-program-step-4/).
The first design from the Cabochons Series by Susan Portra is Joy (Love is the 5th that I stitched first).
Initially, I didn’t find Rhapsody R13, which is what it called for. The one I did acquire doesn’t have the tag on it but is really pretty. It has dark burgundy rather than purple running through it with the mint green and royal blue that was called for. I lucked out that the recommended Fyre Werks and Tiara go really well with this Rhapsody. Rhapsody is used in each design in the series and is a discontinued Rainbow Gallery thread.
I ended substituting 3 other threads from my stash:
- DMC Floss 796 for the royal blue Anchor Floss 123.
- Pepper Pot Silk Beet 20 for the dark purple Neon Rays N09. I thought Neon Rays was an odd choice for a single row of tent stitches anyway. And, this color is perfect with this Rhapsody.
- Vineyard Silk Classic Aruba C-077 for Anchor Perle 187. The thread gets couched into place by Fyre Werks, and these 2 threads look great together.
This is stitched on a lovely aqua canvas.
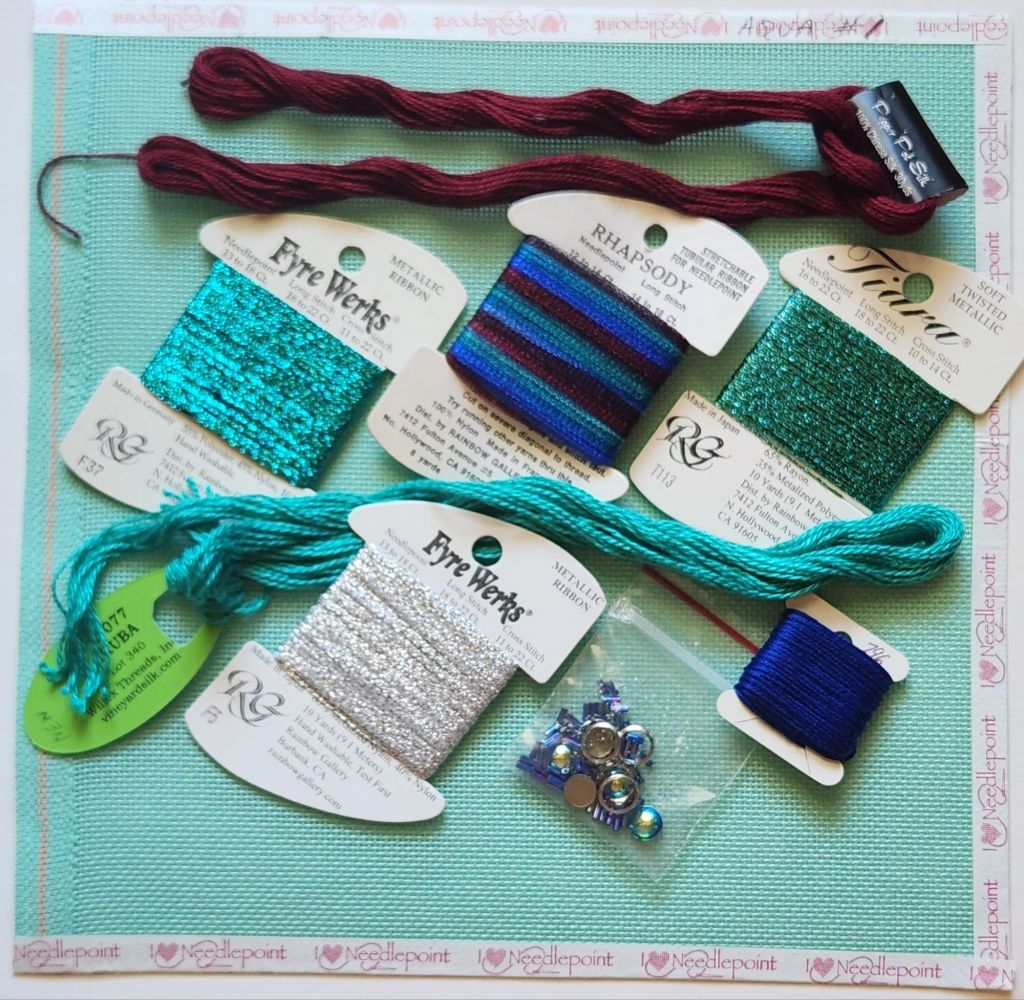
Before I started it, and thanks to Jacqui C from New Jersey Needle Artists Chapter, I got Rhapsody R13 and R18 and Fyre Werks F42. I like the one I have better than R13 in this heart, but I like R13 better than R04 in Hope (4th in the series). And, I like R18 better than R24 in Charity (2nd in the series). Now I have 2 extra cards if I find instructions for the missing 11th and 12th designs in the series. I’m still keeping my fingers crossed! If anybody knows what they are named or look like, please let me know.
Here Joy is stitched. It’s almost 5.5″ wide x 6″ tall.
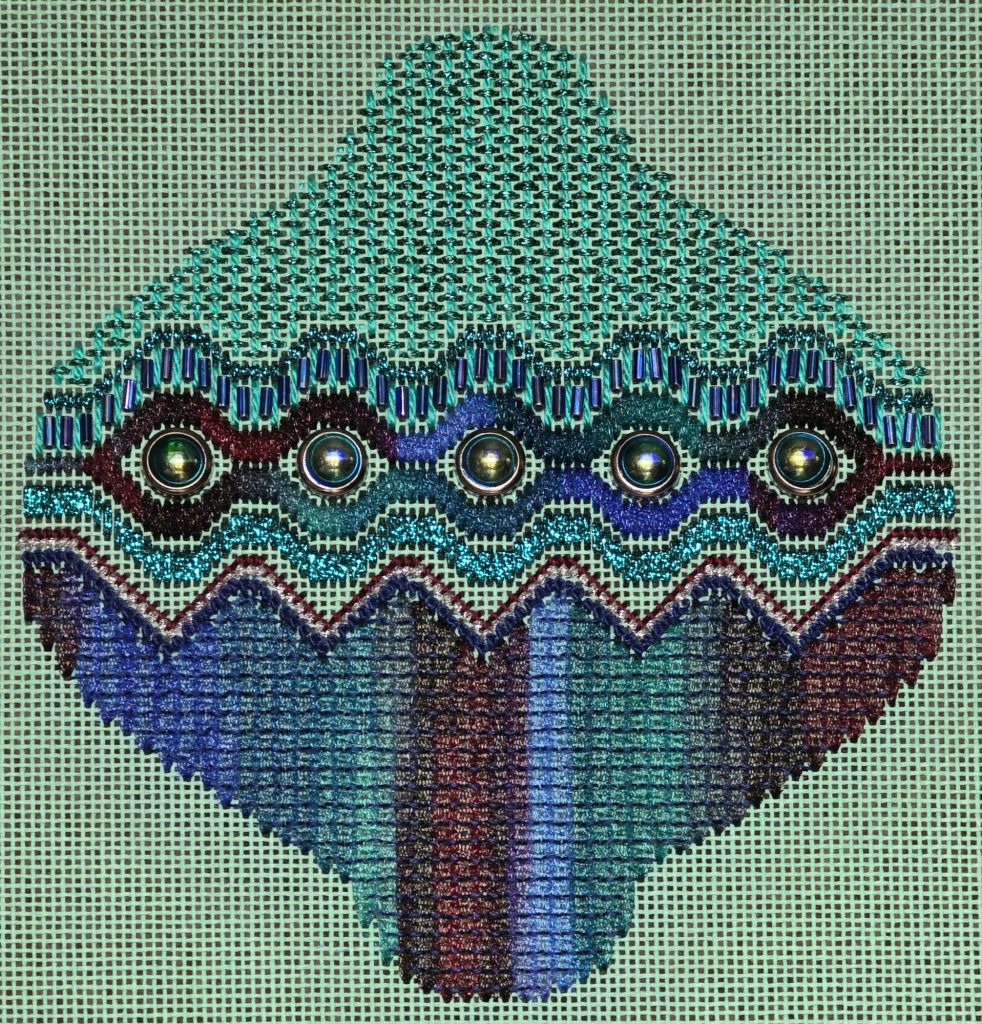
I couldn’t use the Vineyard Silk C-077 for the cording because the skein had been cut. The length was just short of what I needed and it didn’t twist nicely. So, my stash came through! I had a partial skein of Twinkle 300 Malachite that works great. And, I had Splendor S880 to attach the cording to the canvas. Looks great.

I bought Loops and Threads, a 100% cotton fabric from Michael’s. It worked great on my ornament back. It comes in a wide variety of plain and patterns. FYI: Michael’s also had bolts of fabric. But, not being a fabric person, I didn’t really look them over. These small packs are $1.99 and big enough to get a few ornaments out of it.

I did the running stitch about 1/2″ inside the edge, gathered the fabric, laced it up to stay in place. I cut it large enough to create some padding but it wasn’t enough so I used wool felt for more padding. I sewed the cord on (no glue). I attached the short loop to to Craftex. This time, I tucked the long piece of cording up inside next to the loop and ran the cord across the back of the loop, attached the cording all around the ornament, and passed in front of the loop and tucked it in next to the other side of the loop. I said I never do the same thing twice!

Filed under: Bargello - A Pattern Book by Golden Hands, Bargello Books, Books in My Library
Bargello – A Pattern Book by Golden Hands, 1972


The 3-D boxes and hearts are the 2 patterns I like.
The canopy bed-hanging and caftans are way over the top but I like the design wrapped around a trash can. There are finishing instructions for a hairband, belts, bags, seats, stools, and even slippers.
Filed under: Bargello Books, Books in My Library, Florentine Embroidery by Barbara Snook
Florentine Embroidery by Barbara Snook, 1967
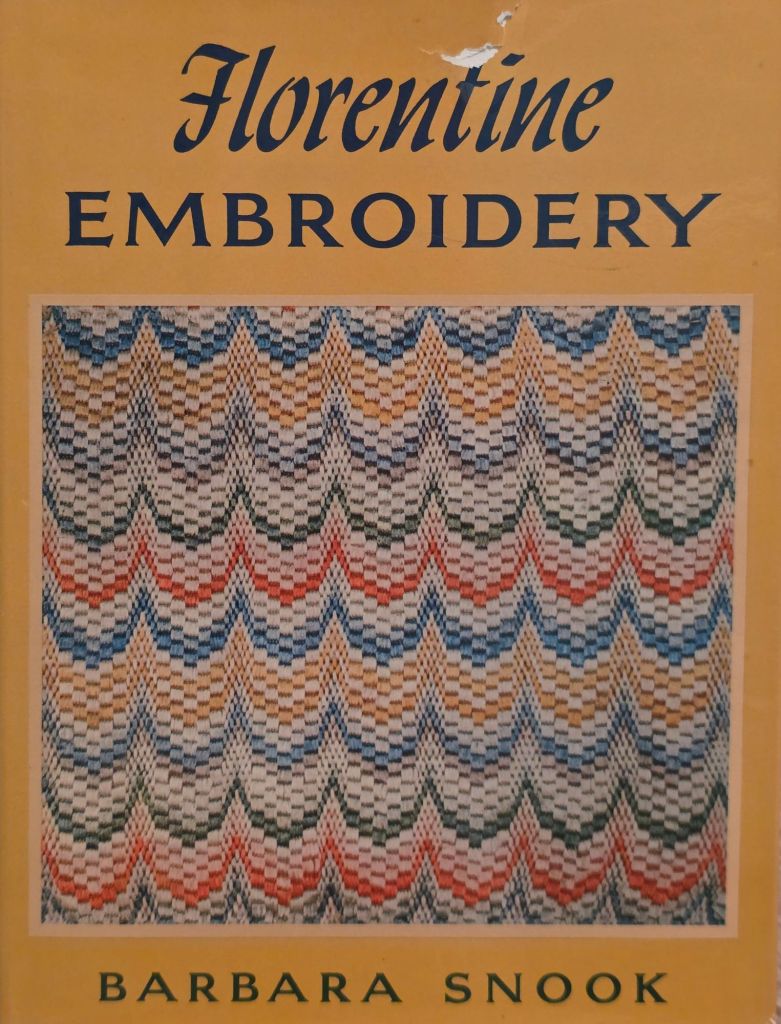
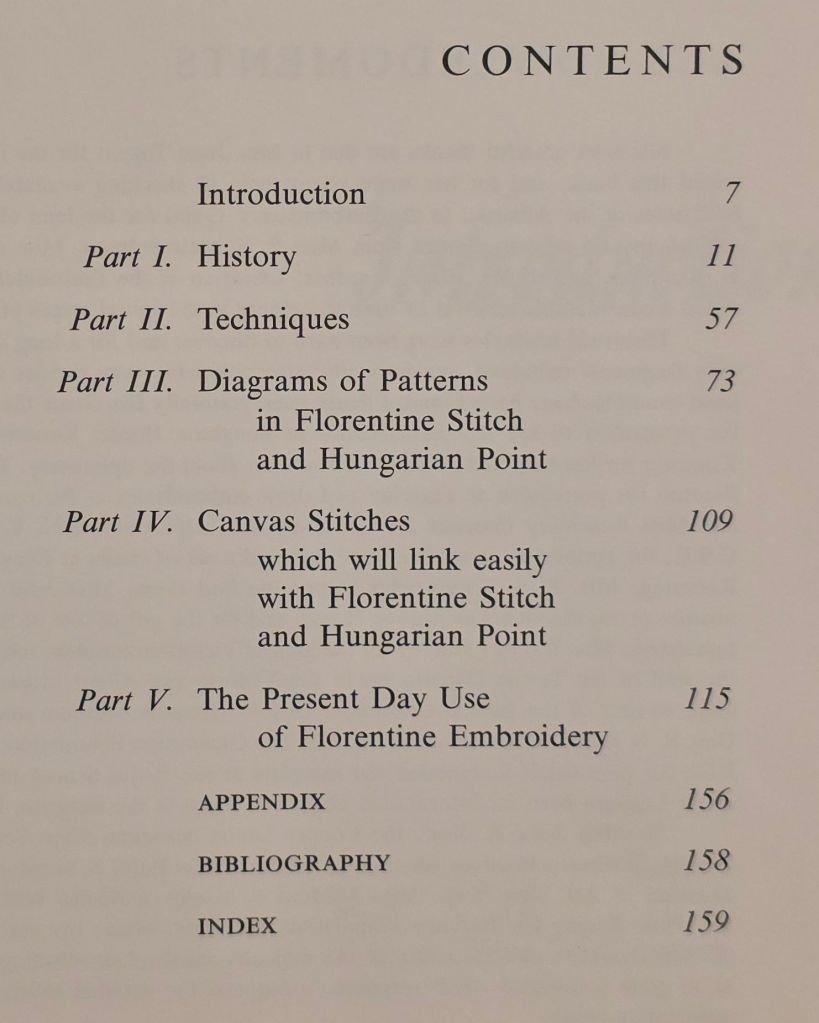
Lots of diagrams of some great patterns. I’m just not a fan of the cross-stitch type of diagrams. I do like seeing the bargello patterns combined with other canvas stitches.
Barbara’s other book, The Craft of Florentine Embroidery, also from 1967, is on the Bibliography from EGA’s Step 4 Master Craftsman (but I don’t have it).
Filed under: Bargello - Florentine Canvas Work by Elsa S Williams, Bargello Books, Books in My Library
Bargello Florentine Canvas Work by Elsa S Williams, 1967


This book is on the EGA Bibliography for Master Craftsman Canvaswork, Step 4.
There are no diagrams but the photos are clear enough to follow. Color combinations are included for each pattern although they are easily changed because you use shades of various colors. This book has a floral medallion done in basketweave in the center of a bargello pattern. That is a great idea.
These are natural, hand-faceted, rondelle gemstones similar to ones used in the Royal Blue Sapphire earrings (https://melitastitches4fun.com/2025/05/01/royal-blue-sapphire-teardrop-earrings/).
These are Yellow Sapphire for Debbie and Ruby for Mona, our Delaware friends.
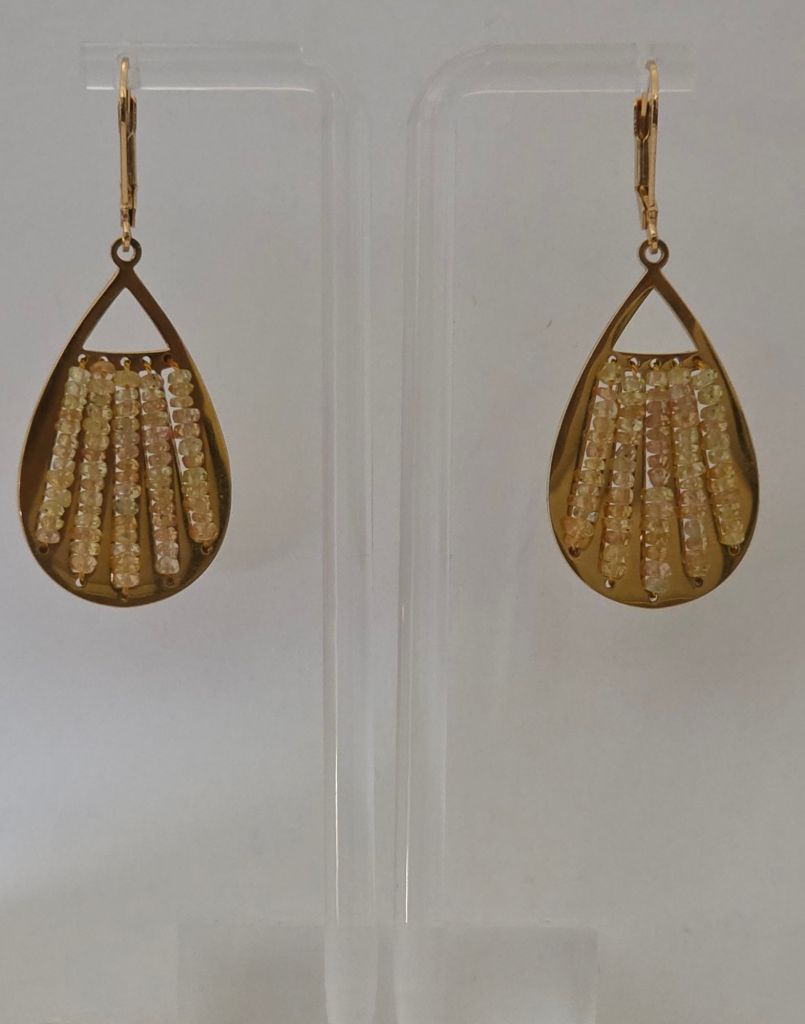

I’m not done yet! I’ve not used all the small gemstones or touched the medium and large gemstones yet. But, I have to find a different bead frame for the larger ones. They sparkle in the sunlight. I’m very happy how they turned out. And, there are Emerald gemstones to use too!
Such a lovely note and package arrived today. I love these anniversary gifts as they are extra useful as rulers or measuring tool. Quite an accomplishment- 35 years as a chapter.


Filed under: Brandywine Chapter, Embroidery Guild of America, General comments, Tools
A few years ago, Patrick made and gave me a lovely porcupine quill laying tool. On Wednesday, he gave everyone at our Blue Santa Bead EGA Brandywine Guild outing a porcupine quill for us to make our own. Several of us found toppers to adorn them as he had done. I looked through almost all the drawers in the store and found several beads for my second quill. I didn’t have time to make it then.
I used the smallest black bead wire (No. 2) to attach the small bicone on top of the large black bead. I tied the bead wire off just below the large black bead.
The decorative black bead and the white one below it fit snugly on the end but I used the Super NEW GLUE to really secure them.
Patrick’s gift to me is on top and my new one is on the bottom.