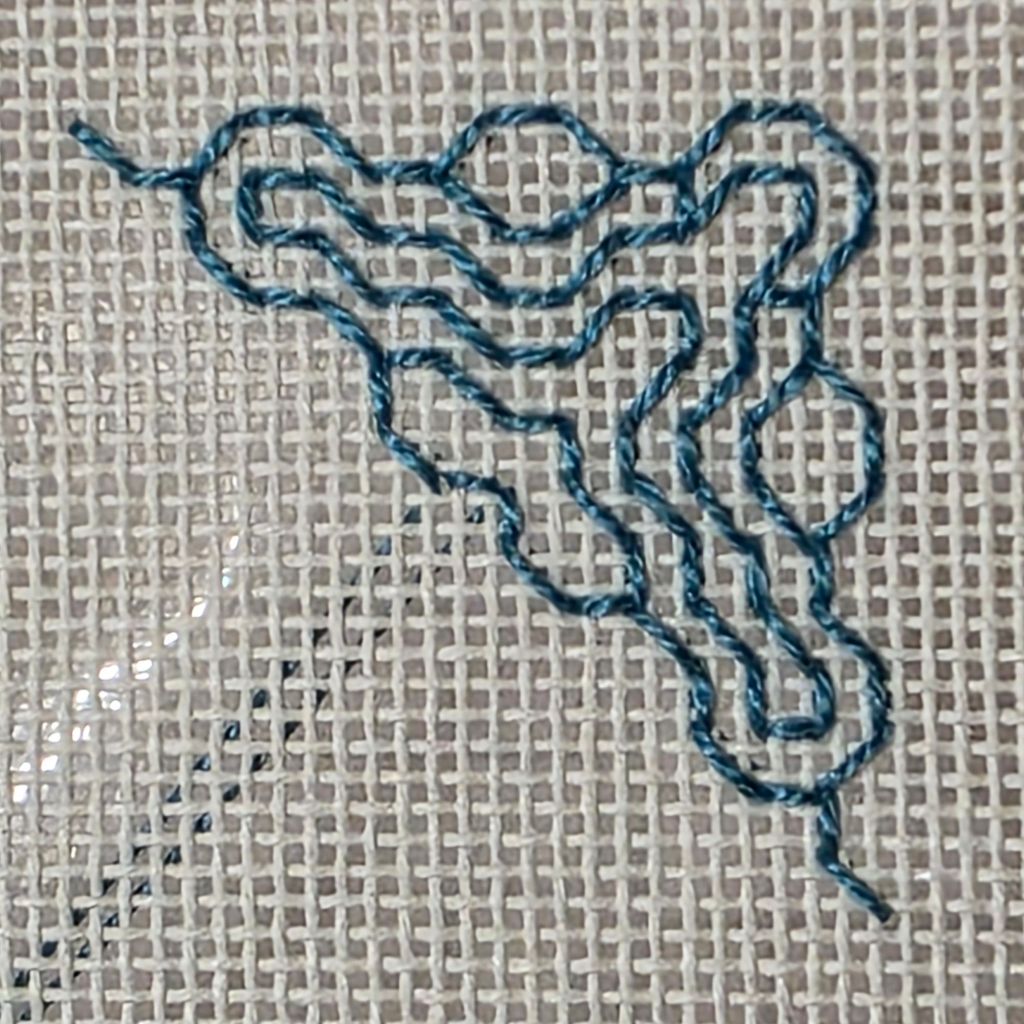
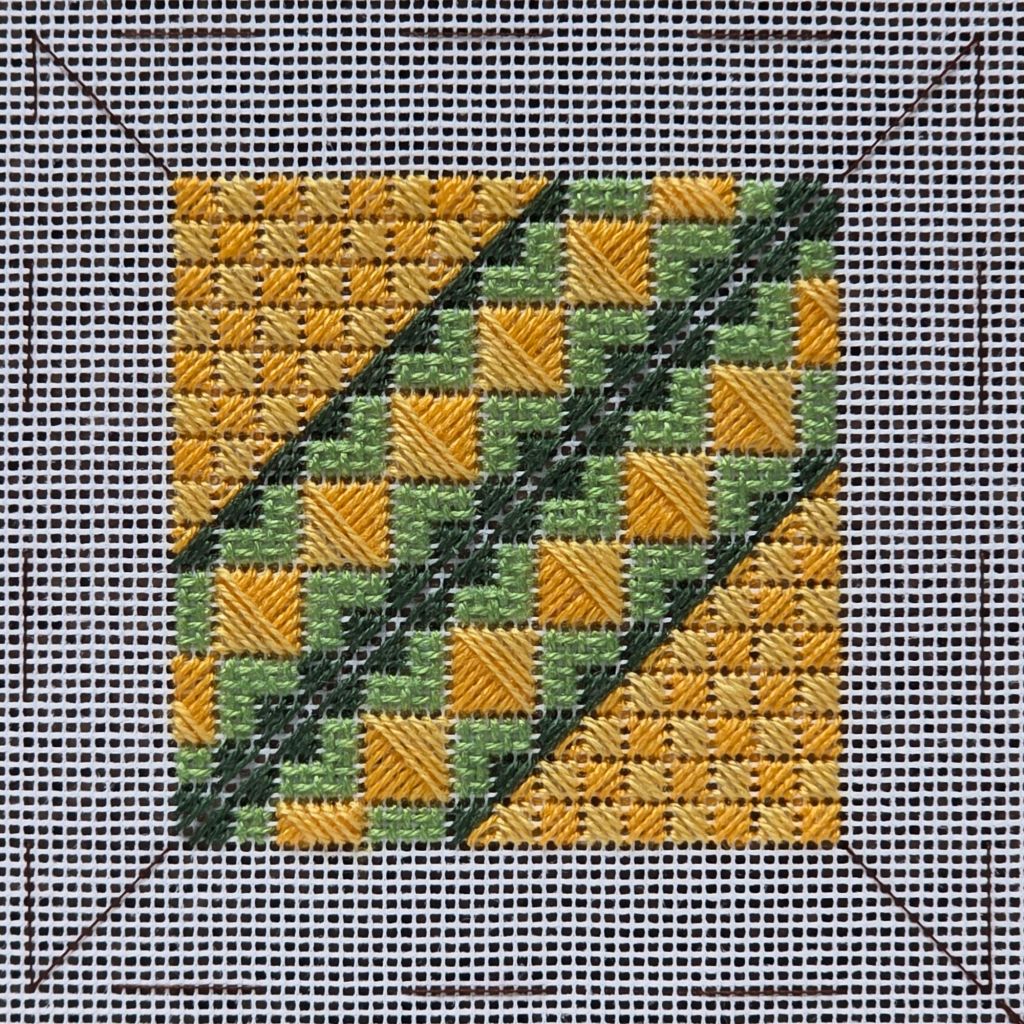
The blackwork actually made a lot more sense this time (first one was stitched in 2013).
I had thought we’d do a small pattern during our June ANG Main Line Stitchers chapter meeting but I figured out that wouldn’t work because it took me 3 trys to get started correctly and over an hour to stitch the sample.
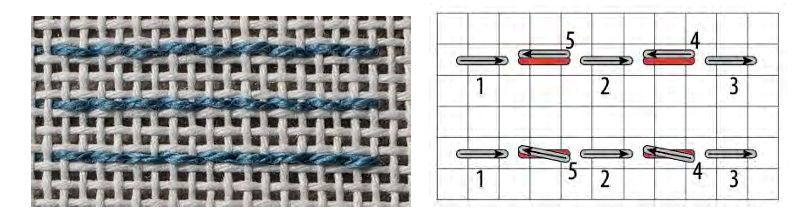
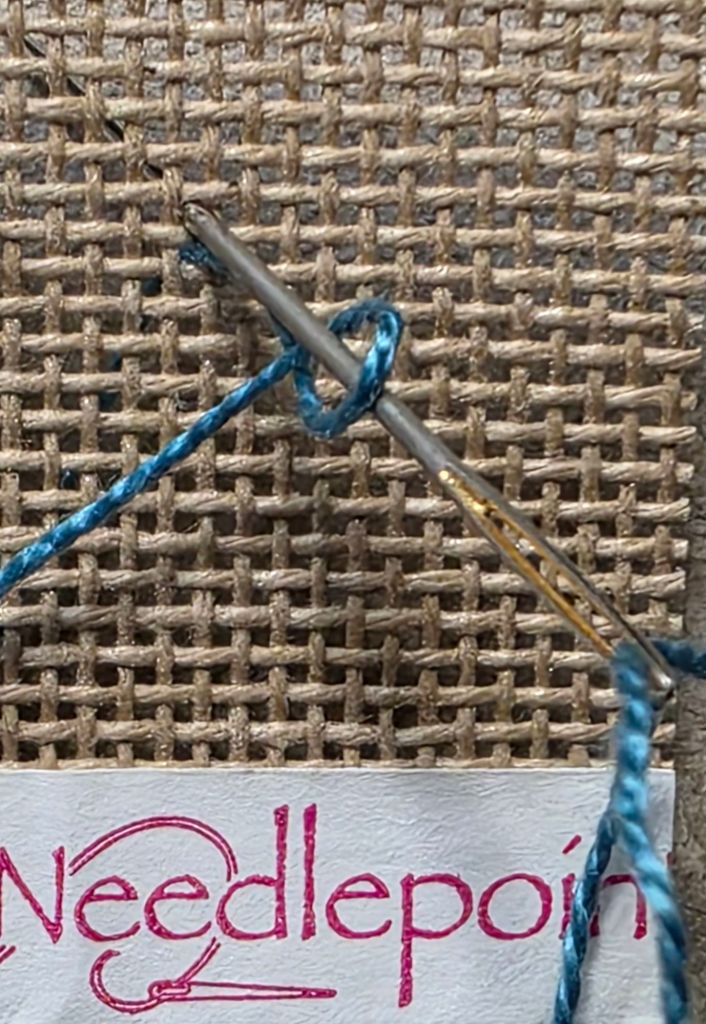
So, at the meeting, I discussed blackwork basics (focusing on reversible blackwork) starting with a double running stitch which means you stitch every other stitch along a line. Come back along the same line, filling in the gaps. When filling in the gaps of your double running stitch, adjust your needle placement: Bring the needle up just below the previous stitch. Take it down just above the same stitch. This technique reduces stitch distortion and helps maintain straight lines (2nd row). Or, use a sharp needle and split the stitches on the return (3rd row). Red indicates the thread below the canvas. The top row always stayed above the thread and appears the waviest.
A few people became interested in learning more about blackwork. That’s what I had hoped to accomplish – exposure to a new form of needlework. Nobody contacted me (yet) saying that they couldn’t do the pattern for the ort box. That’s a good sign. While I learned more as well and itvis pretty, I will not be delving into it more.
There isn’t much to say about the bottom of the Ort Box with Pockets other than it’s pretty too.
Now to construction of the box.
Filed under: Books in My Library, Exploring Pattern in Stitches by Mary Shipp, Needlepoint Books
One of the books in Nanette Costa’s library was from one of my favorite teachers, Mary Shipp. It’s Exploring Pattern in Stitches which is a very interesting topic. I took two of my first three Correspondence Courses from Mary on Color and Design.
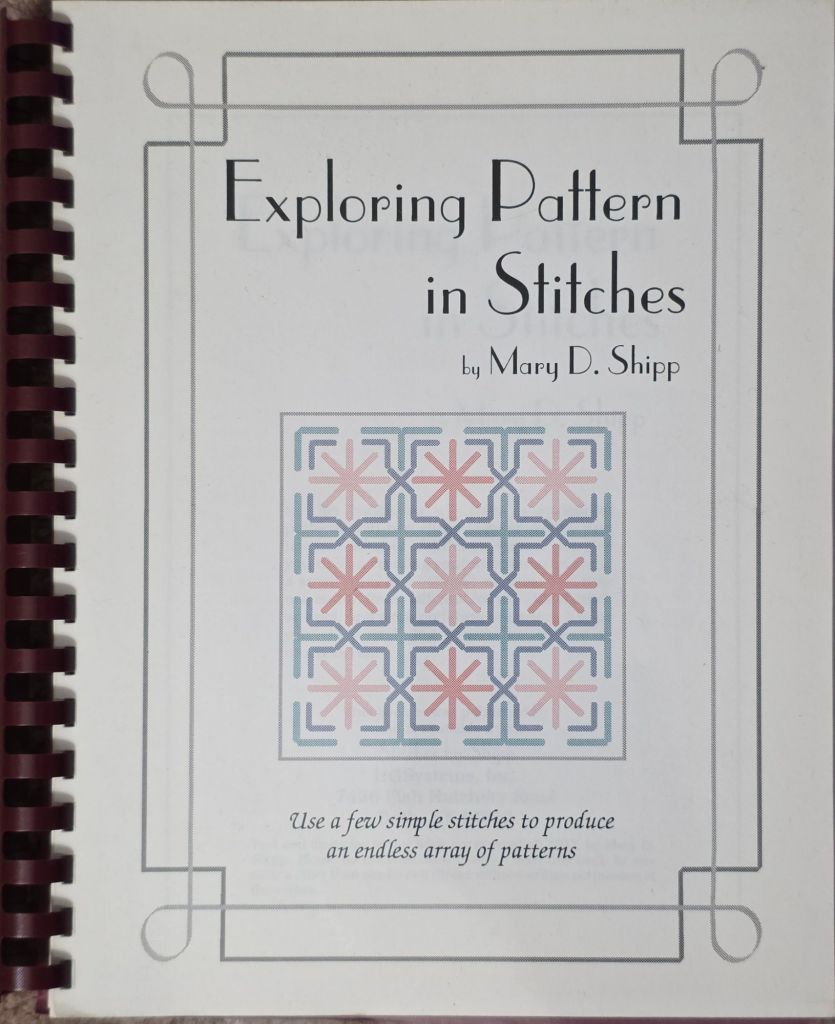
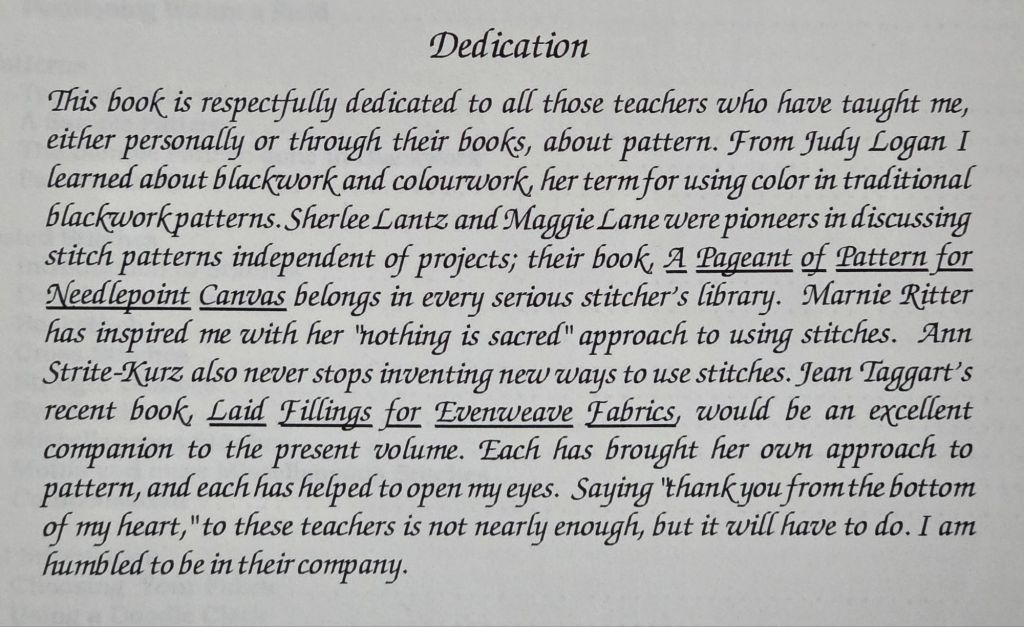
Mary grabbed me right from the beginning with her dedication by citing teachers she learned from. No big surprise that I have both the books she references.
In the introduction, Mary says she enjoys the process and does not need the product. That is probably why a number of my projects are completed but not finished. It may also account for why I have multiple projects started.
She provides a variety of patterns but gives tips on modifying them and creating your own. Any threads will work. Any color combination can be employed but color options are discussed including a review of The One-Three-Five Rule.
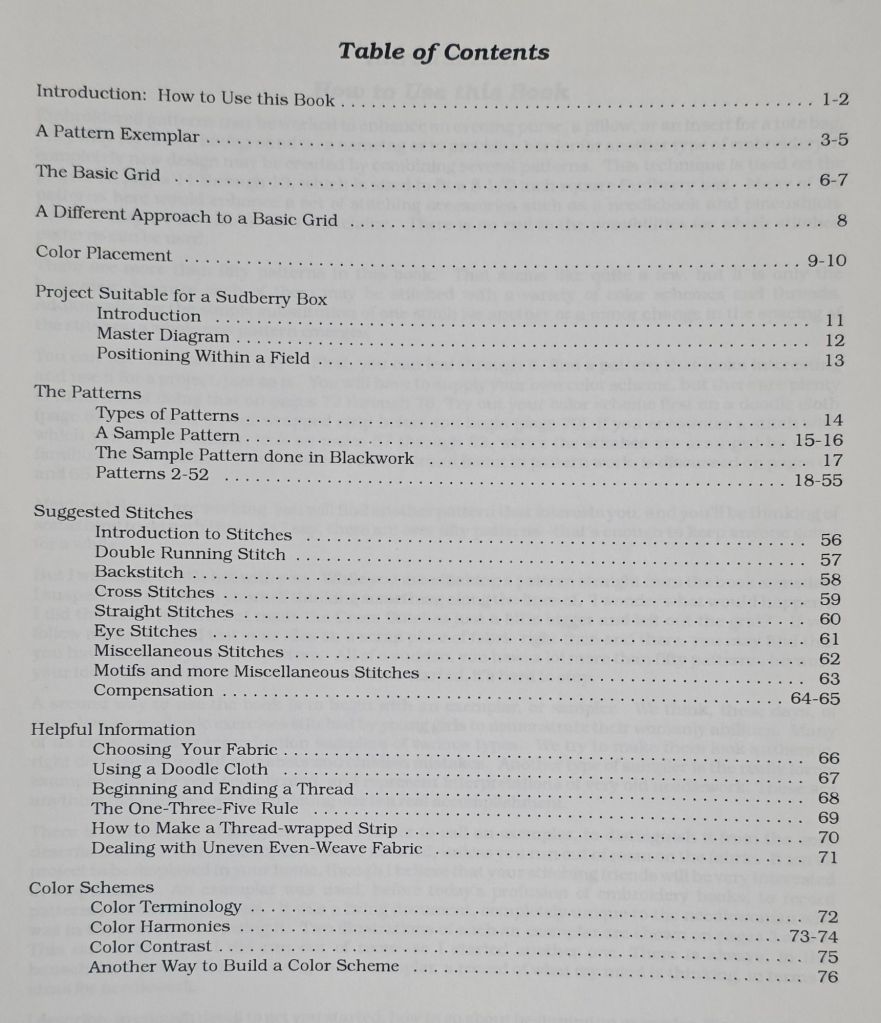
The coolest thing about the pattern project Mary includes is that beyond the Master Diagram marking off 5 areas, “you are on your own” for choosing patterns and colors. There is lots to read before tackling it (in 2026). Very exciting!!
Filed under: General comments, House of Embroidery (H of E), Needlepoint Shops, Radiance Metallics by The Meredith Collection, Threads, Threads Too Needlepoint
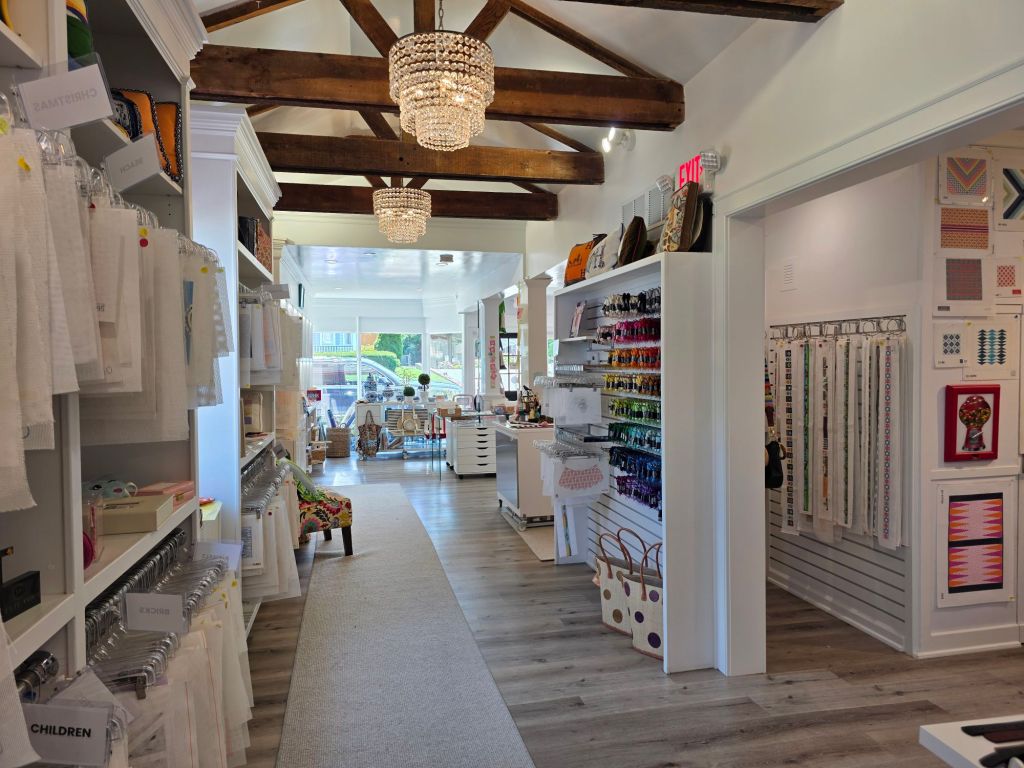
Bill and I met Linda P and Cynthia S from ANG New Jersey Needle Artists at Threads Too Needlepoint in Fair Haven, NJ to get books for redistribution from Nanette Costa’s library. Over half of the 60+ books have been claimed by either members of my EGA Brandywine Guild or ANG Main Line Stitchers Chapter. I will take the rest as an opportunity to visit a couple of other nearby chapters!
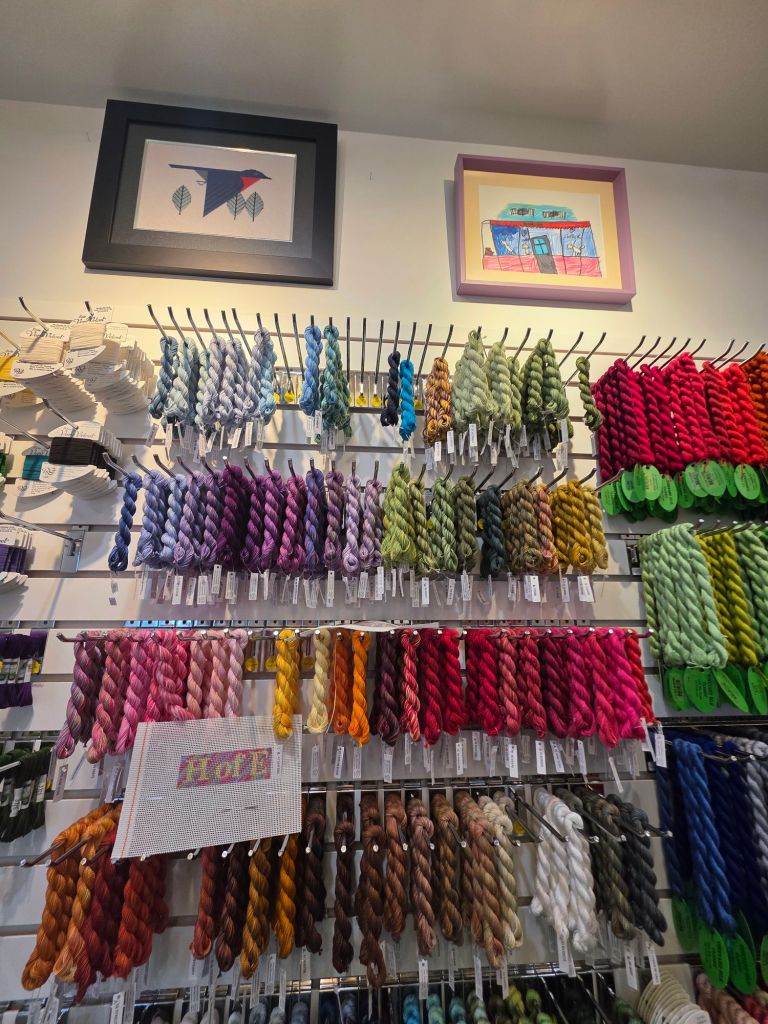
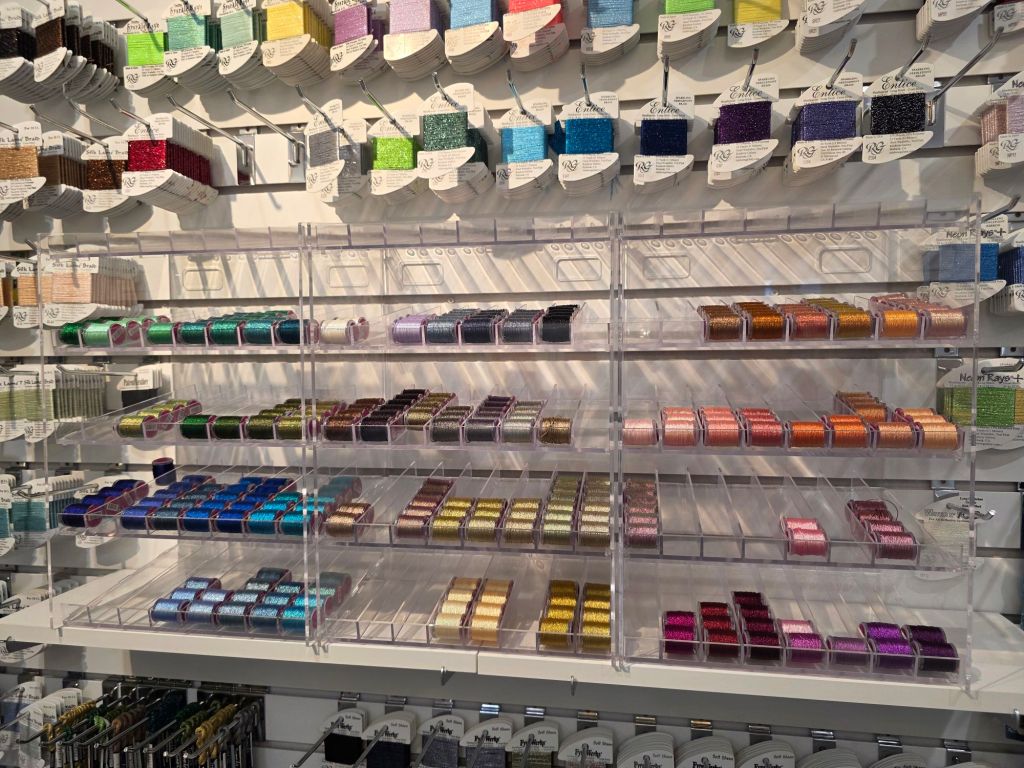
Threads Too Needlepoint is a bright colorful store with lots of canvases, finishing accessories, and a variety of threads including couple of unique threads: an overdyed Perle cotton #5 by House of Embroidery (H of E) and Radiance Metallics by The Meredith Collection. I resisted both not having a specific project for them.
It was a HOT day in Philadelphia and a tad cooler at the shore especially in the shade sitting at a favorite Seaside Park bar in the breeze sipping on a cool refreshment (Bill and I). Crabs at our favorite restaurant, Bum Rogers, capped off a lovely day.
Colonial Knot: Hold the thread like a backwards C. Place needle under the thread at the top of the C, wrap thread over the thread and the needle forming a figure 8 and go down nearby (safer not to go down in the same hole because the knot won’t be pulled through the hole accidentally).
French Knot: Pull the thread down towards you, place the needle on top of the thread, wrap the thread once (some say it’s ok to wrap twice others say use a thicker thread) and go down nearby.
The Colonial Knot (left) is naturally bigger than the French Knot (right) because of the different ways they are wrapped.

Mary Corbett’s website has great YouTube videos.
Filed under: Bargello Antics by Dorothy Kaestner, Bargello Books, Books in My Library
Bargello Antics by Dorothy Kaestner, 1979


I especially like several designs for their use of bargello or cross-stitch as the center focal point placed within a satin stitch square or diamond which is surrounded by a wide bargello border. That’s been a thing in several books from this period.
The movement of a pinwheel is always intriguing to me. But there is way too much movement in one pattern in the book or perhaps it’s the asymmetrical aspect of it that really bothers me.
That’s the last of my bargello “books”. I have several project booklets written by Liz Morrow which are fantastic and still available thanks to her forethought, planning, and daughter-in-law. Liz’s amazing designs live on at https://www.lizartneedlepoint.com/bargello-designs.html#/
Filed under: Bargello Books, Books in My Library, Free-Form Bargello by Gigs Stevens
Free-Form Bargello by Gigs Stevens, 1977


31 color plates are included. Very abstract like the cover.
I absolutely the turtle! There is a stitched turtle in the book but not this one. But, it doesn’t look like bargello. The book takes an odd turn. I wonder if Gigs knew about Zentangle because the designs towards the end of the book remind of that style. These seem easily adaptable to embroidery but would work on Congress Cloth because of the extra details you can do as opposed to 18 count monocanvas.
Filed under: Bargello Books, Bargello Sampler by Nancy Noland Kurten, Books in My Library
Bargello Sampler by Nancy Noland Kurten, 1975.

No Table of Contents because it is a complete project rather than a stitch dictionary.
The booklet has hand drawn stitches as opposed to those created on a computer. Very easy key to follow for each pattern.
Nancy explains bargello concepts and takes you through setting up the sampler, selecting colors, and large easy to read diagrams for each of the stitch patterns (described generally and then specically for the sampler).
I particularly like how she incorporates a rose Medallion in the upper left corner. That makes several books that have showcased a design with a bargello pattern.

Filed under: Brandywine Chapter, Embroidery Guild of America, General comments, Tools
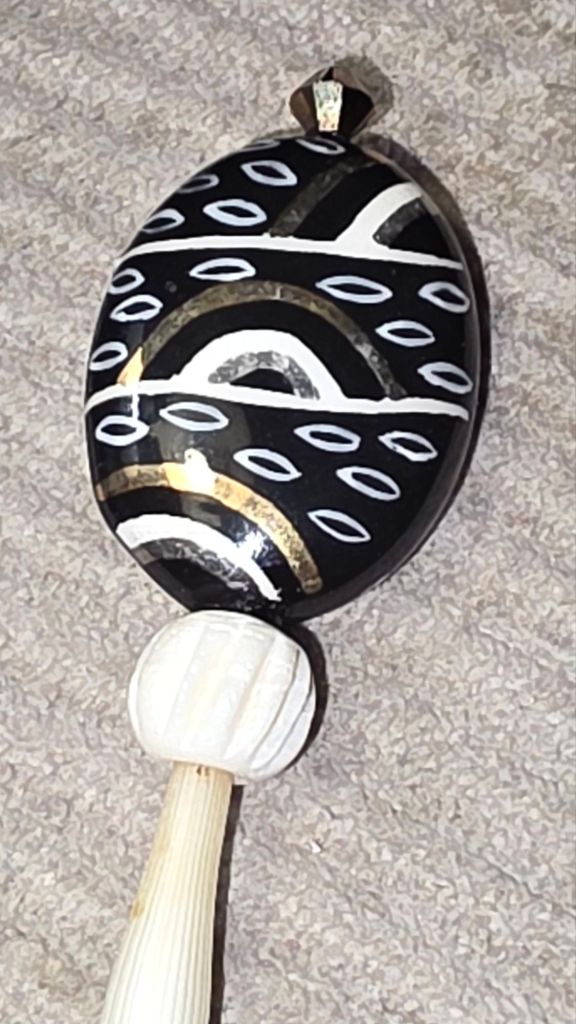
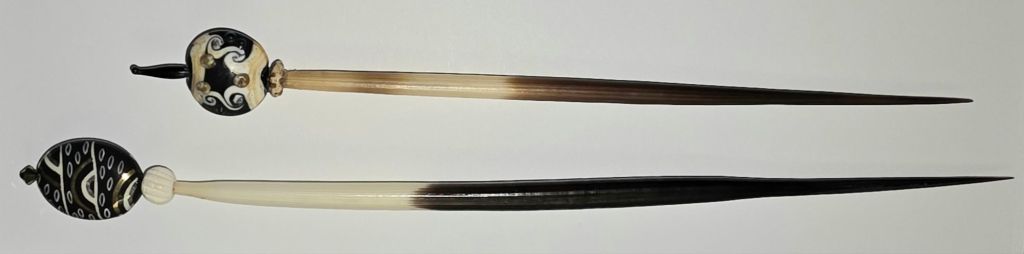
A few years ago, Patrick made and gave me a lovely porcupine quill laying tool. On Wednesday, he gave everyone at our Blue Santa Bead EGA Brandywine Guild outing a porcupine quill for us to make our own. Several of us found toppers to adorn them as he had done. I looked through almost all the drawers in the store and found several beads for my second quill. I didn’t have time to make it then.
I used the smallest black bead wire (No. 2) to attach the small bicone on top of the large black bead. I tied the bead wire off just below the large black bead.
The decorative black bead and the white one below it fit snugly on the end but I used the Super NEW GLUE to really secure them.
Patrick’s gift to me is on top and my new one is on the bottom.
Filed under: Beads, Brandywine Chapter, Embroidery Guild of America, General comments
Beaded Garden Wands were for sale at a store in Naples, NY earlier this month and knew I had 2 beads from a trip Bill and I had taken to Aruba! It seemed like a great idea to make my own and finally use those beads.
I found this 8″ screw at Home Depot. It was the only 8″ screw that was black – all others were silver. And, there no other black ones in the aisle! The silver ones were screws the complete length while this one is smooth on top.

So, while at the Blue Santa Beads making a Chatelaine with my EGA Brandywine Guild, I looked for beads. Most of the beads didn’t have a wide enough hole to work on the screw (including the 11 beads and the bicone in the next photo). But, I was undaunted and had an alternative in mind.

Today, after talking with the ANG Shenandoah Chapter about Festive Fireworks because they are stitching it as a chapter project, I had fun picking out the rest of the beads from my stash.

I used either beading cord or beading thread doubled. I wrapped around the screw using up almost the entire tube of Czech multi-colored beads! I also used the rest of the 6 mm round fluted purple beads that I used on Edward Scissorfish. There are drops of glue here and there. I bought 6 little bottles of Super NEW GLUE by Euro Tool. Have I mentioned how much I love that dropper bottle and the glue? It dries quickly and doesn’t clog.

However, it’s not like the ones in Naples. It’s not as bright. Bill’s right, we won’t be able to see it in the backyard. So, I placed it my little Lenox vase with 4 metal roses and we can see it in the living room. Perfect.

Today was and the next 3 days will be great for stitching thanks to the US Open.

Filed under: Brandywine Chapter, Casalguidi Flower by Becky Quine, Embroidery Guild of America, Finishing, General comments
A lovely white lacquered tissue box from The Container Store is perfect for Casalguidi Flower by Becky Quine.
I posted about this design previously at https://melitastitches4fun.com/2024/07/25/roman-ruins-by-joan-rinehart-and-casalguidi-flower-by-becky-quine-for-ega-brandywine-chapter/
Since I have enough coasters, I thought about a tissue box for small designs/stitch samples. I initially bought a clear acrylic one but the tissue box didn’t fit. Crazy! Then, I decided clear wasn’t a good idea anyway. This one is white and 5″ wide x 6″ high, it fits a box of tissues, perfect size for small stitched pieces/samples, and is functional.
I finished it as a flat ornament wrapping the excess fabric on the back over a piece of magazine board and piece of wool felt. It is attached to the box with sticky back velcro.
It’s near other yellow decorations in our bedroom. Love it!!
There are 3 more sides that can be decorated. And, I bought 3 more tissue boxes. Eventually, one will be in our bathroom (blues), extra bedroom (purples), and the other in the living room (whatever goes with brown/beige).