Kathy has framed Byzantium. It looks fantastic, and we’re both happy Byzantium has a home!

Note: Gifted to Kathy in March 2025.
Back in November 2024, I posted about my A to Z books and included a photo of my River Silk Ribbon and Flair Spring Flower.
As part of my recent flurry of finishing, I purchased a mini frame at Michael’s. The 3″ square opening is a perfect size. It’s going to be a get well gift for our neighbor’s mom who lives with her. She fell and broke her pelvis last week but is already home! And, this flower has no maintenance for her daughter who has her hands full.
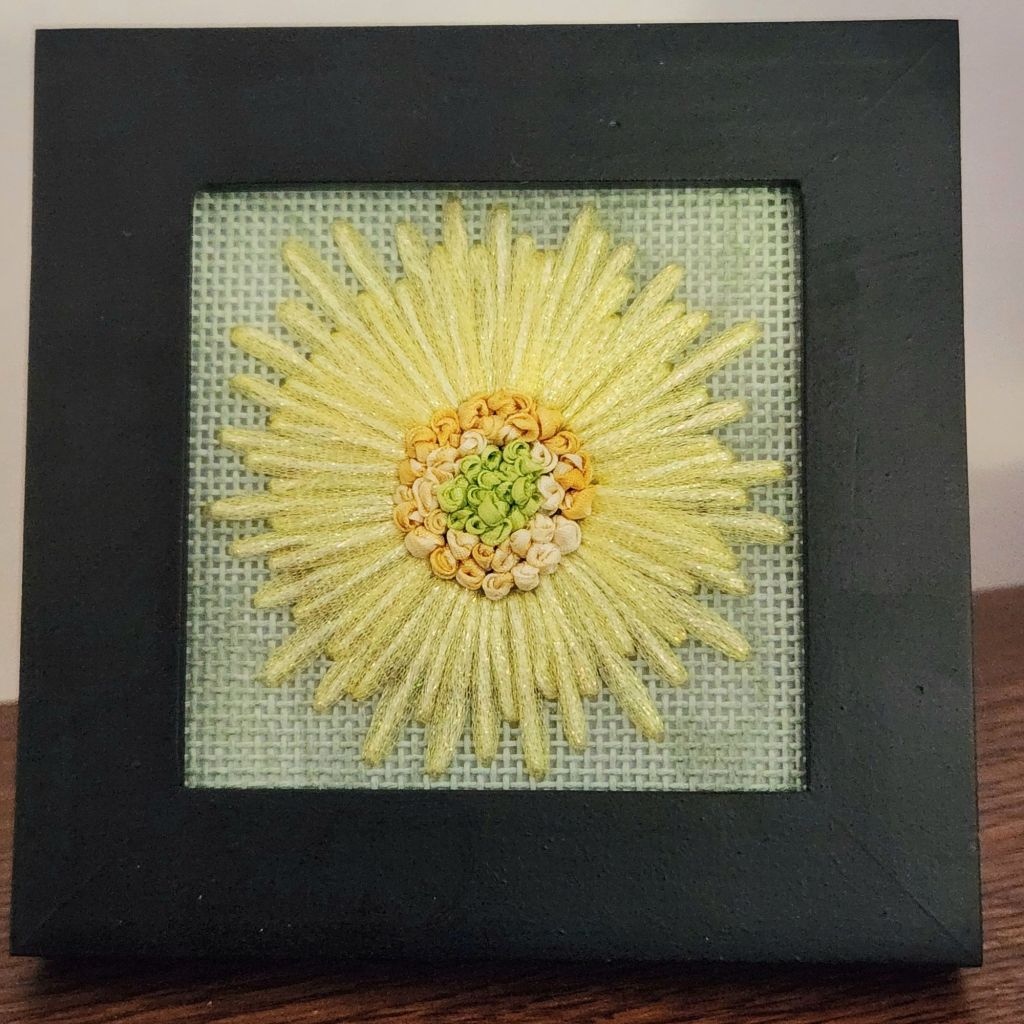
This is a great size for trying out stitches and threads while making a small gift. I love the vintage green canvas for these threads.
I keep a 5″ doodle canvas ready for experimentation. I don’t have more of the green canvas. So, eggshell is next up. Maybe I’ll use my markers to color the canvas.
Goal #7 was to finish Heart Swirls by Janet Zickler Casey into an ornament. The stitching has been done since October 2024.
The backing fabric is left over red fabric from my Magic Quilt Poinsettia. I used Peel n Stick Fabric Fuse along the inside edge to hold the fabric in place. Two long pieces of Peel n Stick across back kept the front and back sides together just enough, allowing me to stitch the cord in place while cinching the 2 sides together as I went. I don’t like clips placed all around the edge because they put dents in the stitching.

There are a few layers of wool felt (not craft felt) to give the front a little thickness. I tried building it up in the center, and although it’s still flat, the edges rounded really nicely.
I found a fantastic cord at Fireside Stitchery a few months ago and decided that I was ready following my success with the Silken Sonata ornament. The cord is Passementerie 3/16″, Vatican Red (PAS-31642). There are a couple of colors of that cord. I’ll be using it whenever possible. The finished size of the ornament is 4.75″ wide by 4.5″ tall without the loop.
I should have taken a picture of the loop attachment. I cut exactly the length I wanted for the loop with about an inch inside to sew/tack in place on the Craftex. Then, I cut enough length of cord to wrap around the edge. So the end of the cord doesn’t ravel, I taped around the end and cut through the center of the tape.
I aligned the long length of cord snugly up against the one side of the loop and sewed it in place by attaching it to the Craftex and the adjacent loop. Then, I sewed the cord in place with red beading thread (perfect color match to the cord) passing the needle through the center of the cord, making the stitches invisible, catching the backing fabric and the canvas. Once I got further around, I tucked the other cord end into place. I couldn’t sew that end of the cord to the Craftex, but I did secure it to the adjacent loop.

I don’t think that I have ever done exactly the same thing twice when finishing. Partly because each one reacts a little differently in the process. These last two finishes have to be my best finishes yet. I’ve even put away the threads rather than stockpiling them. Hope springs eternal! Now, back to fun stitching.
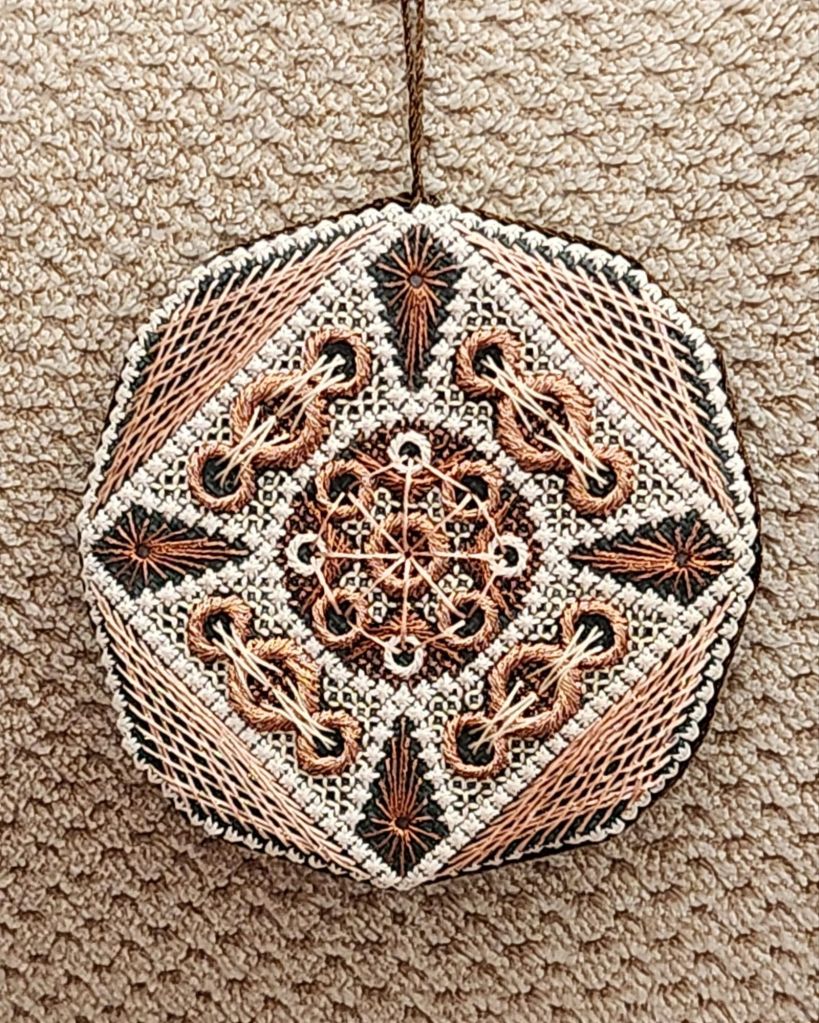
I picked up a bronze Metallic Soft Twist Trim Cord, size 20 from Access Commodities for Silken Sonata by Jim Wurth. It’s a perfect color for the ornament.
After lacing the ornament to the Craftex, I made a loop from the cord and secured it to the liner. I lined up the cord along the edge and left 1.5″ to tuck in after the back was attached.

I didn’t want cord to show on the edge because the edge is stitched Smyrnas. I just wanted the split between the back and front to be covered. I’m definitely not a fan of ribbons and bows on ornaments. Size 20 cord is thin, but it’s exactly what I wanted.
I had a lovely piece of green fabric leftover from my Quilt Magic Poinsettia that I placed on magazine board. It’s thin and light. Love it!

Goal #1 for 2025 was to finish Silken Sonata by Jim Wurth into an ornament. I’m thrilled that’s done and that it turned out so well! The finished size is 3.75″.
Other goals are progressing. But I still don’t have the ability to heed my final goal of not getting more goals! More on that another time.
Filed under: ANG Needle Pointer's Timeless Treasures From the Archives
There are 18 fantastic articles written between 1989 and 1992 by designers and teachers that are still available to members of American Needlepoint Guild (ANG). Each design features a different technique, and you can use these for chapter projects, Hearts for Hospice, or gifts.
I was fortunate to obtain a stitched framed piece by Nanette Costa with 9 hearts and provide color photos for several of the designs previously, only available in black and white. Here’s one of my favorite, Tasseled Heart by Debbie Deem.

Get access to all ANG has to offer for only $60/year (that’s just $10/ issue) plus other free designs exclusively available to members. If you are 35 or younger, ANG is excited to offer a 50% discount to new members when they join ANG for online access to all digital issues (no physical magazine is mailed). This is a great opportunity for younger stitchers to join the ANG community of needlepointers!
The backgrounds from Love, 5th in the series from the Cabochons Series by Susan Portra, were fun. Once I got to this point, I just had to finish!
I did change the upper left stitch from vertical rows of French Knots to Basque Knots from Elegant Stitches by Judith Baker Montano. I’ve been intrigued by that stitch since seeing it in the book but never had a place to use it until now. Getting the tension consistent is key. The 4 strands of floss were recommended for French Knots, but I didn’t like the 4 strands of floss for the Basque Knot. It lacked definition (left 2 columns). And, the color was too dark to see the knot. So, I switched to the perle used elsewhere in the piece and am much happier (right 2 columns). I practiced it and was finally getting it. The 2 columns on the left side show them further apart on the left and closer on the right. The 2 columns on the right are both further apart, which I do like better..

The backgrounds are done.

That left the beads and cabochons to add. I managed to break a bugle bead to squeeze it onto the bottom right row of them. It is still a tad long, but leaving it empty was glaring. Several of the rimsets are bent, and one bead package was missing them entirely. So, I’ve ordered more. Placing the prongs into holes is key to getting the top of the rims close enough to the canvas so that the cabochons aren’t loose.

Goal #21 is completely stitched with beads and cabochons applied.

I’ve already got Joy, the first in the Cabochon series, fully kitted and ready to go onto the bars. Perhaps I am excited about doing these because they are easier than other pending projects! Do you find yourself putting off the tough pieces in favor of easier ones?
Filed under: Susan Portra, The Cabochons, Love
Since Love was the only fully kitted design from the Cabochons series by Susan Portra, I started with this one. Goals 21-28 from my 2024 Year in Review and Look Forward post was to kit some of these and start stitching them. Then, I acquired more of the series and it became Goals 21-31. I am making progress kitting them. More on that another time.
For Love, I lightly drew the heart outline from the template that’s provided using a red Micron pen (archival).
I’ve taken this along on several road trips and gotten a little more done each time. I don’t need a stand for it since it’s on 10″ x 10″ stretcher bars and no laying threads, so it makes a great travel piece.
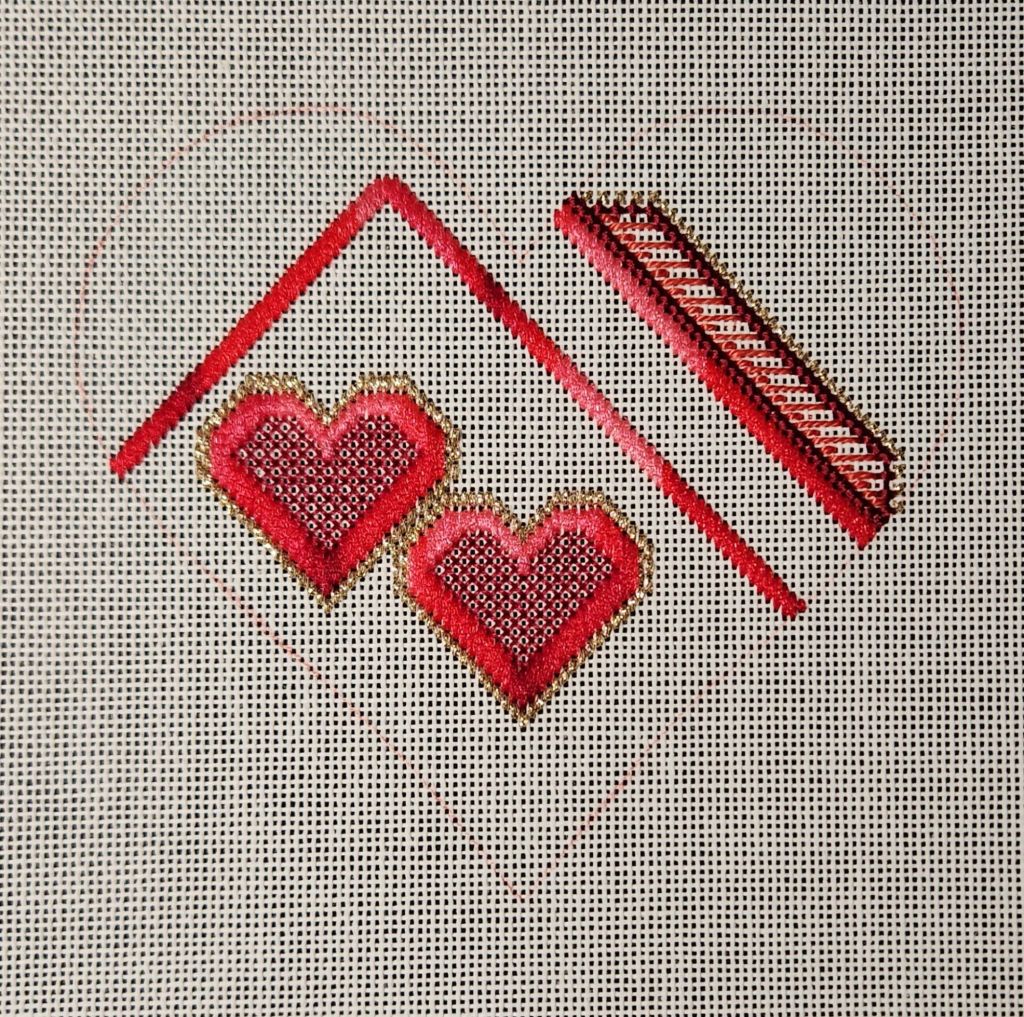
There are four background stitches left. I Love it (pun intended) and that the Philadelphia Phillies won their season opener!
Filed under: Books in My Library, Needlepoint Books, Quick Stitch Variations and More Quick Stitch Reference by Custom House of Needle Arts
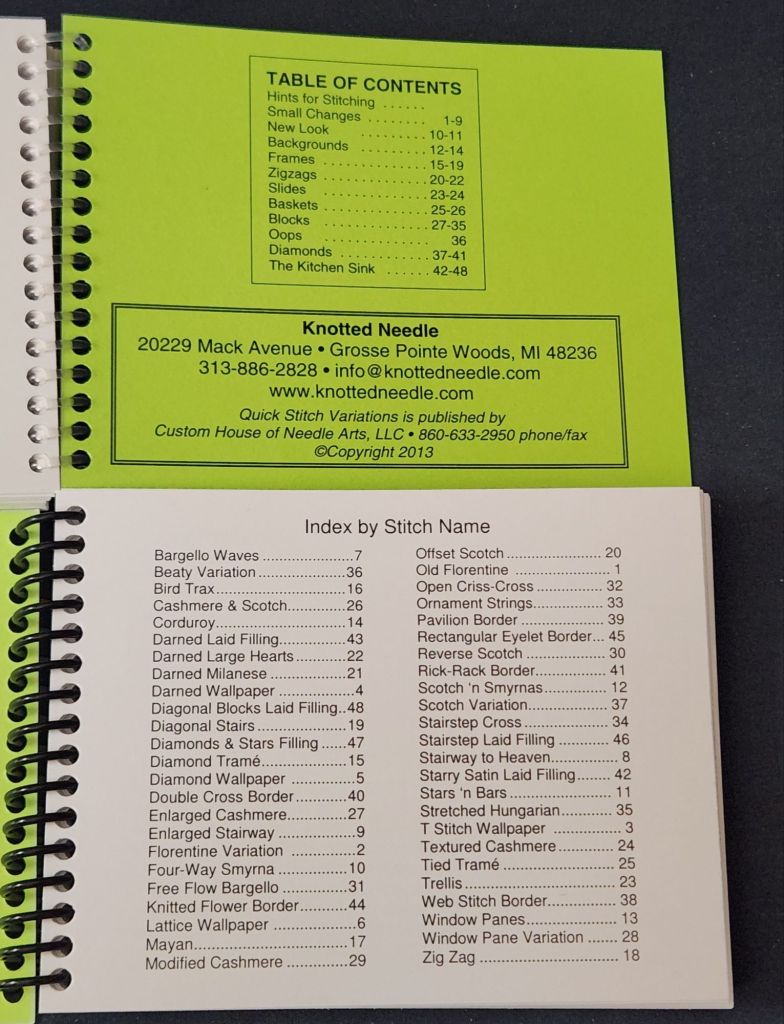
Quick Stitch Variations and More Quick Stitch Reference by Custom House of Needle Arts allows the ordering store to put their logo on the cover. Nice feature. It might make a nice Anniversary gift for chapters to give to their members (@ was $20 retail price).
The top one has a Table of Contents and the bottom one has a Stitch Index. Each stitch has text about where to use it and thread options. They are 5.5″ wide and 4″ tall.

Filed under: Books in My Library, Needlepoint Books, Transformative Stitching: Needlework on the Diagonal by Dawn Donnelly
Dawn Donnelly was selling Transformative Stitching: Needlework on the Diagonal at Merchandise Night.
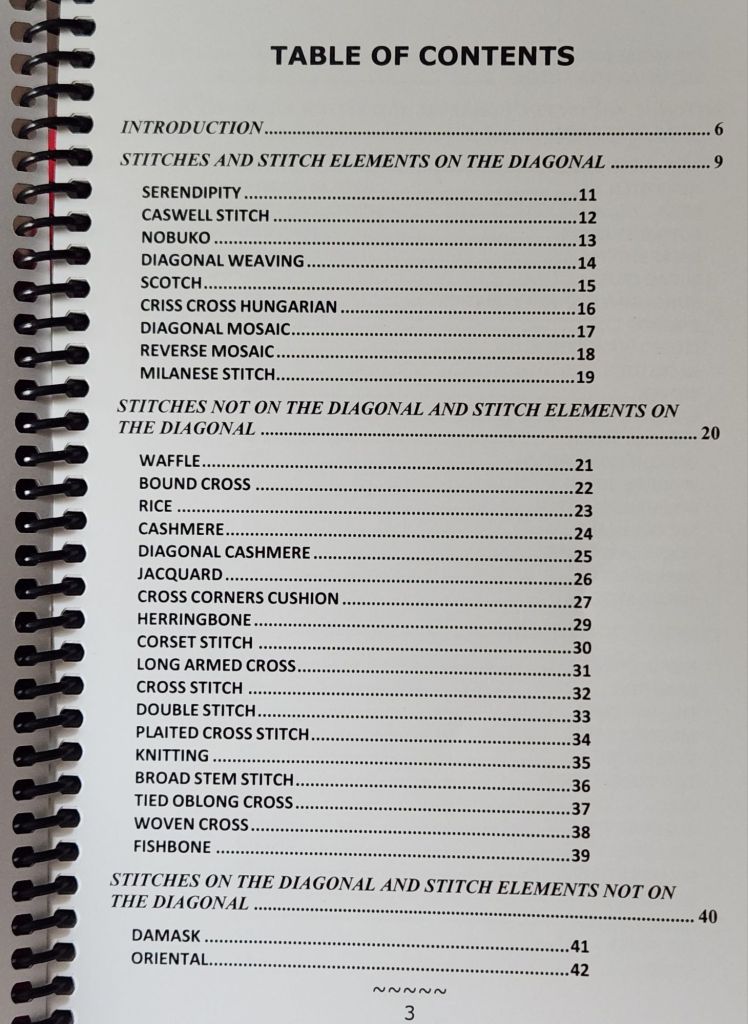
It’s got a ring binder, so pages open and a flexible but hard plastic cover to withstand wear and tear. It’s my favorite size, 5.5″ wide and 8.5″ tall.

The Table of Contents also serves as an Index. I didn’t photgraph the entire TOC since it’s 3 pages long.
You can order it at https://www.threadupdd.com/merchandise-for-sale. What Dawn doesn’t say on her website is that she’ll share a link to a pdf so you can use it anywhere. I found several great stitches to use on my Project Runway piece.
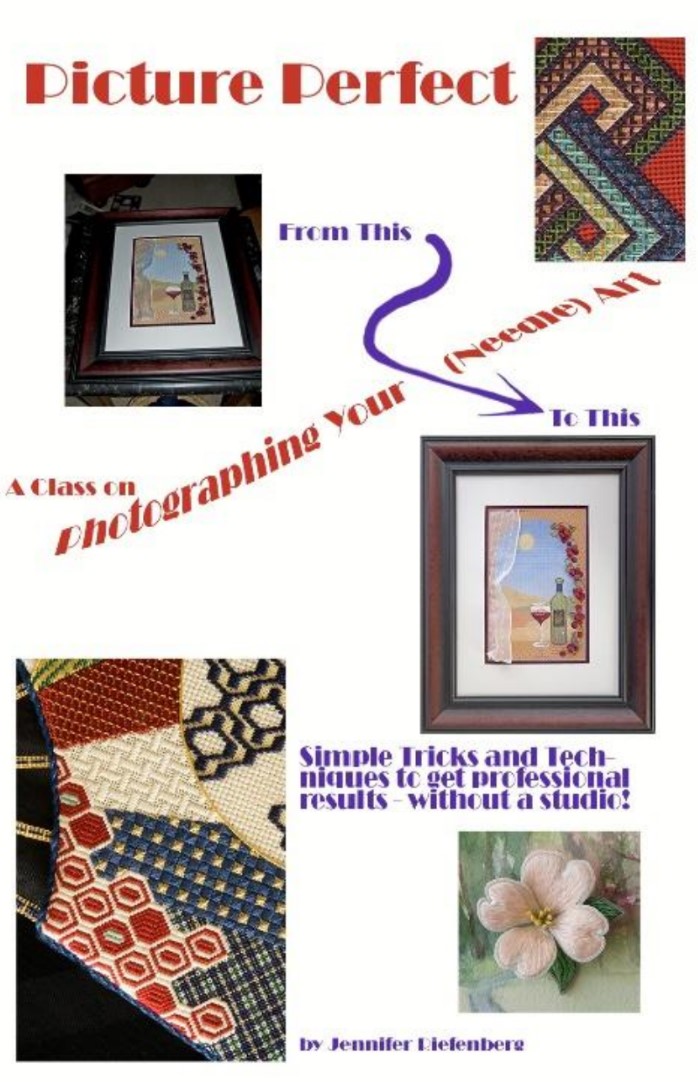
Textile Artist has a Stitch Club you can subscribe to but their newsletter is free of charge. A recent edition had an interesting article on basic photography for fiber artwork. You can access it at: https://www.textileartist.org/how-to-photograph-textile-art
In 2022, I took a photography class from Jennifer Riefenberg at the ANG Seminar and heard it again recently in a Zoom class How to Improve Photos of your Needle Art through the EGA Fiber Forum. It was my suggestion they invite her because you have to be juried into the Fiber Forum to be a full member by submitting photos of your original work. I am a Friend of Fiber Forum because have I not wanted to go through the process (maybe at some point). I picked up new tips I had not heard the first time. So, contact Jennifer if you are interested in a Zoom talk/workshop for your group. And, watch https://needleart.org/assembly/ for the photographs she took of this year’s National Academy of Needlearts Exemplary winners. There were some stunning pieces.