My oldest unfinished ANG Seminar piece is from another Gail Stafford class from 2012, Tar River Trail. It is a lovely autumnal scene.
The pre-class letter says only a few stitches are used with a variety of threads. The 18 count canvas was supplied as a line drawing with some areas painted for reference. The kit has 9 Weeks Dye Works skeins of floss, 1 skein of Waterlilies, 3 skeins of Watercolours, 15 skeins of DMC Floss, 4 skeins of The Gentle Art Sampler and Simply Shaker Threads, and 3 skeins of ThreadworX floss. That’s a lot of threads.
So, this is my starting point. I left my spaghetti threads from class all this time. It still looks challenging! But I am confident that I can do it.
My first task was to transfer the canvas from the very thin bars to Evertites. Then, I reread the instructions, and now I am excited to see the scene develop.

Filed under: ANG CyberPointer's Chapter, Landscape Features: A Notebook Class by Gail Stafford
I used the distant trees/mountains on the right to explore 3 more stitches.
There is the Pine straw and mulch at the bottom of the tree on the left and around a tree on the right.
There are several grasses and grassy clumps. The tall grasses didn’t encroach enough on the right side. I think part of the problem is that I separated the threads, so most look laid, and 2 of the 3 greens are too close in color to each other. Plus, I kept rows too uniform and horizontal. Then, on the left side, I didn’t separate threads, angled more, and encroached more, and it looks better to me.
This was a very useful class. I still have areas to test more stitches at a later date.

Filed under: ANG Main Line Stitchers Chapter, Fibonacci Swirls by Olivia Hartshorn
My ANG Main Line Stitchers chapter is going to start Fibonacci Swirls by Olivia Hartshorn.
During covid lockdown, this grandmother living in Devon, UK, designed it. Luckily, someone in ANG must have contacted her because the instructions appear in Needle Pointers Mar/Apr 2022 issue. If you’re not a member of ANG, you can join (needlepoint.org) anytime and get access to all the old magazines online. Tons of great articles and projects.
ANG Central Jersey Chapter and Cyberpointers chapter have already done it and I’ve seen about 2 dozen different colorways. Linda M is leading this project for our chapter.
I’ve pulled 2 colorways. One is on Congress Cloth and the other is on 18 count canvas.
I will switch locations for two stitches and selecting a new one for one area.
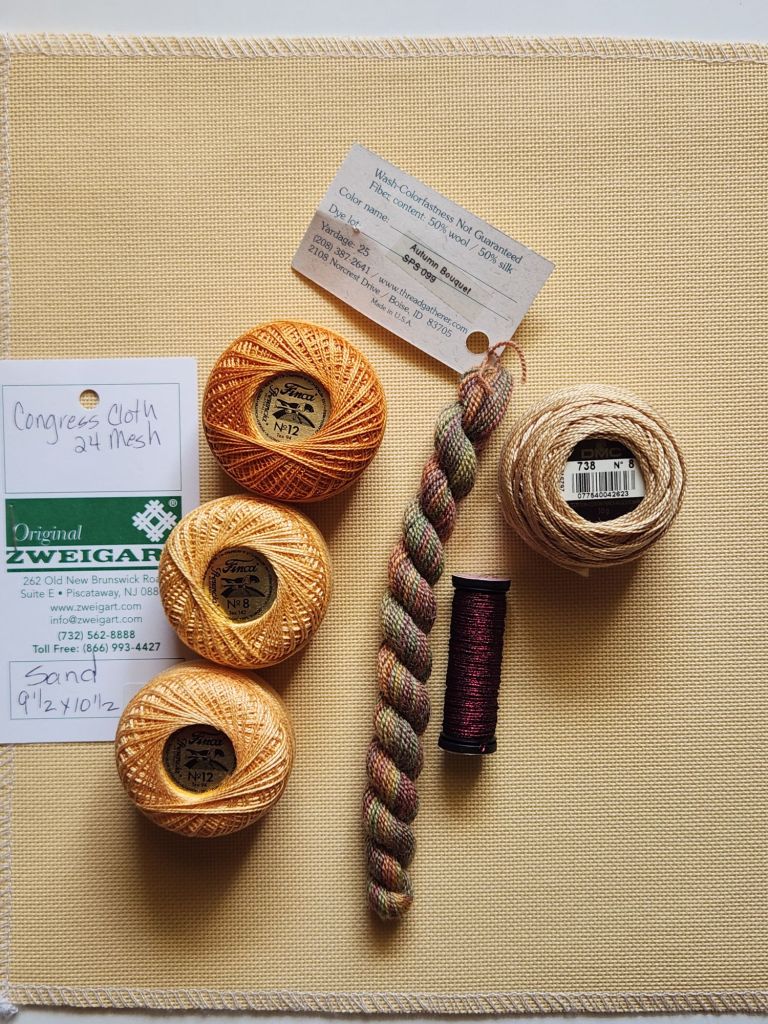
The one for Congress Cloth is using The Thread Gatherer’s Sheep’s Silk Autumn Bouquet SPS099 (I have 3 skeins) and several Presencia Finca threads depending on what works best #8 #12 7720, #12 7726 (maybe double it), and DMC #8 738. For this one, I will cut the mat to fit the shape, and so no canvas will show. The Kreinik is 153V, a bold burgundy! The muted colors in the overdyed thread seem to become brighter by putting it with the brighter solids. I’m getting contrast! The original instructions call for 3 overdyed threads, but I want to try it with one. The threads should look familiar-they were posted as part of the Birthday Bonanza from Linda M!
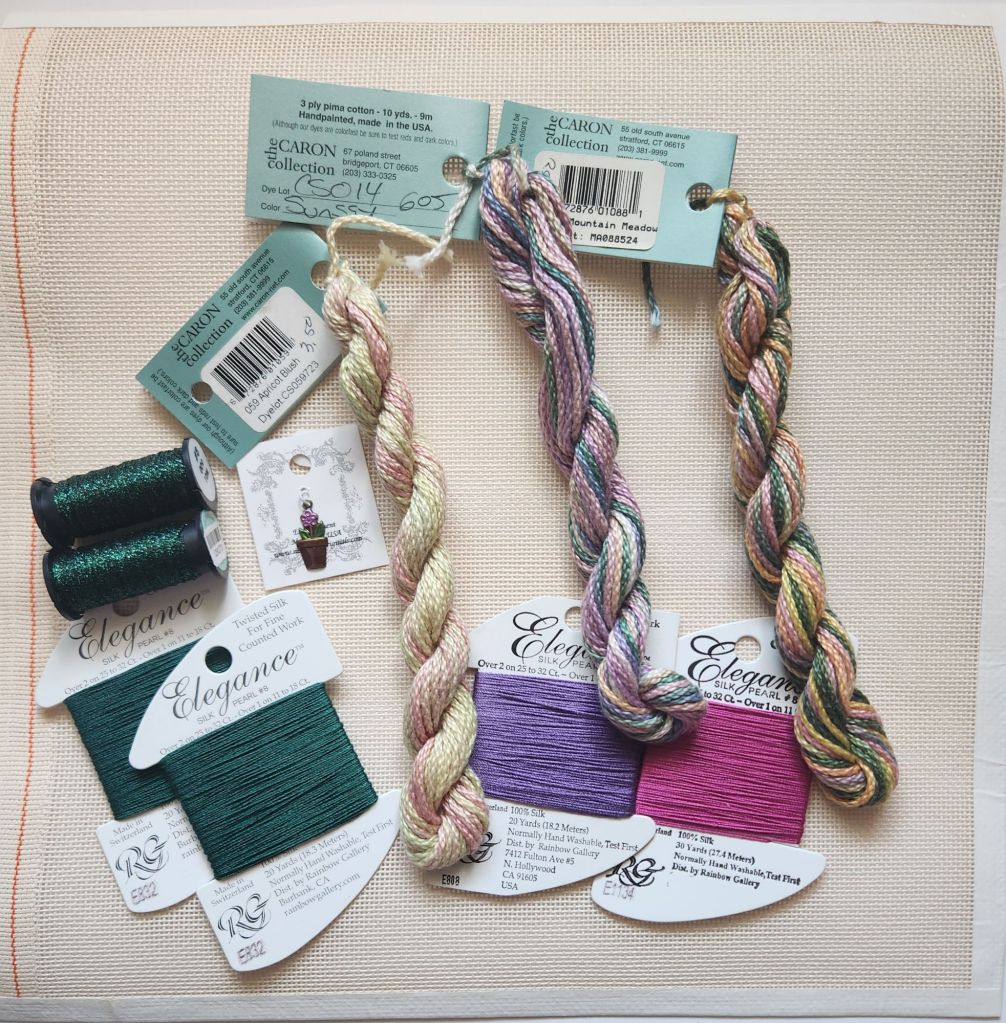
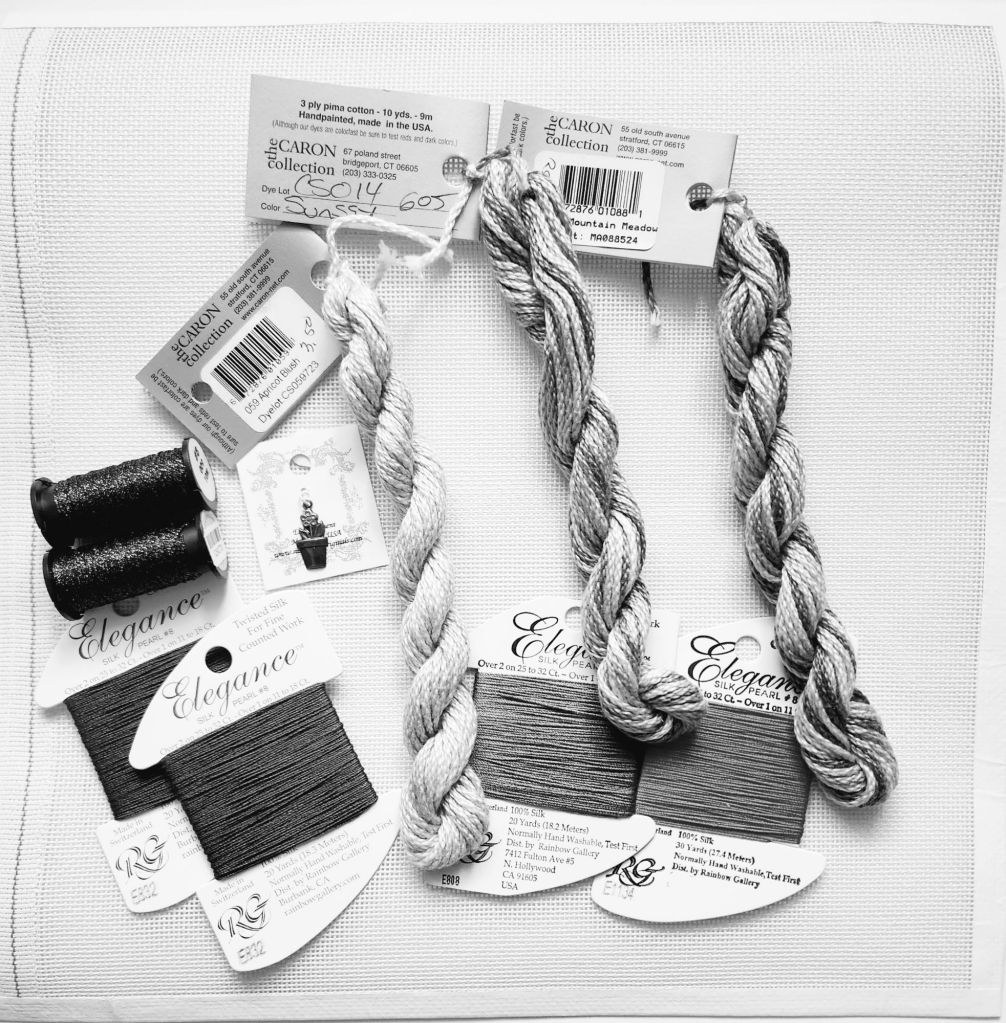
For my colors going on the 18 count canvas, I’ll be using ecru canvas and plan on adding background stripes as was done by Linda W, a Cyberpointer. Imitation is the sincerest form of flattery. (Oscar Wilde)
Linda M and I found 3 Watercolour skeins in our stash from what Debra got from a friend of hers. One skein has the old handwritten name and dye lot. Linda helped me pair them up with Entice. I’m very happy!
As I was checking out, there were charms. I almost picked up a horseshoe and 4 leaf clover, but the green didn’t quite match. The threads remind me of a flower garden, and so I got the flower in a pot.
Linda M finally got to stitch some after helping Patrick, Lisa, Lori, Kathy P, Kristen, and me pick out threads! She was very helpful and patient. Looking forward to seeing these develop.
Filed under: Brandywine Chapter, Crewel Wreath by Lucy Edmison, Embroidery Guild of America, Petite Projects
A hot start to summer seems like a good time to post this.
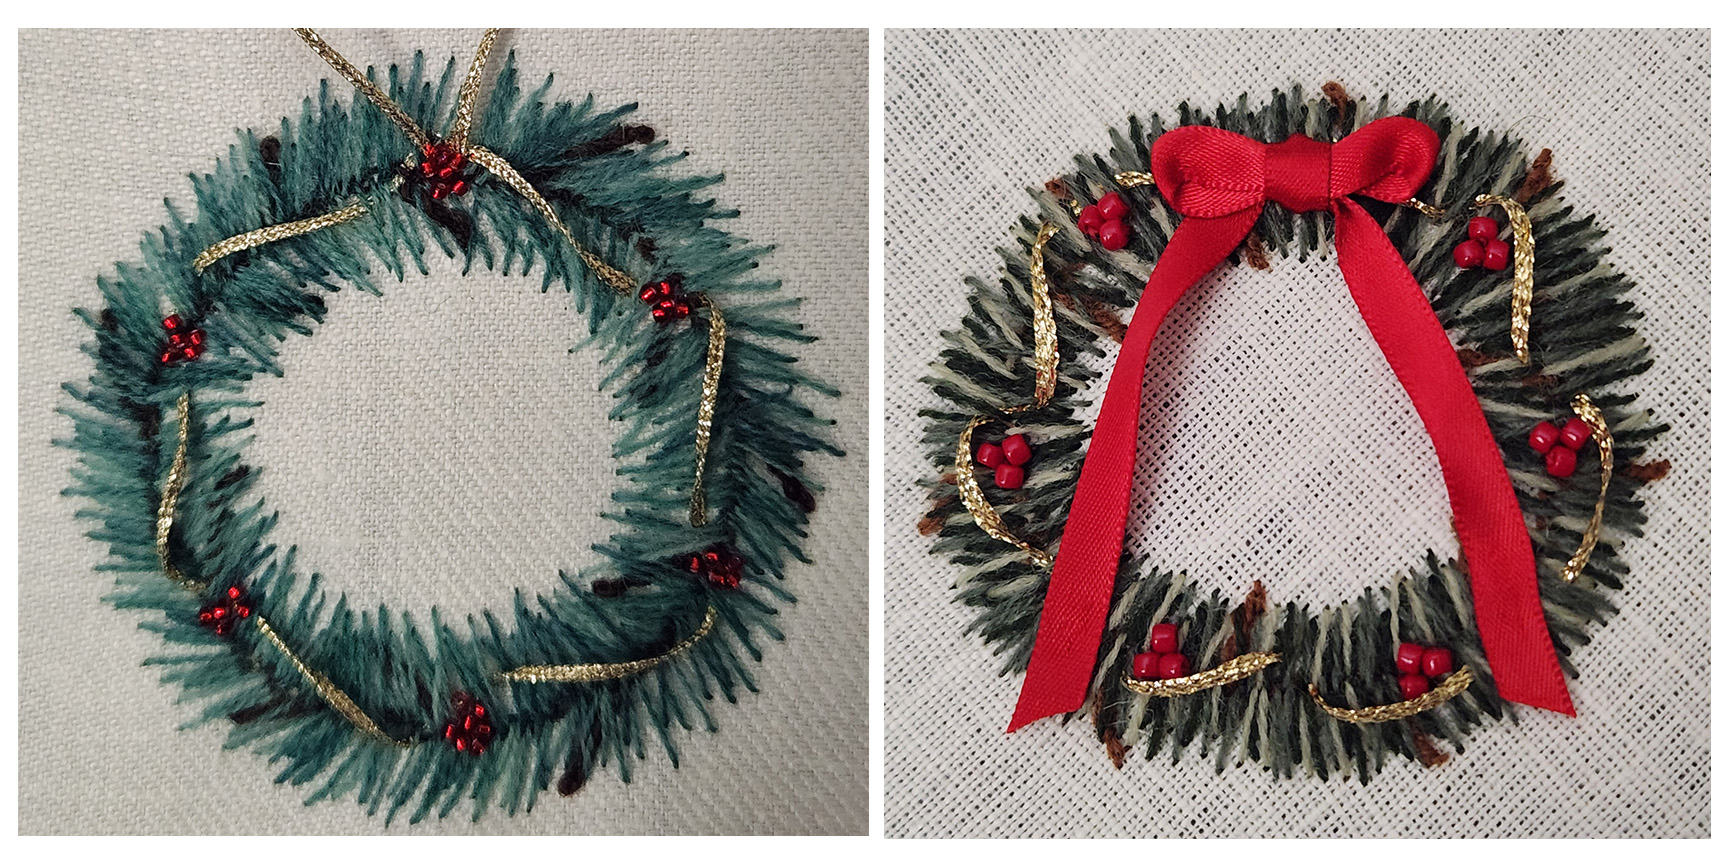
Members of my EGA Brandywine chapter gathered to stitch The Crewel Wreath by Lucy Edmison in mid-March. Joann had gathered all the materials for the kits, which were given out free to members. And, I led folks through the EGA Petite Project, although they really didn’t need much guidance.
Joann supplied Appleton wool, which is the preferred wool for crewel. I used it and it worked ok but I am just not a fan of it or wool in general. In the 3 hours I got pretty far along but Barbara was almost done! I know it’s not a race. Barbara said she just allowed the stitching to flow and that is how you should let random placement progress. I used up almost all of the wool. So this one is a little fuller.
I am particularly happy with how the bow turned out. Joann shared how bows were made from “Sandy’s Finishing Touches” by Sandy Higgins. It took me 2 attempts to get the correct size. Joanne had given us plenty of ribbon.
My first wreath is on the left and my second on the right.
I did the finishing myself.
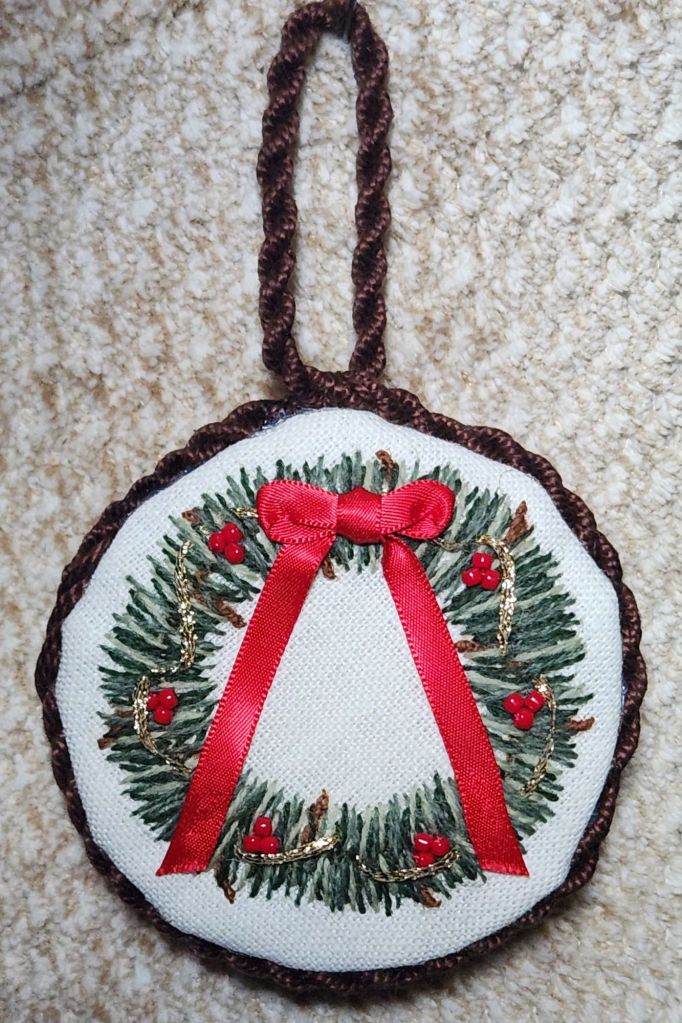
Crewel Wreath 1 was posted previously at https://melitastitches4fun.com/2023/12/03/post-dec-6-crewel-wreath-by-lucy-edmison-from-egas-website-for-the-brandywine-chapter/
Filed under: ANG CyberPointer's Chapter, Landscape Features: A Notebook Class by Gail Stafford
Lesson 3 of Gail Stafford’s Landscape Features class moved us through water, distant trees, and bushes. I tried out 3 water stitches, 6 stitches in the distant tree line on the left, 2 bushes on the left, a large bush, and 2 trees on the right.
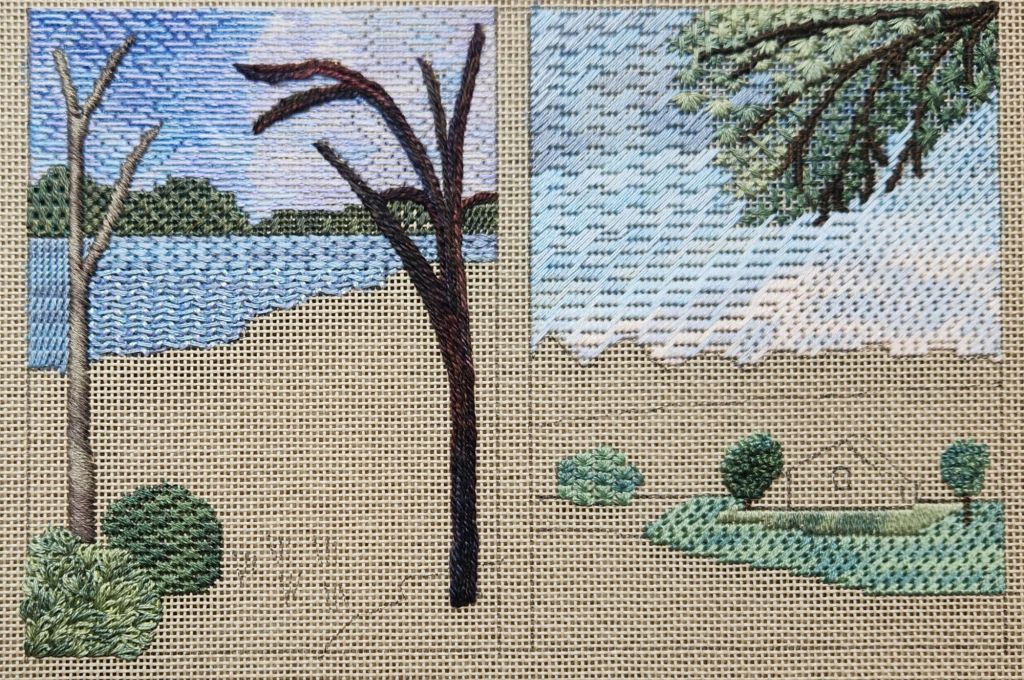
Two grasses are stitched on the right, but we will cover even more ground as grasses are up next in Lesson 4 (pun intended)! And I’ll probably do something in the distant mountain range on the right. I didn’t notice it until I posted this photo. I still have a lot of areas left!
Filed under: ANG CyberPointer's Chapter, Landscape Features: A Notebook Class by Gail Stafford
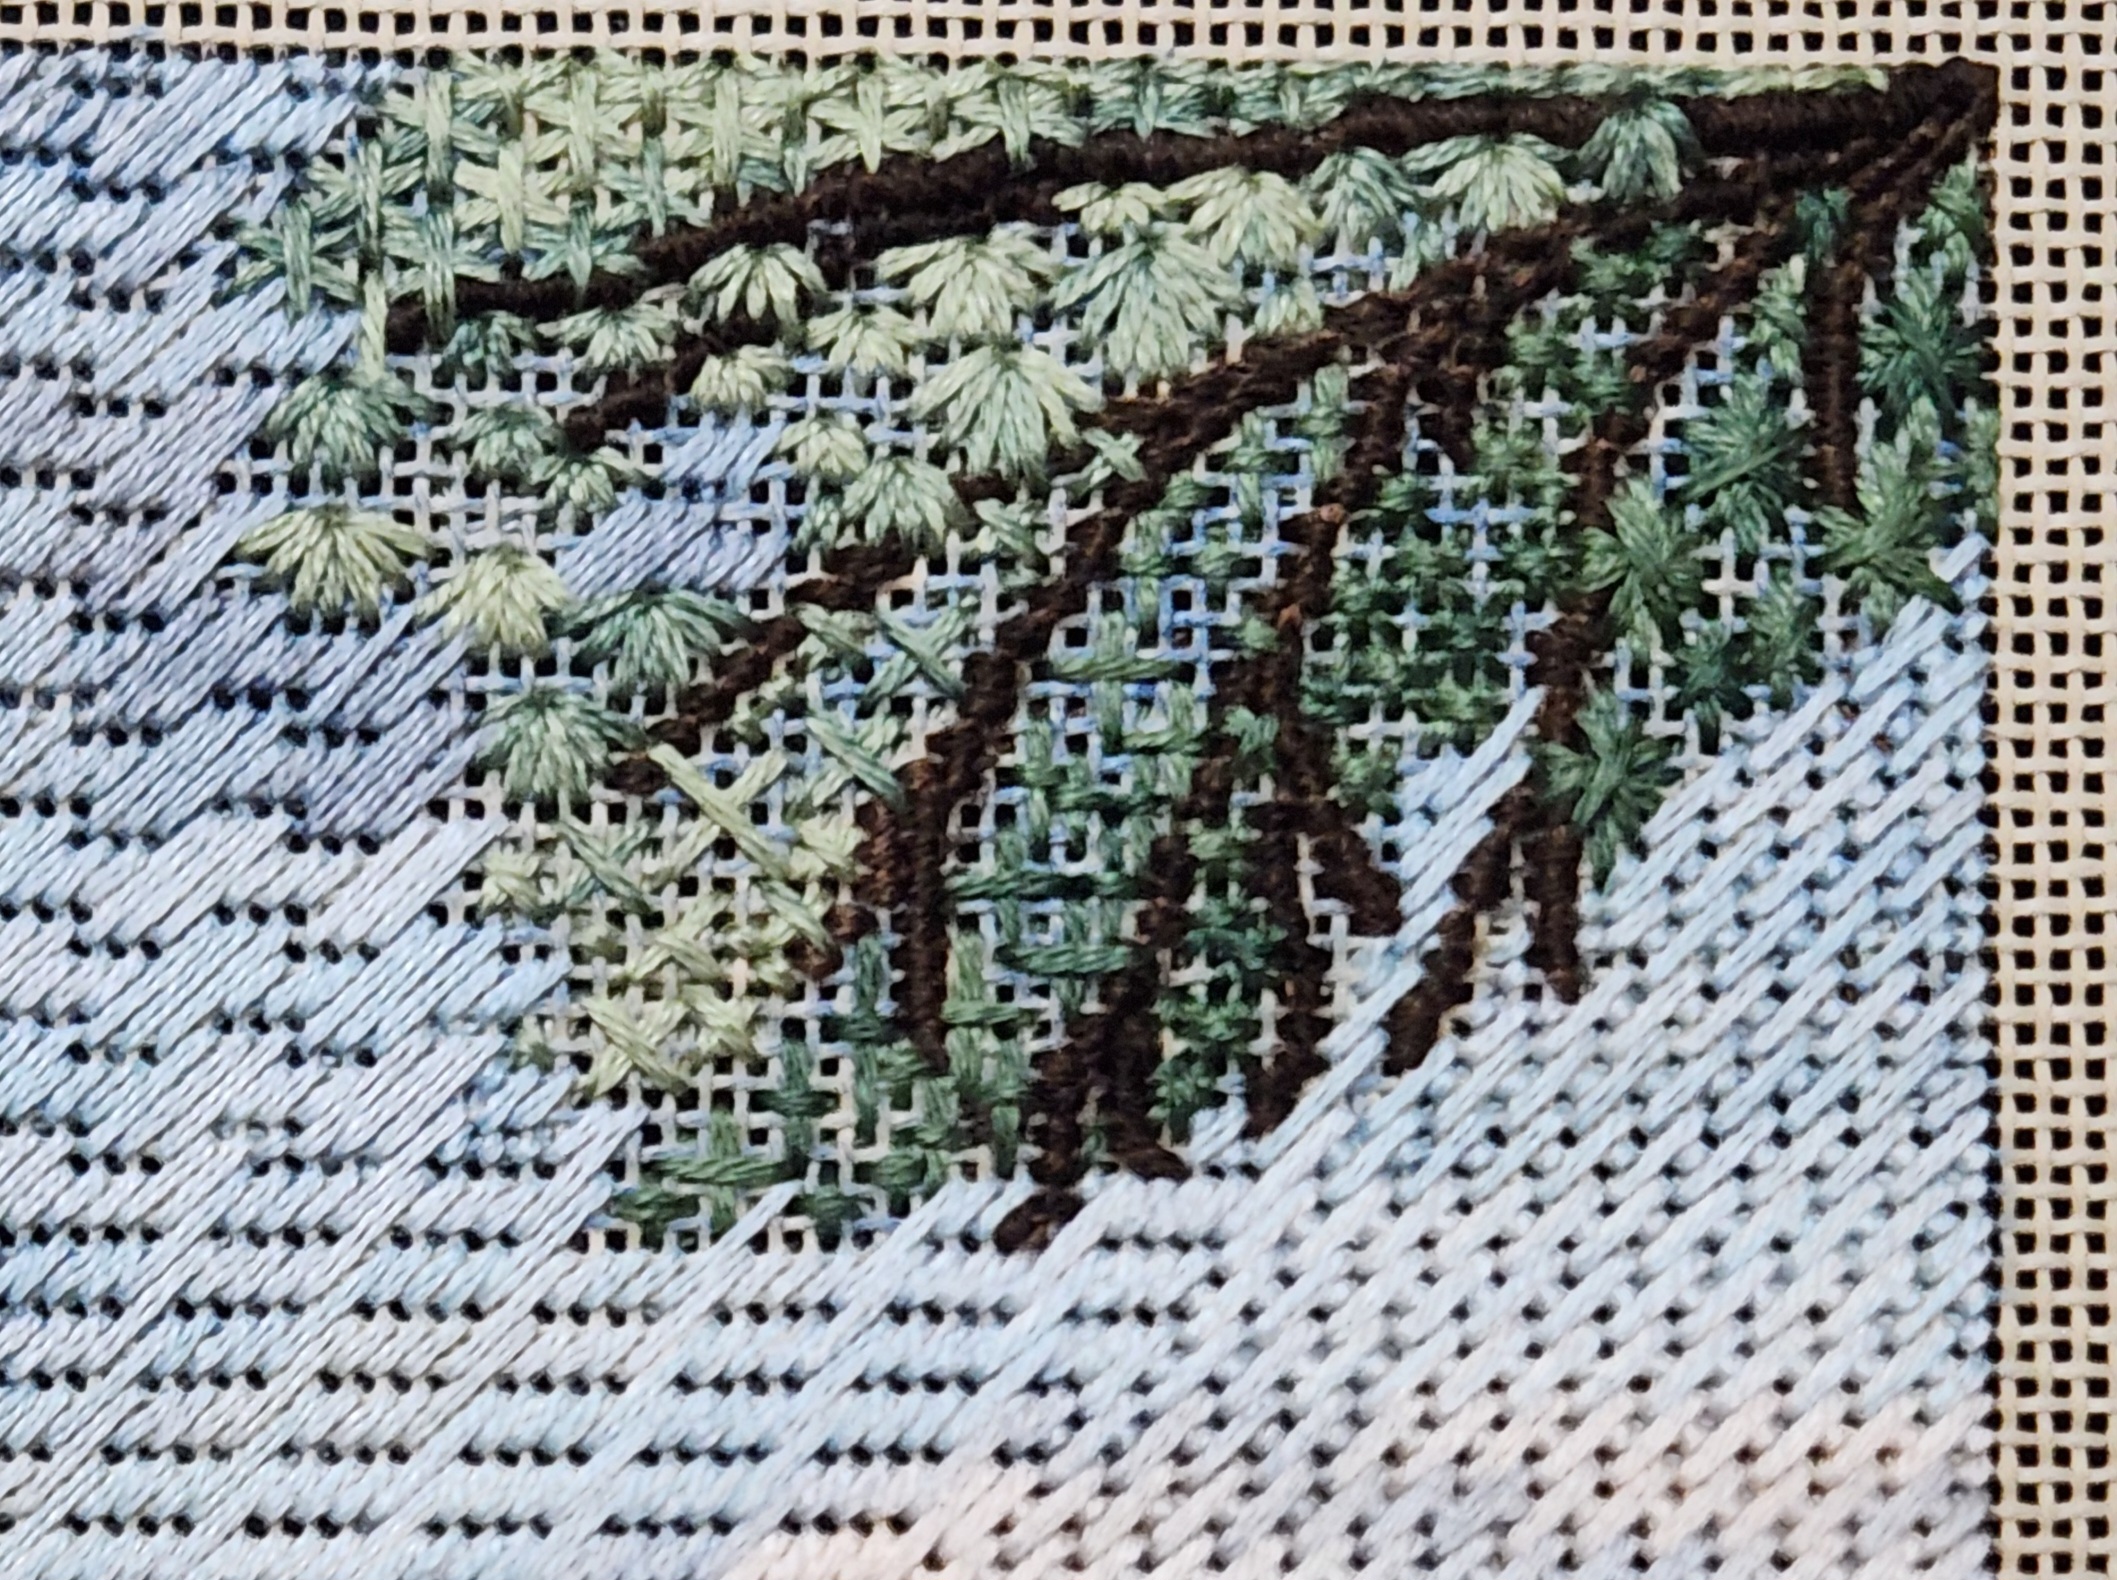
Lesson 2 for trees and leaves of Landscape Features by Gail Stafford is done.
The tree on the far left has padding thinning at the top ends and is covered in diagonal gobelin.
The branches on the far upper right are padded and covered with straight gobelin done horizontally for the branches bending down and vertically for the top branch that lies horizontally.
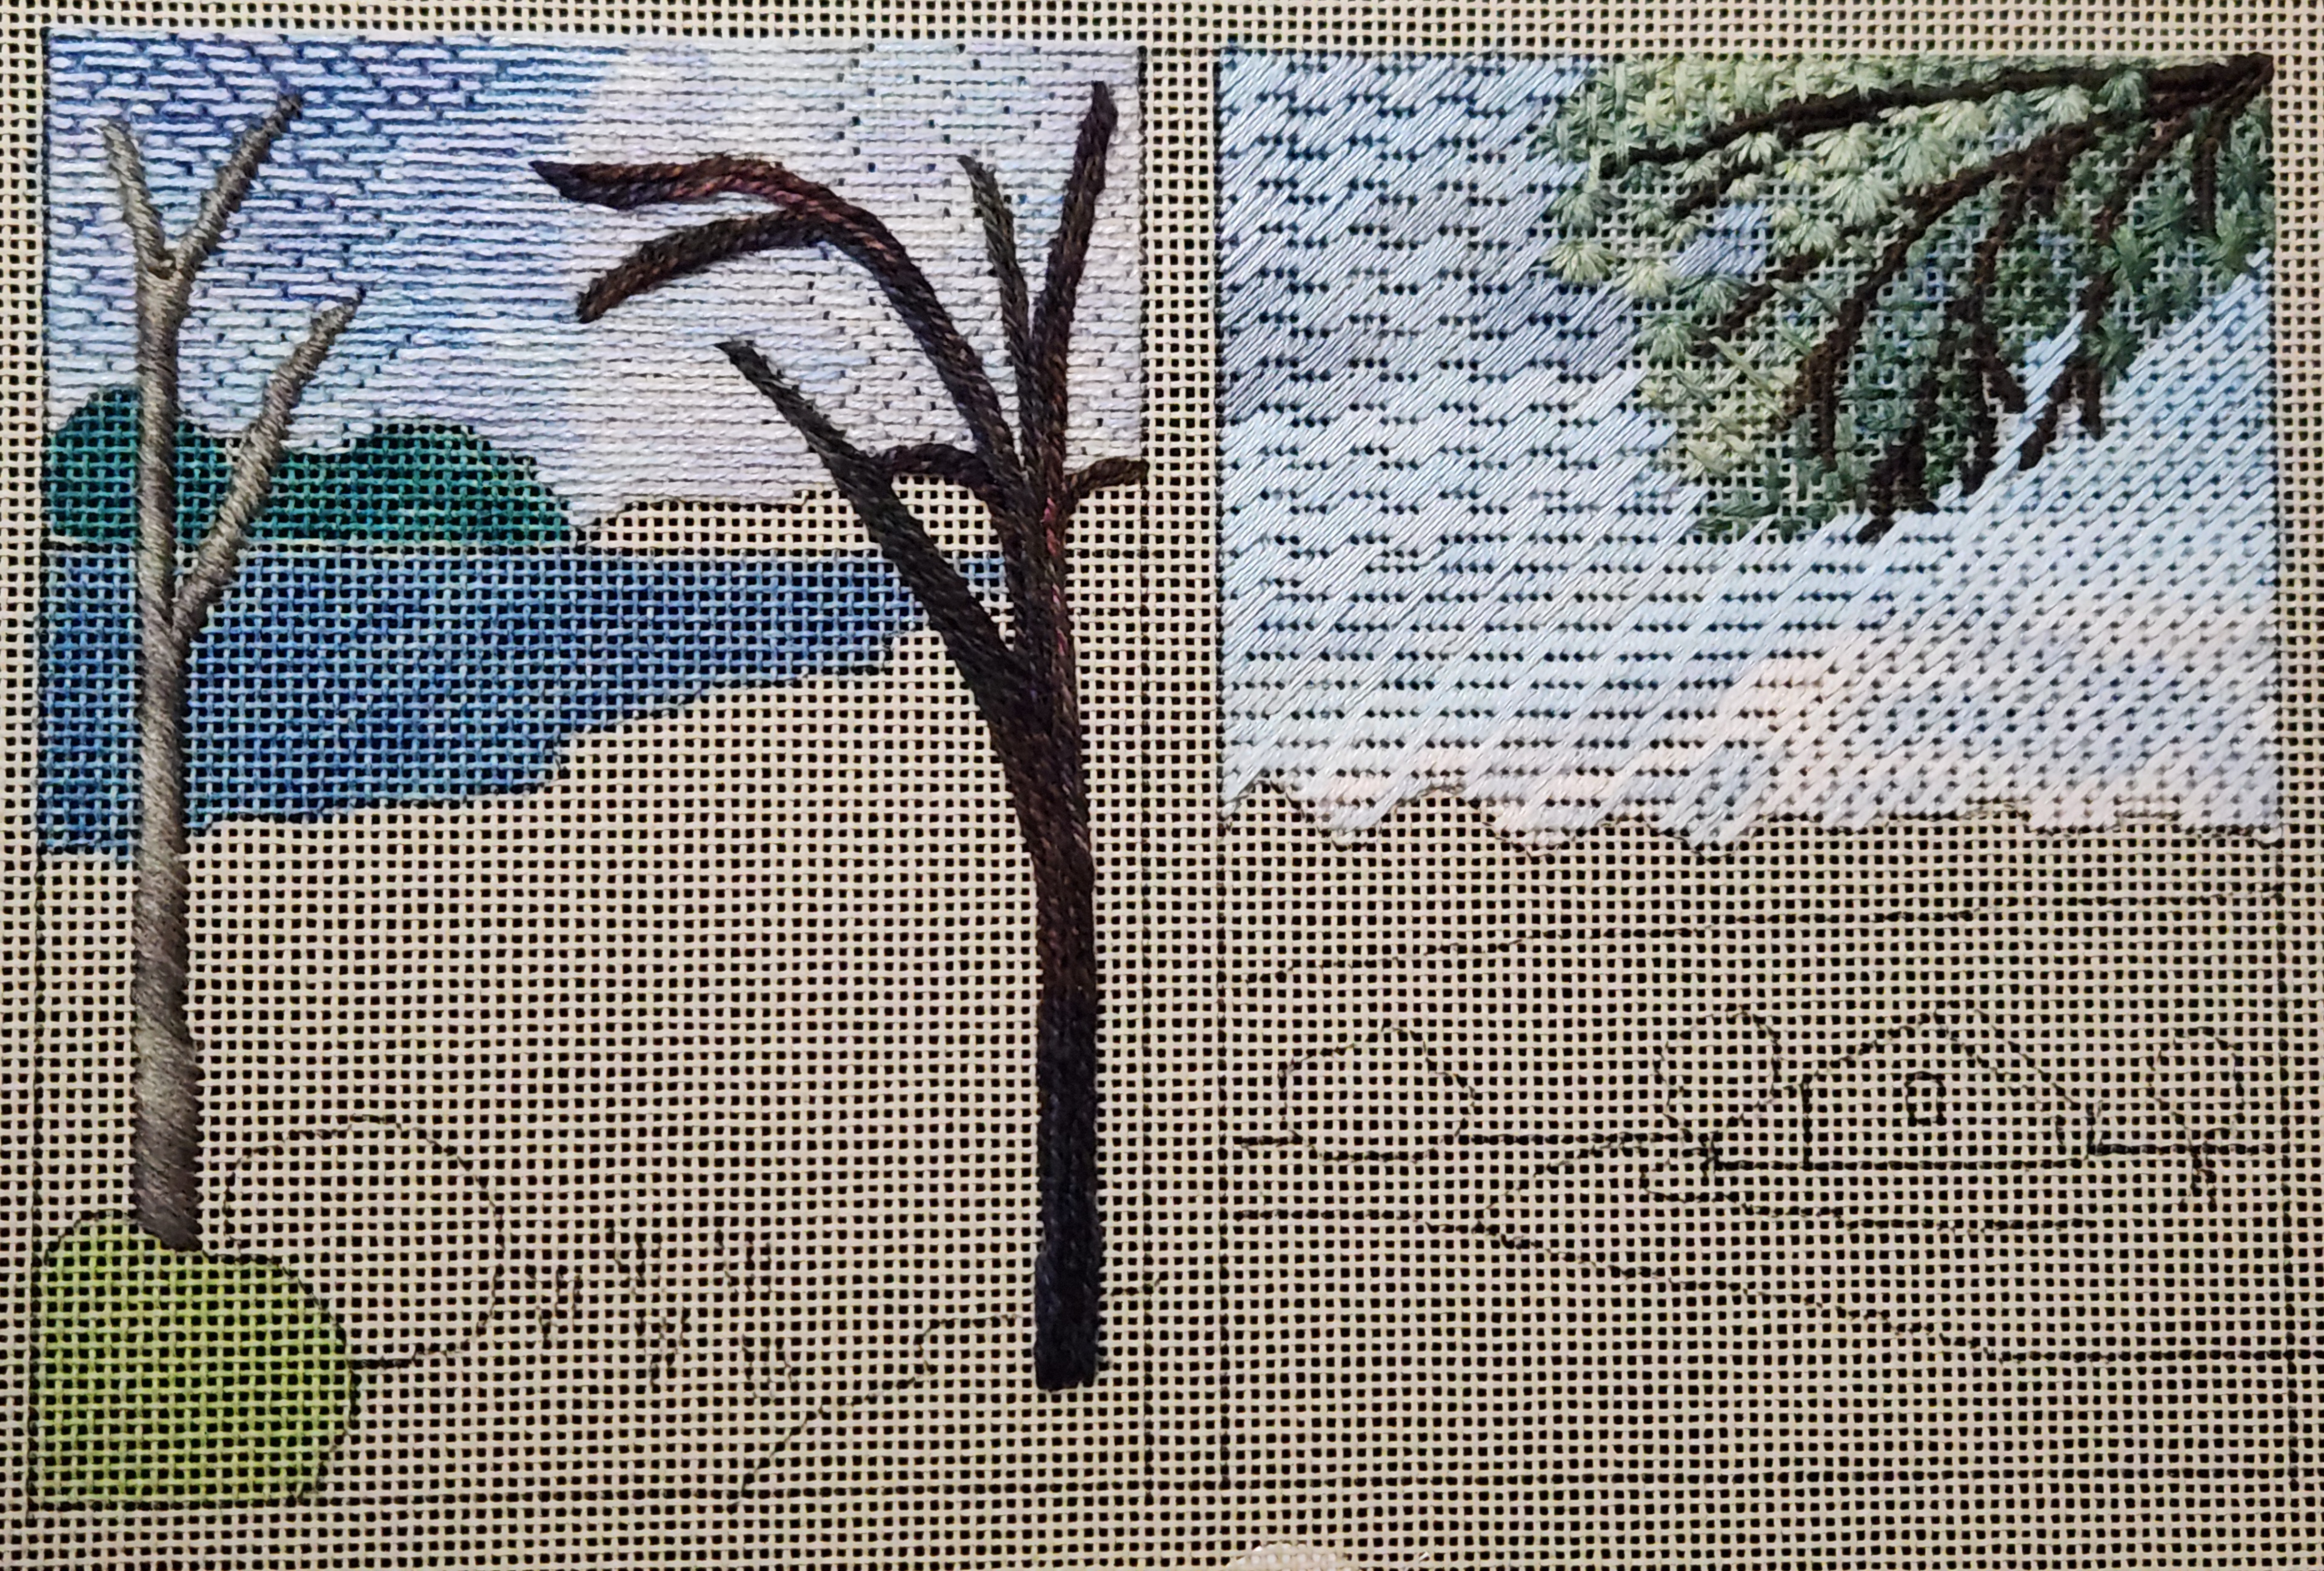
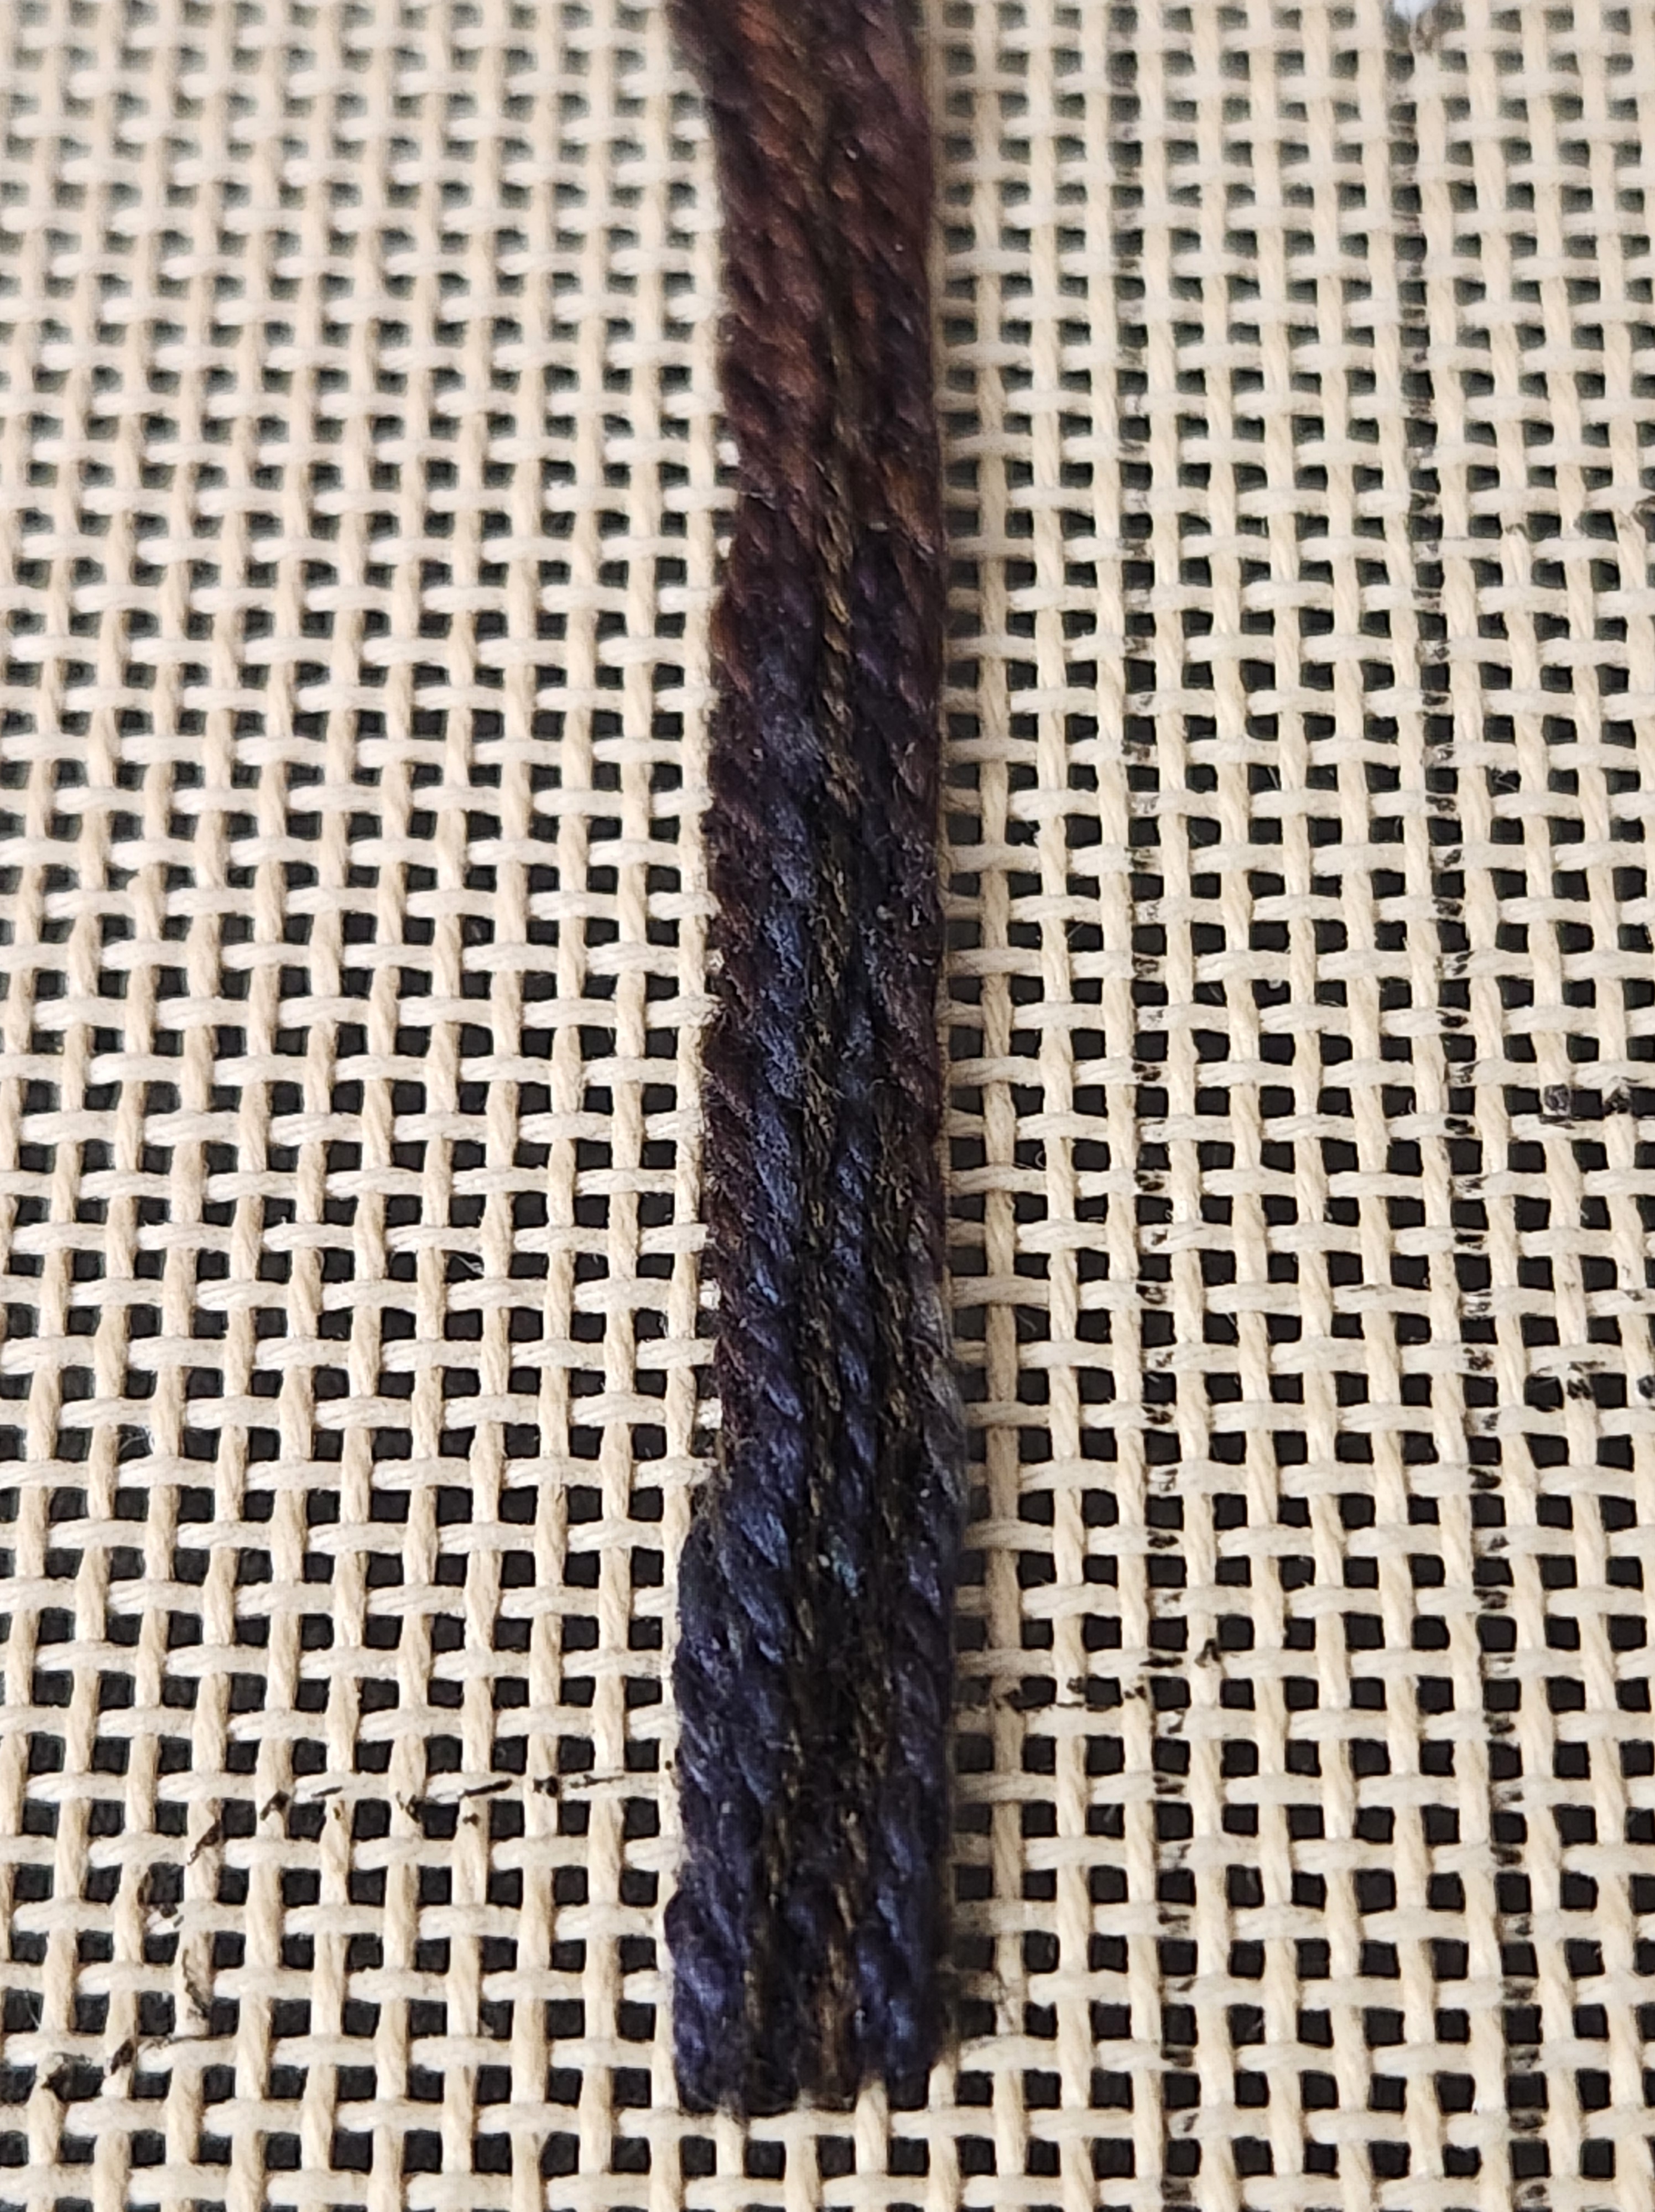
The center tree employed the outline stitch layered using Watercolours on the base and then Simply Wool too make it a well rounded trunk!
I did not add leaves to the line drawing on the left because I did not want to cover the sky. The leaves moving counter clockwise from the right are double layered cross, Smyrna, upright cross, cross/giant cross, large/small diamond ray, and Dutch stitch.
This lovely handkerchief arrived in the mail from a woman I helped get back into needlepoint to thank me for helping her with a new issue she was dealing with. It’s from France. A delicate flower design.

Just look at all the fall colors in the tote!
Between the by Mindy bookmark canvas and the lovely fall colored threads, I am set for autumn. I can choose between DMC and Presencia Finca Perle! I’ll have plenty of thread left over for other projects.

The PHL is a cute magnet since I live in Philly.
Linda presented everything in a perfectly arranged, very handy tote. Quite the birthday bonanza!
Linda found another winner with the matching Mad for Plaid project bags (10x13x3 and 6x9x1) in the color, Pumpkin.

It includes a motif to stitch and various DMC Perle #5 threads to use. Or, I can do whatever pleases me!

The design is cute and would probably be less complicated than whatever I would think to do. I’m leaning towards using the design as supplied on the large bag and doing something else on the smaller bag. So, I have to ponder on this one for a bit!
As I recall, Jim Wurth retired when I was early into canvaswork and felt his pieces would be too difficult for me. But, I did like them. Now, I’ll finally get to stitch one of his designs, Silken Sonata, thanks to Linda. It’s a lovely 4″x4″ piece on a green canvas with copper and beige threads. It’s a lovely design with colors I love. Linda even included the needles! She’s so thoughtful. This is the second posting in my special Birthday Bonanza! The mug was the first.
For a small piece, it is packed with Jean Hilton type stitches, including Sprats and Jessicas of different sizes with Smyrnas and Eyelets. Some overlaying of threads is needed, which will be interesting as well.

I’m excited to start this.

